
How to Make a Decoupage Wooden Clock
This post may contain affiliate links. If you purchase something through the link, I may receive a small commission at no extra charge to you.
This Decoupage Wooden Clock has been compensated by DecoArt. All opinions are my own
Sometimes I like to sit and daydream about the office I don’t have. Where I can work in a space all my own, with nothing but the noise of my keyboard and country music playing in the background. And then I’m quickly snapped back to reality as my toddler lays on the floor screaming for attention.
But in those few moments that I am able to get lost in that blissful daydream I like to imagine how my office will look and what I’ll decorate it with. And for some reason I see lots of gold. I don’t know why because my house as it is right now has barely any gold and I don’t even like to wear gold jewelry. But for some reason, gold in my office sounds amazing. And my recent DIY is hitting all the right spots when it comes to gold decor.

I don’t know what made me decide to make a decoupage wooden clock but once I got the idea in my head I just had to do it. I’ve never worked with decoupage before and I was a little nervous to try it. But that’s only because I’m not the most gentle person you’ll ever meet and tend to be a little hard on some of my crafting materials. Luckily though, the paper was able to hold up against my rough hands and only tore in one little spot (yay!).
To be honest the hardest part of the entire project was getting all the triangles to line up properly. Because the wood I bought was made to look more like a pallet, I decided to just cut strips of the decoupage paper instead of using one giant piece. I actually like the pieced together look the best, though I do wish I had left extra paper on the sides to fold down into the groves. I only did that on the left side and I really like the way it looks! Oh well, you live and you learn!
The clock really did come together quite nicely and I’m really excited about how easy it was to make!
Make your own decoupage wooden clock!

Materials:
- Classic Decou-page (I used the matte version because the triangles on their own are shiny enough!)
- Decoupage papers (the papers I used were the Gold Accents)
- Paint brush
- Sander
- Purple acrylic paint
- Wooden clock (bought at Joann Fabrics)
- Clock kit
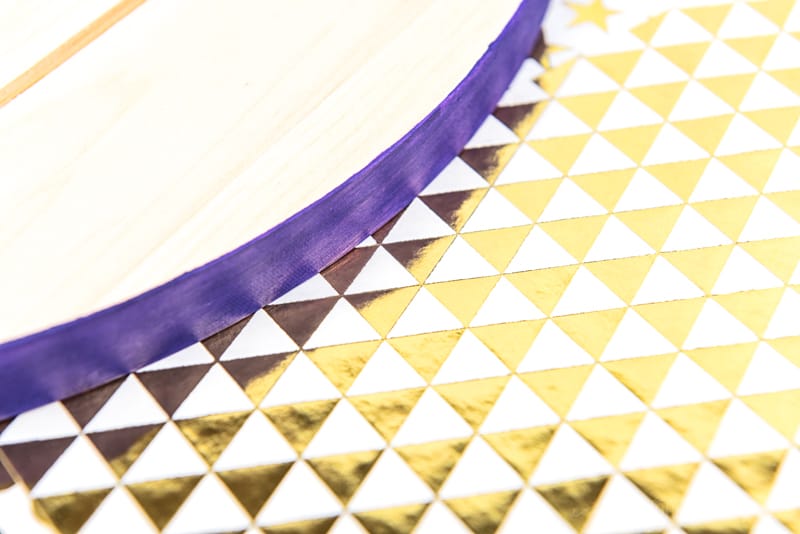
The very first thing I did was paint the outer rim of my wood piece purple. In addition to seeing gold in my non-existent future office, I see lots of purple!
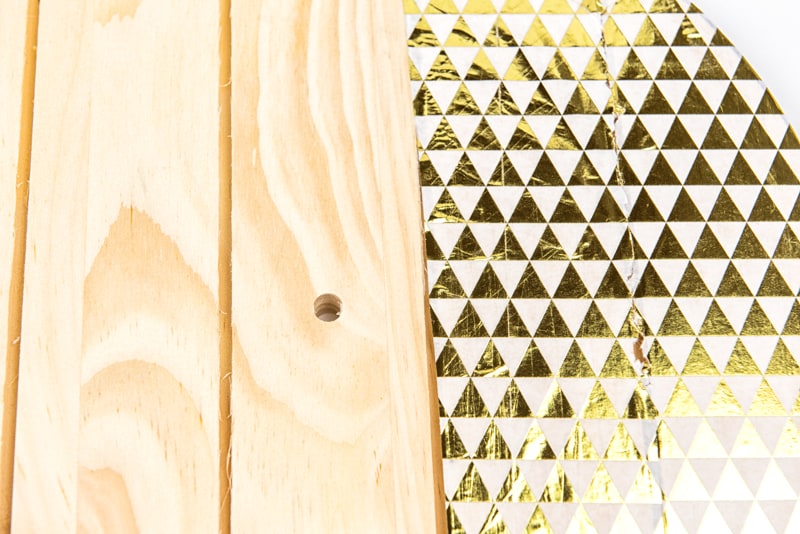
I then cut and glued each piece of decoupage paper onto the wood. Follow the directions (carefully!) on the back of your decou-page bottle! I put a very light layer on both the wood and the back of the paper and that’s all I needed! Let it sit and dry for 10-15 minutes after you cover your entire project.
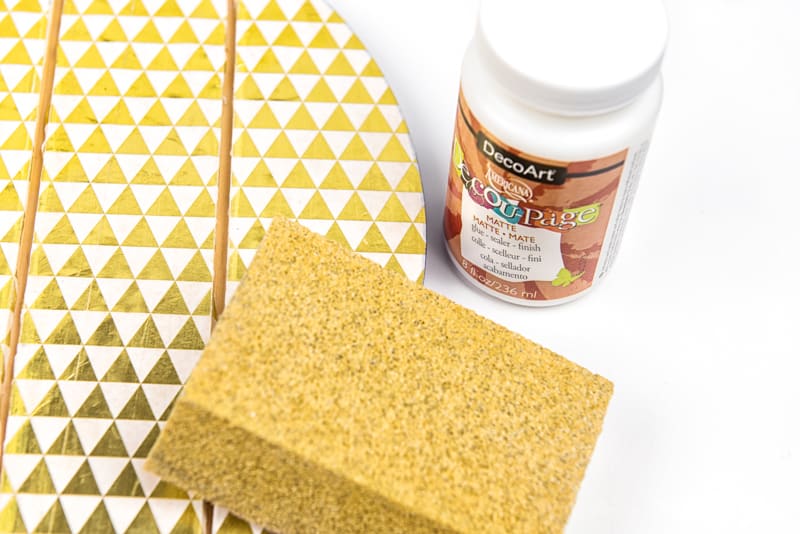
I then used a sander around the edges to smooth down the paper. It just gives it a nice finished look! After I was done I sealed the entire project with one last (light) layer of decou-page! Then I let it sit for 24 hours to dry.
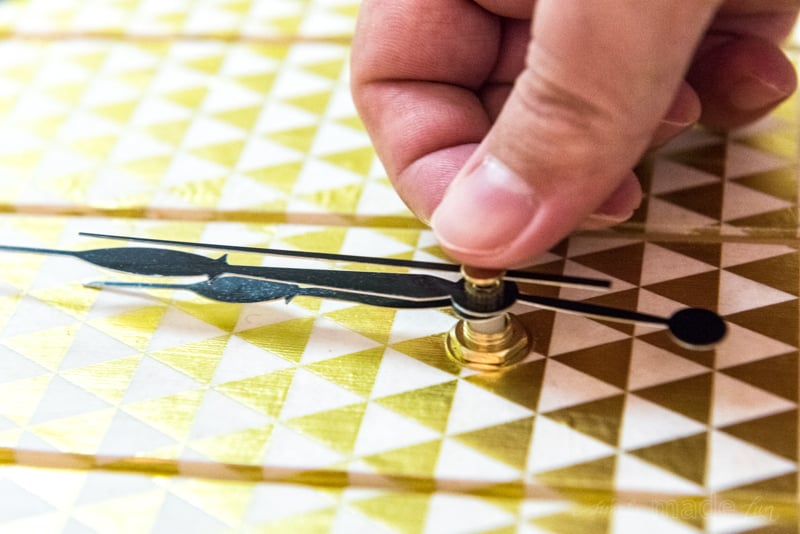
The next day I had Chris install the clock part for me. Now, don’t be like me and pick up the wrong size kit. I had to run back to the store to buy the right size but once I corrected that mistake it was smooth sailing! Just read the instructions on the back of your kit box and you’ll be able to install the clock easily!
Looking at it now though I may go back and get bigger clock hands just because mine look really small (though Chris thinks they look fine!).
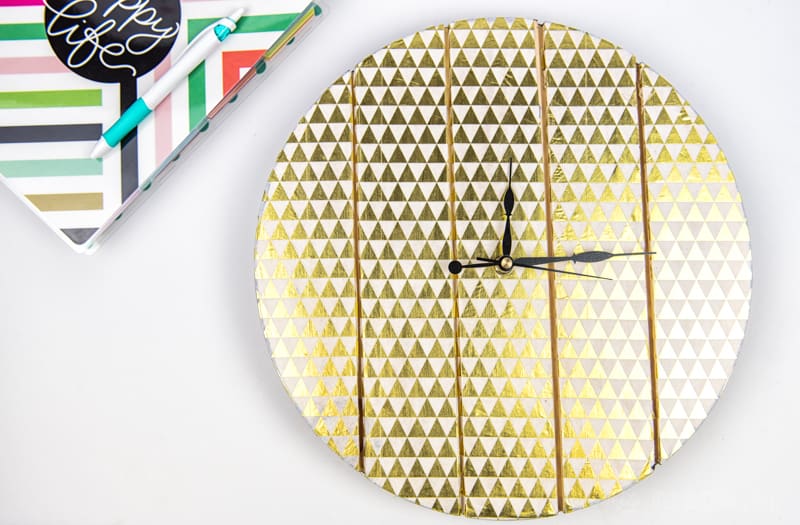
But even though it has small hands I’m still in love with the final product! The gold foil looks amazing and even Chris is really impressed with it. And it’s hard to get him excited about girly things like that!
What do you think? Do you think the hands on the decoupage wooden clock are too small, or are they just right?
Need more paper craft inspiration?
[pt_view id=”7b07c81ldc”]
So I’m not the only one who dreams of having a nice, serene place to work during the day? ? The gold clock is a lot of fun, and would look fantastic in a bright office space. I think that you could go either way on the hands. The small clock hands are nice and minimal, which leaves the focus on the gold triangle pattern. Or, since the triangle pattern appears to be pretty small, you could change the focus to some nice big (almost oversized) hands. Totally up to you.