
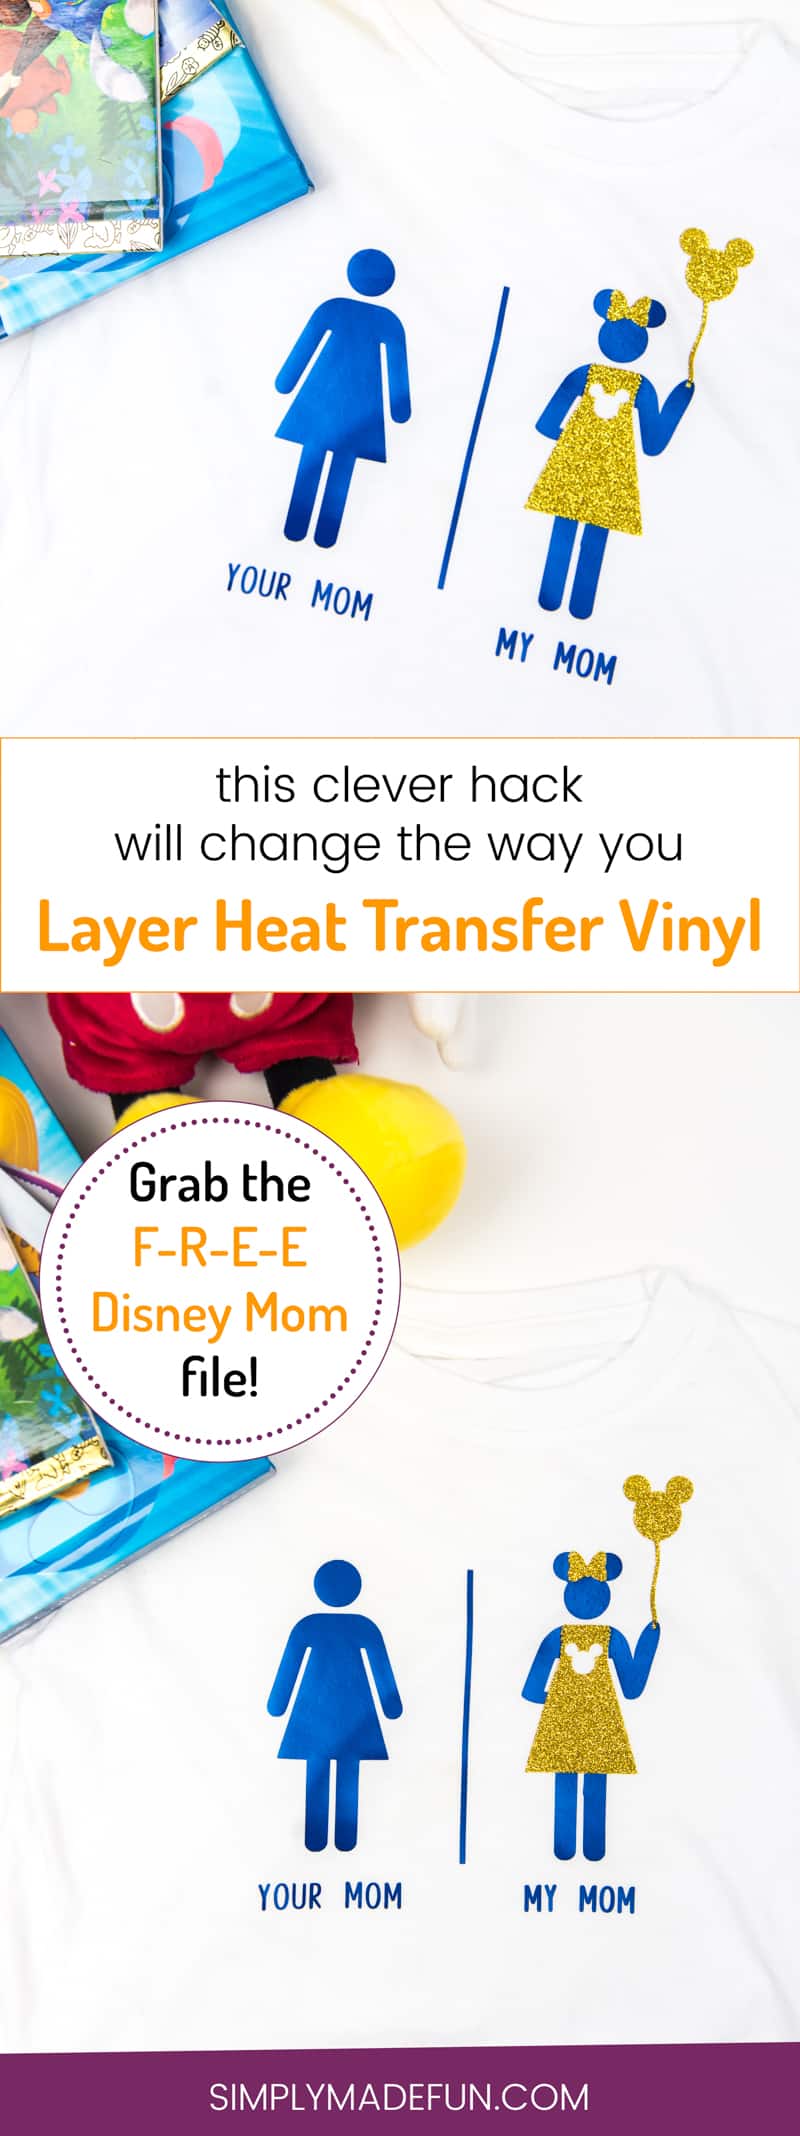
How To Use This Clever Hack To Layer Heat Transfer Vinyl


This post may contain affiliate links. If you purchase something through the link, I may receive a small commission at no extra charge to you.
Silhouette hacks are my FAVE and Shirtspace is teaming up with me today to share a really simple way to layer heat transfer vinyl right. Every.Single.Time
The other week I was asked why I love Disney so much.
Honestly? I DON’T EVEN KNOW. ??
No seriously, I don’t. It’s been an obsession since I first saw Beauty and the Beast when I was 6 and it’s gotten worse ever since.
But I don’t mind it because Disney is awesome and I tend to think that anyone who doesn’t agree is just odd. Just kidding (sort of).? We’ve all got our own obsessions and mine just happens to be a life-sized mouse who has his own kingdom. IT’S COOL you guys. It’s really cool.
DOWNLOAD THE DISNEY MOM FILES!
I’ve always known that I was going to be that crazy mom who wore too many Disney t-shirts and sang way to many showtunes. And that all my stories were going to start with, “one time, at Disney….”. Luckily I married a guy who has become just as obsessed as me. I mean, we aren’t called the Disney family by our friends for nothing. ?
Now Chris may not own a ridiculous amount of Disney t-shirts but I more than make up for it. And I’ve decided that our toddler needs a ridiculous amount of Disney shirts too. And even though I love store-bought shirts I’m a HUGE fan of making our own when we’re going to Disney. It’s too fun of an opportunity to pass up. So when Shirtspace contacted me and asked if I’d want to work with them on a post I jumped at the opportunity.
Shirtspace t-shirts do run true to size! But be warned, I got this shirt and because of a review on their site I got a size up and it’s way too big for me. I’m so sad because I love this shirt! If I had gotten my regular size it would’ve fit fine. (ps- every other shirt I received from them fit like a glove! So just order your regular size and you’ll be fine).

DOWNLOAD THE DISNEY MOM FILES!
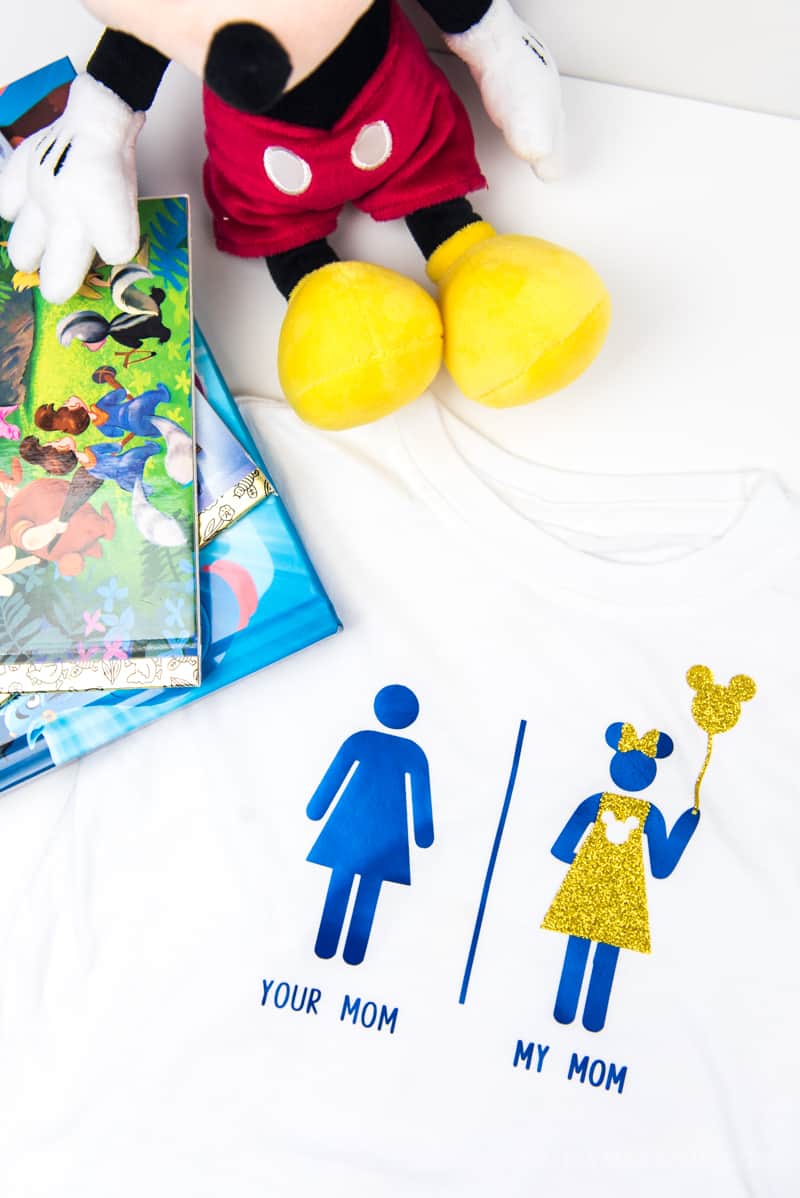
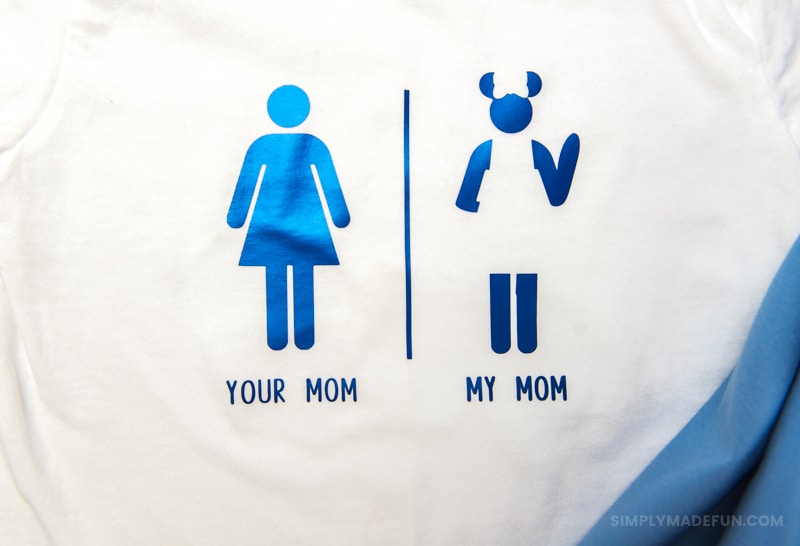
And so I decided to poke fun at myself a little bit with this shirt for the toddler because, why not? Other people will get a kick out of it at the parks and I’m just super happy that I designed this thing from scratch in the Silhouette software.
Want to figure out the simple secret to layer heat transfer vinyl AND embarrass your kids in the process?
You’ll need:
- T-shirts (I got mine from here)
- Heat Transfer Vinyl
- Silhouette Cameo
- Iron
- Teflon Sheet or Pillowcase
The how-to:
+ Grab your FREE Disney mom design here and cut it out with your machine. Make sure to mirror your design BEFORE YOU CUT so that it’s backwards.
+ Weed your vinyl and place the design on your shirt. If you can read it then you’re good to go! It shouldn’t be backwards at this point (if it is you’ve done something wrong and you’ll need to recut it).
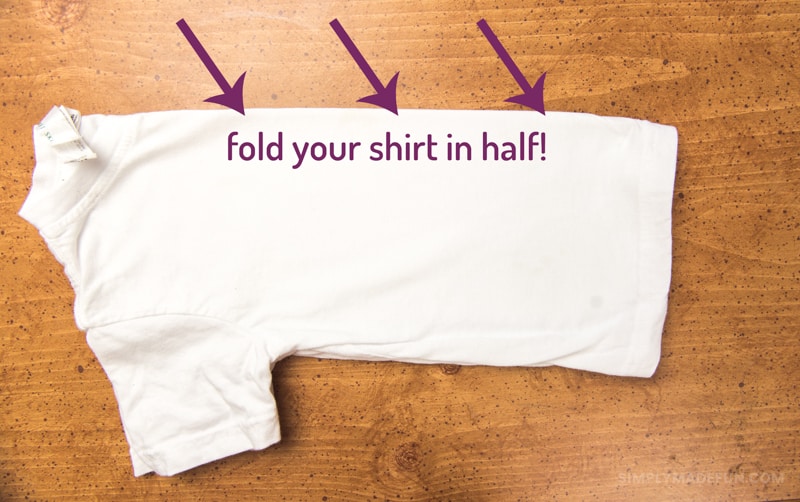
+ Fold your t-shirt in half (down the middle) and iron it. This will tell you where the exact middle of your shirt is so that your design will be placed correctly.
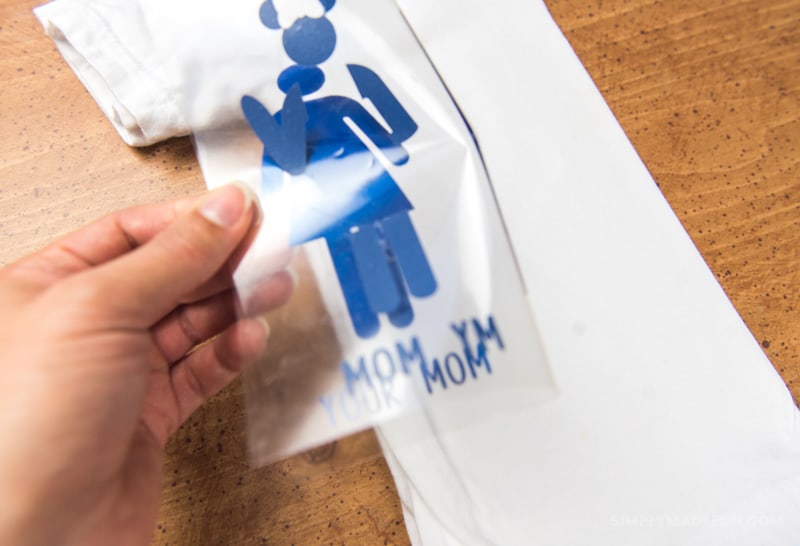
+ Next, fold your Disney mom design in half (make sure the sticky sides are not touching <– this is really important!). Do not get aggressive with folding, just gently fold down the top and bottom edges and try not to put a crease in your design!
This helps you know where the middle of your design is! Because my design has a line down the middle it’s not as important to do this go-around, but this is a good rule of thumb for other designs you may come up with.
Now it’s time to layer this design on your shirt!
+ Make sure your iron is hot and put the bottom layer of vinyl (mine is the blue layer) down on your shirt. Lay your teflon sheet or a pillowcase on top of the design.
+ ONLY PRESS THIS LAYER FOR 3-5 SECONDS. You want the design to stick to your shirt, but you don’t want to overpress it since you’ll be pressing a new layer.
+ Lay the second layer down on top of your first, along with the pillowcase or teflon sheet, and press for another 3-5 seconds. If you can pull up the carrier sheet without the vinyl peeling up then it’s ready.

+ At this point the vinyl is adhered to the shirt but if you wash it it’ll come up. So you’ll want to lay the carrier sheet back on top of your vinyl along with your pillowcase or teflon sheet and press it for 5-10 seconds.
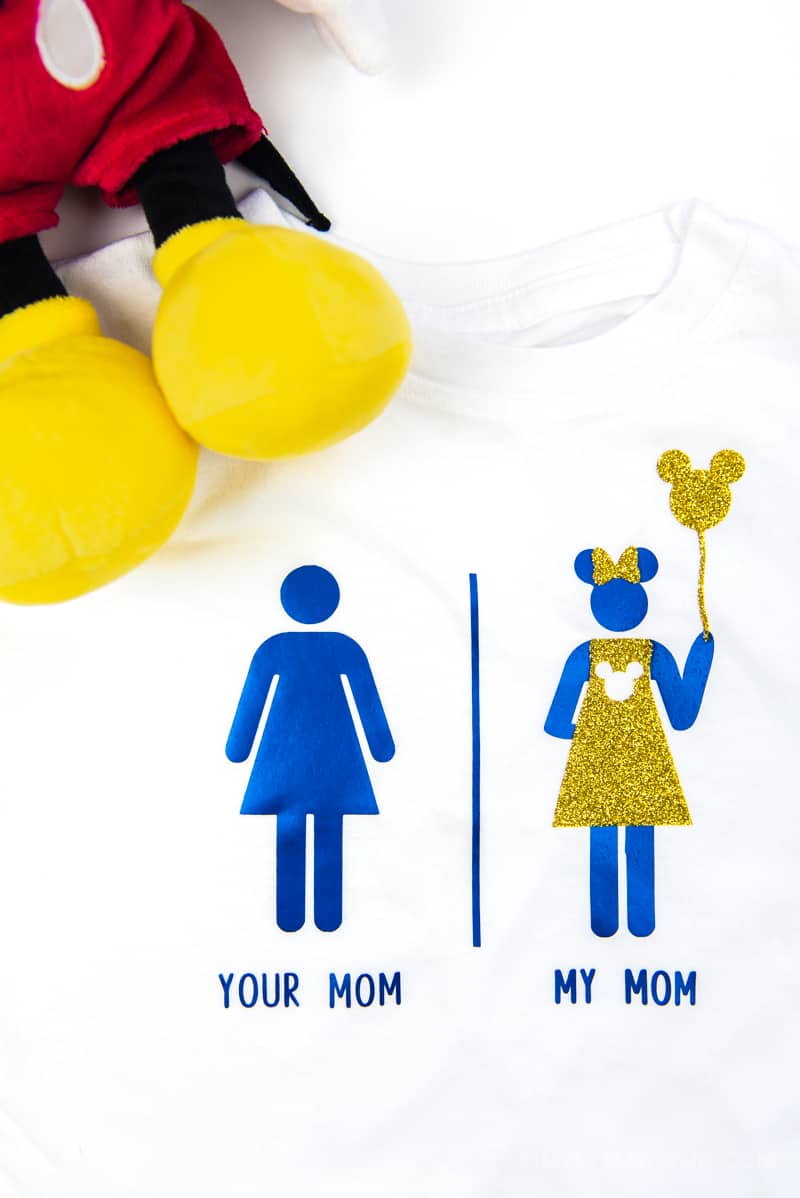
SIDE NOTE: Glitter vinyl doesn’t stick as easy as smooth htv, so I had to press my glitter multiple times to get it to stick. I only did it for about 5 seconds at a time and then would let the vinyl cool a bit before I continued to press it. If you have a heat press this may not be the case so you just need to check after you press to see if your vinyl sticks!
Okay….so now are you ready for the super secret hack to layer heat transfer vinyl?
All you need to do is cut a rouge letter or shape and put it up in the corner away from your design, so that when you cut a bunch of layers you can easily line them up by the shape (or letter). I did something similar in this post and it worked really well.
The only difference with heat transfer vinyl is that you need to make sure your letter or shape is up out of the way so that you don’t accidentally press it onto your shirt.
Can you believe how easy it is?!
DOWNLOAD THE DISNEY MOM FILES!
And now I am ready to embarrass my son at Disney. I can’t wait!
Great idea! Awesome tutorial thanks for the information.
I love your tutorials because it’s more than a quick video! I do better with written directions so I can look back and do step by step! I’d love to be able to message you for questions instead of searching and searching