
Weathered Beach Mirrors
This post may contain affiliate links. If you purchase something through the link, I may receive a small commission at no extra charge to you.
A while ago I headed over to Goodwill to find some small mirrors that I could repurpose for the Master Bedroom. I was pretty excited to find exactly what I was looking for, but their original design left something to be desired. I wanted beach themed mirrors and I was just not feeling the red color or the design on them.
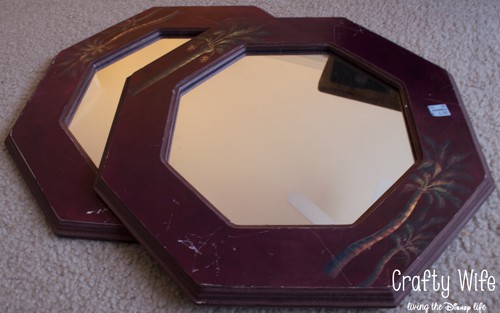
I sat on the mirrors for a long time because I had no idea what I wanted to do with them. It wasn’t until Chris and I decided on a color scheme for the bedroom that the vision for how I wanted the mirrors to look came to me.
I wanted a weathered look to them because I always think of cracked paint when I think of a beach house and I want our bedroom to have that feel. I had already done a similar technique on a Weathered Picture Frame so I knew that was the direction I wanted to go for the mirrors.
I used
- Rustoleum Spray Paint Primer, White
- 200 grit sandpaper
- Martha Stewart Crackle (weathered and fine)
- Martha Stewart multi-surface Satin acrylic craft paint, White
- Martha Stewart multi-surface High Gloss acrylic paint, Grey Wolf
- Martha Stewart Gloss
- All Natural Cotton Rope
First, I sanded the mirrors to get rid of that awful red paint. I did this a few times because I’ve never spray painted before and wanted to make sure I got enough of the red off the frames so it wouldn’t bleed through the spray paint.
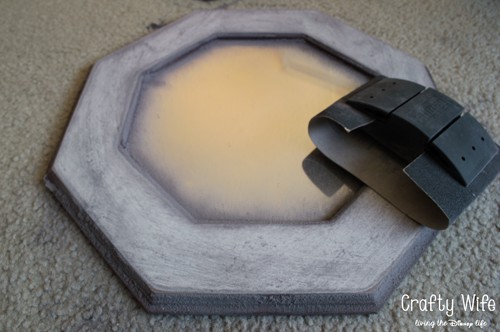
I did three coats of primer (waiting 10 minutes in between each coat) to cover the red. I was a little worried at first because little bits of red paint bleed through and I didn’t know if that was normal. But, once the last coat of primer was dry I sanded down the rough spots and the last of the red disappeared (much to my relief!).
Here’s where things changed a bit.
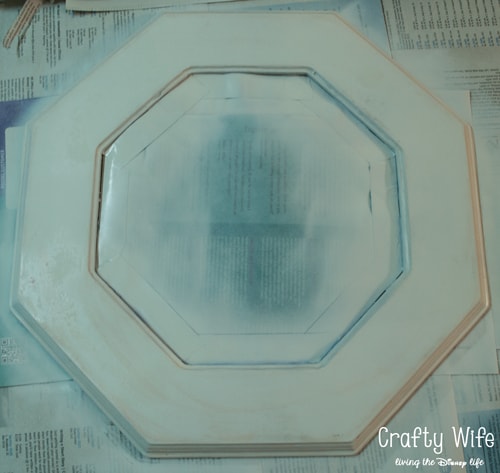
I decided I wanted to try two different techniques on the mirrors. On the first mirror, I painted the base coat white and waited 24 hours to let it dry. Once it was dry I applied the fine crackle (very liberally) all over the frame and let it sit for about half an hour. Once I was sure that was dry I mixed the Grey Wolf acrylic paint and the Gloss (about half and half) and used a sponge to apply it to the frame. By mixing the same amount of gloss and acrylic paint, it gave the top coat a very transparent look. Since I followed the directions on the back of the gloss bottle, I wiped the gloss/acrylic paint combo off the frame pretty quickly instead of letting it sit. The final result of this mirror looks like the frame is a bit dirty.
On the second mirror, I painted the base coat with the Grey Wolf acrylic paint (this is the same technique I used for my picture frame). After 24 hours, I applied a good mix of the fine and weathered crackle all over the frame. I was hoping this would give it a unique crackle affect once everything was said and done. After the crackle layer dried I mixed together about three tablespoons of white acrylic paint to one teaspoon of the gloss. By doing this, I had more of a solid white color going on as the top coat instead of a transparent one. This time, I left the top coat on and just let it dry to see how it came out. I finally had my crackle! But, I wasn’t entirely happy with the effect so I added another layer of crackle and another layer of the top coat. I did this twice. However, each time I added another white top coat I added less white paint and more gloss to get a more transparent look. I didn’t want the white top coat to overwhelm the frame. This is a close-up of how it came out.

Doesn’t it look like an old piece of furniture you’d find on the beach? I think so!
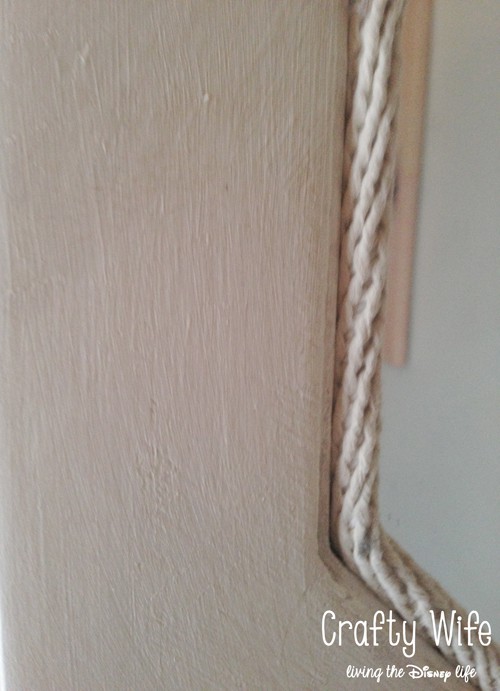
To give it more of a nautical look, I decided to add rope around the inside of the frame. And once that was done I hung them in our bedroom.
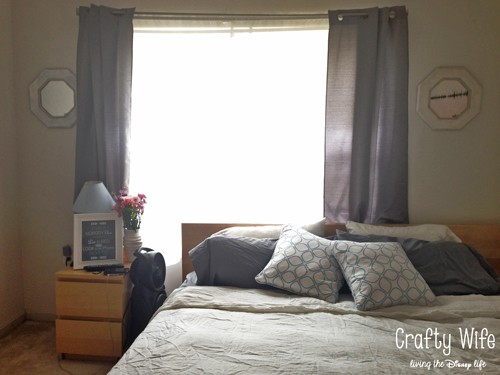
I love that they reflect light which makes our bedroom much brighter during the day. And I love the look of them next to our windows. I definitely think I like the second technique better and may eventually re-do the first mirror. But for now, they look good! My master bedroom is starting to come together, and I couldn’t be more excited about it!
What a great thrift-store find, and you did an excellent job refinishing them. They do look very beachy, especially with the rope detail you added. 🙂
Thank you, Amber! I sat on them for forever before finally deciding what to do so I’m glad others love the finished look as much as I do! 🙂
What a total change! They look really nice!
Thank you so much, Stephanie!
I absolutely love how they came out! I have to agree with you that of the two techniques I liked the second better as well. Happy to be co-hosting on Link’n Blogs with you this week. 🙂
Thank you, Silvie! I’m glad to know someone else thinks the second one is better! I need to redo it someday. 🙂 Thanks for stopping by and I’m glad to meet you through Link ‘n Blogs!
These are lovely! I really like the beach theme bedroom and these mirrors fit in perfectly. Thank you for co-hosting this weeks link up!
Thank you so much! 🙂
Dropping by from Link’n Blogs! This is absolutely beautiful! Really a great idea!
Thank you so much! 🙂
The mirrors look amazing! Pinned. Thanks for stopping by our party. Please come and show off on Monday at 7 pm. We love having you. http://loulougirls.blogspot.com/
Happy Saturday! Lou Lou Girls
Hi Kimberly! Thank you so much! 🙂 I love linking up at your party and am heading over right now to link up!
Oh I love a beach theme. Your mirrors look fantastic! The rope detail and the crackle finish really added a nice touch. Thanks for sharing with Creative Spark.
Glenna @ My Paper Craze