
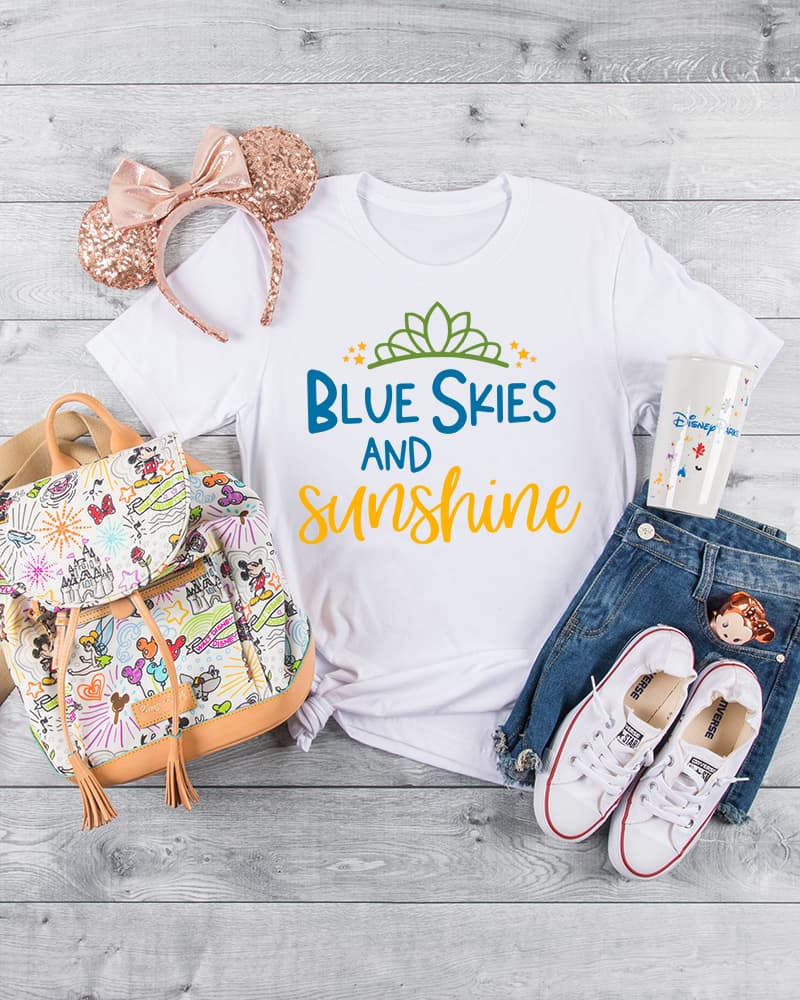
Blue Skies and Sunshine Summer SVG FILE

This post may contain affiliate links. If you purchase something through the link, I may receive a small commission at no extra charge to you.
Learn the easy hack to line up multiple colors of vinyl on a t-shirt with a permanent marker and a ruler!
I’ve been using vinyl for a while but I just stumbled across this trick for lining up multiple layers of vinyl and my mind is reeling.
It’s one of those easy hacks that you didn’t know you needed, but once you find out about it it’s all you’ll ever use.
I tested out the hack on this blue skies and sunshine summer svg file and I am so excited to share it with you! My craft philosophy is “work smarter, not harder” and this is definitely a ‘work smarter’ hack!

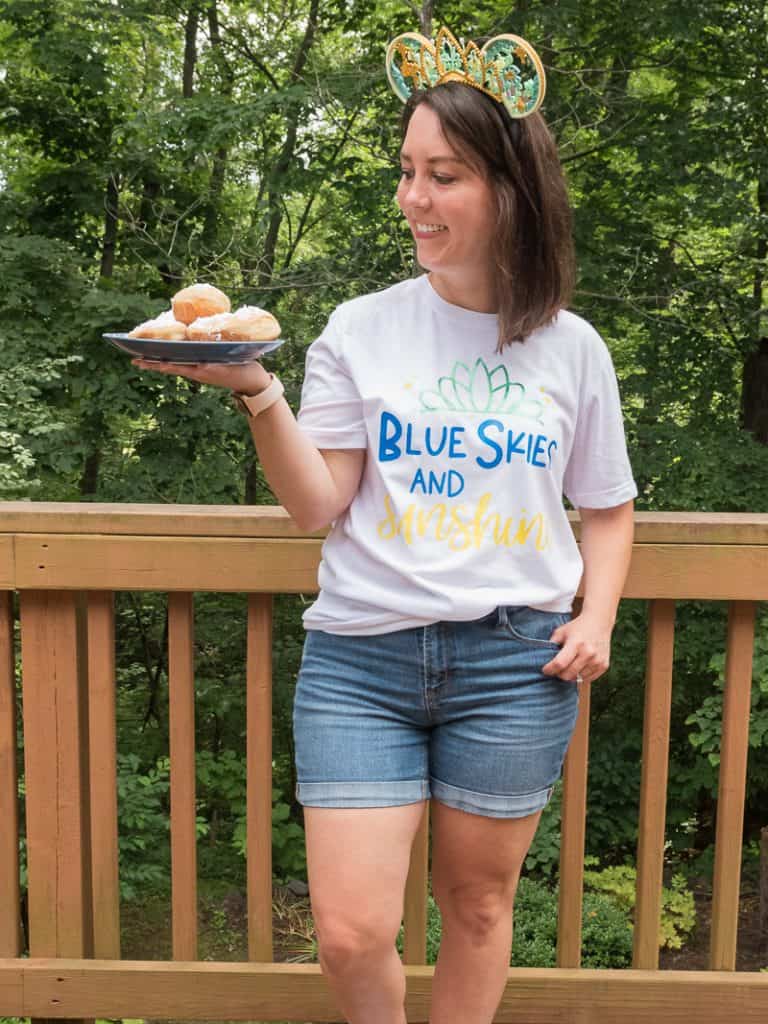
This shirt design was actually made with Disney’s Princess and the Frog movie in mind.
I love the music, the story, and Tiana in general.
It was pure coincidence that Disney announced the reimagining of Splash Mountain into Princess and the Frog, but this shirt is perfect to wear to the parks now! Especially with these interchangeable ears!
Materials
Everything you need to make this Blue Skies and Sunshine Shirt

Tips for making this blue skies and sunshine shirt!
What tools do you need to be able to find the center of the design when trying to line up multiple colors?
There is actually one very simple trick that I use, and all you need are these two things:
- Ruler, and a
- Permanent Marker.
This post also has some great tips on how to put htv on a shirt and tips on how to layer multiple colors so that they line up correctly!
How to set up your design in the Silhouette Software for success.
First, you’ll want to draw a weeding box around your design (the red box in the picture below).
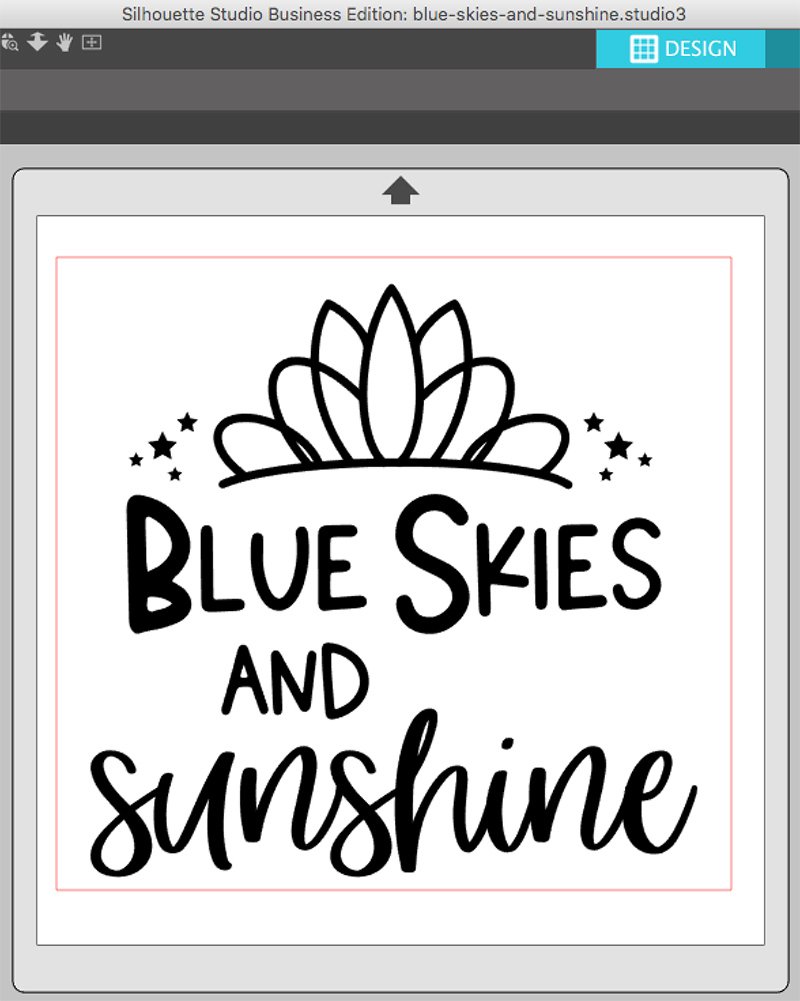
This will help you easily weed your design so you don’t have to pull up a lot of vinyl at once.
Then, select your design and the box and CENTER it.
Then you’ll cut by color. You can do this in the Business Edition easily, it’s a little more labor intensive if you have a different version of the software.
How to mark the center of the vinyl once it’s cut and weeded.
Remember how we drew a box around the design and centered it in the last step? That is what will help us find the center of our design now!
When you weed heat transfer vinyl there is a carrier sheet on top of it. The sticky side is what you put on your shirt (or whatever material you’re putting the design on).
For this step, you’ll want to fold the carrier sheet in half (sticky sides facing out) and crease the middle. DO NOT crease the vinyl, only the carrier sheet.

Then you will use a ruler and marker to draw a straight line down the crease so that it is easy to see. (this is optional but really helpful to be able to see where your line is on the carrier sheet)
Do this with each piece of vinyl you have so that you can easily line it up! Also, use permanent marker for this. The one I used bled a little (see image below) and it was a bit annoying. Permanent marker will stop that from happening.

FAQ’S ON HOW TO FIND THE CENTER OF YOUR SHIRTS
Sometimes finding the center of your shirt can be difficult, which is why a tee ruler is perfect to use on your shirts! Instead of drawing lines in permanent marker and trying to line everything up manually, this ruler makes it so much easier (and faster)!
We also have a heat transfer vinyl sizing and placement guide that you can download! It includes the best sizes for all types and sizes of shirts, the best heat press to use and more!
GRAB 12 FREE SUMMER CUT FILES!
Every month I team up with a group of amazingly talented crafters to bring you a bundle of free svg cut files! This month’s theme was Summer and you can grab all 21 free files to use for all your summer fun! Download all of these awesome files by visiting the blog posts (links are underneath the image). All svg cut files are free to use for personal use only and don’t forget to tag us on Instagram (#svgdesignsquad) if you make one of our projects and share it!
DISCLAIMER: Please note that Tamara from Tam’s Sweet Life no longer has an active blog. Her cut file is no longer available, sorry for the inconvenience!

- Summer Mermaid SVG from Polka Dotted Blue Jay
- Living on Popsicles from Sunshine and Munchkins
- Popsicle Summer Cut File from Poofy Cheeks
- Butterfly Inspired Earrings from Chameleon Cuttables
- Camping Cut File from Crafting with Brenna
- Summer Vibes Cut File from Sugar Bee Crafts
- Summer To-Do List from Sarah Hurley
- Sun, Fun and Glue Gun Tote Bag from The Craft Print
Coloring Book T-shirt File from Tam’s Sweet Life- Colorful Rock Family from Oh Yay Studio
- Let’s Flamingle Cake Topper from Crafts of a Different Shade

Blue Skies and Sunshine Summer SVG File
Learn how to layer a mulit-colored design with a simple trick to help you find the center of each piece of your design before you place it on your material!
Materials
- T-shirt (I love Bella Canvas shirts from Jiffy Shirts!)
- Heat Transfer Vinyl
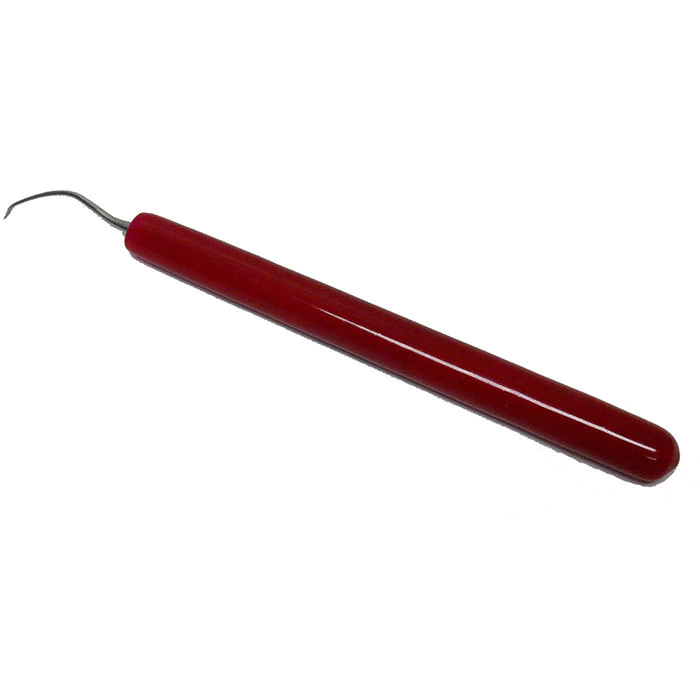
- Ruler
- Permanent Marker
- Teflon Sheet
- Pressing Pillow
- Blue Skies and Sunshine Summer SVG File
Instructions
Download the Blue Skies and Sunshine File.2. Open the file in your software and resize it to fit your material.
3. Draw a box around your design and then center both the box and the design.
4. If you're cutting the design in multiple colors, do step 3 for every single color.
5. Send your design to cut.
6. After weeding your design, fold the carrier sheet in half (sticky sides facing out) and crease down the center. Take careful care not to crease your vinyl.
7. Then use a ruler and permanent marker to draw a line on the crease. 
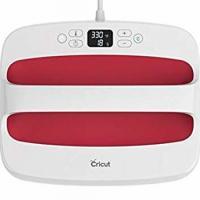
8. Heat up your Cricut EasyPress. Use this heat guide to find out what settings you should use!
9. Place a teflon sheet over your vinyl and press your design for 30 seconds.
10. Then, warm peel the carrier sheet off your vinyl design.
Recommended Products
As an Amazon Associate and member of other affiliate programs, I earn from qualifying purchases.


OMGOSH! Awesome tip!!!!! LOVE THIS!
Thank you Emily!!
The shirt came out great! I love the matching 3D printed ears – those are awesome!!
Thank you! I was so excited to finally be able to wear those ears, I bought them right before the parks closed in March! haha
i’ve been trying to access the Let’s Flamingle cake topper file, but the website is not accessible
I’m not sure what’s going on but you can contact Alicia here to see if she can send you the file! I unfortunately do not have access to their files so reaching out to the creator is the best way to get access to the file. 🙂