
How to Get Clean Paint Lines When Using a Stencil


This post may contain affiliate links. If you purchase something through the link, I may receive a small commission at no extra charge to you.
These easy tips will help you get crisp and clean paint lines when using a stencil with your Silhouette or Cricut cutting machine!
I have a slight obsession with stencils and wooden signs.
Ever since I started using Oramask 813 for my signs I’ve become obsessed with how easy they are to make.
Plus, Oramask is super simple to weed which means I can pump out these signs out quickly and easily!
And you know how much I love quick and easy projects.
Of course, then Chris comes along with a beast of a design to weed and all my hopes of “quick and easy” went right out the window.

Chris asked me for the Empire sign a while ago and I kept putting it off because I did not want to weed that complicated design.
I was also a little afraid that if I painted it the paint would bleed underneath the stencil and it would be ruined.
So I kind of had to talk myself into even doing the project in the first place. And then worry about how to stop the paint from bleeding through a stencil.
I’ve always had an issue where the paint would bleed through the stencil and leave globs of unwanted paint in spots all over my wood signs (this sign is one of the worst offenders if you see it in person!).
I have gotten better at stopping crazy amounts of bleeding underneath my stencils but it was still a problem. And since I’m a major perfectionist I wanted to stop the bleeding altogether (if possible).
When I made the signs for Chris’s office I decided to try two different methods to see which one kept the paint from bleeding through a stencil better. Both worked but I definitely liked one better than the other.
And while it will add some time to your projects it is well worth it to make sure that your signs come out exactly how you want them too.
Clean, crisp lines with minimal clean up required.
I’d heard that painting a layer of paint (whatever your background color is) on top of your stencil helps keeping the bleeding to a minimum.
I had never tried it but I figured I’d give it a shot, then I took it one step further. For a second sign I used a combination of sealer and paint on top of the stencil to see how that would hold up.
Both methods work and I would recommend you trying both to see which one works best for you.
Personally, I really liked the paint on top of the stencil. And as long as you do that in addition to dabbing a thin layer of top paint you will have minimal clean up once all is said and done.
Using sealer isn’t a bad idea and it does work. But why do an extra step IF you don’t have to?
These tips to stop paint from bleeding through a stencil….
- are easy to do,
- take only a few extra minutes , and
- give your projects the crisp and clean lines you’ve been craving.
Let’s find out how easy it is to stop paint from bleeding through a stencil!
How to Stop Paint From Bleeding Through a Stencil
Get crisp and clean lines when painting designs on wooden signs with these tips to stop paint from bleeding through a stencil!
Materials
- Oramask 813
- SVG design
- Transfer Tape
- Acrylic Paint
- Wood Sign (mine is 12x18 in)
- Krylon Sealer
- Paint Brushes
Tools
- Silhouette Cameo
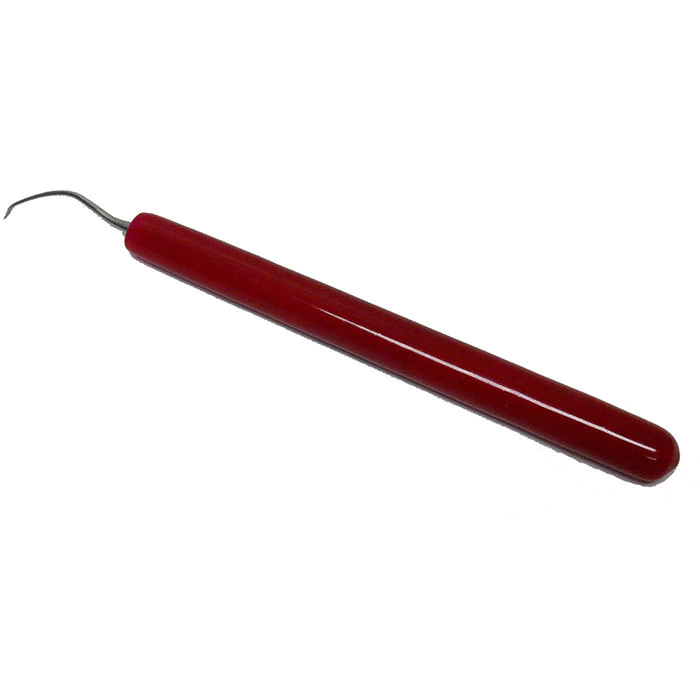
- Silhouette Weeding Tool
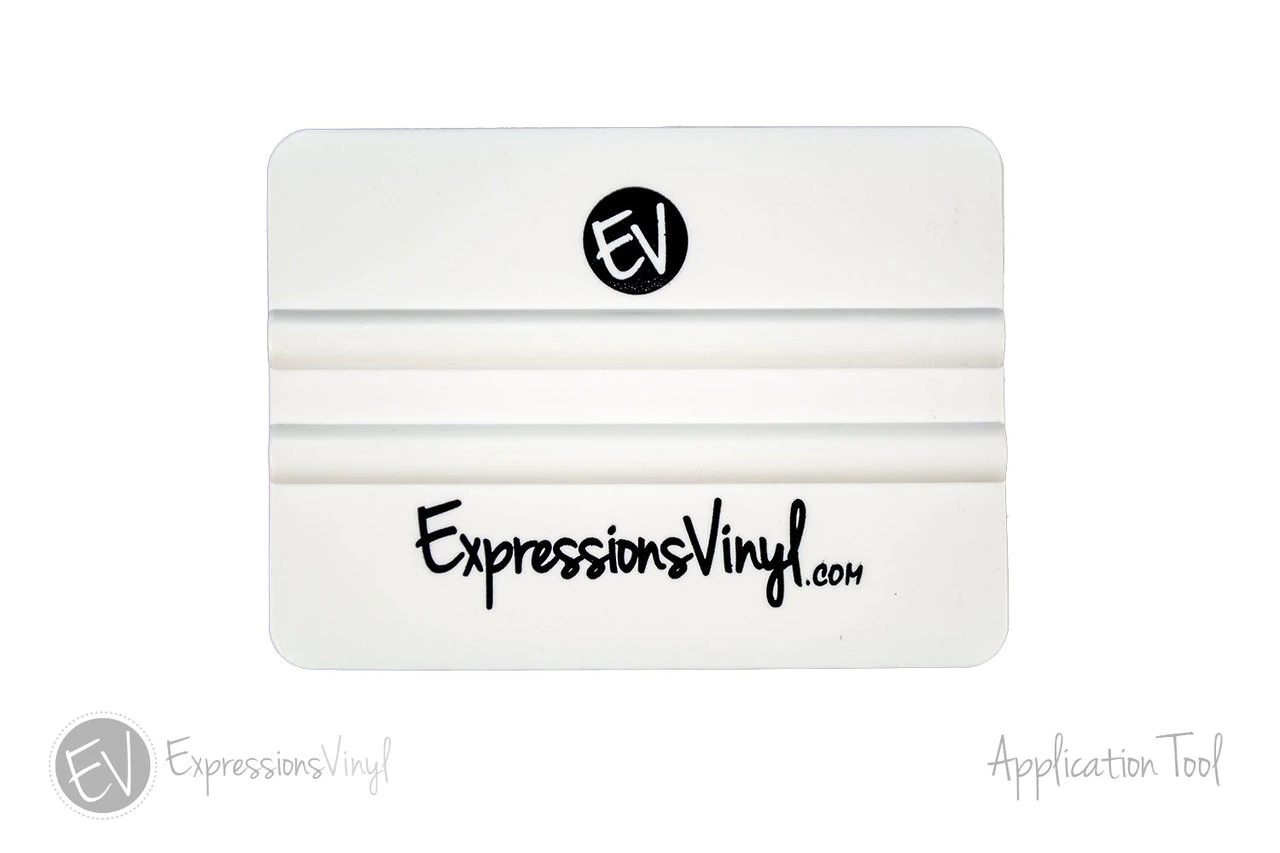
- Vinyl Application Tool
Instructions
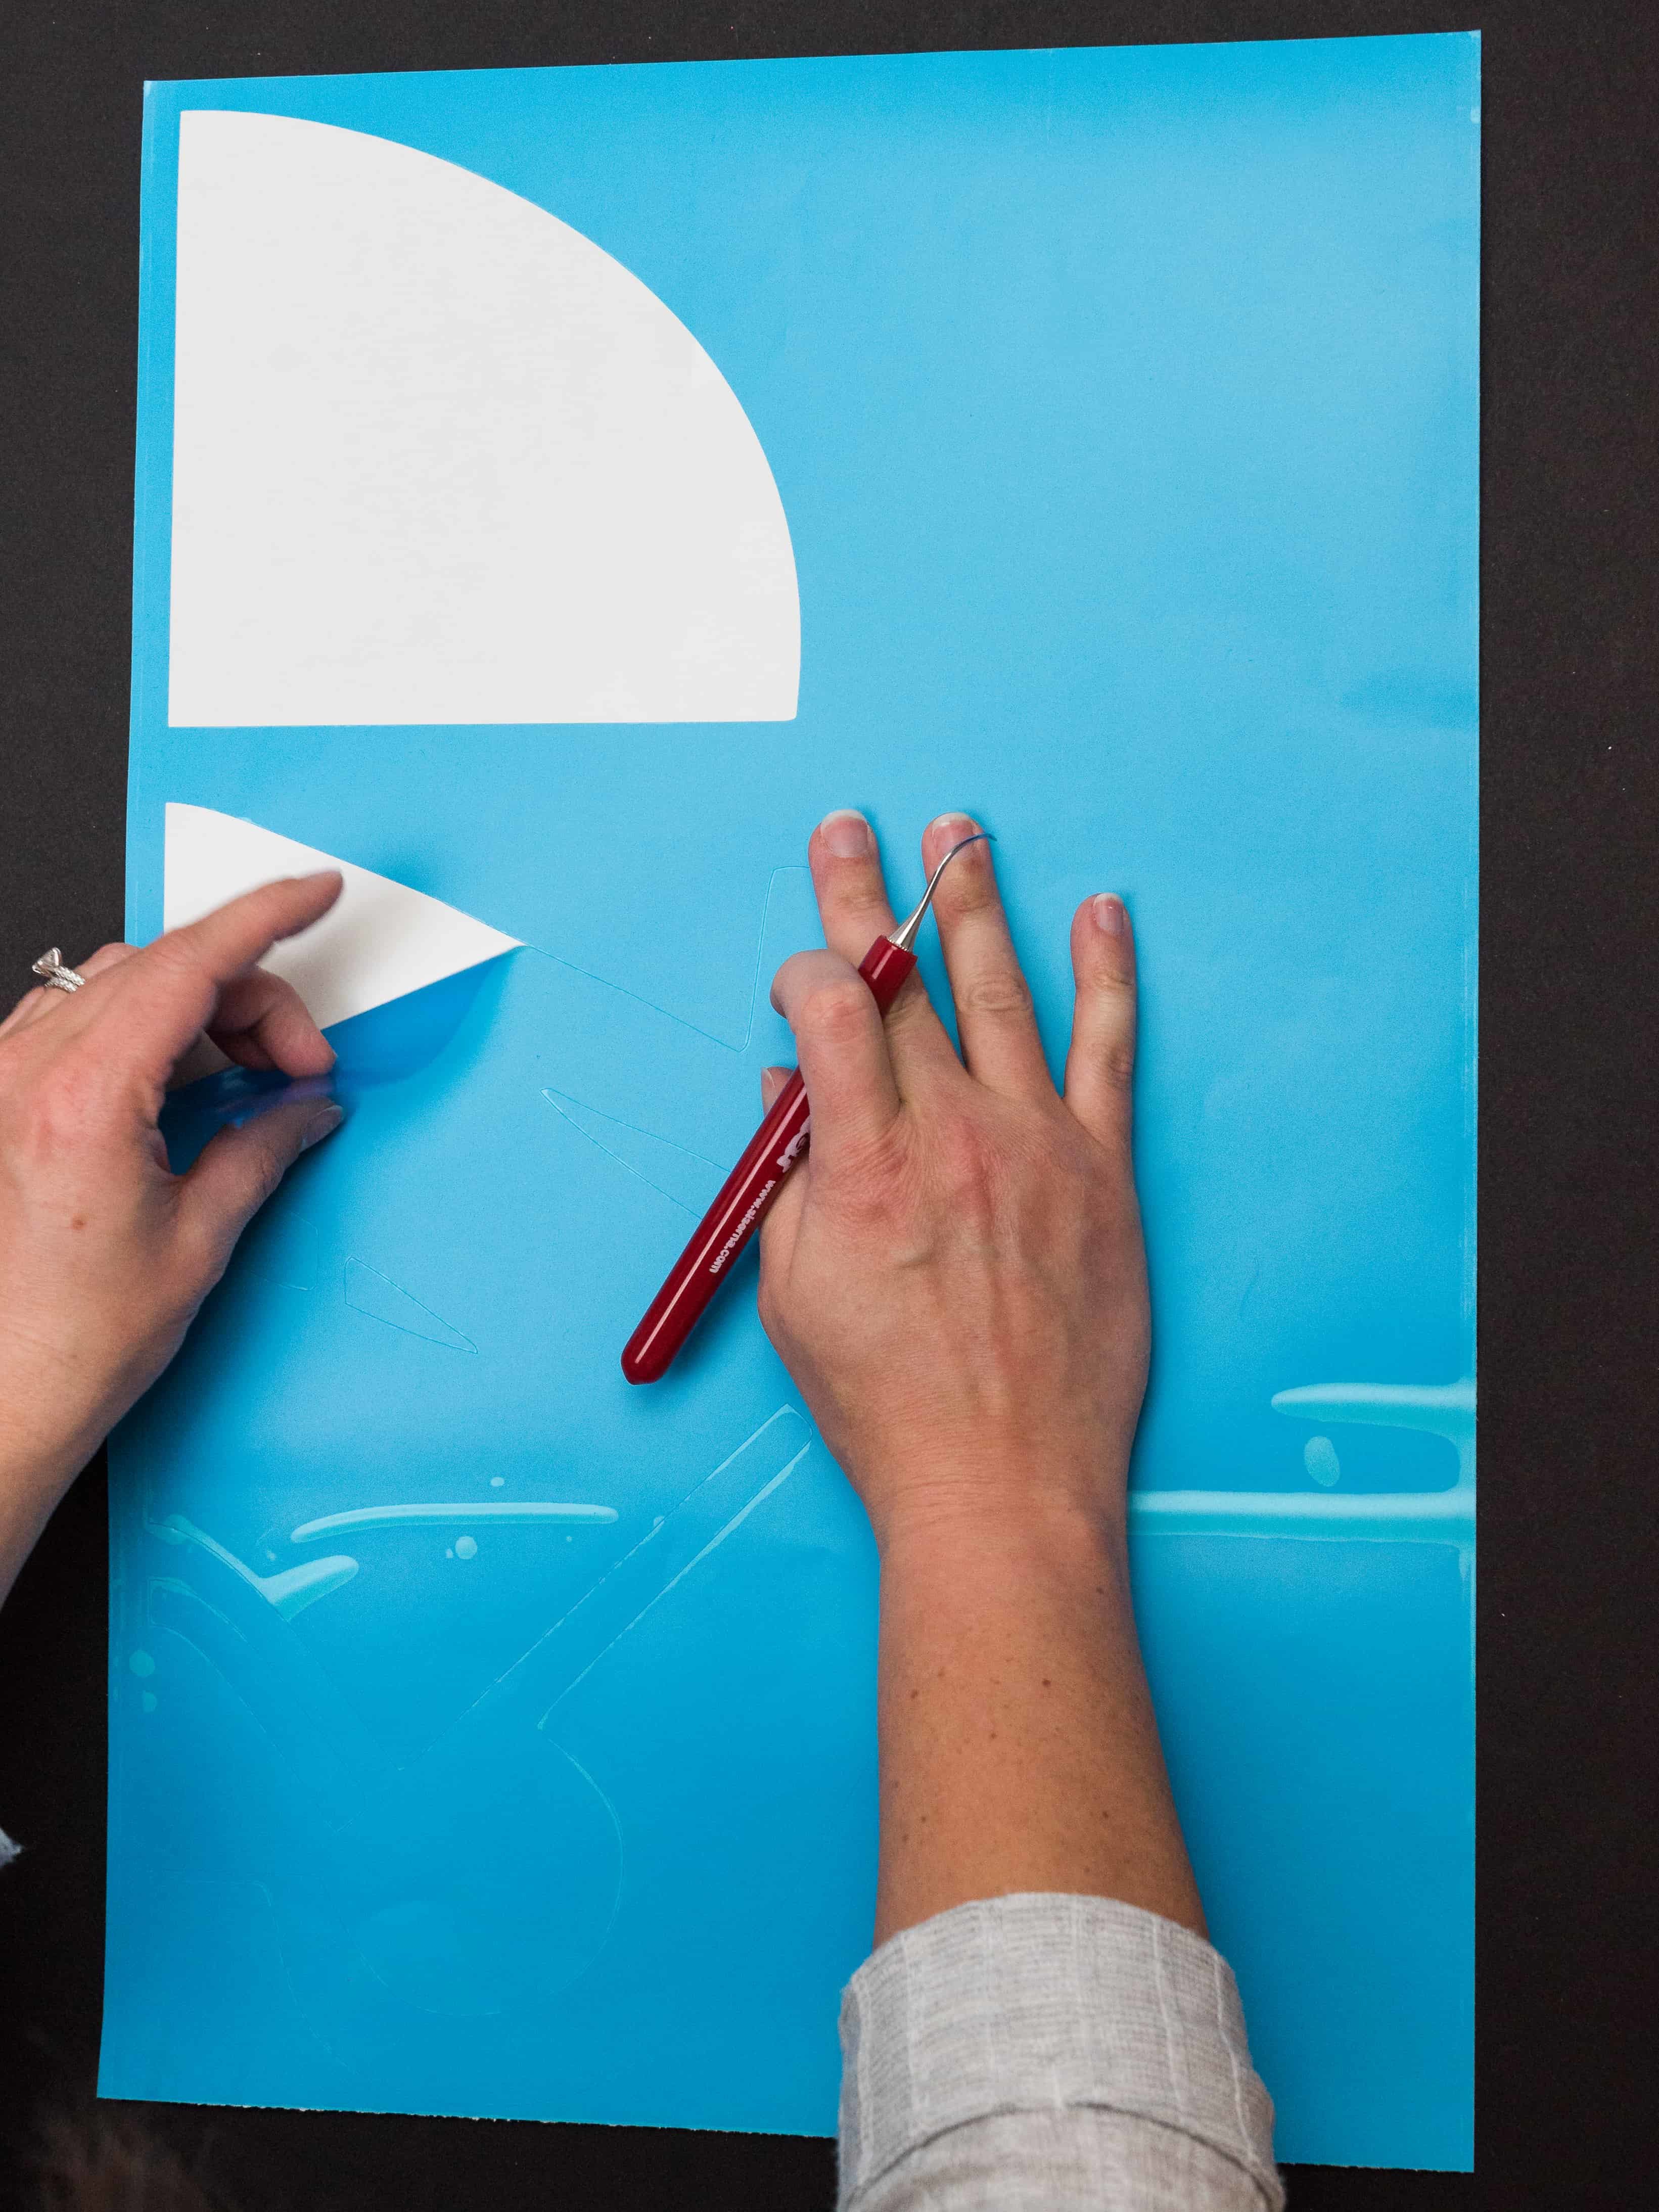
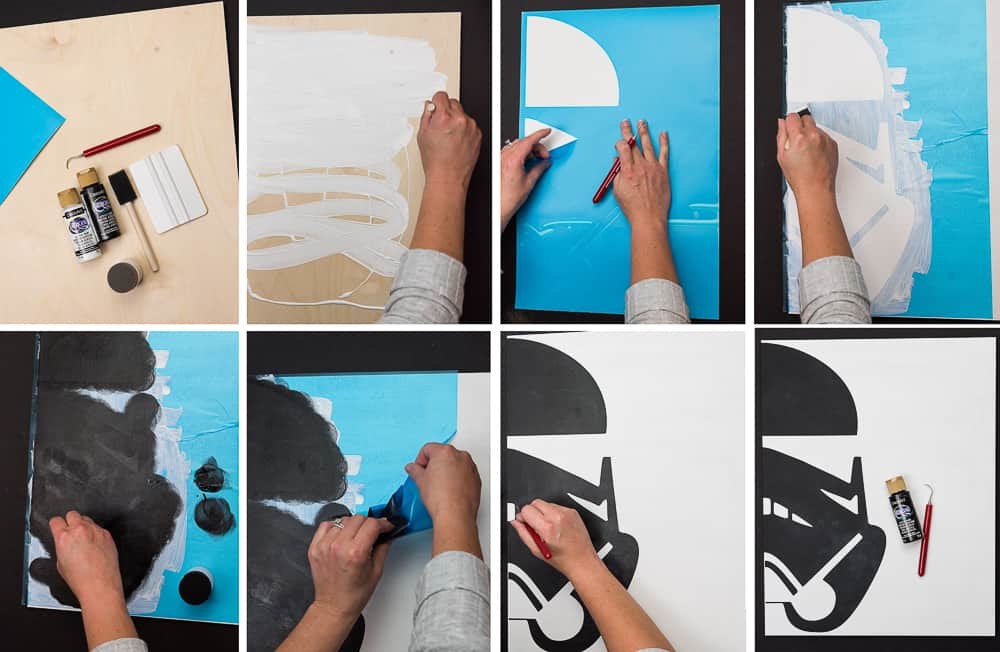
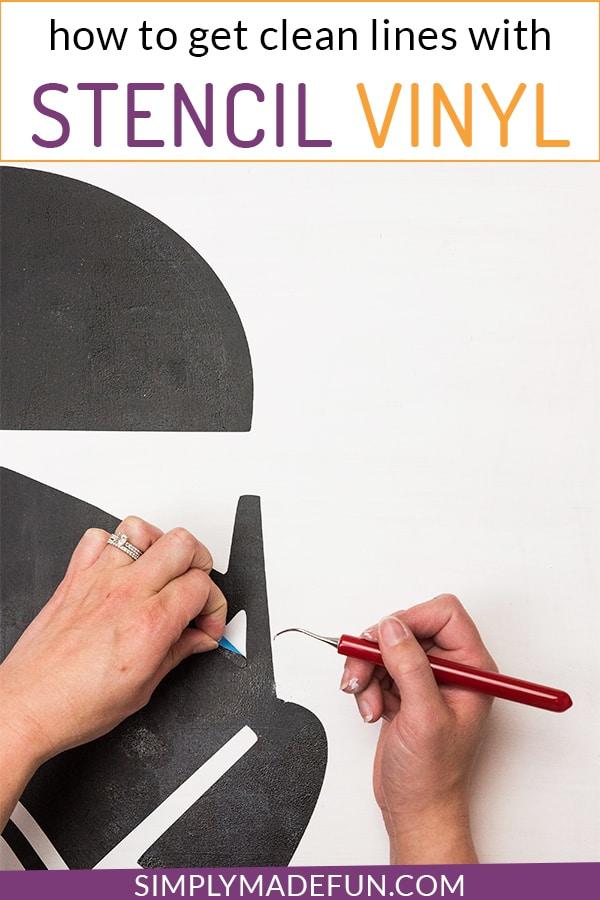
- Cut out your design and weed it. Set it aside.
- Paint your wood sign and set it aside to dry.
- Lay the transfer tape over your vinyl design and scrape it with your application tool.
- Pull up the transfer tape slowly, making sure that the entire design comes up with the tape. If it doesn't, put the transfer tape back down and scrape it with the application tool and continue pulling the tape up.
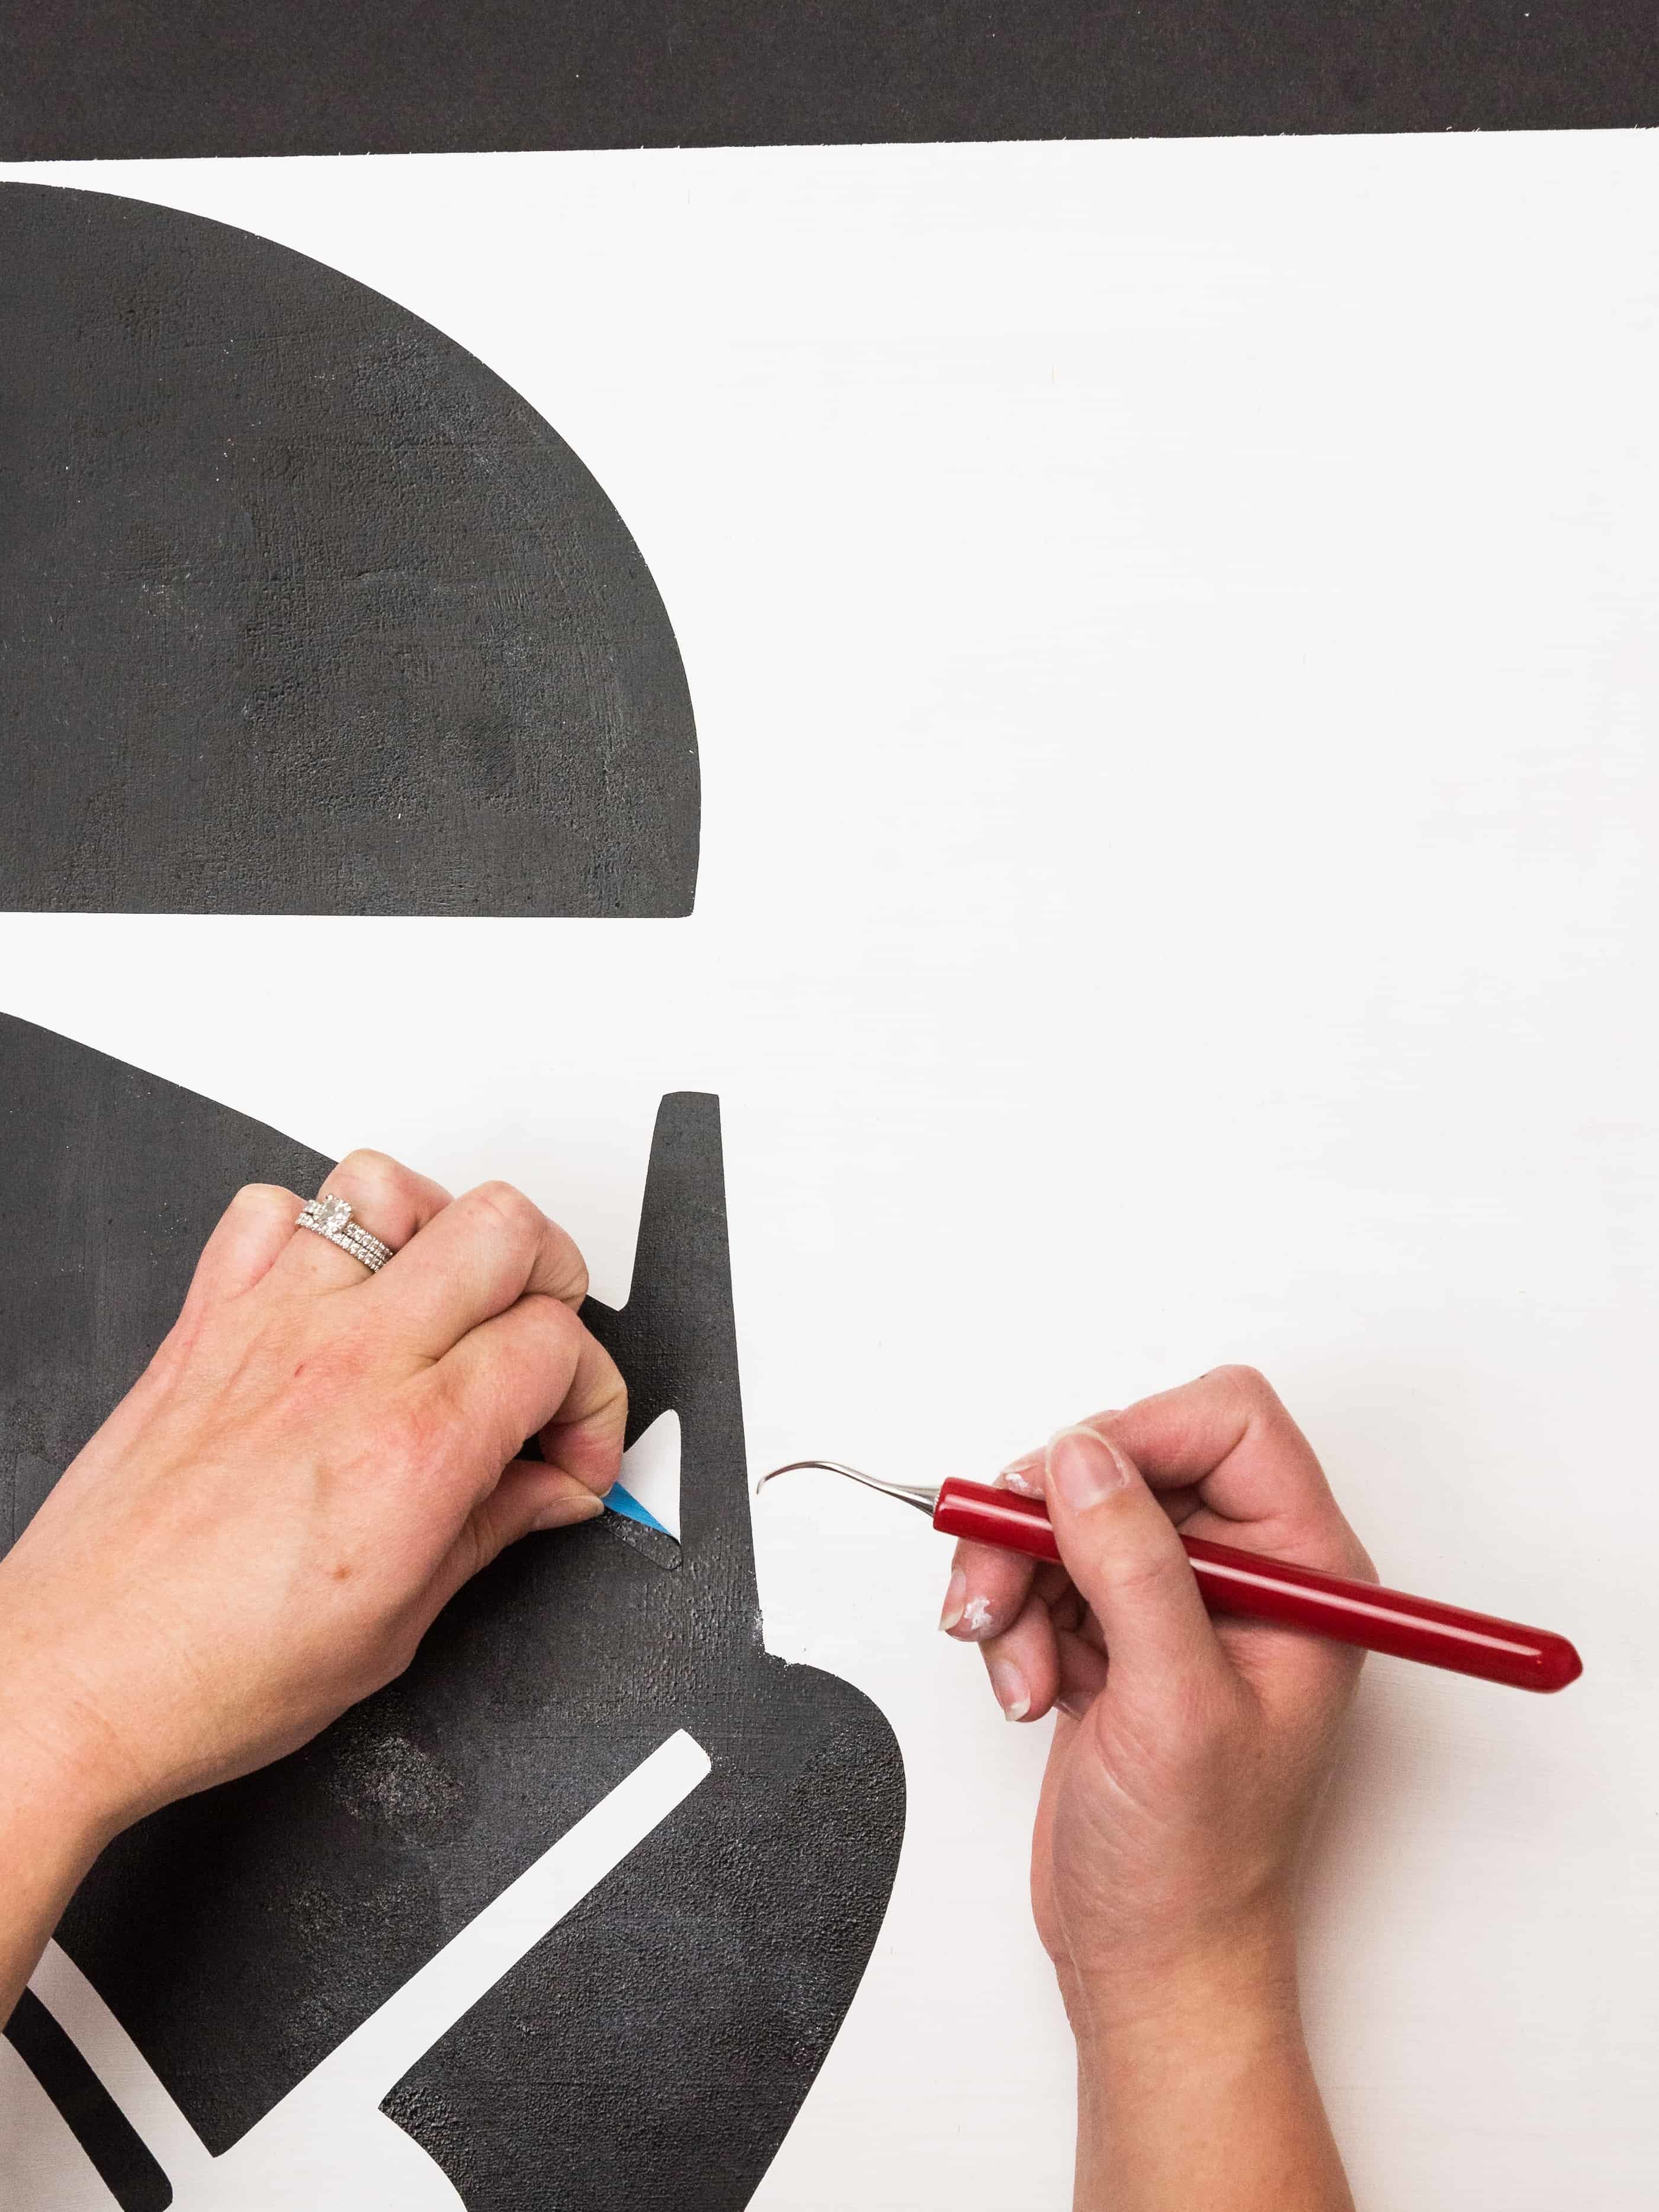
- Lay the design down on your painted piece of wood and peel up the transfer tape. Then use your application tool to scrape (or rub) the stencil onto your wood.
- Spray the entire piece of wood with your Sealer. Let it dry for 10 minutes.
- I found that my vinyl bubbled a bit after being sprayed with the Sealer so I used my application tool to rub it back down. Worked like a charm!
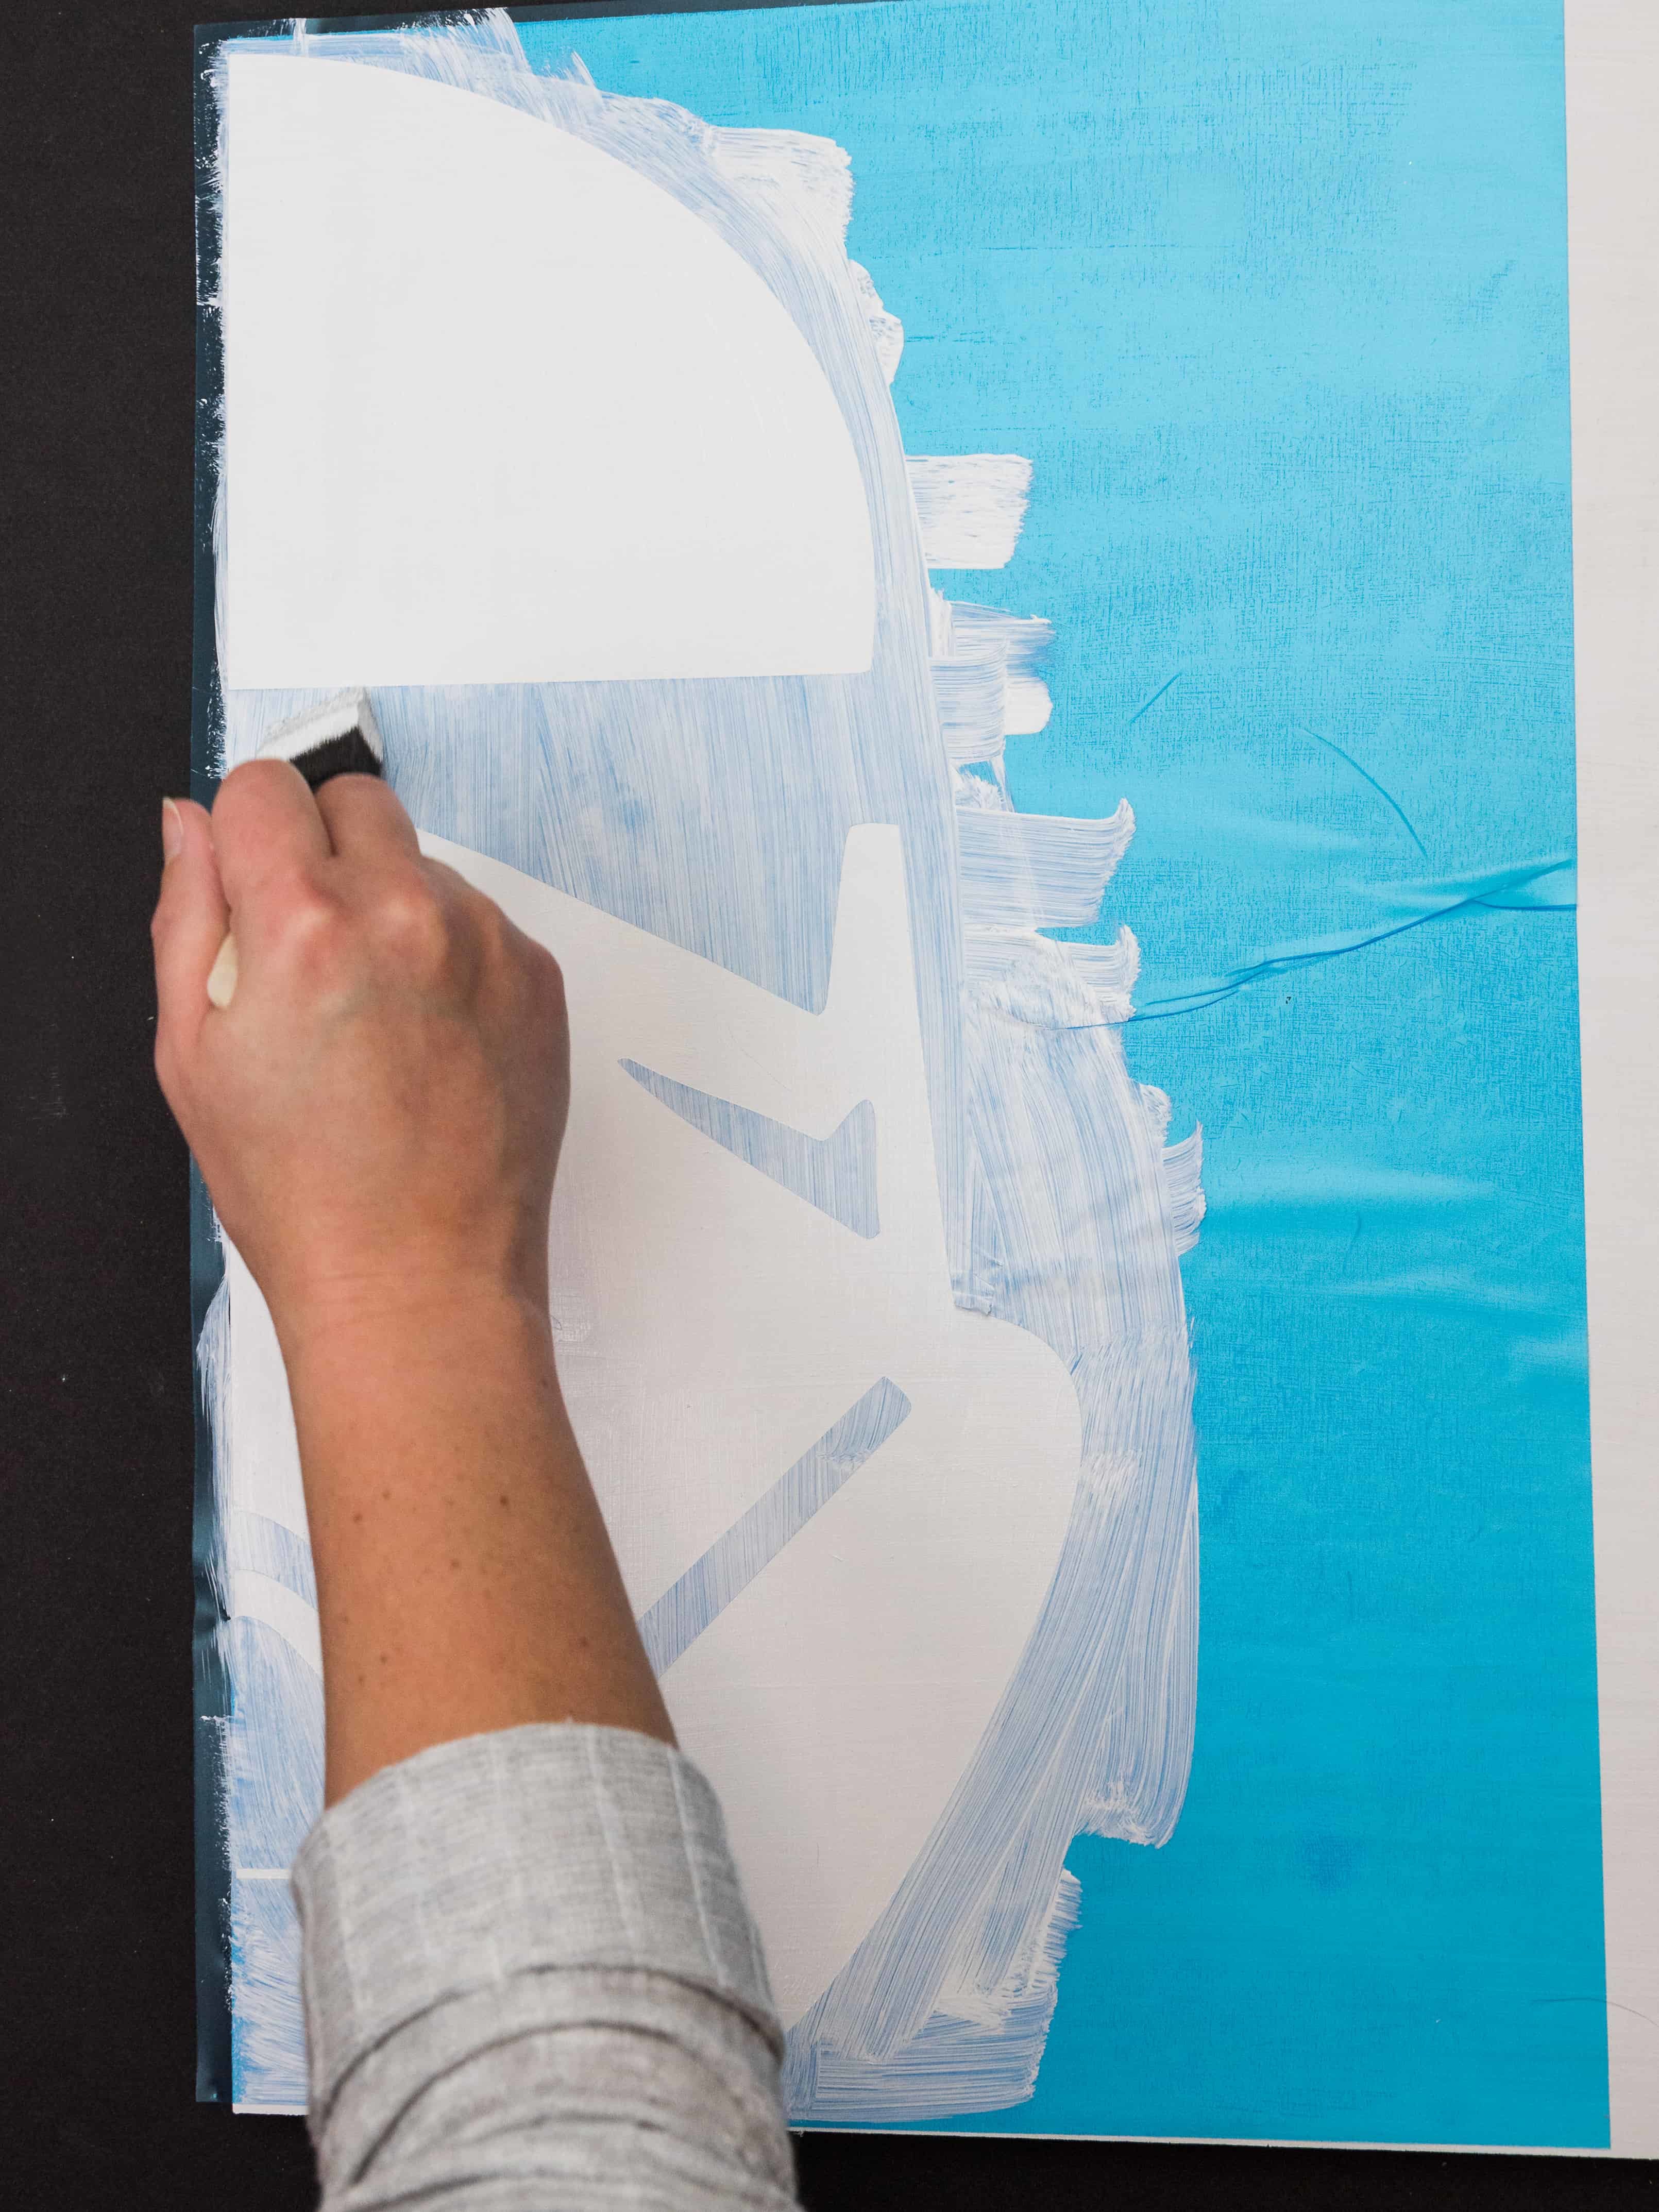
- Then paint a very light layer of paint (the same that you used for the background layer on your wood) over the stencil and let it dry.
- Make sure there are no bubbles (if there are, use your application tool to rub them out again).
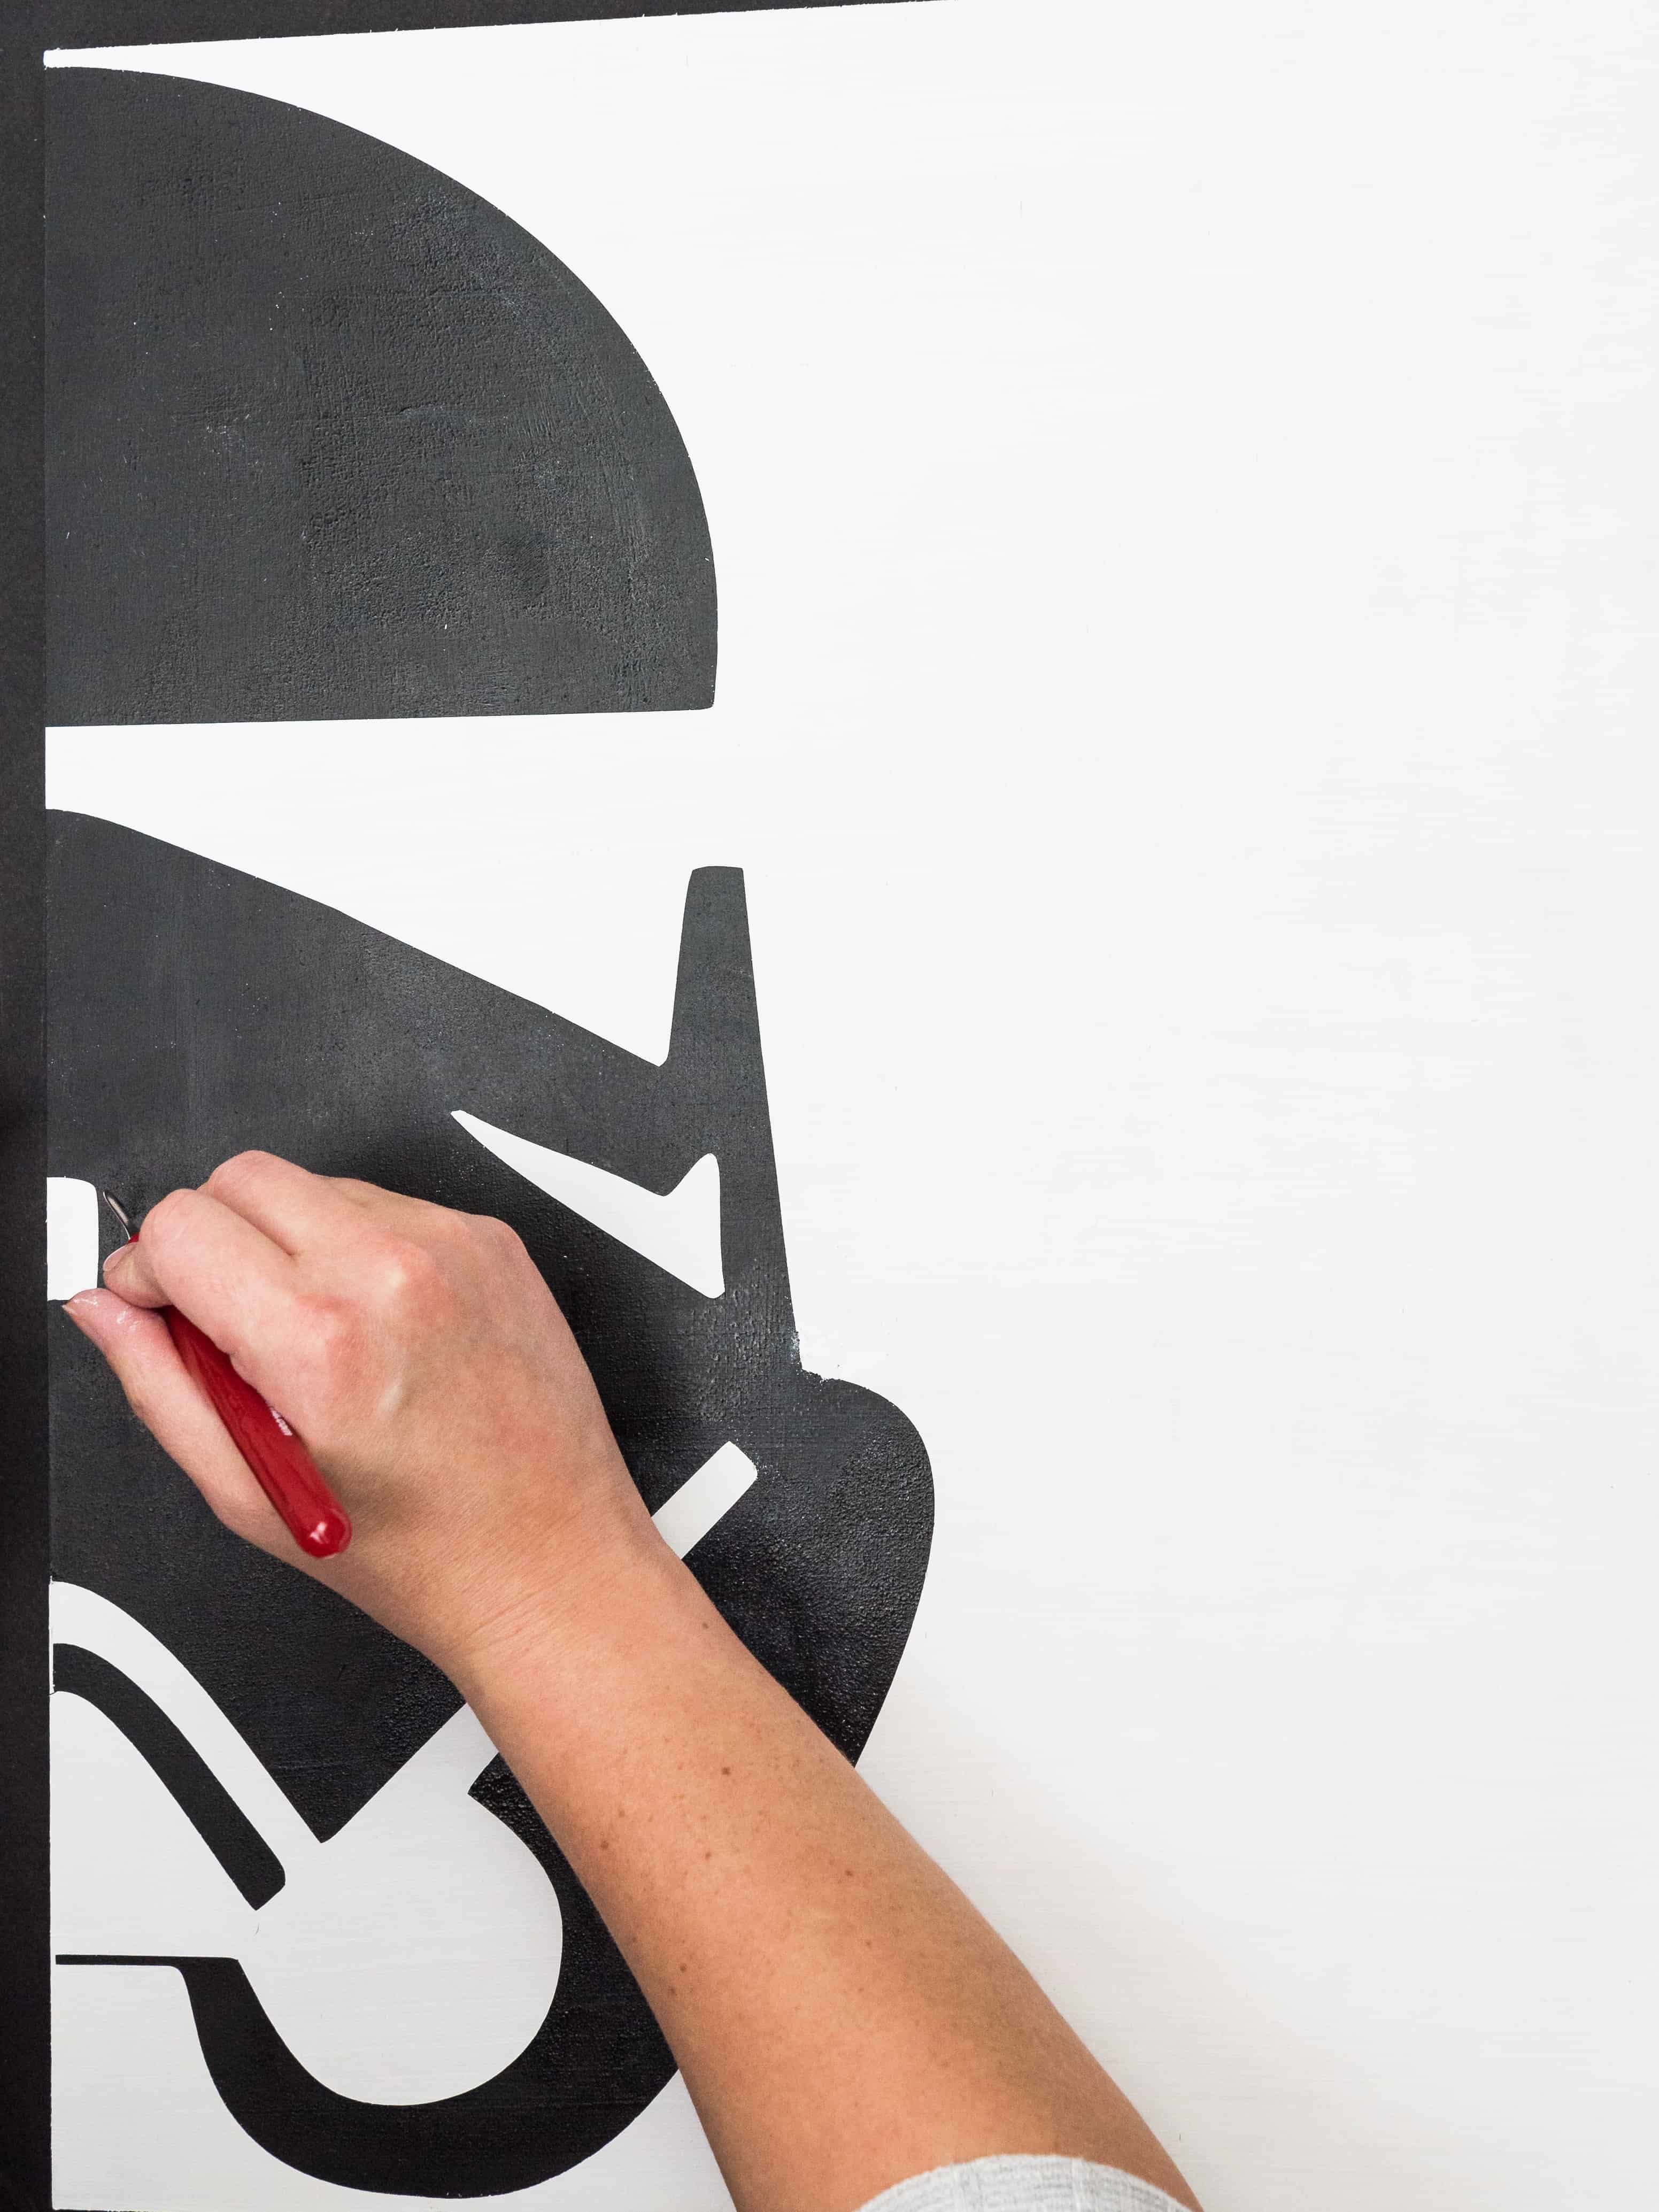
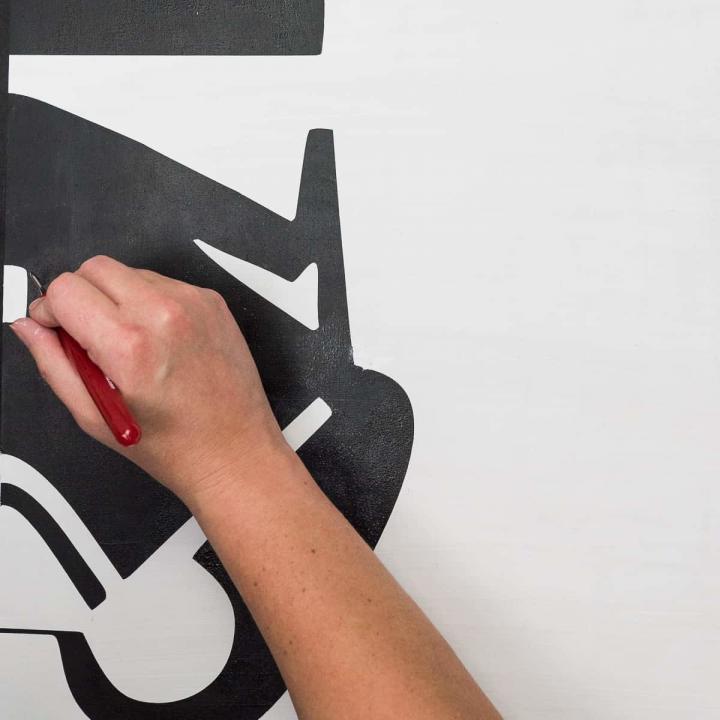
- Paint a very VERY light layer of paint (mine is the black paint) on top of the stencil using a round stencil brush. Remember to DAB the paint...that also helps to stop the paint from bleeding.
- Let the paint dry to the point of being tacky and then pull up the stencil. Now is the time to clean up any bleeds, if you have any!
Recommended Products
As an Amazon Associate and member of other affiliate programs, I earn from qualifying purchases.

Need some signs to try these tips out on? These are my favorites!
- No Soliciting Sign (free SVG file included!)
- Thanksgiving to Christmas Reversible Holiday Sign
- Made Fresh Daily Kitchen Sign (free SVG file included!)
more craft fun!
[pt_view id=”b11249bybi”]
I like that you suggest using a sealer if you have extra time for another step. My brother is helping make some signs for a party that his wife is throwing for all of her girlfriends and wants to make sure the lines of the letters are perfect. I will send him this information so he can make sure to find a stencil maker and know how to use them once they arrive.
Hi! I have been having issues with bleeding- primarily when using black paint on white background. I am staining my wood, rather than painting. Would doing a coat of stain on the stencil prior to painting help? Wasnt sure since stain it quite thinner than paint …..
Hi! I would not do a layer of stain on top of the stencil. The worry would be that you’d get a glob of stain underneath your stencil and it would be much darker than the rest of your board and would be very hard to blend once you remove your stencil. I would use mod podge instead, it drys clear and you won’t have to worry about it messing with the color of your stain.
Do two thin coats, making sure that they dry in-between each coat before you use paint! And do a very thin layer of paint on top of the stencil. Most of the time you’ll see bleeding if you put too much paint on top.
Good luck and please come back and let me know how your project comes out! 🙂
I know this post is several years old, but I have a question (if you don’t mind). I’ve tried this method, and while it works, the design is so raised from using several paint layers that it’s quite obvious in real life. Do you have that same issue? I’m just about to throw the whole stenciling idea out the window because there’s always something that’s not perfect. When I’ve used HTV, I get bubbling with my vinyl due to the heat – and I’m using the proper heat setting (300 degrees) for only 10-15 seconds at most. I know you suggested longer, but the longer I press, the more bubbling from the vinyl. Ugh! Literally, ANY advice would be amazing!
Hi! When I typically do the clean paint lines method I do very light paint layers each and every time. If there’s too much paint on each layer you will find that it is raised after it dries. The best thing I’ve ever done is to get a stencil brush and dab the paint on very lightly. It took me a few tries to get the technique right so it may take some time to figure out the technique that works best for you.
As for HTV….bubbling usually happens for me when I’m doing layers. If you’re doing layers shorter amounts of pressing time are best! Bubbling happens when the adhesive gets too hot under the heat of the press. If you’re doing layers, 5 seconds on each layer and then doing the full 10-15 seconds once all the layers are on your project work best.
If you are not doing layers and are still getting bubbles then it comes down to what type of heat press you’re using, what type of htv you’re using, what you’re putting it on and what your heat press settings are. I am currently using the Craft Pro Heat Press and use 305 degrees for 10 seconds and that seems to work for me. I up the time to 15 seconds for glitter vinyl.
Let me know if any of this helps or if you want to continue the conversation through email (hello@simplymadefun.com). Good luck