
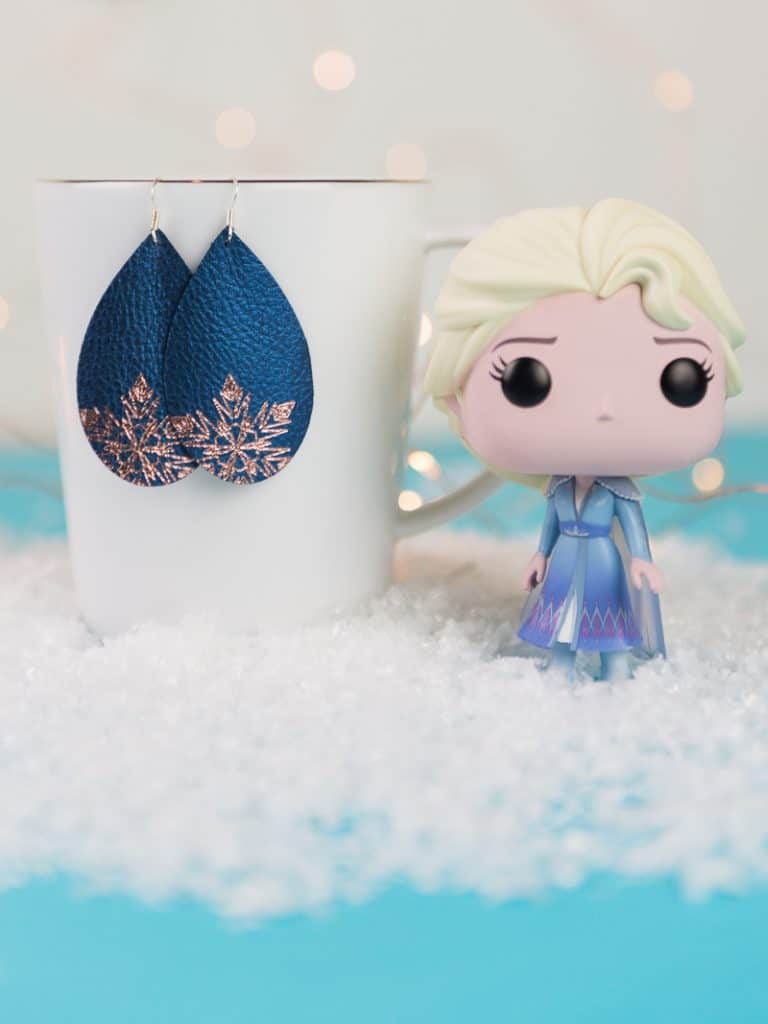
Elsa Inspired Faux Leather Earrings with Foil Quill Pens

This post may contain affiliate links. If you purchase something through the link, I may receive a small commission at no extra charge to you.
Learn how to draw a snowflake design on faux leather earrings with foil quill pens from We R Memory Keepers!
Have you ever bought something to craft with and let it sit on a shelf for months and months?
That is exactly what happened with these We R Memory Keepers foil quill pens. I was so excited to get them and use them, and I never touched them.
I’ve been feeling pretty guilty about that lately so I thought I should probably at least try to use them before the year ends.
I started researching all the fun things you can do with these foil quill pens and came across using them on faux leather. You know how much I love my faux leather earrings and decided to give it a try.
And because Frozen 2 is coming to theaters soon I decided to make some Elsa inspired faux leather earrings!
I quickly realized when trying to make these is that I am just not the type of person who can do a quick project.
I mess up a lot.
And that’s okay. I mean, it sucks to waste materials but that’s how you learn.
Plus, I do it so you don’t have to!

Let’s go over everything you need to know about making these faux leather earrings with foil quill pens!
1. What do you need to make these earrings?
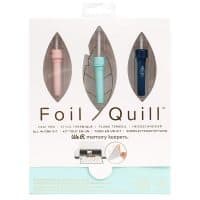
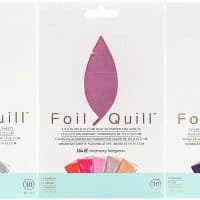
- Foil Quill Pens. You can either get the bundle of 3 or buy them individually.
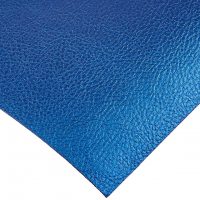
- A sheet of Cricut Faux Leather.
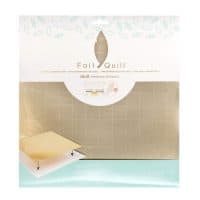
- Heat activated foil.
- Silhouette Cameo machine.
- Foil Placement Tape. OR a magnetic mat! (read more about the mat below.
2. How do these quill pens work?
These pens use heat and pressure to to transfer the foil onto your projects.
The Foil pen is the first heat activated pen of its kind and works with special heat activated foil from We R Memory Keepers.
3. Which Foil Quill Pen works best for small/detailed designs?
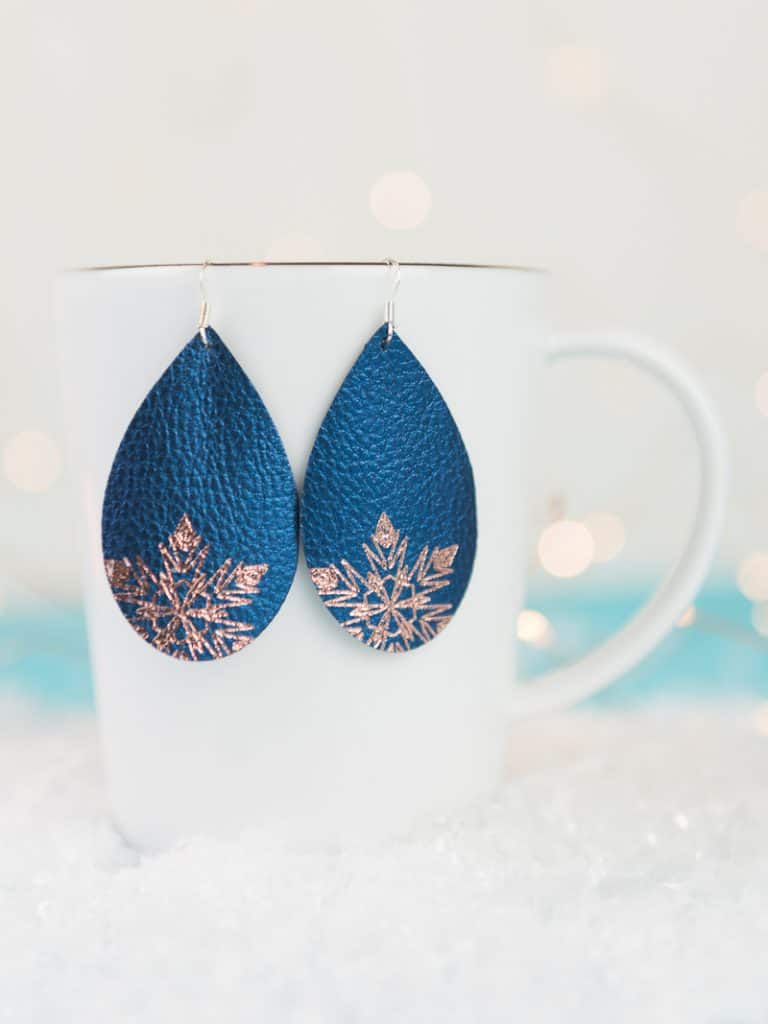
The 3 pack of foil quill pens comes with three different sizes: standard tip, bold tip, and fine tip. For these Elsa inspired faux leather earrings I used the fine tip pen so that it could capture all the small details on the design.

4. What adaptor do you need to use for the Silhouette Cameo?
In the instruction booklet that comes with the pens it says you need to use the ‘A’ adaptor which works with all Silhouette machines.
If you have a Cricut machine you will use the ‘C‘ adaptor!
5. Where do you plug the foil quill pens in?
Plug it into an outlet. Do not plug it into your Silhouette machine.
You will need a USB adaptor to be able to plug it into the wall.
6. How long should you let the foil quill pens heat up before you use it.
I tried a few different things for this and I believe that the longer it heats up the better.
The instructions say you can use it in 5 minutes but I just didn’t feel like it was ready. My foil quill pen ripped right through the foil after 5 minutes and while I can’t be 100% sure I think it was because the tip wasn’t hot enough and it just pulled the foil instead of sliding across it.
I found that I got the best result after 10 minutes which is what I’d suggest for you to do!
7. What is the magnetic mat and do you need it?
The magnetic mat allows you to get rid of the placement tape on your foil and uses magnets to hold the foil in place instead.
This is great if you foil a lot of projects or don’t want to waste foil. But, you cannot cut on this mat. So you have to unload it, put it on a regular Silhouette cutting mat, and then try to cut it out from there.
Melissa at Silhouette School cut out her design on the magnetic mat and it worked though! So try at your own risk.
8. Why do I need the Cricut brand of faux leather?
I have tried cutting so many different types of leather with my Silhouette. The Cameo 3 cannot cut through leather remnants (in my experience) because it is too thick. Cricut brand faux leather is a thinner material and easier to cut.
I’ve also tried the faux leather ribbon from Hobby Lobby which works too!
9. Is it important to place your project at the bottom of the mat when using foil quill pens?
Yes! Putting the project towards the bottom makes it easy for you to remove the foil before your autoblade starts cutting your material out.
You never want to unload your mat, remove the foil, and then load it back in. Because you can never load your mat in exactly the same spot as before, your blade will end up cutting your material in the wrong spot.
Always pause your machine after the foil quill finishes, remove the foil and placement tape, and then hit RESUME so your autoblade can cut out your project.
10. Can you use washi tape instead of placement tape?
Originally a lot of people said yes, these two things were interchangeable.
But you really should use what is provided by We R Memory Keepers (WRMK). Washi tape is too harsh on the foil and will rub the foil off the areas it touches.
Placement tape is gentler and will pull up off your foil without taking foil with it.
You can get around using either of these by using the magnetic mat that WRMK sells.
11. Where can you find designs to use with the foil quill pens?
WRMK has a USB drive with 200 designs specially made to use with the foil quills.
But you actually don’t need that to start using these quills! Find simple designs in the Silhouette store or make your own.
These Foil Quill Pens were fun to play around with and I love that you can use them to put designs on faux leather! It’s such a unique way to add a little extra to your projects.
Using these foil quill pens on faux leather earrings is:
- easy to set up,
- a quick 20 minute project, and
- fun to do!
Let’s draw a snowflake on these faux leather earrings with foil quill pens!

Elsa Inspired Faux Leather Earrings with Foil Quill Pens
Use WRMK foil quill pens to add a foiled design to these Elsa inspired faux leather earrings!
Materials
- Foil Sheets
- Faux Leather Sheets
- Earring Fishhooks
Instructions
- Put your fine tip quill in the A adaptor and put it in the first pen holder on your machine. Put your autoblade in the second slot.
- Put the small metal piece that comes with your pen underneath the foil quill. This protects your machine from the heat that comes off the quill as it heats up.
- Plug in your quill and let it heat up for 10 minutes.
- Load your faux leather on to your mat.
- Put your foil on top of the leather and tape it down with the tape included in your foil quill pack.
- Make sure to pull your Foil tight before you tape it down!
- Load the mat into your machine.
- Adjust the sketch pen settings for your quill (SEE NOTE #1). Hit SEND.
- Pause the cut once the sketch pen is done and remove the foil.
- Hit resume and let your autoblade cut the faux leather. (Head here for faux leather cutting tips)
Notes
- Sketch Pen Settings:
- MATERIAL: CHIPBOARD
- ACTION: SKETCH PEN
- TOOL: PEN HOLDER
- SPEED: 1
- FORCE: 3
- THICKNESS: 33
Recommended Products
As an Amazon Associate and member of other affiliate programs, I earn from qualifying purchases.
Everyone needs more Frozen goodness. Check out these cookies from The Benson Street!
more earring crafts!
[pt_view id=”8dc676epna”]
These are so so so cute! They turned out beautiful.
Thank you Emily!
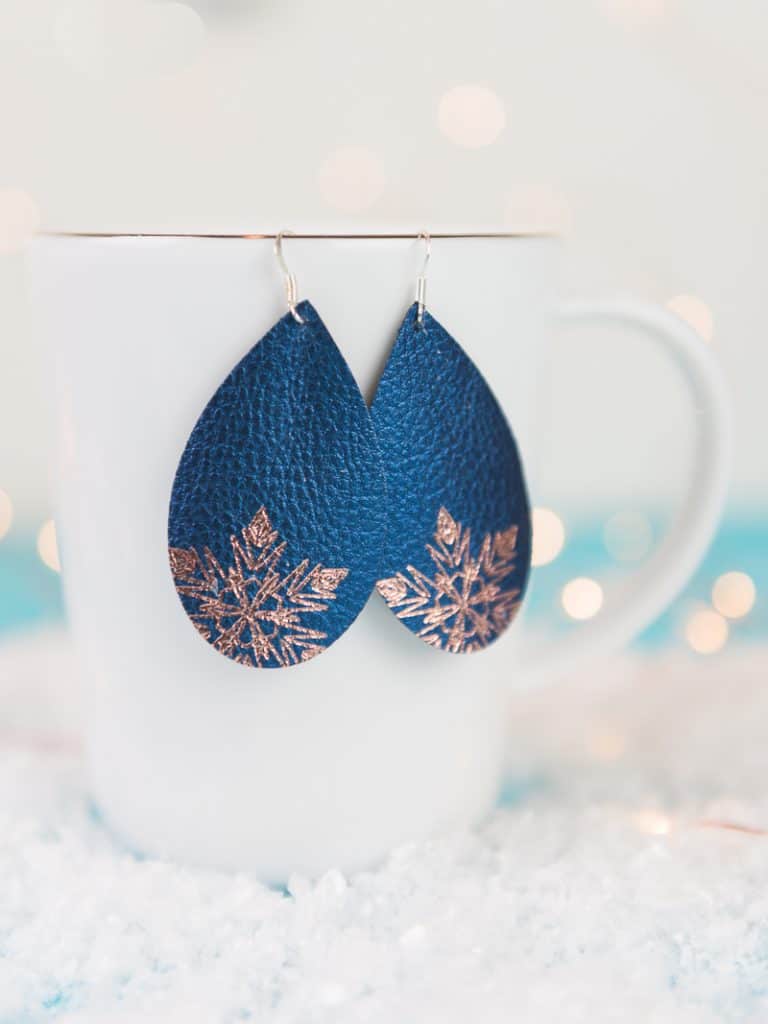
Where can I find this snowflake? It’s so elegant! Thank you for sharing these gorgeous earrings
Hello! This is Elsa’s snowflake from Frozen. You can grab it here!