
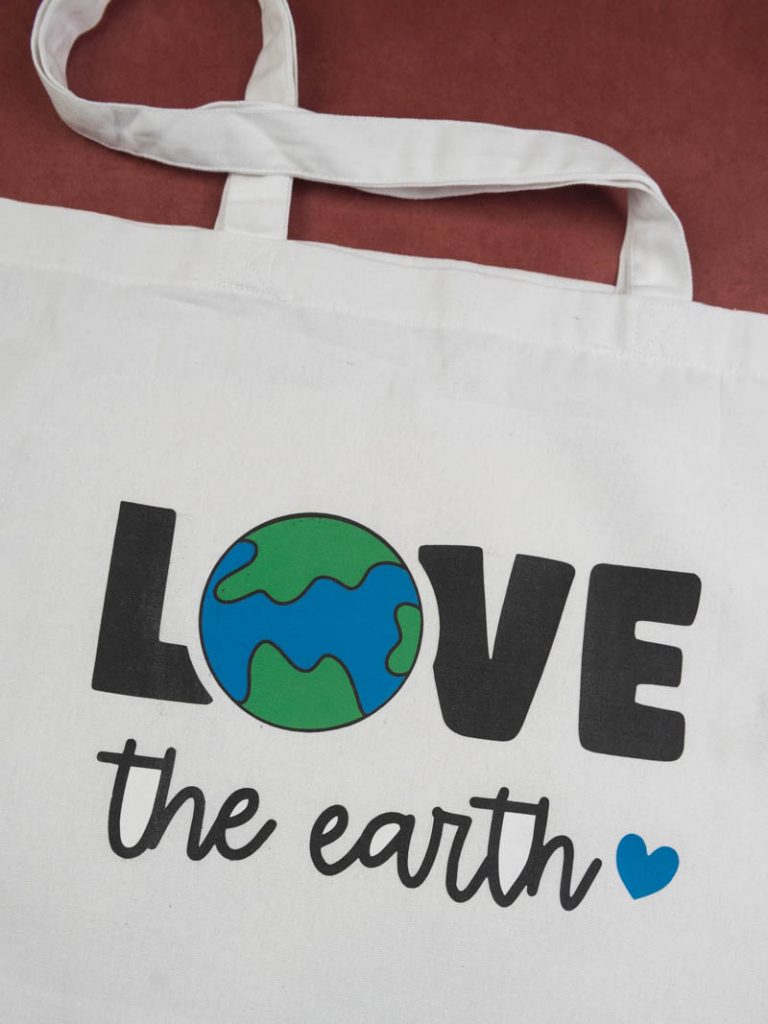
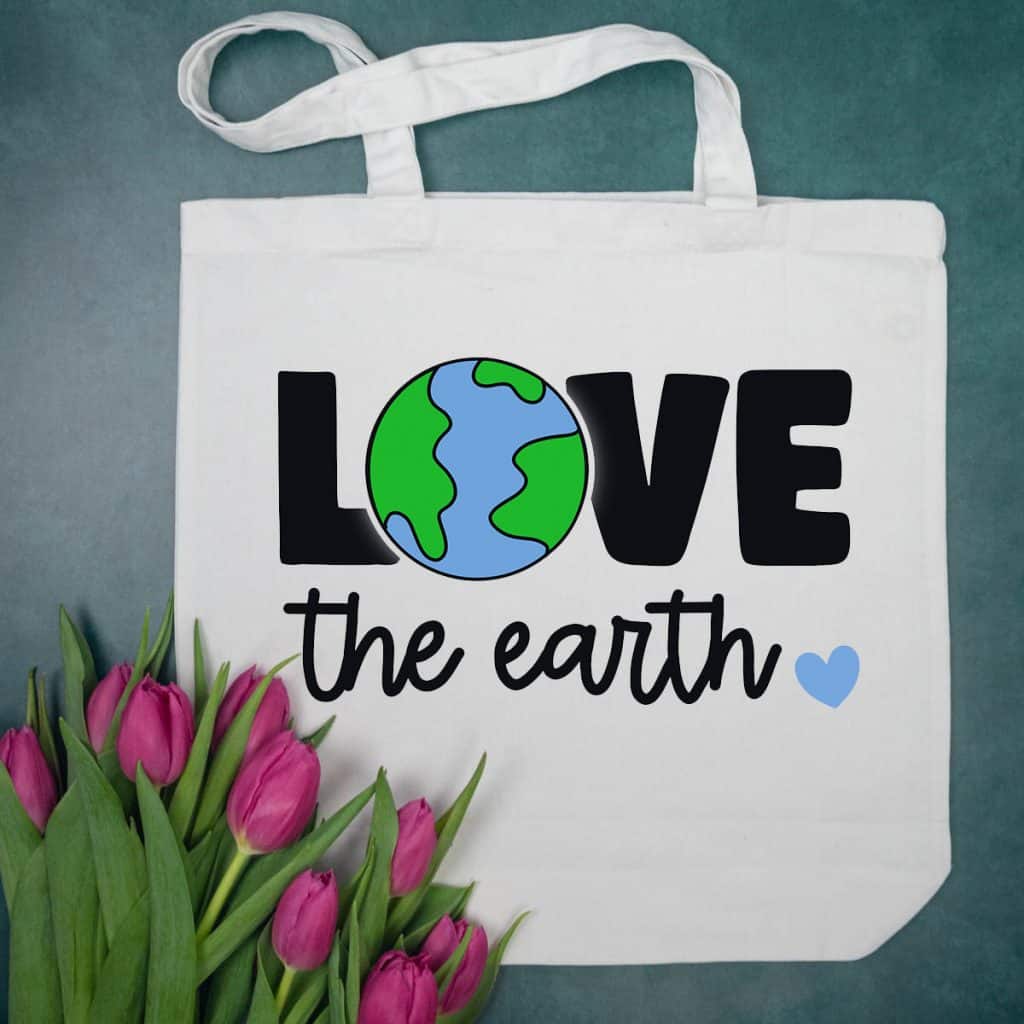
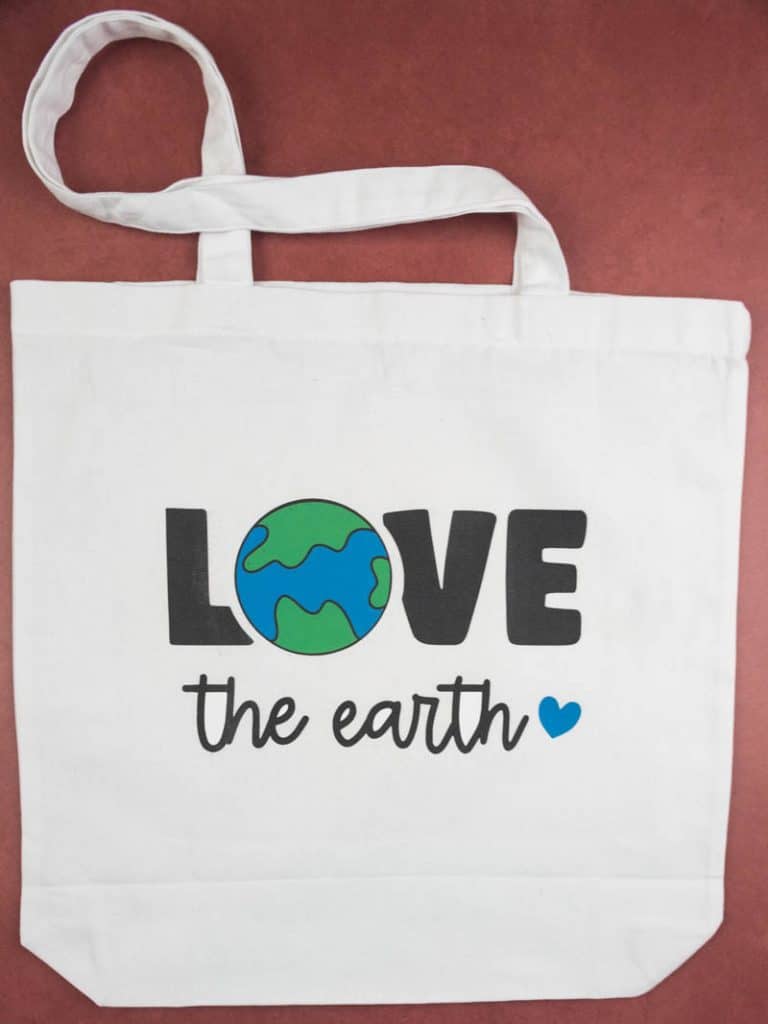
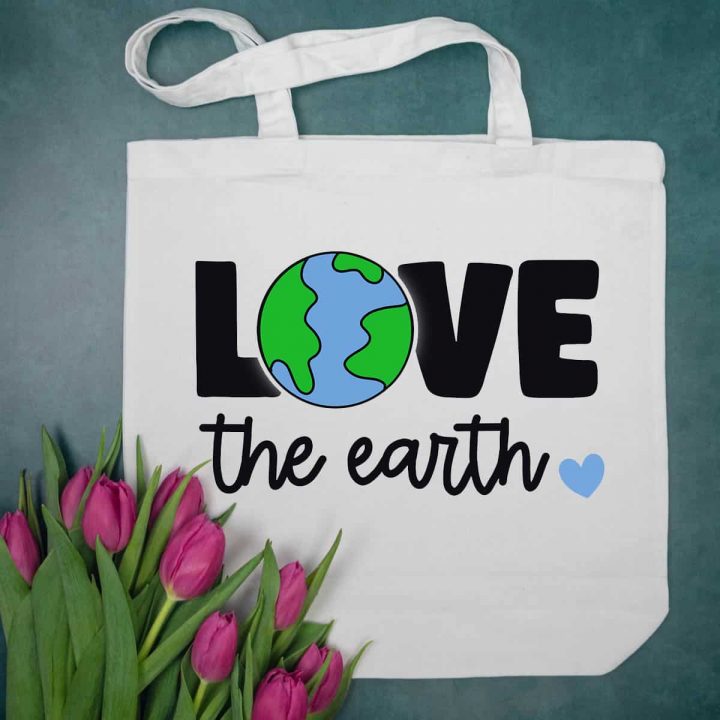
Love the Earth Tote Bag


This post may contain affiliate links. If you purchase something through the link, I may receive a small commission at no extra charge to you.
Use the free Love the Earth SVG cut file to make your own Earth Day crafts! This cut file works with both Silhouette and Cricut machines and would look great on a grocery tote bag, t-shirt, wood sign and more!
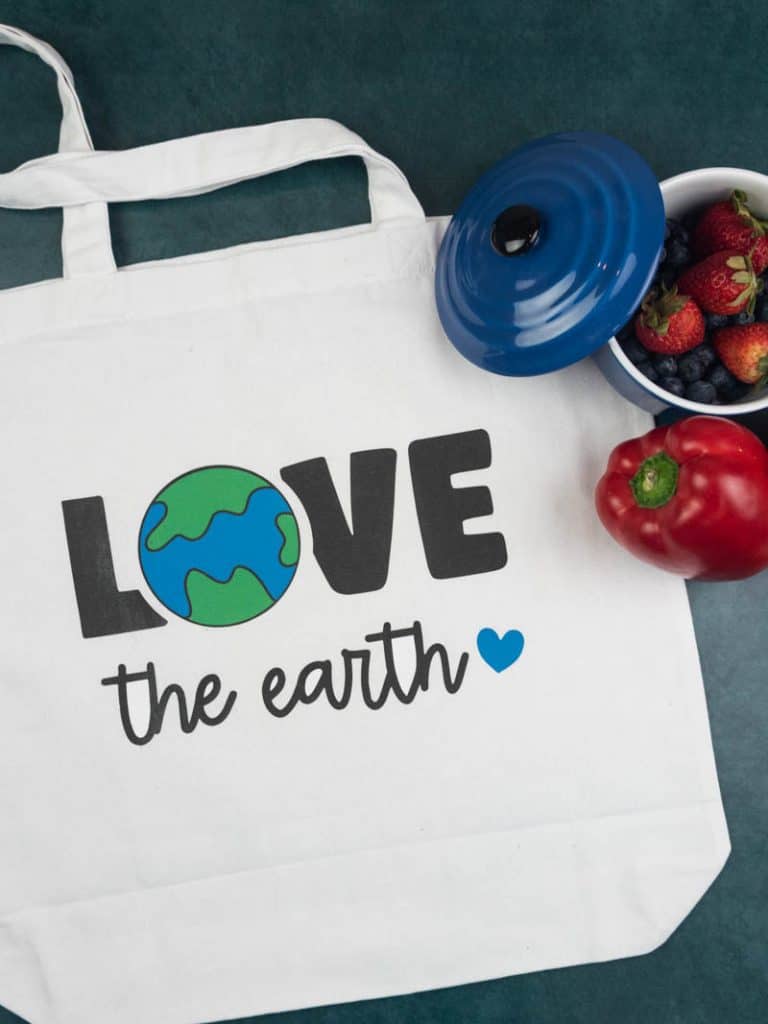
I decided to try something new with this love the Earth tote bag for Earth Day: printable heat transfer vinyl!
I’ve never used it before and was curious how it would look on a tote bag. This simple Earth Day svg was the perfect design to try it out on!
Printable heat transfer vinyl works well with complex designs that would need a lot of layering and has lots of little details (like this Disney cut file from A Girl and a Glue Gun!). You could make this Love the Earth tote bag with plain old heat transfer vinyl and layer the colors on the earth, but I wanted to make things complicated for myself so I opted for printable heat transfer vinyl instead!
Want to learn how to layer heat transfer vinyl? This post will walk you through it – and there’s a video tutorial that shows you how to do it step by step!
To be completely up front with you, I wasted a lot of materials to make this Love the Earth tote bag. This project was really hard for me to complete and I was really frustrated by it at times.
For whatever reason the print and cut feature on the Silhouette Cameo 4 is fickle and doesn’t work as well as it did on the Cameo 3 (don’t ask me why, but there are so many videos about it on Youtube!). So of course I had issues with the print and cut part of the project.
Want to learn how to use Print and Cut on your Silhouette? Visit this post for a written and video tutorial!
We’ll talk about what I learned, what materials works best and how to troubleshoot common issues in this post! So read on for all the mishaps and lessons learned as I made this Love the Earth tote bag.

Materials
Here’s a list of all the items you’ll need to make this Love the Earth tote bag!
- Silhouette Cameo
- Printable Heat Transfer Vinyl
- Cameo 4 Autoblade
- Printer (I have the Canon Pixma series and love it!)
- Tote Bags
- Cricut EasyPress (you can also use a regular heat press)
What is printable heat transfer vinyl?
Printable heat transfer vinyl is a sticky backed material that you can print on and then transfer that image onto a fabric material. Printable vinyl works best with images that are detailed and have lots of color, because it’s easier to print and cut than trying to cut out lots of layers to piece together.
You will use a printer (inkjet or laser depending on the type of printable htv you bought) to print out the image and your Silhouette Cameo or Cricut cutting machine to cut it out. Then you will use a heat press to press the design onto your material.
How-to tips to make this Love the Earth Tote Bag!
How do you set up your printer for printable heat transfer vinyl?
This really depends on your specific printer but I will tell you what worked with my Canon Printer.
First, I went through 15 sheets of printable htv. Start out with Expressions Vinyl’s brand of printable vinyl and save yourself the headache. The sheets from Amazon were terrible!
Canon’s website will tell you to select T-shirt Transfer for your material type. While this is great because your image will print at a high quality….Canon will reverse your image which makes it impossible to then load into your Silhouette machine to cut. You don’t want that!
So, what I did instead was set the material to standard and make sure high quality was selected to get the best print possible. You’ll also want to head over to the print settings and make sure your image won’t print out the wrong way. Mine would come out reversed until I changed this setting!
How do you press printable htv?
You need a heat press in order to transfer your design on the printable htv to your fabric material. The heat press needs to get hot enough for the recommended settings on your printable htv, otherwise you won’t have enough heat to transfer the image.
The type of transfer paper I got off Amazon needed to get to 400˚ but the Expressions Vinyl printable htv only needs to get up to 374˚.
I use the Cricut EasyPress (1st generation) and it cannot heat up to more than 375˚ so that was part of the reason the printable htv I bought on Amazon didn’t work. So make sure that your heat press can heat up to the recommended temperature!
What type of printable htv should I use?
I used a few different kinds but the only one I had success with was the Expressions Vinyl printable htv! The cut settings recommended with my machine worked perfectly with the material and once I started using this printable htv I had no issues with any part of this project!
I also tried two types of Printable HTV from Amazon. They were both awful! My machine would rip the paper as it was cutting it and nothing I did fixed that issue. I tried to mess with the blade depth, force and speed but the blade still ripped my material. I wasted two whole packs of printable htv trying this stuff out and I cannot tell you to stay away from it enough.
FAQ’S
Best printer to use with printable heat transfer vinyl?
Any printer will do, but you have to check to see what type of printer you have (Inkjet or Laser) and buy the right type of printable htv that works with your printer! Expressions Vinyl’s printable htv (inkjet) won’t work with a laser printer so double check your printer before you buy anything!
I’ve owned both the HP Deskjet printer (older version than the one linked) and the Canon Pixma. Both work great! Though I do think the print quality is higher with my Canon.
Can you wash printable heat transfer vinyl?
Yes you can! The best thing to do would be to turn your shirt inside out and wash with cold water. I tumble dry on low as well, just to be extra careful.
Troubleshooting Print and Cut with your Silhouette Cameo 4
One thing I’ve learned with the Cameo 4 is that the print and cut feature is fickle. Sometimes it works great and sometimes it doesn’t!
My machine isn’t registering the registration marks, what do I do?
Before you do anything, save your design to your hard drive. Then close out the Silhouette Design Studio.
Check to make sure your Firmware is up to date. If it isn’t, update it and restart the Silhouette Design Software!
Unplug your Silhouette machine and wait 10 seconds before plugging it back in.
Now open up your Silhouette Design Software and reopen your file.
Hit send and see if your machine is reading the registration marks.
Still not working? Try this next!
I found that using a solid colored cutting mat (like this one here) would mess with my machine reading the registration marks. I have no idea why this was an issue but it was!
If you’ve tried everything else but haven’t switched your mat to a clear one…try it! It might be all you need to get your machine to read your registration marks!
Some other tips to help your machine read the registration marks are…
- Use a black sharpie to color in the little square at the top. Sometimes it just needs to be a bit darker.
- Shine a light directly onto your machine. If it’s too dark in your room your machine will have a hard time reading the registration marks!
- Make sure your printable htv is lined up as close to perfect as you can get on your mat. You want the paper touching the top and side boarders….do not put the paper on top of them!
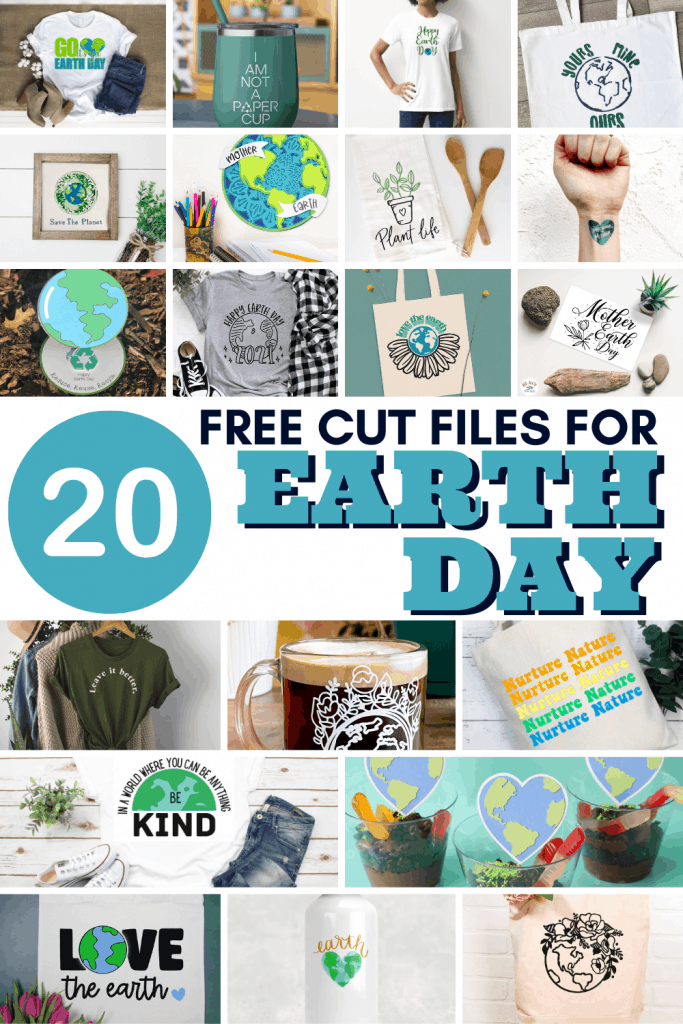
Grab 20 free Earth Day SVG Cut Files!
Every month I team up with a group of amazingly talented crafters to bring you a bundle of free svg cut files! This month’s theme was Earth Day and these files are my favorite!
All svg cut files are free to use for personal use only and don’t forget to tag us on Instagram (#svgdesignsquad) if you make one of our projects and share it!
DISCLAIMER: Please note that Tamara from Tam’s Sweet Life no longer has an active blog. Her cut file is no longer available, sorry for the inconvenience!
- Go It’s Ya Earth Day – The Craft Print
- I Am Not A Paper Cup – Polka Dotted Blue Jay
Happy Earth Day – Tam’s Sweet Life- Yours Mine Ours – Sunshine and Munchkins
- Layered Earth Day Sign – Maggie Rose Design Co
- 3D Earth Mandala – Gina C. Creates
- Plant Life – Liz on Call
- Love Your Mother – Studio Xtine
- Earth Day Easel Card – The Bearded Housewife
- Happy Earth Day 2021 – Pen and Posh
- Love the Earth – Persia Lou
- Mother Earth Day – Red Earth & Gum Trees
- Leave it better – The Walnut Street House
- Flowery Earth – Oh Yay Studio
- Nuture Nature – Crafting Overload
- In a World Where You Can Be Anything Be Kind – Crafty Life Mom
- Earth Day Dirt Cups – Spot of Tea Designs
- Love the Earth – Simply Made Fun
- Earth Day Water Color – Poofy Cheeks
- Floral Globe – Persia Lou
Love the Earth Tote Bag
Materials
Instructions
- Open up the SVG file in your Silhouette Software. Make sure there are registration marks on the paper before printing, if not...add them now.
- Print out the design on printable heat transfer vinyl (read the instructions from the manufacturer, they'll tell you how to set up the print for success!)
- Let the ink dry on the printable heat transfer vinyl for 10-15 minutes.
- Once the ink is dry put your printable htv onto a cutting mat and load it into your Silhouette machine.
- Hit CUT in the Silhouette Software. If your machine is not reading the registration marks, scroll up and read the troubleshooting section!
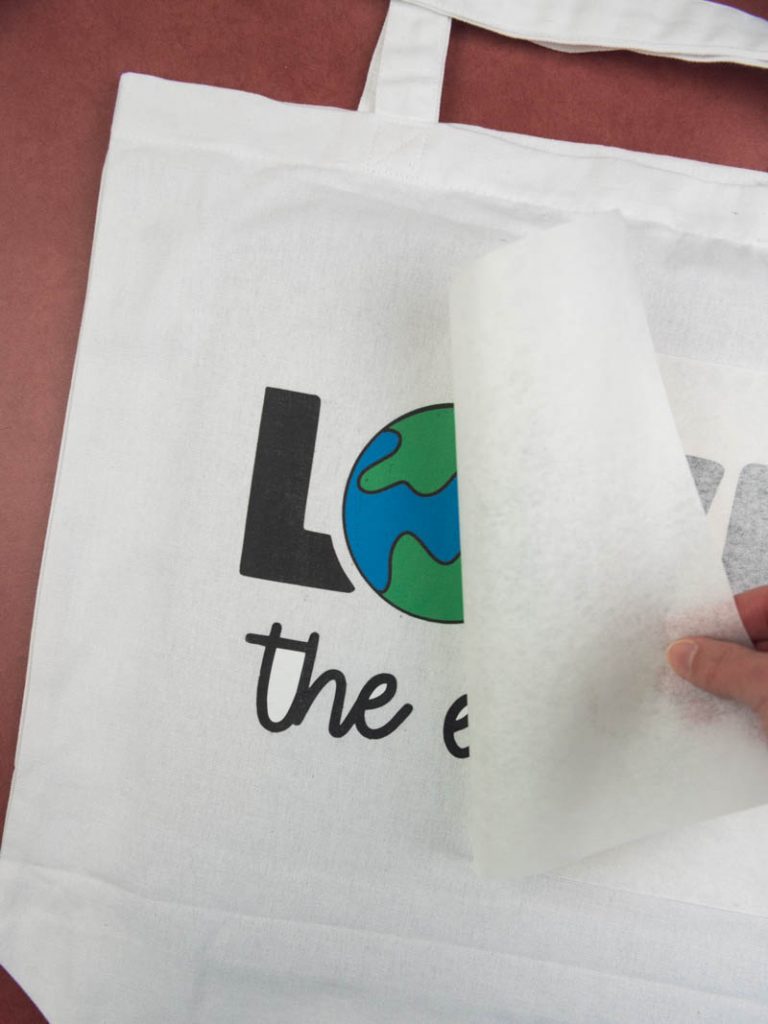
- Weed your image once it's cut.
- Heat up your Heat Press.
- Lay the printable htv face down on the tote bag. Then place a teflon sheet on top of the printable htv.
- Press the image with your heat press.
- Lift up the teflon sheet and printable htv, and your image should be completely transferred! You're now ready to use your bag.
Recommended Products
As an Amazon Associate and member of other affiliate programs, I earn from qualifying purchases.


All the links for the other files just lead back to here?
Oh my goodness, so sorry! Fixed it and now all the files should link back to the right blog post. Don’t know how that happened!
I must be doing something wrong, because all the links are still just leading back to this site.
It’s working now! I don’t know what the issue was but it’s working for me now. Please leet me know if it still isn’t working for you.
They are working now. Thank you!
SO simple and SO SO SO SO cute! 🙂
I’m a little confused! Instructions on Expression website doesn’t say to place the image face down when heat pressing it but your instructions say face down. Plus the expressions website says to peel the backing, is this the same material you used?
Hello! What I used was a sublimation transfer which means you must put it face down on your material to get the ink on your material.
We are using two different things. Thanks for clarifying!