Hanging With My Peeps Easter Cut File


This post may contain affiliate links. If you purchase something through the link, I may receive a small commission at no extra charge to you.
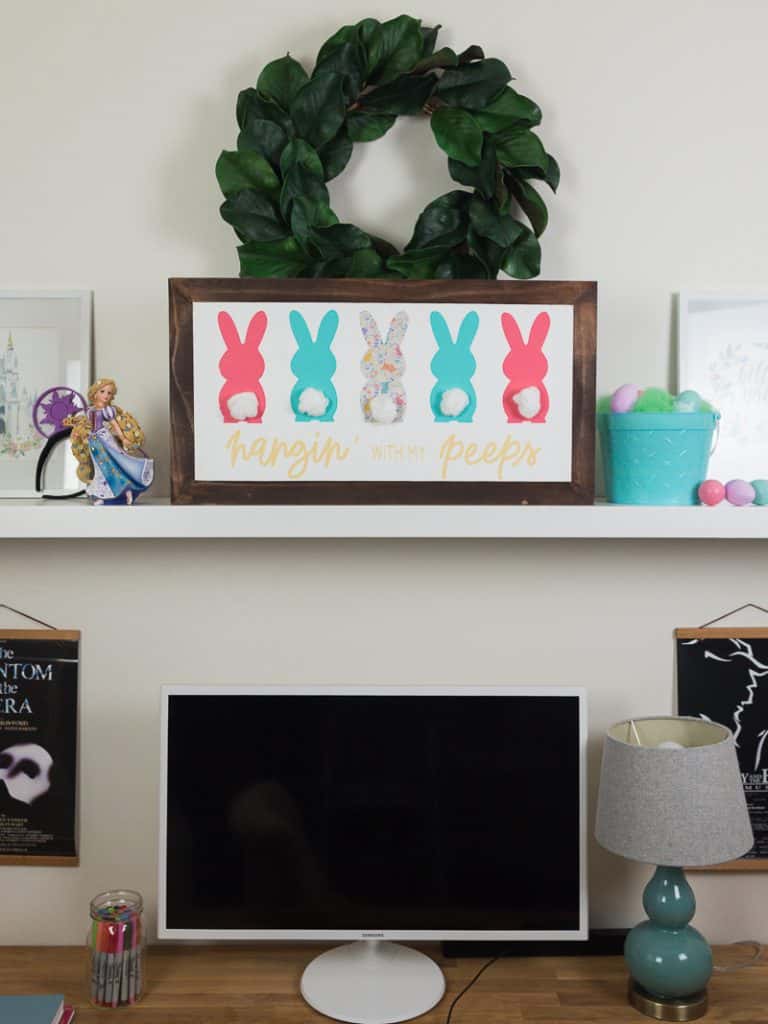
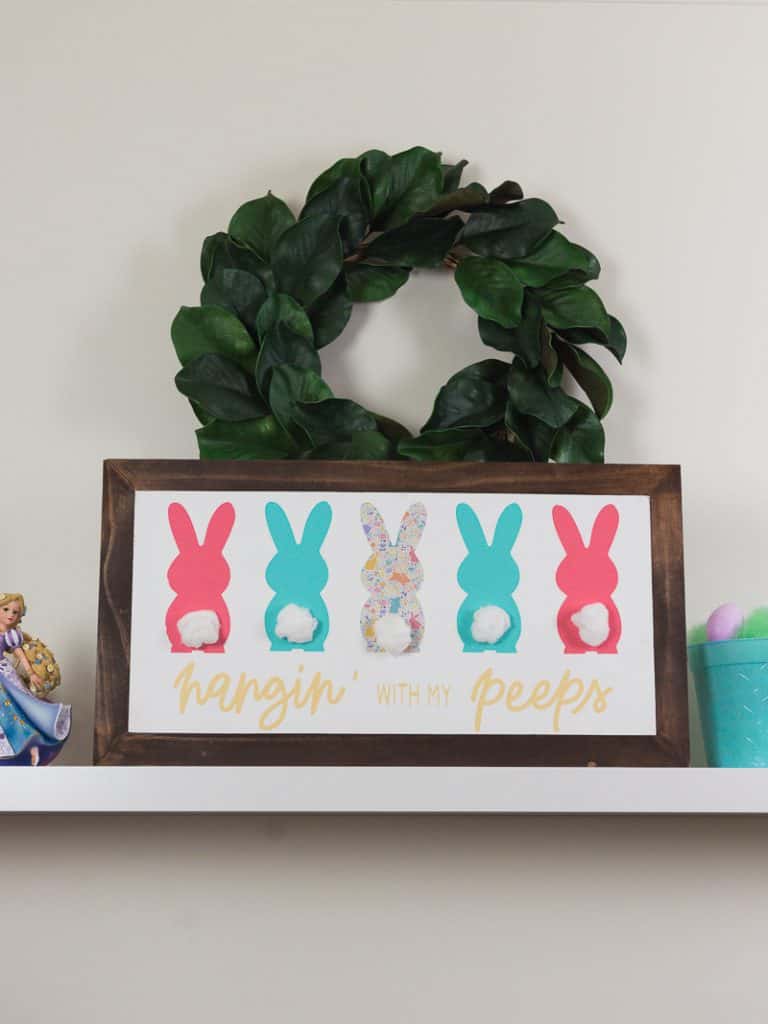
Make this hanging with my peeps Easter cut file with spring colored adhesive vinyl! This Easter sign was made with vinyl from the htv and adhesive March 2020 Mystery Box from Expressions Vinyl.
I’ve talked a lot on the blog about not using up my adhesive vinyl stash. I’m terrible about it because I prefer HTV, and after I found out I could use heat transfer vinyl on wood I figured there’s another reason for me to love HTV even more.
But I went ahead and bought the heat transfer and adhesive vinyl mystery box from Expressions Vinyl anyway and that meant I’d have some adhesive vinyl I’d need to use up.
The best thing I could think to use it on? A wood sign.
It’s not my favorite thing to do (more on that in a bit) but it works if you’re looking for a way to offload some adhesive vinyl!

Last year I bought an iPad so that I could start using the Procreate App to make SVG files for the blog.
I’ve been working all that time on hand lettering and drawing: two things that aren’t strong skills for me.
But I’ve been learning and trying and I finally came up with a design that I thought was worthy of the blog.
This hanging with my peeps Easter cut file is totally handmade and I am so pumped and proud of it. And I’m excited to give it to you to make your own Easter sign!
Materials Needed for this Easter Cut File
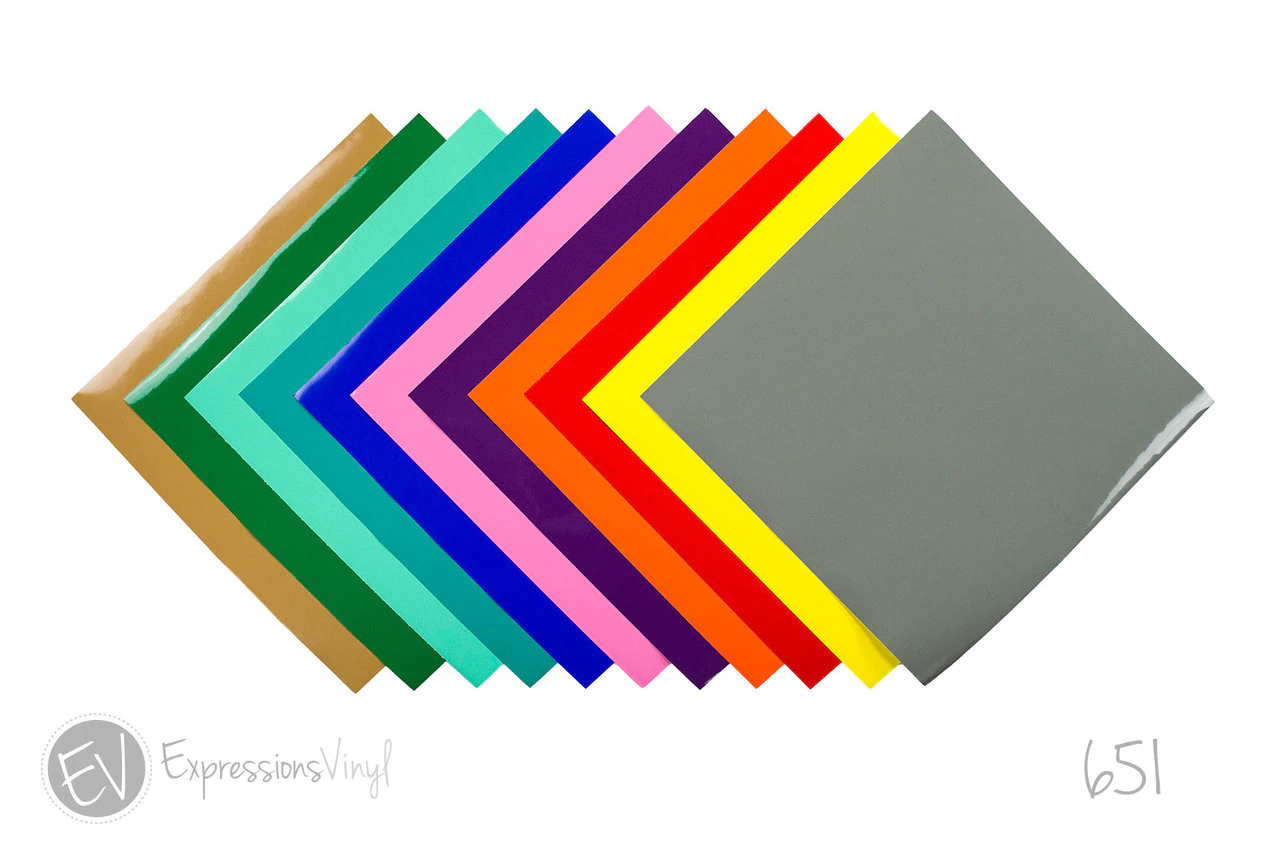
I used the March Mystery Box from Expressions Vinyl. It always comes with fun patterns and colors so I used a mix of them for this sign.
The colors and pattern vinyl I used were:
I also cut, sanded, and painted a scrap piece of wood I had laying around.
The other materials you need are:
- Piece of wood (you can get a premade sign from Hobby Lobby like I did for this kitchen sign)
- White Paint
- Paint brush
- Cutting machine (Silhouette or Cricut!)
- Hot glue gun
- Cotton Balls or large pom poms

Tutorial for the Hanging With My Peeps wood sign
How to prep the wood for your vinyl:

The piece of wood I used had a lot of notches in it so I used wood filler to fill the holes and let it dry. Then I sanded everything down using these tips from Angela Marie Made.
Next I used white paint and put on a few layers to really cover up the wood grain underneath. Let the paint dry fully before putting the vinyl on!

I personally love using a small roller for these types of projects. But you can also use a foam brush if that’s all you have!
How to get the adhesive vinyl on your wood sign:
Set your design on the wood board to make sure you have all the pieces where they should be. DO NOT REMOVE THE BACKING ON THE VINYL YET!

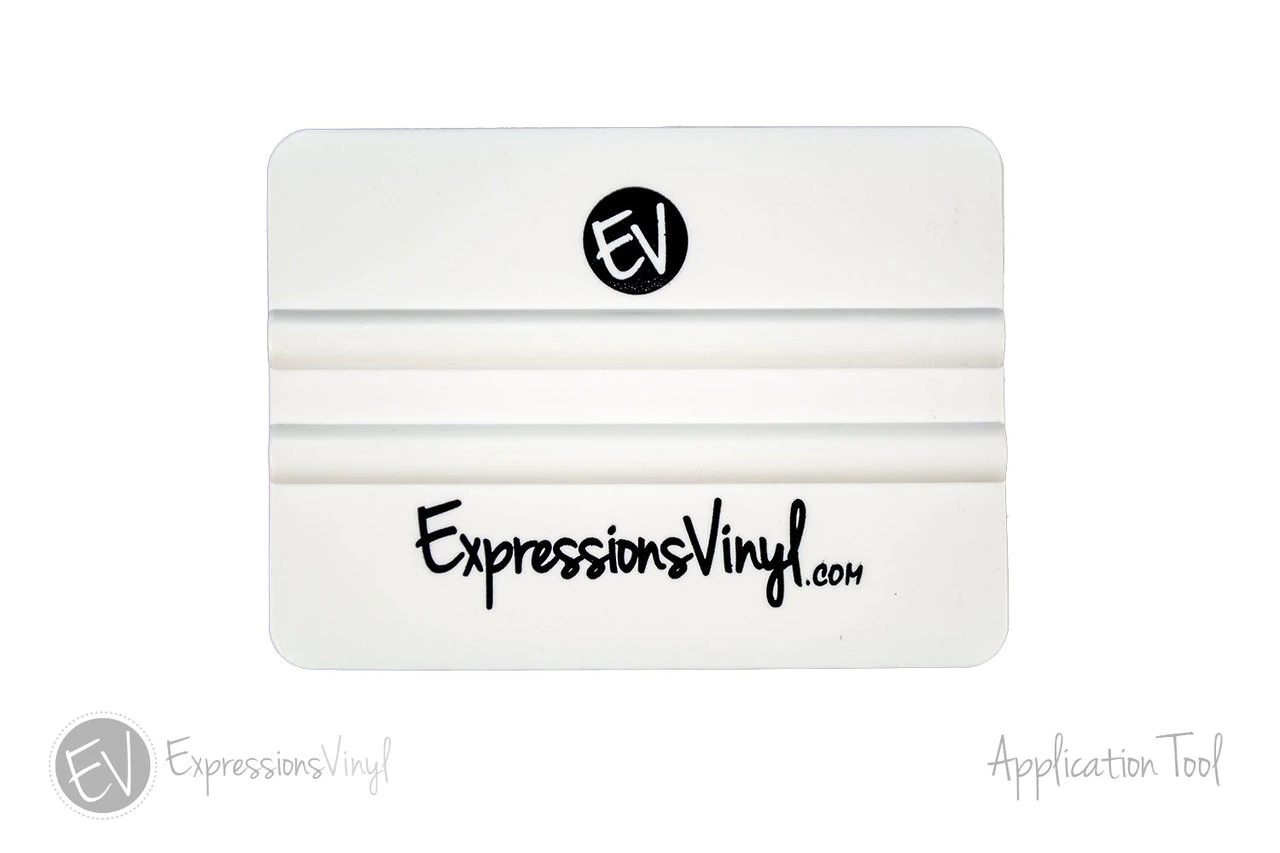
I did this next bit in two parts. First I worked with the text, lined it up and put transfer tape over it. Then I placed a long piece of painters tape on top to hold it in place while I removed the backing on the vinyl and put it on the wood. You may have to use your scraper tool (I use this one) to help “press” the vinyl into the wood.
PRO TIP: Use the dry hinge method to get your design straight!
The hardest part was getting the tiny letters for the words “with my” to stick to the wood. You really need to put pressure on your scraper as you go over the vinyl and you may also have to rub the vinyl with your fingers as you pull the transfer tape off. Go slow!
How to space the vinyl bunnies:
Find the center of your board with a ruler. Use a pencil to mark the spot.
Put a piece of transfer tape over your bunny and make a mark down the middle of the bunny so you know where the center is.
Then measure how far down you want the bunny from the top of your wood sign and mark that too.

Place the bunny on the wood sign and put a piece of painters tape on top to hold it in place (the dry hinge method). Starting from the bottom, peel the backing off your bunny and put your vinyl on the wood.
Remove the painters tape and then continue to peel the backing off your vinyl bunny until the entire piece of vinyl is on the wood.
Next, measure how far apart you want your bunnies to be (mine are 1.5 inches) and then do the above steps with each bunny until all of them are on your wood.
How to add the cotton balls to your bunnies:
I used cotton balls but you could also make little pom poms for the bunny tails.

If you’re using cotton balls, pull them slightly apart until they’re fluffy. Then use a hot glue gun to attach them to your wood.
Common questions on how to open the file and get it in your software.
Disclaimer: Since I use a Silhouette Cameo I’ll be covering how to open and trace the file in that software.
How do you download the file?
Start by clicking the button below. It’ll take you to the Dropbox folder with the file(s) in it. There are several options depending on what software you’re using so download the one that works with yours!
How do you open the file on your computer?
In your Silhouette Software click FILE > OPEN and then click the file. It’ll pop up in your software.
Why can’t I cut the file once it’s in my software?
You need to trace the file before you can cut it! All of the files to download are colored black so that they are easy to trace in the software.
After you’ve traced the file you’re ready to hit cut!
PRO TIP: To cut by color, using the Silhouette Designer Edition is a great way to go! You can cut by fill color, line color, or layer. It’s much easier than moving each piece off the mat in the software to cut piece by piece.
MORE SPRING CRAFTS!
- Easter Egg Tumbler with Adhesive Vinyl (with a free file!)
- Plant Mom Tote Bag (with a free file!)
- Love the Earth Tote Bag with Printable Vinyl (with a free file!)
- Peep Squad T-Shirt (with a free file!)
- Feeling Lucky St. Patrick’s Day Onesie (with a free file!)

Hanging With My Peeps Easter Cut File
Get the free svg Easter cut file and use it on Easter baskets, wood signs, tote bags, and more! This hand lettered file comes with two different designs so you can customize it to your specific needs.
Materials
- Wood Filler
- 12x24 piece of wood
- White Acrylic Paint
- Paint Roller or Foam Brush
- Adhesive Vinyl
- Cotton Balls or Pom Poms
Tools
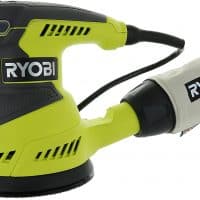
- Ryobi Sander
- Silhouette Cameo
- Hot Glue Gun
Instructions
How to Prep Your Wood
- If your wood has lots of notches, use wood filler to fill in the holes and let it dry.
- Sand your wood and wipe away the excess dust.
- Use your roller or paint brush and paint a two to three layers of paint on your wood.
- Let the paint fully dry. Then add a layer of mod podge (this helps the vinyl stick).
How to Add Adhesive Vinyl to Your Wood Board
- Lay everything out on your wood board to make sure you like the placement. DO NOT REMOVE THE BACKING ON THE VINYL YET!
- Next, put the text on the wood and put a piece of painters tape on top. You should already have transfer tape on top of it.
- Remove the backing on the text one side at a time. You may have to use your scraper tool to help press the vinyl into the wood.
How to Space the Vinyl Bunnies and Add Bunny Tails
- Next measure how far down you want the bunny from the top and mark that spot too.
- Find the center of your bunny and place it on the board. Put a piece of painters tape across the bunny to hold it in place as you remove the backing from the vinyl. (this is the dry hinge method!)
- Then measure how far apart you want your bunnies to be (mine are 1.5 inches apart). Repeat steps 1-3 until you've placed all your bunnies on the wood!
- Once they're all placed use hot glue to add cotton balls or pom poms to your bunnies.
PRO TIP: You only need to do the above steps for spacing the bunnies if they're different colors. If you're cutting everything out and it's the same color then you don't need to worry about spacing them out after you cut and weed them!
Notes
How to Customize the Hanging With My Peeps Easter Cut File
- Instead of painting the piece of wood, stain it! Make sure you seal it with mod podge before adding adhesive vinyl.
- Instead of using adhesive vinyl, use stencil vinyl and paint your vinyl on. Use these tips to stop your paint from bleeding through the stencil!
- Try using heat transfer vinyl for your design instead of adhesive vinyl!
Recommended Products
As an Amazon Associate and member of other affiliate programs, I earn from qualifying purchases.