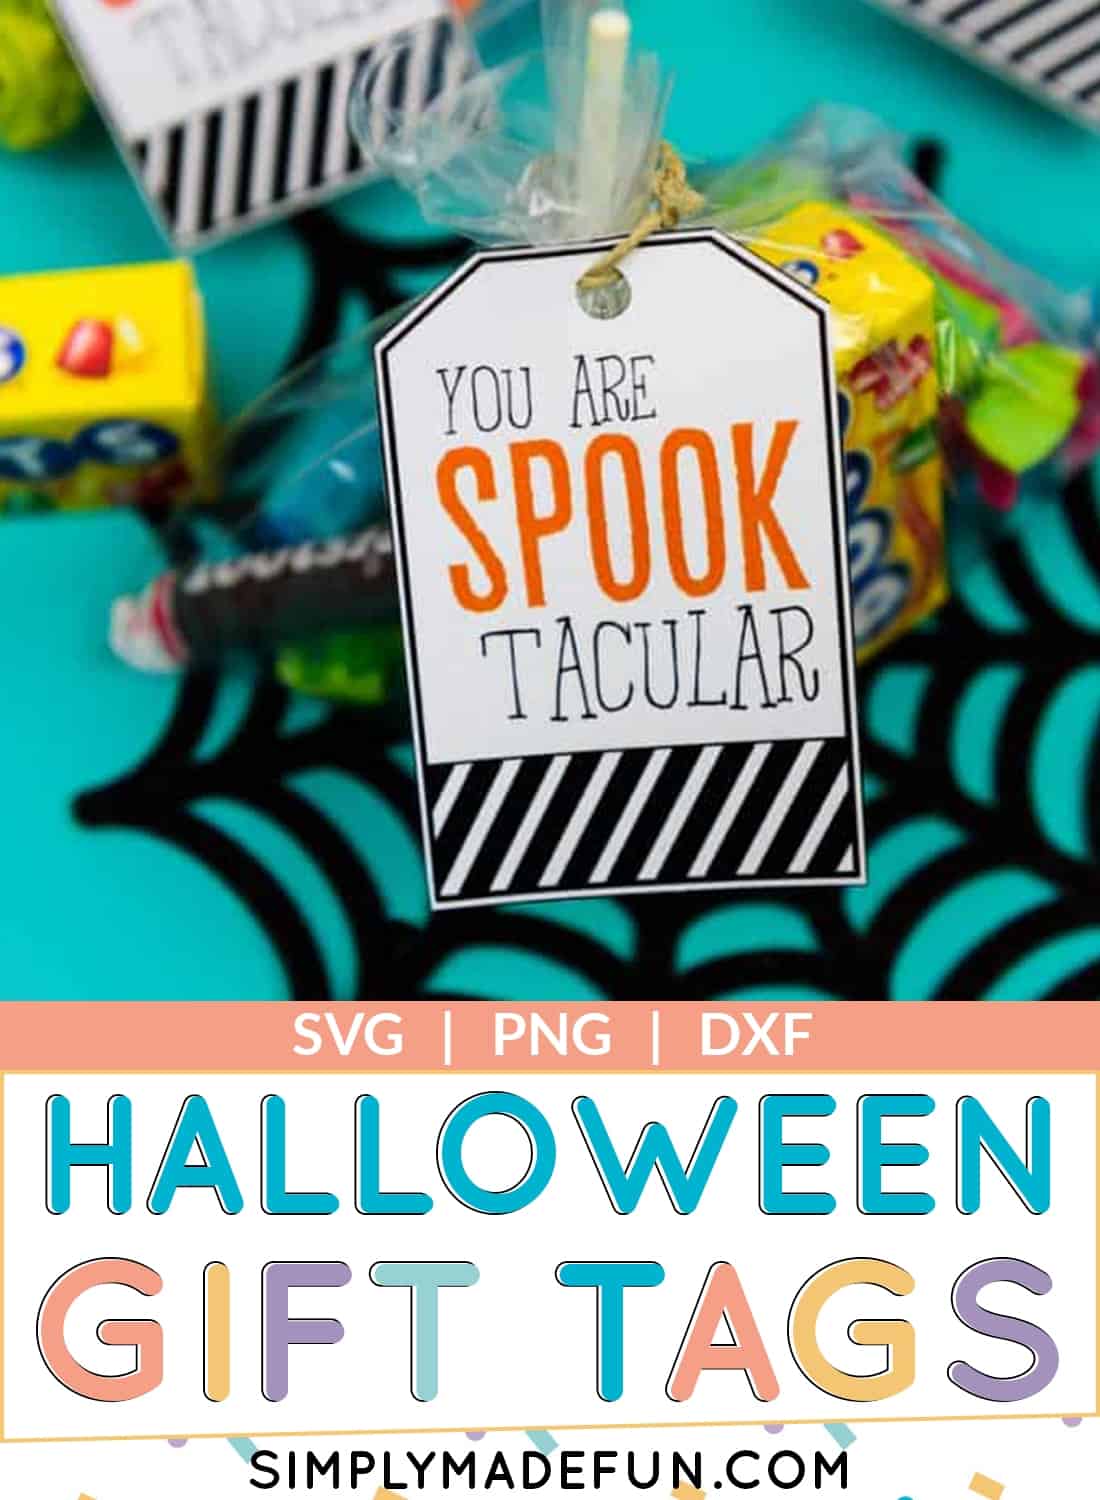
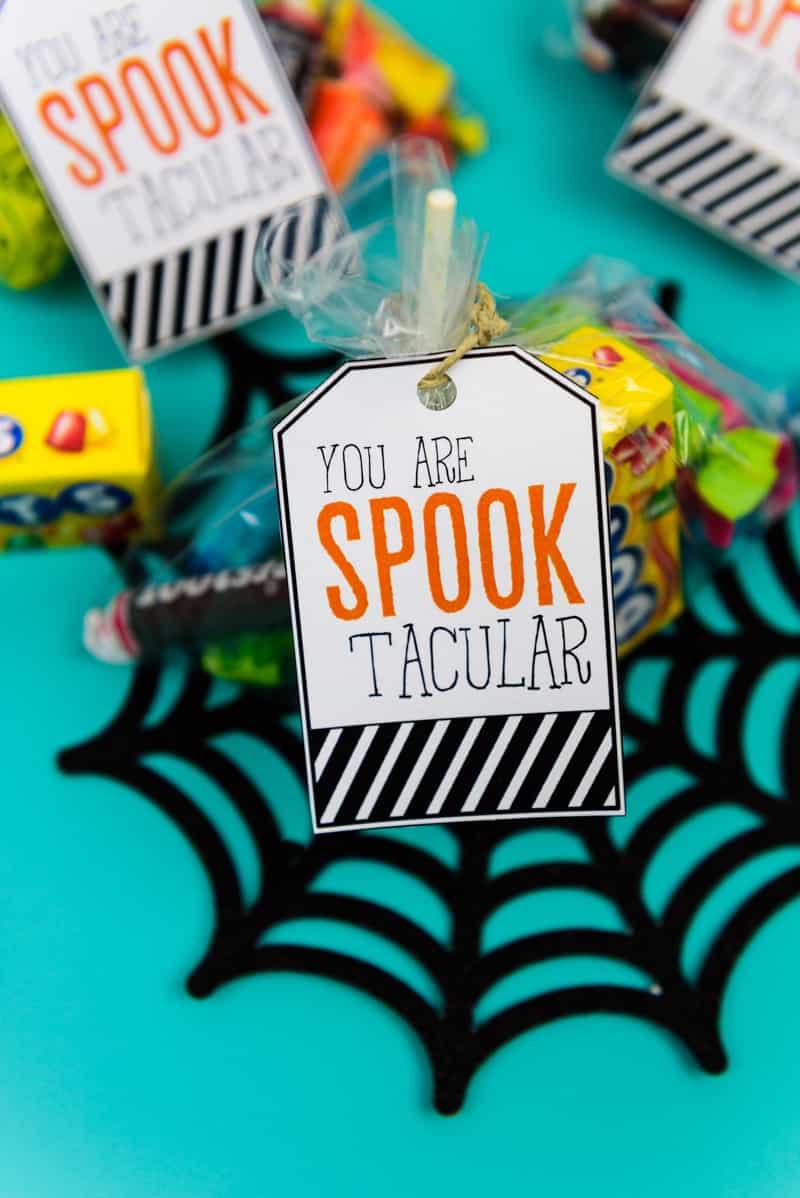
SPOOKtacular Halloween Gift Tags


This post may contain affiliate links. If you purchase something through the link, I may receive a small commission at no extra charge to you.
Use the Print and Cut feature on your Silhouette to make adorable gift cards for any occasion, like these Spooktacular Halloween gift tags!
As of August 6th, 2021 this file has been updated and redesigned! You can download it by signing up for our newsletter here!
I won’t lie, I’m addicted to candy.
We can’t keep any in the house because I have zero self-control where it’s involved. And if someone offers me a tootsie-roll or air head I’m all over it. They’re my two favorite candies to chow down on.
Because we have lots of food allergies in our house we have to be careful what we bring into our home. So it’s always fun for me when I can go to the store and buy bags of any kind of candy I want to give to other people. And that’s exactly what I did for our son’s therapists this year as a thank you for all of their hard work!

Most people give Christmas gifts to their therapists (we will too) but I like celebrating every little opportunity to say thank you. They work so hard every day to help all of their patients hit their goals and I always feel like they are under-appreciated.
And who doesn’t like candy? Honestly.
Because this is something we deal with daily I think it’s important to ask and be mindful of that if you’re putting together gift bags. Halloween is a stressful time for any families with food allergies and being thoughtful about it is a HUGE relief for people like us. So thank you if you take the time to do that!
You can read more about the teal pumpkin project here if you want to learn more about doing Halloween with food allergies!
Materials
Everything you need to make these spooktacular Halloween gift tags!
- Spooktacular cut file
- Silhouette Cameo
- Printer
- Light Grip Cutting Mat
- Hole Punch
- Ribbon or String
- Plastic Bags
Do you want to throw together a quick candy bag with these spooktacular halloween gift tags? Read this first!
What did you use for bags for the candy?
You can use small ziploc bags and cut off the tops or you can use saran wrap and tie it with ribbon.
Can you design the tags in the Silhouette software and then print them out from there?
Yes! This is exactly how I did this project.
If you want to use my gift tags just download them and open the file in your Silhouette software. Make sure the registration marks are there and then hit FILE > PRINT.
FAQ’s for these Spooktacular Halloween Gift Tags
What do you do if your machine isn’t recognizing the registration marks on your paper?
Sometimes it’s just as simple as not having enough light. Make sure your room is brightly lit so that your Silhouette is able to read the registration marks!
If that doesn’t work try recalibrating your machine and then try having your machine read the registration marks.
How do you fix it if your machine isn’t cutting the spooktacular Halloween gift tags and is just cutting random spots all over the paper?
If your machine is not cutting out the tags then you need to recalibrate your machine.
I know it’s frustrating because you’ve wasted paper and ink but it happens to the best of us!
You can head to this post for a troubleshooting guide for print and cut projects!

Need more Halloween Projects that take 20 minutes or less? Start here!
- Paper Spider Webs
- Nightmare Before Christmas Halloween Tote
- Mini Pumpkin Lanterns
- Monsters INC Halloween Costumes
- Monsters INC Halloween Trick or Treat Bags
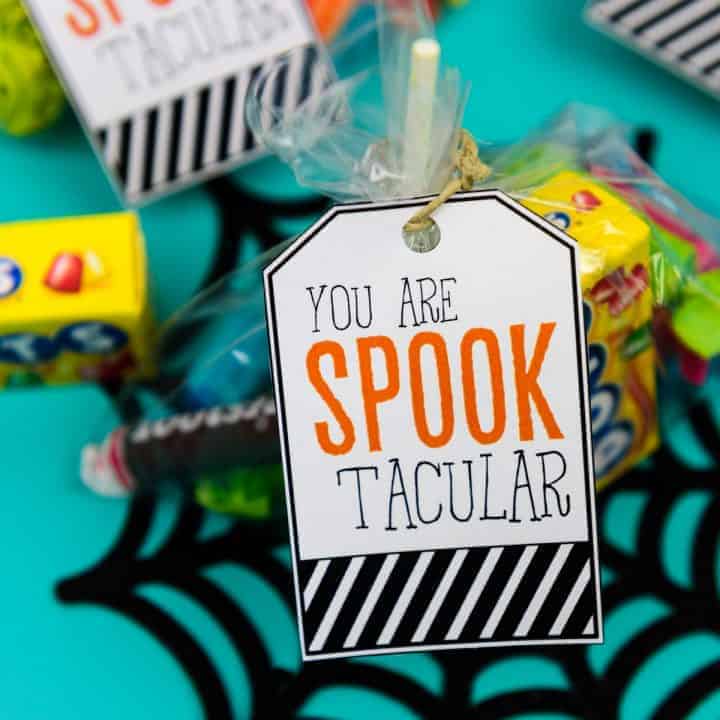
SPOOK-tacular Halloween Gift Tags
Learn how to use the Print and Cut feature on your Silhouette Machine to make your very own Halloween gift tags!
Materials
- Plain Cardstock (8.5x11)
- Jute or Ribbon
- Spooktacular SVG file
- Ziploc Bags
- Halloween Candy!
Tools
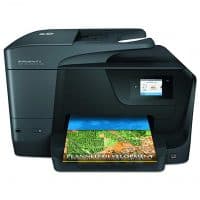
- Silhouette Cameo
- HP Printer
Instructions
- Download the free SVG file and open it in your software.
- Under the PAGE SETUP TAB click paper size > letter. Then turn on the print border and cut border.
- Under the PAGE SETUP TAB click REGISTRATION MARKS. Click style > type 1.
- Move the LENGTH and INSET tabs all the way to the left and the THICKNESS tab all the way to the right. Then click PRINT.
- Once you print your design on your piece of paper, put it on your Silhouette mat and load it into your machine.
- Go to SEND. Make sure you have the correct paper type and blade type selected.
- Also make sure that the only part of your design that is highlighted is around the outside. If you’ve checked all of that, hit CUT! (SEE NOTE #1)
- I then cut the top of my sandwich ziploc bags, put candy in them, and tied it shut with string and added the Halloween gift tags!
Notes
- If you notice that you have cut lines inside your gift tag (on all of the words) you're going to have to remove them. To do this go back into design mode and click UNGROUP on your gift tags. Then go back to your SEND tab and then hit NO CUT on everything expect the outer box of your gift tag and the small hole that your ribbon will go through. This will make sure that the only part of the gift tag that will be cut is the outside and the small ribbon hole.
Recommended Products
As an Amazon Associate and member of other affiliate programs, I earn from qualifying purchases.

Before you leave check out these Halloween crafts from my crafty friends!
- Glow in the Dark Ghost Shirt from Spot of Tea Designs
- Halloween Vinyl Decals on Shoes from Tried and True Creative
- Waffle House Halloween Costume from Polka Dotted Blue Jay
- Witches Brew SVG from Gina C. Creates
- Ghost Pom Poms from Oh Yay Studio
- Halloween Egg Hunt from Spot of Tea Designs
- Halloween Glow in the Dark Placemat from Studio Xtine
- Halloween Witches Door Sign from The Bearded Housewife
- Spider Cupcake Wrappers from Polka Dotted Blue Jay
- I’m a Haunt Mess SVG from Poofy Cheeks