
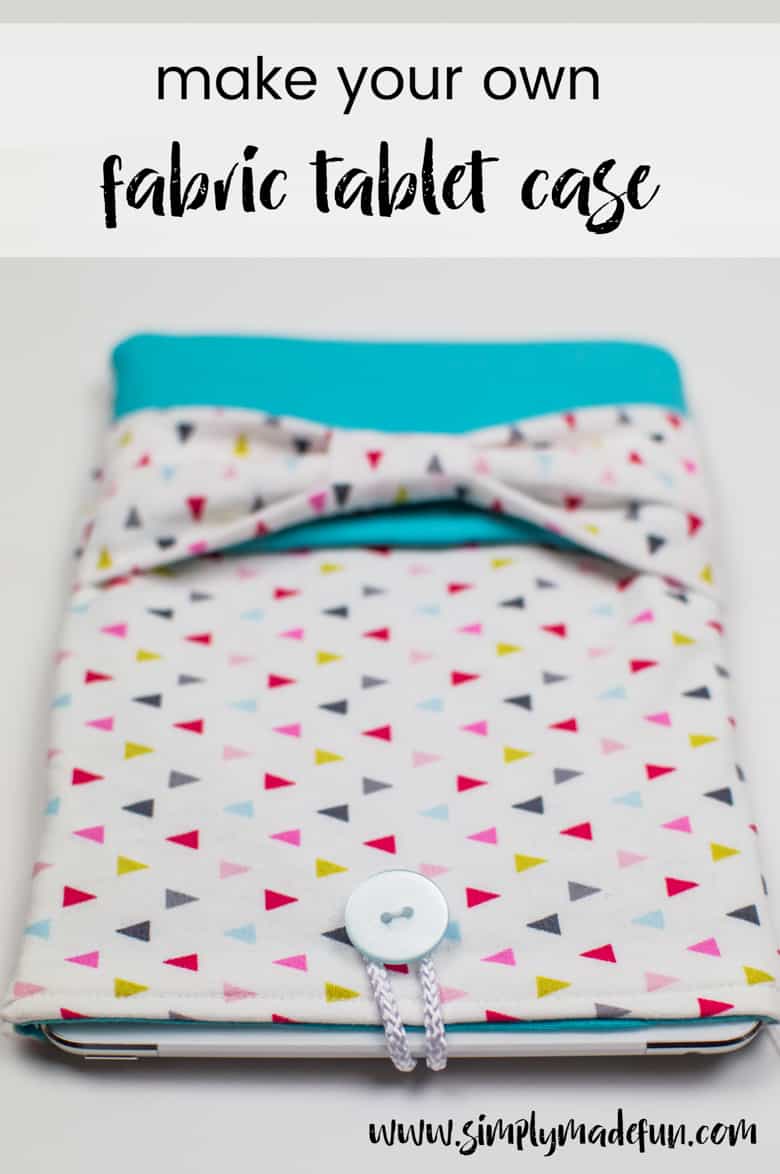
DIY Fabric Tablet Case
This post may contain affiliate links. If you purchase something through the link, I may receive a small commission at no extra charge to you.
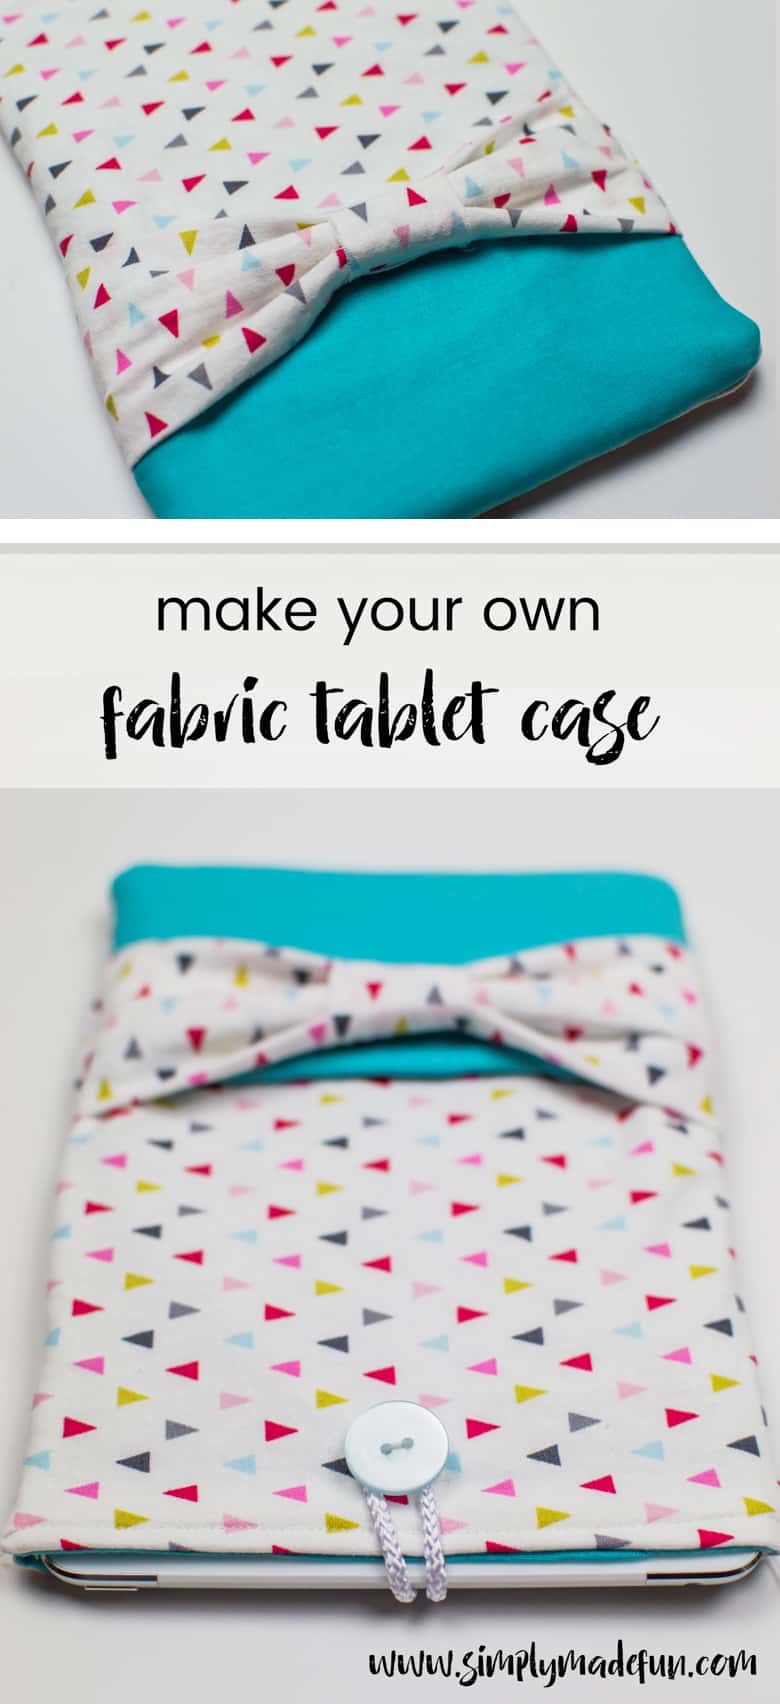
When Chris and I were at Disney World the other week we were on the hunt for a case for my iPad. They had nothing and I had a hard time hiding my disappointment. Since I have always hated traveling with nice electronics without having a proper place to store them, I was really hoping to find a solution at Disney. But since I didn’t find anything I liked I decided that once I got home I’d head to JoAnn’s, on a mission to find supplies to make my own fabric tablet case. Because really, I love having any excuse to head to JoAnn’s and look at pretty fabric.
One problem I have with fabric is that I have a really hard time choosing coordinating patterns. For this project I eventually (after an hour of staring at all of my choices) decided to do a solid color with the pattern, because that’s what I’m comfortable with and I tend to stay in my little box a lot of the time! Though I did buy another pattern in case I wanted to pair the two together. I’m a fabric hoarder, it’s a problem.
To be honest, this project was moderately easy. There is a lot of measuring involved, loads of cutting, and then putting a ton of fabric together and running it through the sewing machine. So it took me a little while to put everything together and finish it. But it came together eventually and I love it! Want to make your own fabric tablet case? Let me show you show!
What you need to make your own fabric tablet case:

This post contains affiliate links. Please read my disclosure page for more information!
- 2 half yards of fabric
- 1 half yard of cotton batting
- Rope trim
- Button
- Coordinating thread
The dimensions of my fabric fit an older iPad 2 model, make sure to measure the item you’re making a case for before cutting your fabric!
My fabric dimensions: Six pieces (two inner, two outer, and two cotton batting pieces) 9 x 7 inches
Pocket dimensions: Two pieces, 6 x 7 inches
Bow dimensions: One piece, 6 x 7 inches
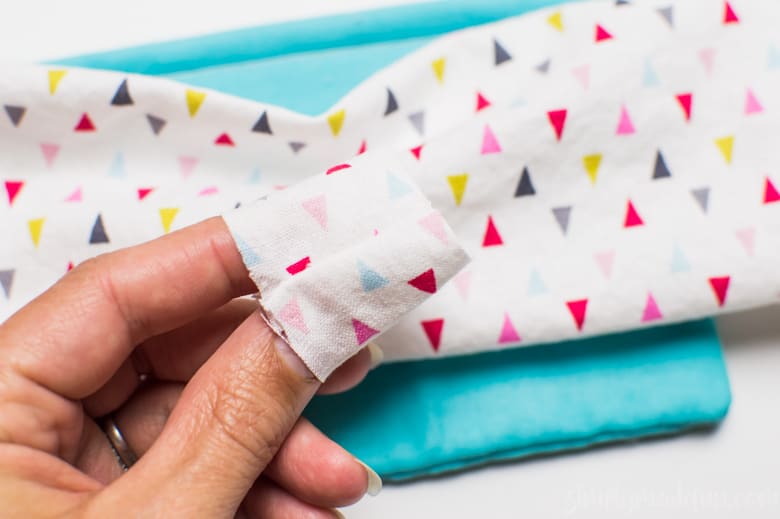
- First, measure the device you’re making the case for and add 1/2 an inch for seam allowances. Cut all of your pieces.

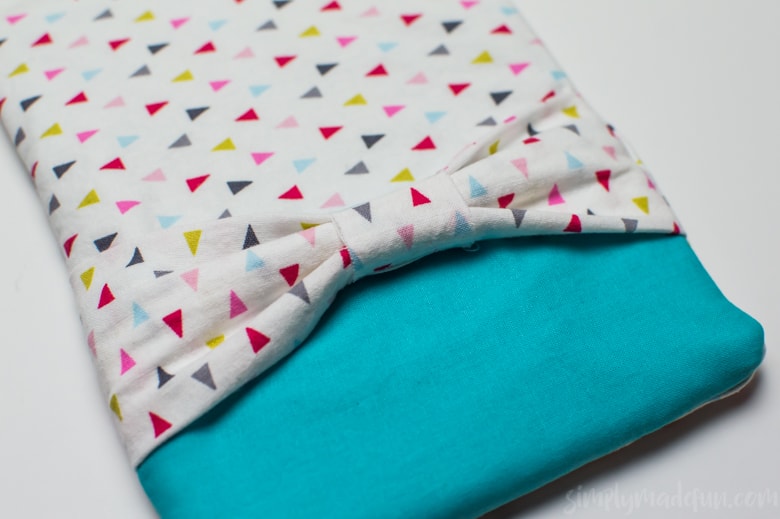
- Take your long piece of fabric for your bow, fold in half, and sew down the side. It’ll look like a really long tube! Next, take a smaller piece of fabric (mine was 3.5in x 2in) and fold it in half and sew down the long side. Slide your long tube (what will turn into the bow) through the smaller piece towards the middle. Your smaller piece should pinch the long piece so that it looks like a bow.
- While the pocket is optional, if you want to put one on your case you will place the two pieces right side together and sew all the way around three sides. Leave a six inch gap on the fourth side so that you can flip your fabric right side out. Set it aside.
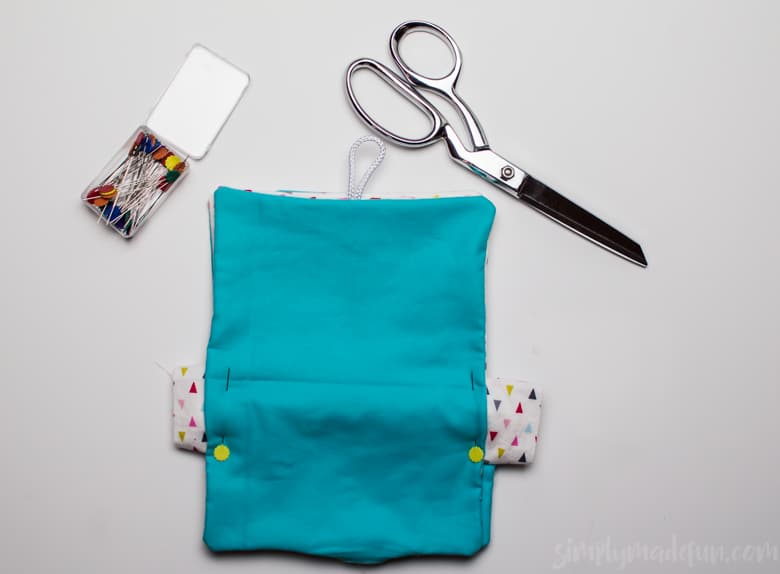
- For the main pieces of the case, place one outer and one inner piece right sides together and then place your cotton batting on top and sew all the way around three sides. On the fourth side, leave a six inch hole so you can flip your fabric right side out! At this point, if you want to add a button for a closure, measure a few inches down from the middle of the front piece and sew your button on.
- If you want to add a closure cut a piece of trim (I bought rope trim) and place it in-between your inner and outer fabrics (while they right sides are together). Sew around three sides like in the step above, and then leave the six inch gap on the fourth side so you can flip the fabric right-side out.

- Next you will gather all of the pieces you’ve sewn in the above steps. Place the pocket and bow on top of one of your outer pieces and then lay your second main piece on top (make sure that you have the same patterns touching each other). Sew down both long sides and the bottom and then cut off any excess fabric on the sides (I had a lot). Flip your case inside out and then slide in your tablet to make sure that it fits snugly.


While this project took a lot of time, I’m super happy with how it came out! Now my iPad is stylin’ in it’s new case and it’s protected when it’s in my laptop bag! I’m always a little worried that if it’s not in a case it’ll get scratched, so now my anxiety can calm down a bit. ha!
Thank you for sharing this post with us. No more need to buy tablet case online or offline when you can create your own.