
DIY 3D Printed Interchangeable Mickey Ears
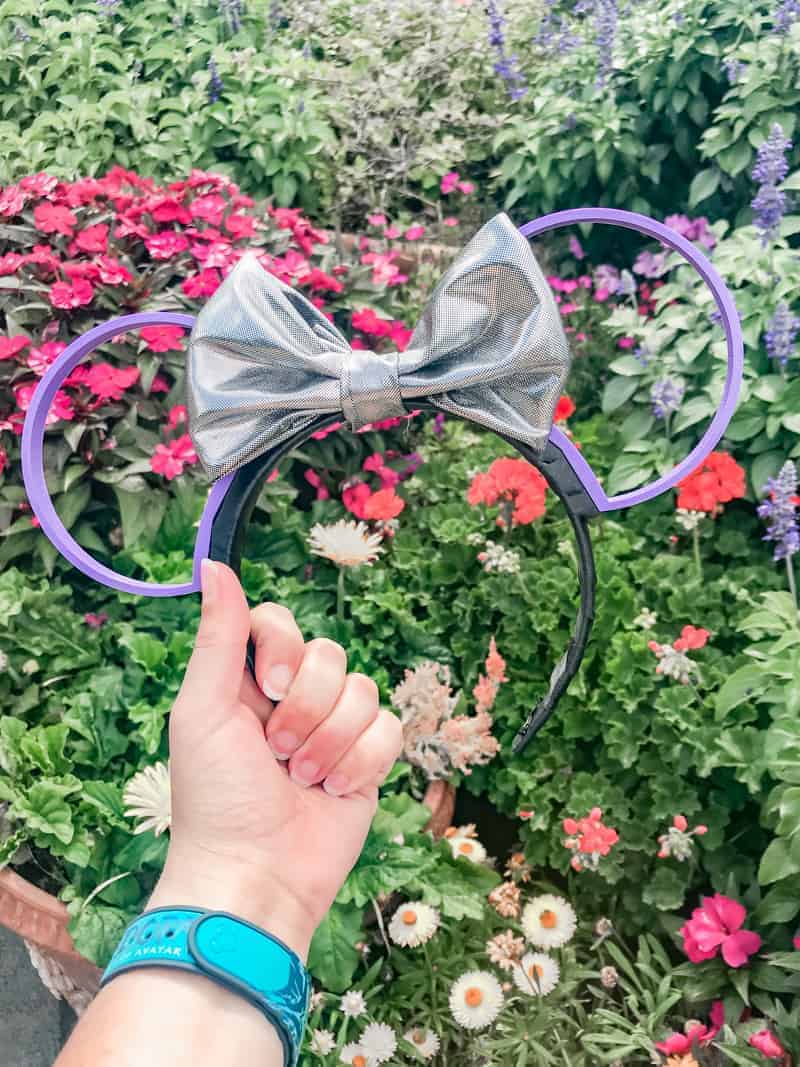
These 3D Printed Interchangeable Mickey Ears are fun to make with a 3D printer! They’re lightweight, cute and you can make multiple pairs for all of your favorite characters!

To be able to make this project, you will need a 3D printer. Chris bought one a few years ago and we’ve been experimenting with different projects and designs ever since.
These 3D printed interchangeable Mickey ears were some of the first things we tried to make and there was a lot of trial and error with them!
If you don’t have a 3D printer of your own, a lot of libraries have Maker Spaces where they have cutting machines (like a Silhouette Cameo or Cricut), 3D printers and more. Check your local library to see what they offer and what you can use!
This post contains affiliate links. I may earn commission from qualifying purchases at no additional cost to you. I will never recommend a product I don’t use or trust.
If you are new to 3D printing there is a learning curve. Chris and I like to browse Thingiverse for ideas and test prints, it’s the best way to learn the software!
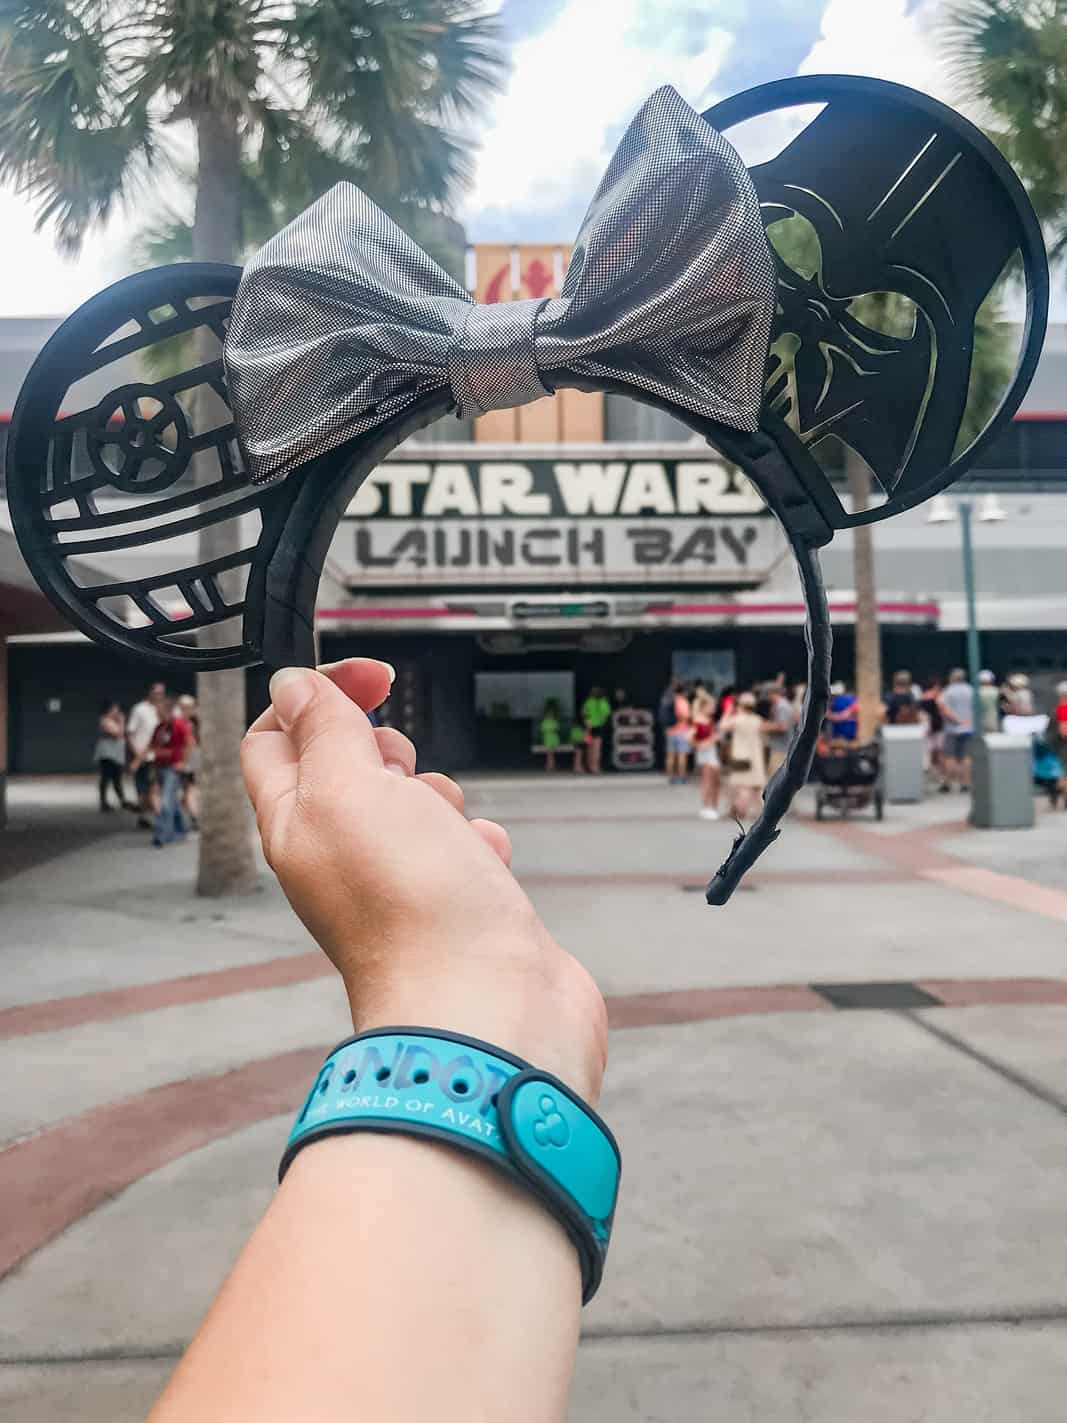
For these interchangeable Mickey ears Chris and I experimented with the size and design of them for a while until we got them right. I let Chris do the designing and then compared the shape to the Mickey Ears Disney makes and sells until I felt like they were close enough.
I also really wanted the ears to be interchangeable so we figured out a way to use magnets in the ear design to make it happen. This is probably my favorite part of the entire design, but it isn’t necessary if you don’t want to change out your ear designs during the day!

Interchangeable Mickey Ears have three different parts, the
- headband,
- 3D printed magnetic bars, and
- 3D printed Mickey Ears.
If you do not want to make your ears interchangeable, you don’t need to print out the bars and you’ll just superglue your Ear designs directly to the headband. However, I think they’re easier to store and take up less space if you can remove the ears.
Materials You’ll Need for These 3D Printed Mickey Ears:
You will need….
- 3D Printer
- Filament
- Headband
- Small Magnets
- Faux Suede Ribbon
- Super Glue

Commonly asked questions when making 3D Printed Interchangeable Mickey Ears:
1. How do you find the center of the headband?
I have a few other Mickey Ears that I used to help me find the center by laying my own headband on top of them and then using a fabric pen to mark where the ears sat. This was super helpful and easy!
But if you don’t have other headbands to go off of I suggest laying them on a fabric cutting mat and finding the center that way (you can also use your Silhouette mat!). Lay your ears on top of the headband until you find the desired look, mark the spot with a fabric pen, and then super glue them on. Easy peasy!
2. Does the headband slide around on your head if it’s windy?
Short answer? YES.
But if you use a certain type of fabric to wrap the headband with you can make it so that they don’t. I suggest wrapping your headband with this textured trim and then using faux suede to put on the inside of the headband. The faux suede will grip your hair and help the interchangeable Mickey Ears (mostly) stay put. That’s not to say that a strong gust of wind won’t push them a little bit…but they shouldn’t slide right off your head unless the wind is crazy strong.
I used satin ribbon for my first headband. Don’t do this. It is slippery and I had to keep pushing the headband back in place because it would slide around!
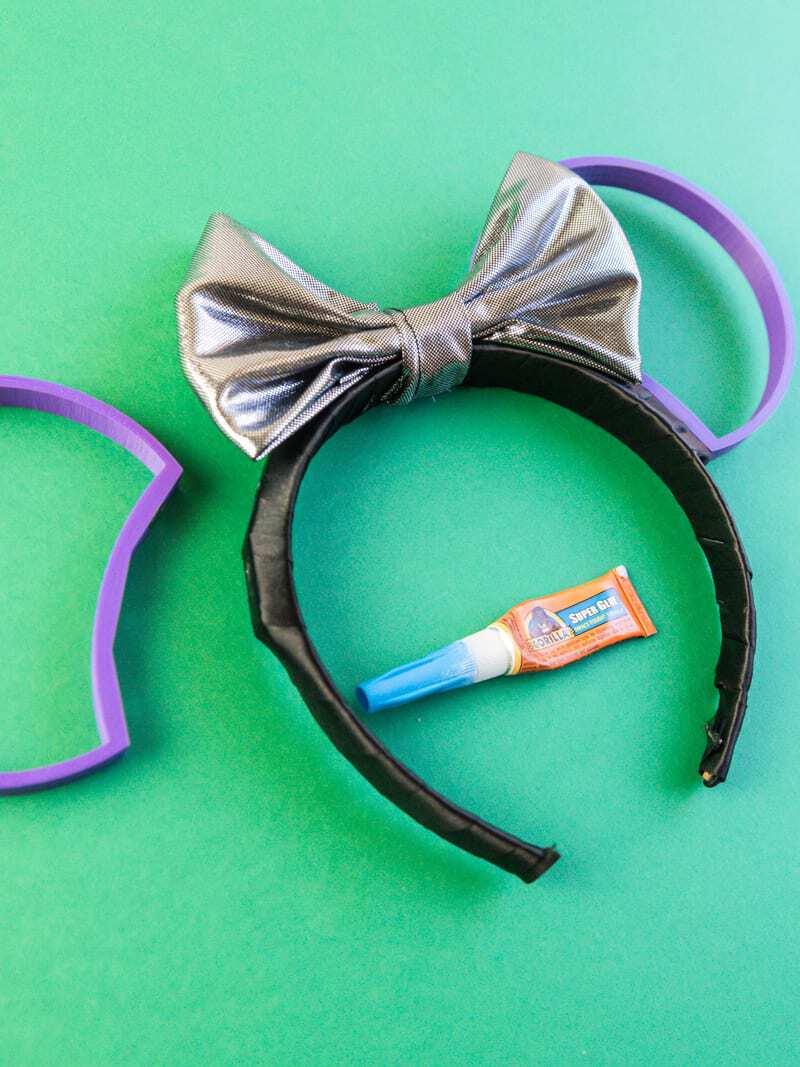
3. What type of glue do you use to keep the ears in place?
Gorilla super glue is our favorite. It doesn’t take long to dry and it is STRONG.
Hot glue did not have as good of a grip on the ears so I do not suggest using it. Stick with super glue.
4. Do you have a specific type of headband that you suggest using for the headbands?
Honestly, any type of headband will work for this. I used these headbands from Amazon and I really liked them because they were wide and did not squeeze/hurt my head after a few hours of wearing them.
You could also go to Sally’s to try to find headbands that you like. Target does not have them….trust me, I looked.
5. Where can I find designs to use for my Mickey Ears?
Chris and I like to browse Thingiverse.com for Interchangeable Mickey Ears and other projects!
If you’re new to 3D printing, using other people’s designs for personal use only is a great way to get comfortable with the software and your printer. Once you get more comfortable you can start experimenting with your own designs!
FAQ’S
Does this tutorial only work with interchangeable ears or can you make a regular pair?
You do not need to make interchangeable ears if you don’t want to! I love them because they save space in my bag but it isn’t necessary to make the ears removable.
You can still follow this tutorial, just leave out the small 3D printed magnetic bar and glue the ears directly onto the headband!
What if I don’t have a 3D printer at home?
Most library’s have a Maker Station now (ours is called Makerspace) that have all sorts of machines and equipment you can use!
Ours have:
- 3D printers,
- a Silhouette Cameo and Curio
- Heat Press,
- Sewing machines and more!
Make sure you check to see if yours is open though! Ours is currently letting you print things on a 3D printer by appointment only.
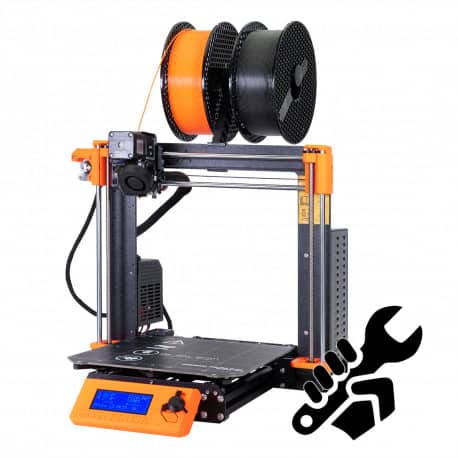
Silhouette Alta vs. Prusa 3D Printer
I have never used the Silhouette Alta 3D printer so I cannot speak to the ease of printing on it. I would say that the learning curve with the software is probably similar to using the software for the Prusa 3D printer we own.
However, Chris had to build his Prusa 3D printer himself and if parts break on it he has to troubleshoot it all on his own.
What I do like about the Prusa is that you can buy a part to print up to 5 different colors so you can have a multi-colored design. It’s probably my favorite feature.
But, the Silhouette Alta comes out of the box ready to go so it is a great option if you don’t like a lot of set-up!

DIY 3D Printed Interchangeable Mickey Ears
Materials
- Headband
- Elastic Ribbon
- Faux Suede Ribbon
- Hot Glue
- Magnets
- Super glue
Tools
Instructions
- Place magnets in magnetic bars and ears. Before you glue them in make sure that you have the magnets turned the right way so the ears and magnetic bars stick together.
- Use super glue to attach the magnetic bars to your headband. (see post on how to find the center of your headband to get the correct placement for your ears)
- Tightly wrap your headband with the elastic ribbon. Use hot glue to attach the ends of the ribbon to the headband.
- Cut a piece of the faux suede ribbon and super glue it to the inside of your headband (this will help it stay on your head).
- Make a bow using this no-sew tutorial.
- Attach it to your headband in between the ears with super glue.
Recommended Products
As an Amazon Associate and member of other affiliate programs, I earn from qualifying purchases.


Where do you get the magnetic bar .stl from
The magnetic bar is 3D printed and then you add small magnets inside of it and in the bottom of the ear design.
I’d like to print a set of these for my lil buddy for his make a wish Disney day. Have you made and other ears yet or do you just have this set to share?
Hello! This is the only set we have made so far but we’re planning on doing more in the future. 🙂 I hope he has a magical make a wish trip!
Are you sharing the .stl files for people wanting to try to do DIY ears :)?
Hi Brian! You can find the .stl file over on Thingiverse! Come back and share a picture once you’ve made them. I’d love to see them. 🙂
Will you be making any other designs? Also what size magnets fit in the slots? I’ll be printing these today!
Hi Hannah! Yes I plan to make and share more in the future! We used these magnets for our ears. 🙂
Do you offer the template blank?
Hi Meg! At this time we don’t offer the blank but you can find the Star Wars and Rapunzel ears on Thingiverse and use the outline of them to create your own template. 🙂
I printed the star wars ears and they came out great, but you only have one magnet bar in the file. I don’t want to print another set just for the magnet bar. Is there anyway to get just the magnet bar stl?
Hi Mari! Thanks for the question.
If you ungroup the file you can grab one of the magnet bars to print! Let me know if that works or if you need more help!
hi! in which program do you ungroup? i am really new to this and have no idea how 🙁 i really like your designs! thank you for sharing 🙂
Hi Lisa! We use 3D Builder for all of our 3D printed files!
since we are on lock down and can’t get to the store to look at sizes of magnets can you tell me what size magnets you used. Thanks
Hi Lisa! The magnets are 8x3mm, the exact ones we bought are from Amazon.
https://amzn.to/3cugAS8
Hey, I wanted to make my niece some ears if I wanted to do a design my self how would I put the holes at the bottom ?
Hi! The best way would be to slice it in your 3D software to make the holes.
Can I buy the a set of ears and magnets(without the headband) from you?
Hello! As of now I do not sell these headbands or the set of ears. I love Imaginex Ears for 3D printed ears if you’re looking for some quality made ones!
Love this design! Printed it for my wife and it came out perfectly. But the faux suede ribbon is no longer available via the link you provided. Any recommendations for alternative ribbon?
I’m glad the design worked for you! 😊 Unfortunately I don’t have another type of ribbon to suggest because I don’t want to tell you to use something I have no experience with it and it not work! Theoretically I would think any type of faux leather or faux suede ribbon would work. Hobby Lobby has a lot of faux leather ribbon but it’s wide so you’d have to cut it down to make it work. You can find it here. If you use one and it works well please come back and let me know!
Love your Star Wars ears! I added button holes to the bases, so that they could be sewn into ball caps. I also used Gorilla Glue polyurethane instead of super glue, which may or may not be a mistake! We’re in the process of printing customized ears for the next family trip to Orlando.