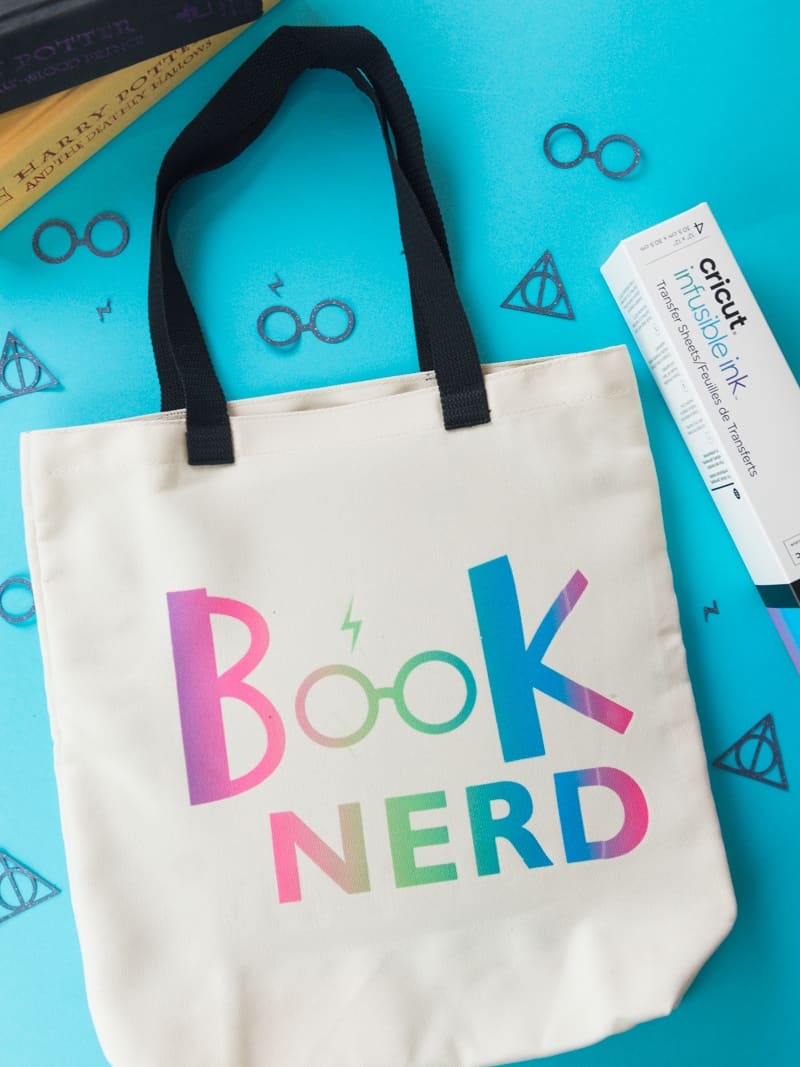
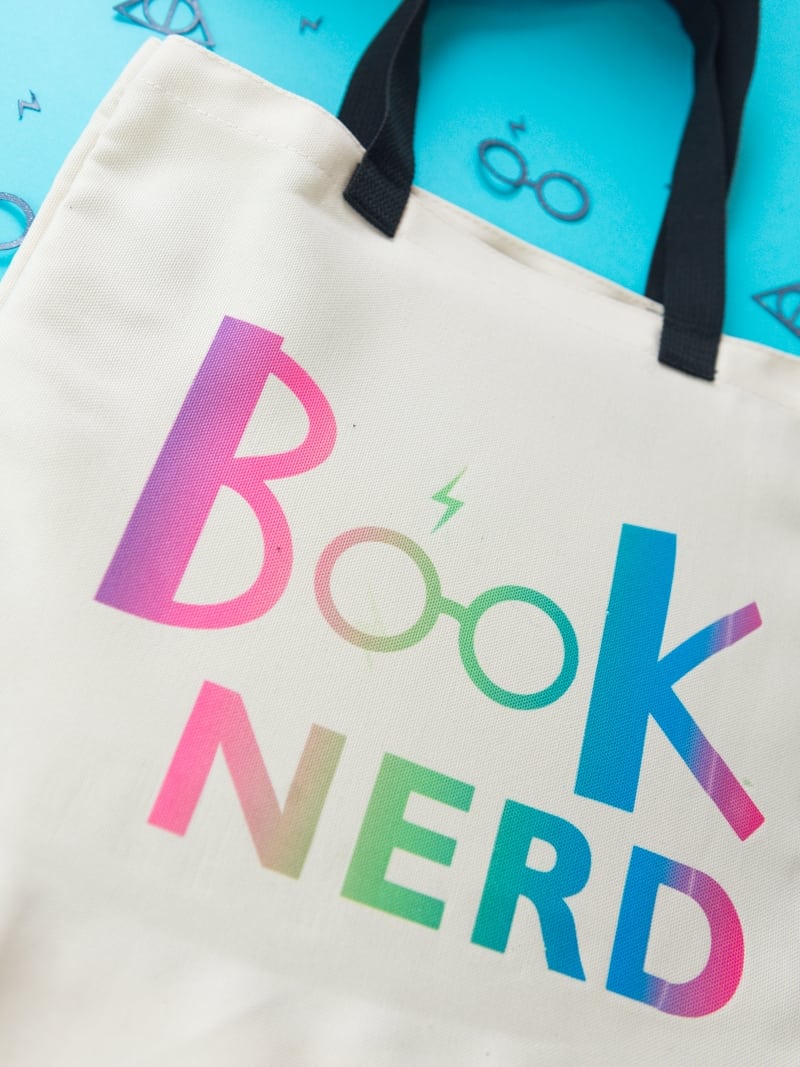
Harry Potter Infusible Ink Tote Bag
Make this Harry Potter infusible ink tote and take it to the bookstore to fill it with books from your summer reading list!
Have you wondered whether or not you can use Cricut‘s Infusible Ink with the Silhouette Cameo?
Well, I definitely wanted to try it so I decided to make a Harry Potter Infusible Ink tote bag.
For the most part it worked well, though I do have some thoughts on what I could have done differently and how I feel overall about infusible ink.
Cricut came out with their own line of infusible ink, which is like sublimation but you have to use their products for your projects.
We used sublimation on this Fall sweatshirt and after doing both traditional sublimation and infusible ink…I prefer traditional sublimation.
Infusible ink is fun and a great way to test out sublimation before investing more into it. I highly suggest trying it once. And you can download this Book Nerd svg to use on your own infusible ink project!
You can sign up for a 30 day free trial with Audible and listen to the Harry Potter books. If you love the series you NEED to listen to the audiobook. It’s amazing.
Materials
Everything you need to make this Harry Potter infusible ink tote bag!

This post contains affiliate links. I may earn commission from qualifying purchases at no additional cost to you. I will never recommend a product I don’t use or trust.
Tips for using Cricut’s Infusible Ink for a project!
What settings should you use for Infusible Ink with a Silhouette Machine?
I’ve had success with…
- Blade 5,
- Speed 5,
- Force 26 and
- Pass 1.
This doesn’t always mean you’ll get a clean cut though so you may have to play around with the settings on your own machine. Try doing a small design first so you can test the settings and see if they work.
What designs work best with Infusible ink?
I could not, for the life of me, get intricate designs to work with the Infusible ink. My machine wouldn’t cut the design all the way through or small pieces of the paper would get left behind when I weeded the design.
The type of designs I had the most success with was anything big and simple. If you’re having trouble try fatter letters and a more simple design!
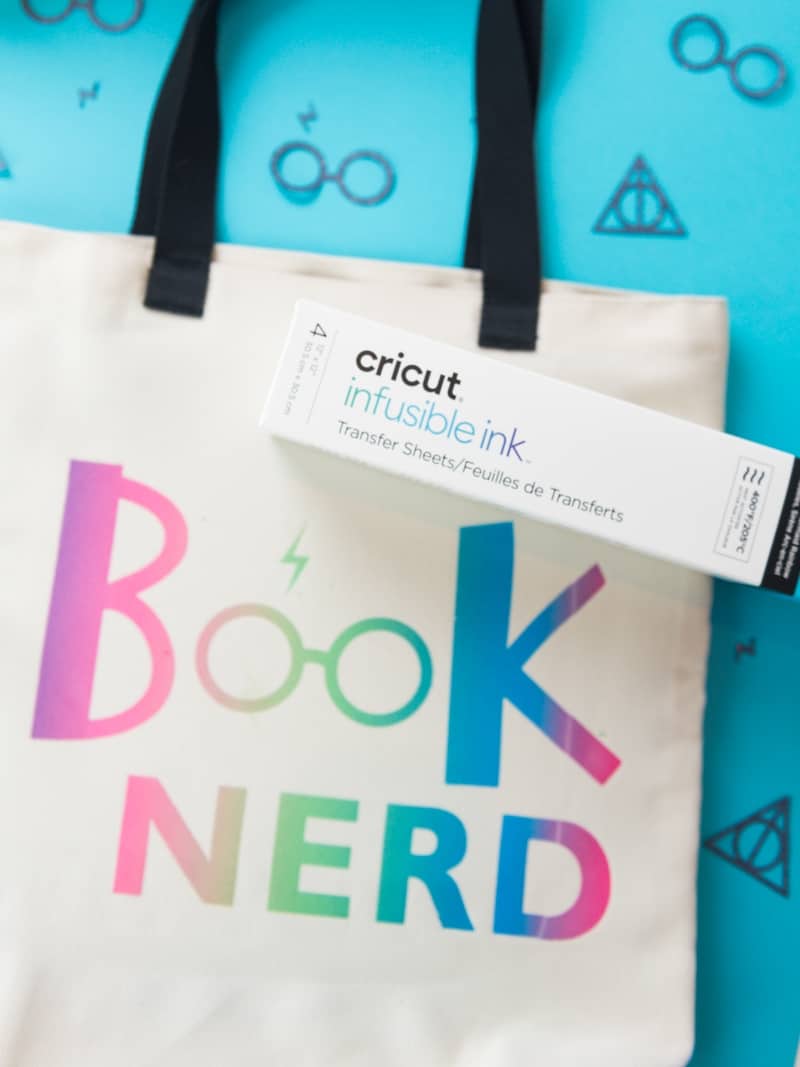
Where can you buy Infusible Ink?
Michaels and Amazon are where I like to buy it!
What can you put Infusible Ink on?
Cricut has their own line of blanks for Infusible Ink but you do not have to use their (expensive) materials. Infusible Ink is basically sublimation so you can use ANY blanks that work with sublimation.
Any shirt or canvas/tote needs to be at least 50% polyester for the Infusible Ink to work and you should always use light colors. Darker colors do not pick up the Infusible Ink well.
Faq’s about Infusible Ink
Do you need a heat press for the Infusible Ink?
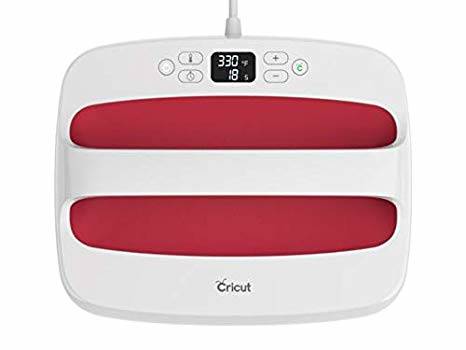
Yes. You need heat of at least 400 degrees for 60 seconds for the Infusible Ink to transfer to your blanks. If you do not want a big heat press the Cricut EasyPress 2 heats up to 400 degrees and can be used with Infusible Ink!
(full disclosure: I used my original Cricut EasyPress for the Infusible Ink and it only goes up to 360 degrees. I pressed for 75 seconds and it worked fine! But you should follow Cricut’s instructions and use a heat press or Cricut EasyPress 2 that can heat up to 400 degrees.)
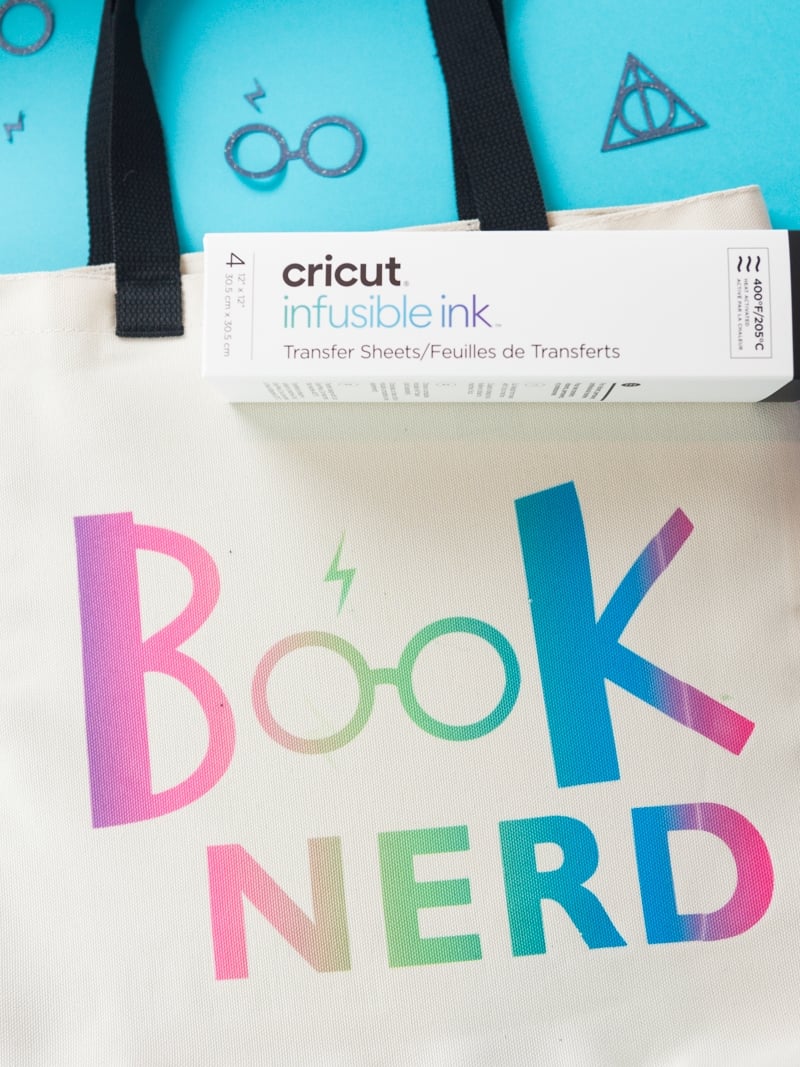
Why are there lines in my infusible ink after using a heat press?
Lines happen when your design is larger than your heat press.
This typically isn’t a problem when you’re using a traditional heat press, but I used the original Cricut EasyPress that was 9×9 and my design was bigger. The line you see on the ‘K’ and ‘D’ is where the edge of the heat press sat. I had to press twice to get the entire design onto the bag.
So, if you’re using a smaller Cricut EasyPress, make sure your design will fit entirely under it so you don’t get lines in your design!

MORE HARRY POTTER CRAFT PROJECTS!
- His and Hers Harry Potter Mugs
- Magical Harry Potter Ornaments
- Harry Potter Polymer Clay Earrings
- Layered Harry Potter T-Shirts
- Harry Potter Acrylic Paint Poured Canvas

Harry Potter Infusible Ink Tote
Materials
- Cricut's Infusible Ink
- Cricut's Tote Bag
- Book Nerd File
Tools
- Silhouette Cameo
- Cricut EasyPress 2
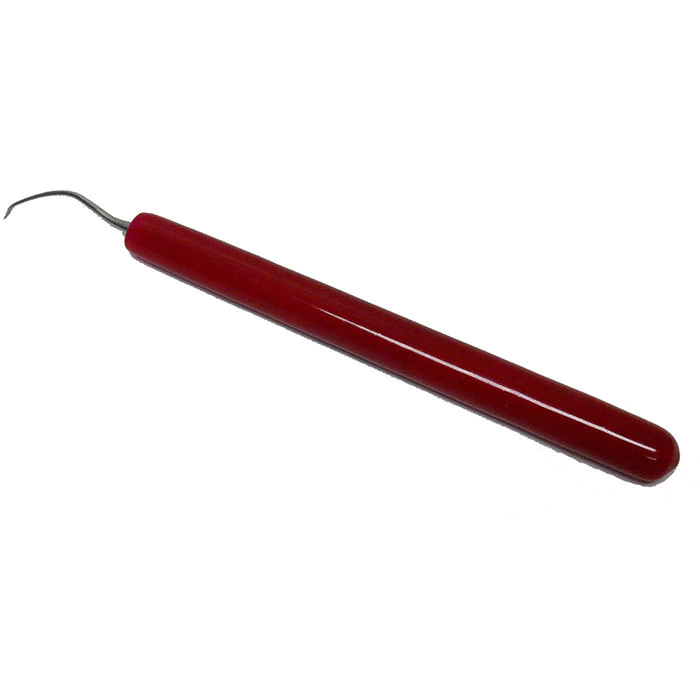
- Weeding Tools
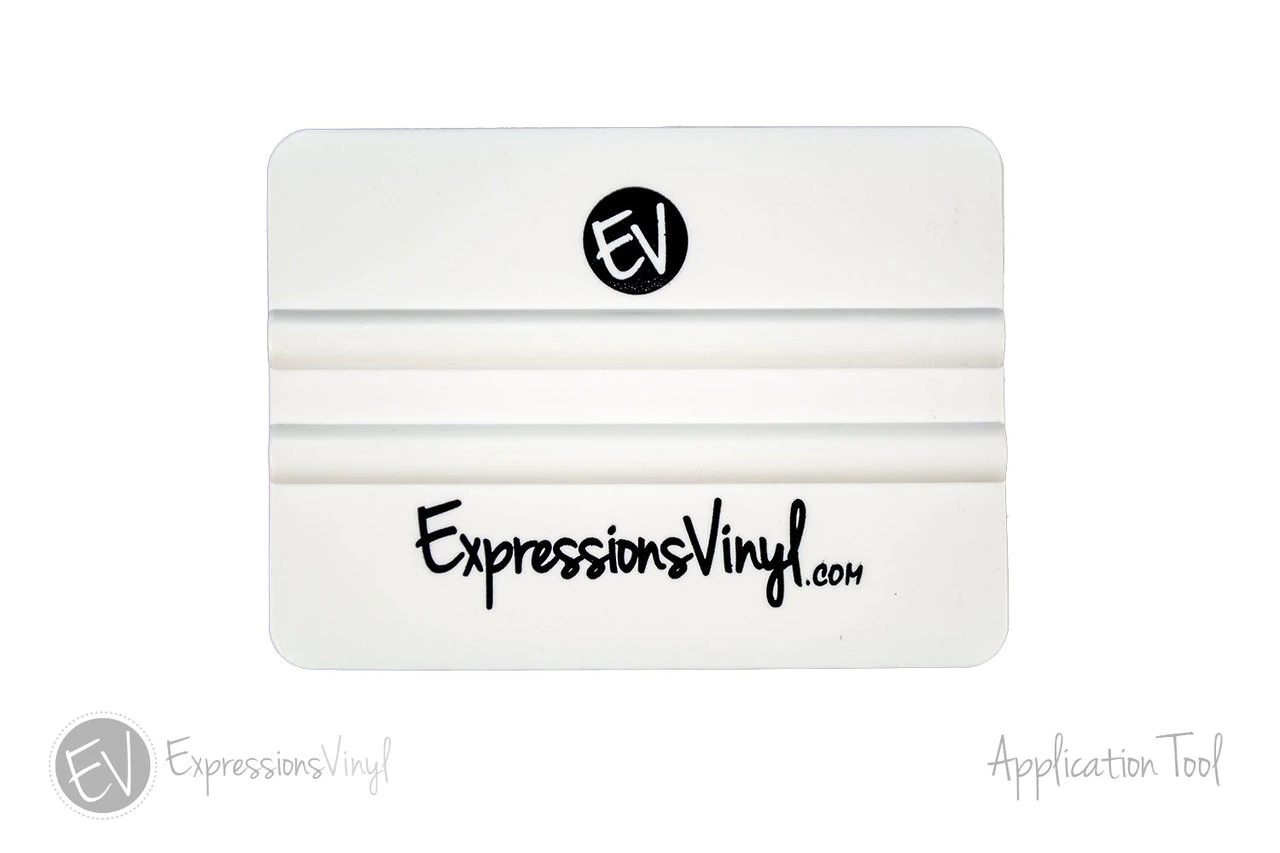
- Vinyl Application Tool
Instructions
- Place the Infusible Ink on your cutting mat and smooth it down with your vinyl application tool.
- Download the BOOK NERD file and open it in your software.
- Adjust the cut settings on your Silhouette: BLADE 5, SPEED 5, FORCE 26 and PASS 1. Make sure you MIRROR the design before hitting cut.
- Carefully weed your design and make sure you remove and leftover pieces of paper before pressing the design onto the tote bag.
- Heat up your Cricut EasyPress 2 to 385 degrees.
- Follow the heat guide instructions on the Cricut website.
Notes
- Make sure that your design is not bigger than the Cricut EasyPress 2. If you cannot press your entire design in one go then you'll get a nice line down your design (like mine).
Recommended Products
As an Amazon Associate and member of other affiliate programs, I earn from qualifying purchases.