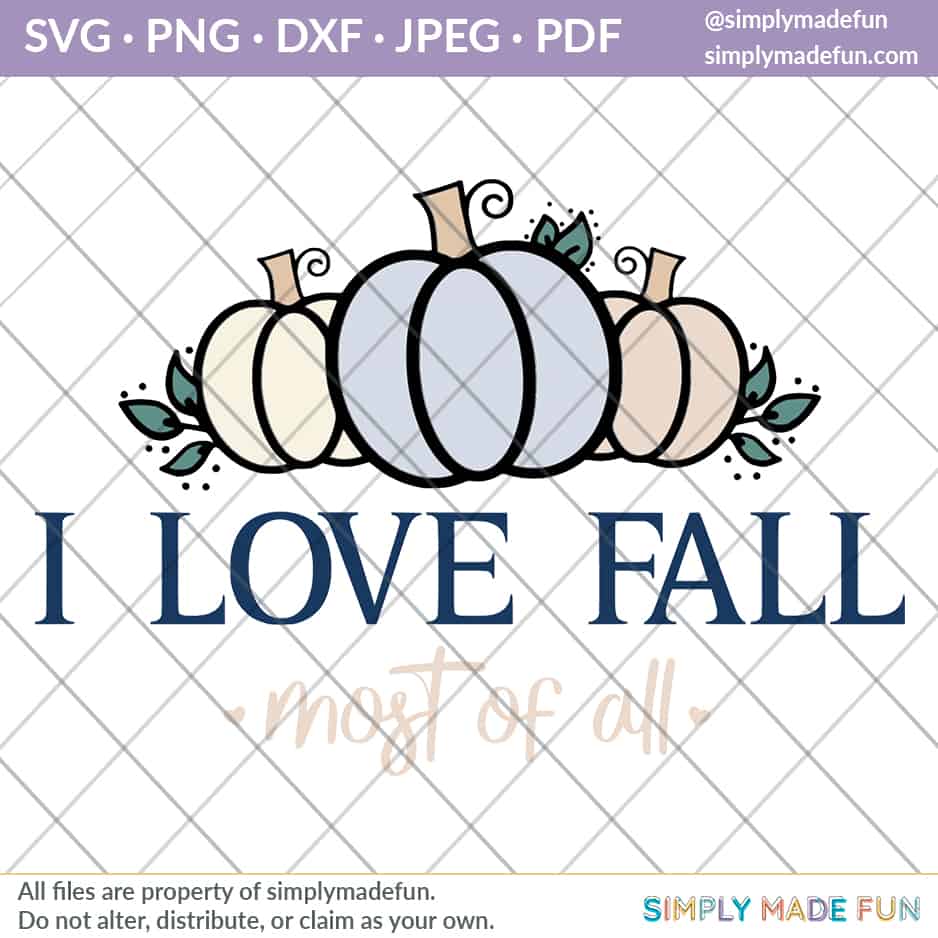
I Love Fall SVG for Sublimation
Use this hand drawn I love Fall SVG as a sublimation print! You can use it on a pillow, sweatshirt, placemats, tote bags and more!

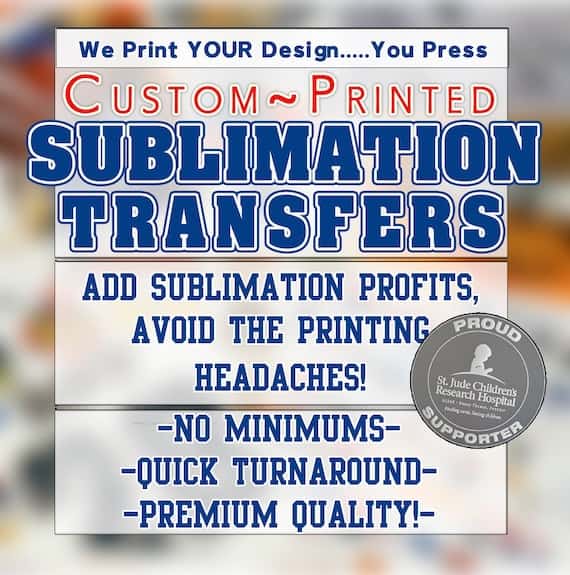
You do not need a sublimation printer to make your own sublimation prints! I did a lot of research and found a few shops on Etsy that will print out your sublimation designs and send them to you, so you can experiment without investing a ton of money on a new craft tool.
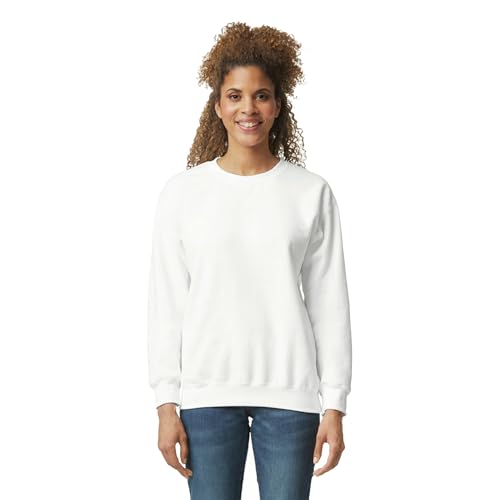
For my first sublimation project I decided to put it on a sweatshirt. I figured it was an easy first project to try and I love wearing sweatshirts in the Fall.
You may recognize some parts of this I Love Fall svg, because the pumpkin came from this fun Fall tea towel I made last year! I love being able to reuse some parts of past files to make something new!

This I Love Fall SVG can be used for both sublimation and vinyl. I love heat transfer vinyl but using it with adhesive vinyl would be cool too!
The reason I decided on sublimation is because there would be a lot of layers if I used htv or adhesive vinyl, so sublimation seemed like the easiest option.
And sublimation was so easy and the results were so good that I finally get the appeal. If you’re undecided on sublimation, trying it out on a file or two is a great way to find out how you feel about it!
Materials
Everything you need to use this I Love Fall SVG for sublimation!
- I Love Fall SVG
- Sublimation Prints (you can buy them here)
- Polyester sweatshirt (or a poly blend works too – I used this one!)
- Heat Press (I have this one and love it!)
Tips for using an svg cut file for sublimation
What is sublimation?
Sublimation is a method of printing a design that transfers to fabric or materials using ink and heat.
You need a specific printer for these types of projects or you can find shops online (I used Etsy for this I Love Fall SVG) that will print your design for you.
What types of materials can you put sublimation on?
So many different things!
My favorite materials are:
- Mugs and other drinkware,
- Photo Tiles,
- Blank Key Chains,
- Blank Ornaments,
- Blank Puzzles,
- T-shirts and more!
You can see a full list of sublimation blanks here!
Why would you use sublimation instead of heat transfer vinyl?
One of the best reasons to use sublimation instead of heat transfer vinyl is if your design has a lot of layers.
When your design has a lot of detail sublimation can make it very easy to transfer your design onto your material.
You also don’t have to worry about your design peeling, cracking or washing away. It’s permanent!

Faqs for this I Love Fall SVG for sublimation craft project
What type of heat press do you need for sublimation?
You need to be able to have high heat for your sublimation prints, and a Cricut EasyPress may not be able to reach the heat you need.
I use this CraftPro heat press from HeatPressNation but one on Amazon would also work.
Check to see how hot your heat press will get before you buy it! You do not want to be in a position where you spend money on a heat press and it won’t work with your projects (though a traditional heat press should work with sublimation!).

My colors on my sublimation print are dull, is that normal?
Yes! Your colors will brighten up with heat. The ink in a sublimation print is heat activated so your colors will darken up once you use it with a heat press.
Once you’ve used your sublimation print your print will look even more dull and muted than before. But you should have beautiful and bright colors on your sublimation material!
What is the difference between using a 100% polyester shirt vs a Poly blend?
If you use a 100% polyester blend your sublimation will look crisp and bright. A poly blend will cause your sublimation print to look more vintage and distressed.
I had a very difficult time trying to find a 100% polyester sweatshirt so I used a poly blend shirt instead.
Your shirts MUST HAVE at least a 50% polyester blend to work with sublimation. Anything less will not work.

Why does my sublimation material have a white box around it after I press with my heat press?
Okay, so I did not know this was a thing until after I pressed my sublimation print! And I have two big boxes around my design.
Sometimes you can still get a larger white box from your heat press, and that’s called a heat box. I’ve read (but have not tried myself) that you can use a lint roller and aggressively roll in and outside the box to get the heat box to go away.
Mine is there because I used too much heat and burned my shirt (oops…I read the recommended settings wrong!). So double and triple check the temperature before you press! That “box” is not going away and has essentially made this sweatshirt a “wear at home” outfit.

The smaller white box is from the sublimation transfer. You can feather your sublimation transfer (where you rip all four sides of the transfer) to stop the white box around the transfer design when you press it.
Check out these 15 Fall Craft Projects!
I’ve teamed up with 15 other bloggers to bring you all sorts of fun crafts! Click through to lots of fun projects!
- Stuffed Autum Gourd from Laura Kelly Designs
- Dollar Tree Fall Sign from Laura’s Crafty Life
- DIY Fall Wreath from Smiling Colors
- Free Fall Printable from Sunshine & Munchkins
- Wooden Fall Wreath from Little Dove
- I Love Fall Most of All from Simply Made Fun
- How to Make Sweater Pumpkins from Poofy Cheeks
- Die-Cut Pumpkin Cards from Bella Crafts Publishing
- Easy DIY Book Pumpkin from Creatively Beth
- Resin Fall Leaf Coasters from Artsy Fartsy Mama
- Easy Fall Wreath from Liz on Call
- Rustic Wood Slice Pumpkin DIY from DoodleCraft
- DIY Fall Sign from Ginger Snap Crafts
- DIY Autum Sign from Crafting Cheerfully
- Crochet Stitch Pumpkins from 5 Little Monsters
- Grateful Cloth Napkin SVG from Polka Dotted Blue Jay
This post contains affiliate links. I may earn commission from qualifying purchases at no additional cost to you. I will never recommend a product I don’t use or trust.
Other Fall craft projects to make
- Football Y’all t-shirt (includes svg cut file!)
- Gather and Give Thanks Tea Towel (includes svg cut file!)
- Hello Pumpkin Door Hanger (includes svg cut file!)
- Reversible Thanksgiving to Christmas Sign
- 27 Easy Fall Craft Projects to Make

I Love Fall SVG for Sublimation
Use this hand drawn I love Fall SVG as a sublimation print! You can use it on a pillow, sweatshirt, placemats, tote bags and more!
Tools
Instructions
- Print out your sublimation print (or send it off to a shop who will do it for you).

- Heat up your heat press. (I used this heat guide for my specific heat press)
- Place your sweatshirt on the heat press and then place your sublimation print (face down) on top of the sweatshirt.
- Press your sublimation transfer with your heat press.
- Open up your heat press and then remove the sublimation transfer.
- If there is a heat box from your heat press, use a lint roller and roll it all over your sweatshirt. Be aggressive with it!


Notes
- You must use a sweatshirt/t-shirt it needs to be at least 50% polyester. The more polyester there is the better your press will be!
- Make sure you read the proper heat settings for your heat press before you try to press a sublimation print. I read it wrong (I read 400 and I should've pressed at 365) and I burned my shirt! Don't be like me.
Recommended Products
As an Amazon Associate and member of other affiliate programs, I earn from qualifying purchases.