
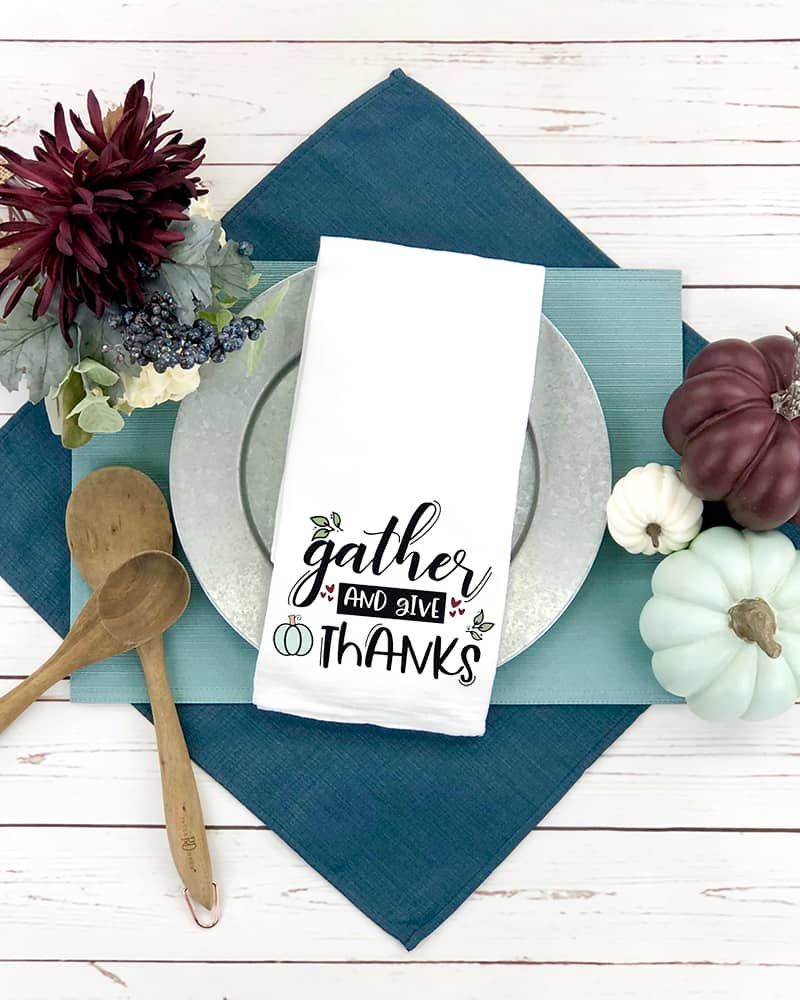
Free Thanksgiving Gather and Give Thanks SVG
Download this Thanksgiving Gather and Give Thanks SVG and use it on tea towels, wood signs, tablecloths and more for your Thanksgiving feast. You can also grab 11 other free Thanksgiving svg files at the bottom of the post!
This post was last updated on November 17, 2022
Have you ever wondered how crafters are able to make vinyl projects that have multiple colors in them?
Lining up vinyl colors can be a bit intimidating if you’ve never done it before, but we’ll teach you the trick to it so that you can figure it out easily and quickly!
Our favorite way to do this includes using our heat transfer vinyl sizing and placement guide, which you can download here!
The best way to set yourself up for success when trying to line up heat transfer vinyl is to take steps inside your Silhouette Software before you cut anything out.
My favorite way to do this is to draw a small box around my design and then center both the box and the vinyl design on the page.
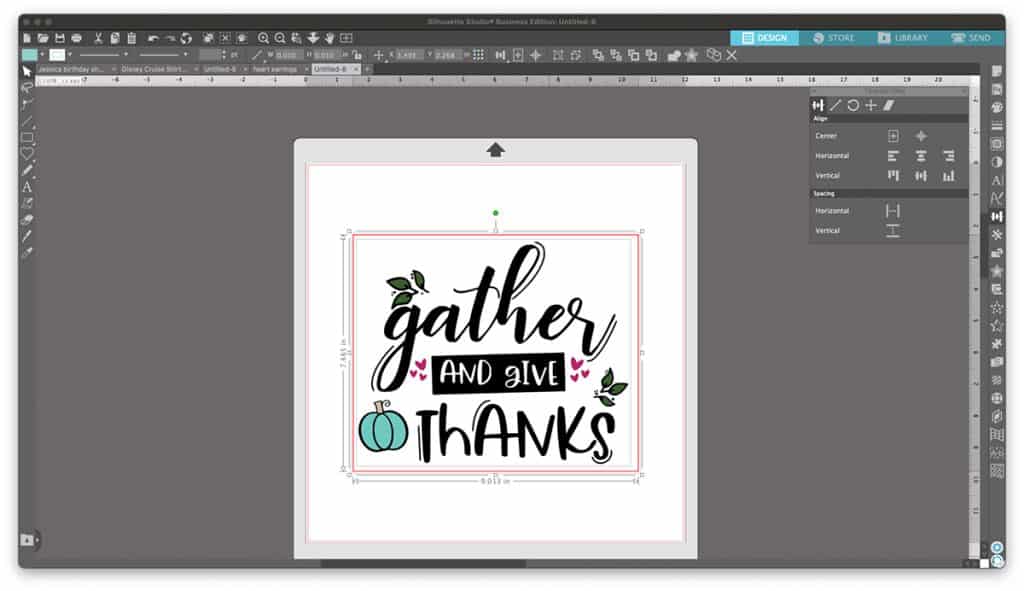
This really helps when you go to line your cut design onto your material, because everything will be lined up perfectly before you even get to this point!
Materials to make a Thanksgiving tea towel
To make your own Thanksgiving tea towel you’ll need a:
- Silhouette Cameo,
- heat transfer vinyl,
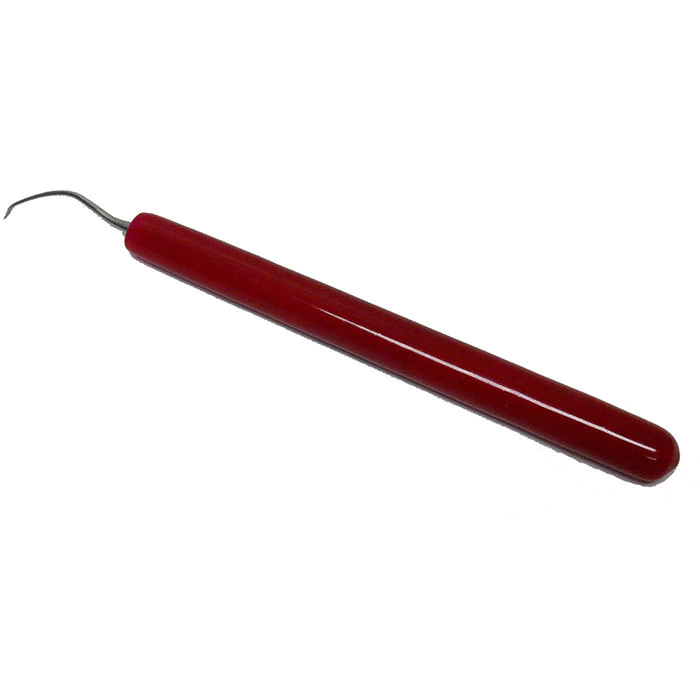
- weeding tools,
- Heat Press,
- pressing pillow,
- teflon sheet, and a
- flour sack towel.

This post contains affiliate links. I may earn commission from qualifying purchases at no additional cost to you. I will never recommend a product I don’t use or trust.
How to use the Thanksgiving Gather and Give Thanks SVG file
What types of files come with the Gather and Give Thanks svg file?
The types of files available for this svg file are: SVG, PNG, DXF, JPEG, and PDF. These files are compatible with the Silhouette, Cricut, and other cutting machines.
You can use the link below to get access to all of the download options:
Grab the Thanksgiving Gather and Give Thanks svg file
How do you open the file in your cutting machine software?
Download the type of file that works best with your machine. Then click FILE >OPEN and select the file you want to open up in your software.
If you are using the Silhouette Software you might have to trace your image in order to use it. The Business Edition of the software lets you open up SVG’S and cut them immediately without tracing. If you do not have the business edition you will need to trace the image.
Learn how to trace a file in the Silhouette Software here.
What vinyl should you use on flour sacks?
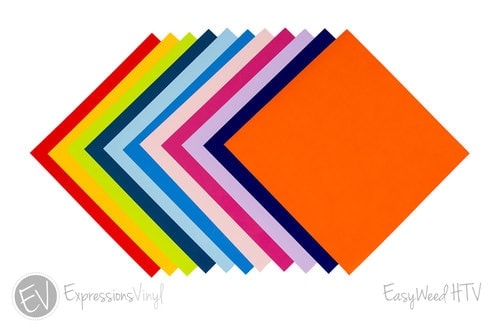
Heat transfer vinyl is the best type of vinyl to use on flour sacks. I love Siser Easyweed because (true to it’s name) it is incredibly easy to weed! It’s also very easy to cut.
You should never use adhesive vinyl on any type of fabric (tea towel, pillow, blankets, shirts, etc) because it won’t hold up for the long haul and you cannot wash it.
If vinyl isn’t your thing you can also do sublimation or even screen printing!
Should you use a Heat press or Iron?
Either works for this project but I personally prefer my Cricut EasyPress over an iron. And iron has holes in the bottom for steam which means you will not get an even press with it. You’ll have to move the iron all around in order to make sure every piece of your heat transfer vinyl has stuck to the flour sack.
Since the Cricut EasyPress has a solid iron on the bottom (with no holes) you will get an even press every time.
I have since upgraded to the CraftPro Heat Press from HeatPress Nation. I absolutely love it and recommend a traditional heat press if you have the space/budget for one. You’ll get even pressure each and every time with a heat press and depending on the size you get it’s more bang for your buck than a Cricut EasyPress.
FAQ’S TO HELP YOU LINE UP YOUR HEAT TRANSFER VINYL DESIGN!
How do you find the center of your design in the Silhouette Studio?
I like to draw a box around my entire design in the Silhouette Studio and then center the box and the design in the Software before I hit cut. This will help me later on once the entire design is cut and ready to be pressed!
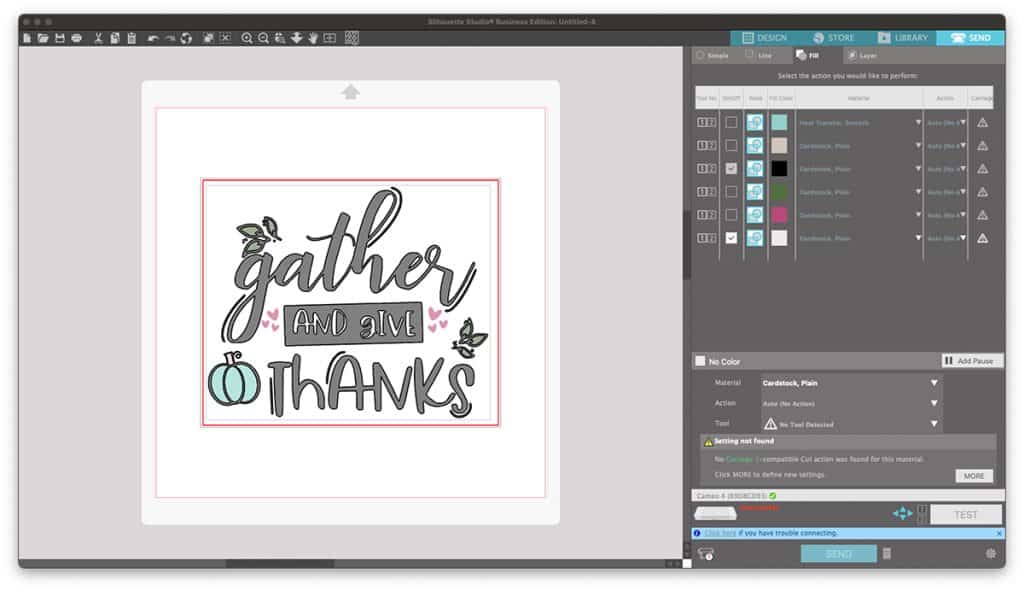
Do you need the Business Edition of the Silhouette Studio when cutting multiple colors of vinyl?
No you don’t, but it does make things easier!
I like the Business Edition because I can cut by fill, line and layer. For projects like this gather and give thanks svg, I cut by fill and it makes it very easy to cut each color out.
Once you cut out all your colors, how do you line them up on your tea towel?
I talk about lining up vinyl in this post, and I use this simple trick all of the time!
Because we’ve already centered our design and the box in the Silhouette Software, after it’s cut you can fold the design in half on the carrier sheet (make sure the sticky sides are facing out towards you).
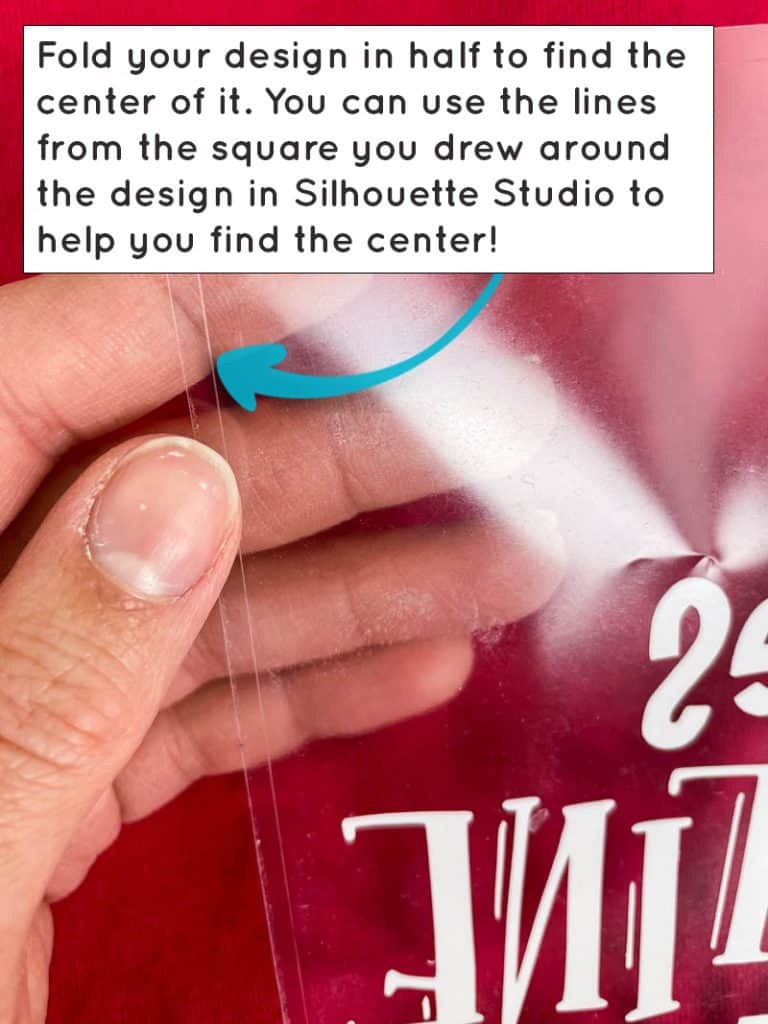
You will also need to fold your tea towel in half an use your heat press to iron a crease down the center. You’ll use that line and the line you just made on your carrier sheet to line every single piece up in the center of your towel!
You’ll need to fold every piece of vinyl and use the crease in your shirt to line them up before you use your heat press. It’s my favorite trick to get your designs straight and lined up every single time!
How do you make sure there are no gaps in the layers?
Sometimes you’ll notice a small gap in-between layers of vinyl where the material of your shirt or tea towel show through.
One way to make sure this doesn’t happen is to offset your bottom layer by 0.015 in the software. That way if the vinyl shrinks at all under the heat you’ll have a bit of a cushion where there won’t be any gaps.
12 FREE THANKSGIVING SVG CUT FILES
Each month I get together with a group of crafty friends to bring you free svg files. This month we all came together to off you free Thanksgiving svg files for you to use on all of your holiday projects – including my Thanksgiving Gather and Give Thanks svg file.
Scroll down to the bottom of this post to grab all the free svg files!
DISCLAIMER: Please note that Tamara from Tam’s Sweet Life no longer has an active blog. Her cut file is no longer available, sorry for the inconvenience!

Monogram Turkey SVG from Crafts of a Different Shade
Thanksgiving Free Cut File from Crafting Overload
Turkey Thanksgiving Cut File from Poofy Cheeks
Sprinkle a Little Thanks on It from Mighte Made It
Grateful Napkin Rings from Polka Dotted Blue Jay
Fall Leaf Stencil from Oh Yay Studios
I Can’t Eat Another Bite SVG from Sunshine and Munchkins
Grateful and Blessed SVG from Chameleon Cuttables
There is Always Something To Be Thankful For from My Design In the Chaos
DIY Thankful Coaster from The Craft Print
Gather and Give Thanks SVG from Simply Made Fun
WTF Thanksgiving File from Tams Sweet Life
Other Fall and Thanksgiving crafts we love:

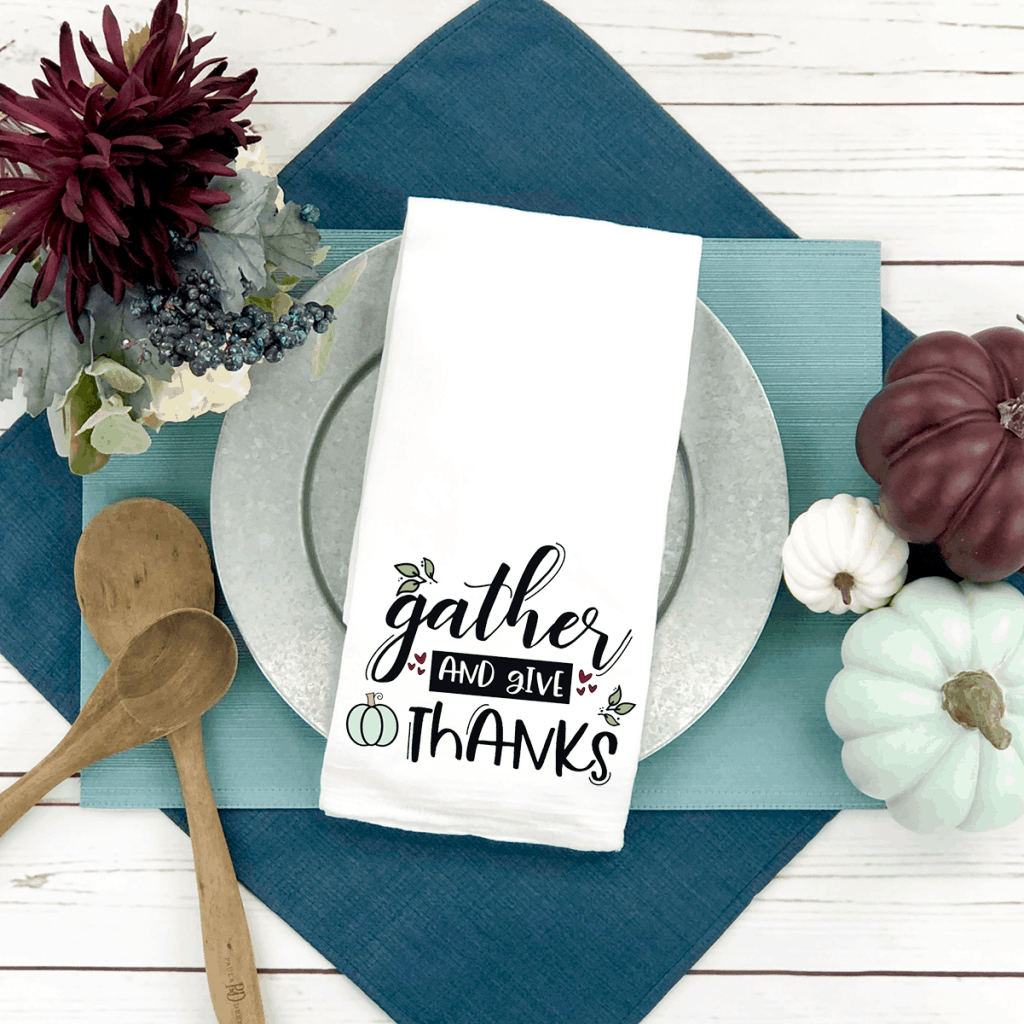
Gather and Give Thanks Tea Towel
Download this free gather and give thanks svg and use it on t-shirts, tea towels, pillows, wood signs and more!
Materials
- Flour Sack Towel
- Heat Transfer Vinyl
- Weeding Tools
- Teflon Sheet
- Pressing Pillow
Instructions
Sign up to grab the Gather and Give Thanks svg file!
- Open the file in your software. If you do not have the Business Edition of the Silhouette Software you will need to trace the image. (SEE NOTE #1)
- Make sure you right click your image and click FLIP HORIZONTAL before you cut it out. Then hit cut.
- Use your weeding tools and weed out all the small parts of the design. While you're doing this heat up your Cricut EasyPress or iron.
- Unfold your flour sack and iron it out with your EasyPress. Then fold it in half and iron the crease. This will help you find the center of the towel so that your vinyl decal will be straight when you press it on.
- Put a pressing pillow underneath your flour sack.
- Lay your vinyl design on the flour sack, place a teflon sheet on top, and then press with your EasyPress for 30 seconds.
- Remove the teflon sheet and carrier sheet from the vinyl. Go slowly to make sure your vinyl is stuck to the flour sack. If it isn't, lay the carrier sheet and teflon sheet back down on the vinyl and press for another 10 seconds. Continue to do this until the entire decal is stuck to your flour sack.
- Hang it on the door of your oven for your Thanksgiving feast!
Notes
1. The Business Edition of the Silhouette Software allows you to open SVG files in the program and cut them without tracing first.
*** You do not need the Business Edition of the Silhouette Software for this project! You can use the free version of the software to make your own tea towel. I have used (and love!) the Business Edition of the software but please know it is not necessary for you. Especially if you are a casual crafter.
Recommended Products
As an Amazon Associate and member of other affiliate programs, I earn from qualifying purchases.


SO CUTE! And what an easy thing to make to jazz up the table!!!!!!! 🙂
Thank you Emily!! It’s such an easy and fun craft!
I love these colors you used for your place setting!!!
Thank you! I love using a different color scheme for Thanksgiving…I’m not a fan of oranges and browns! lol