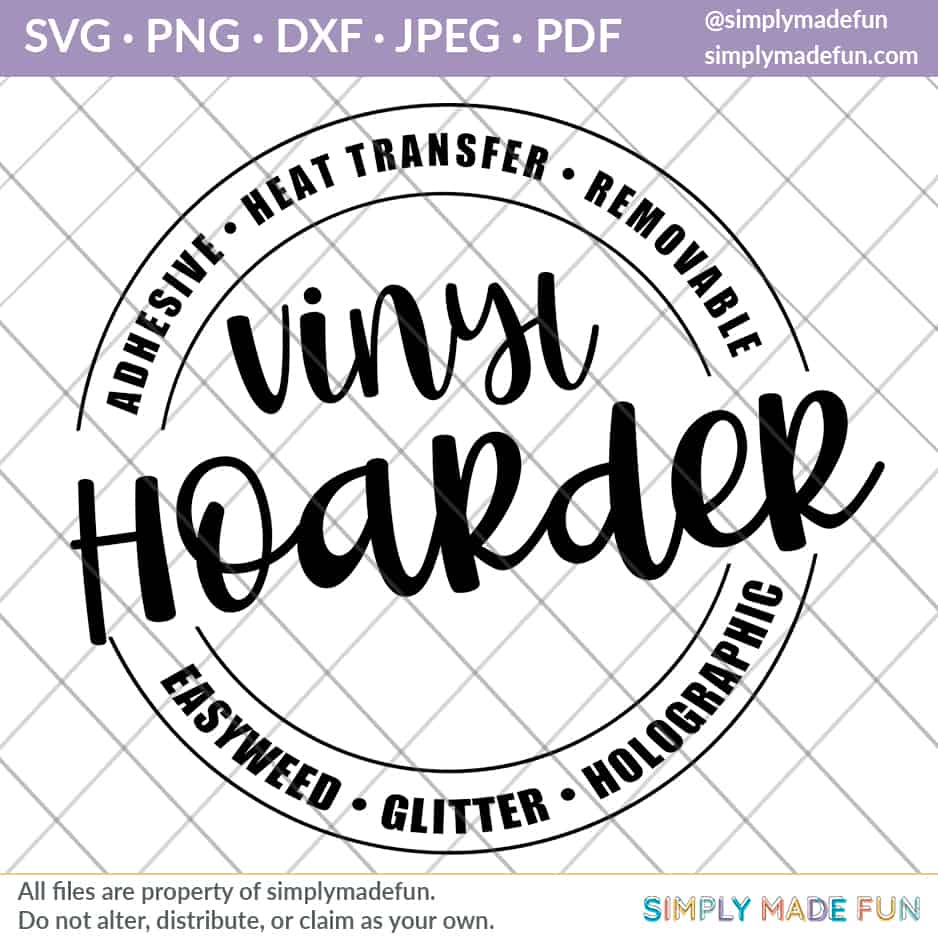
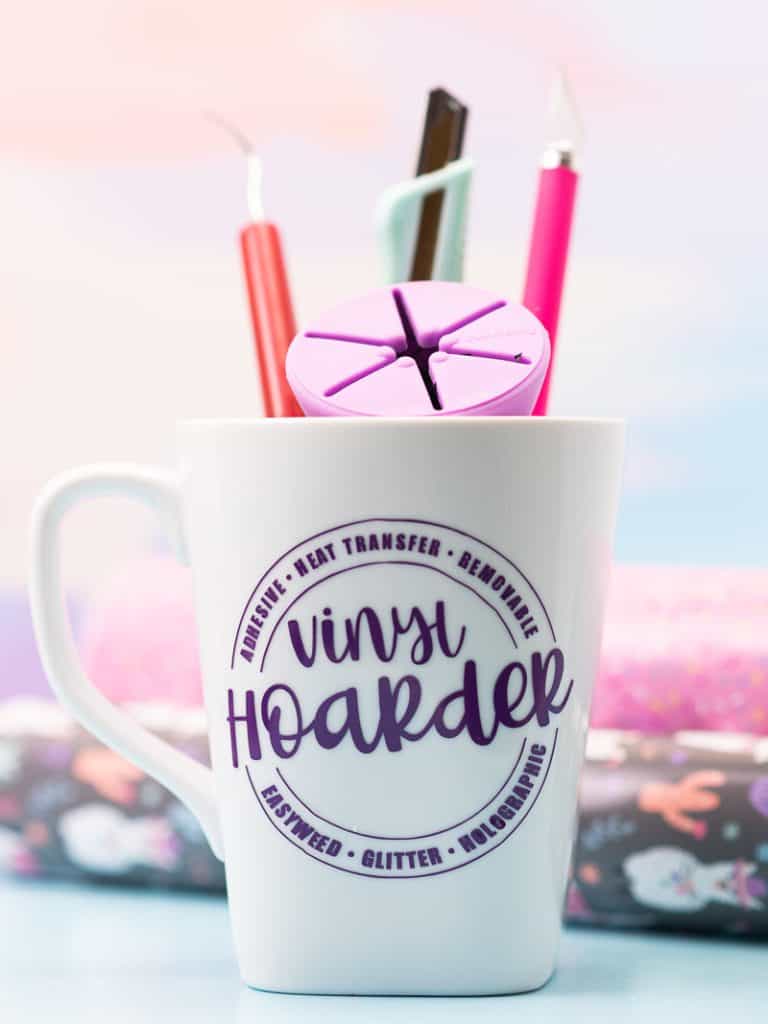
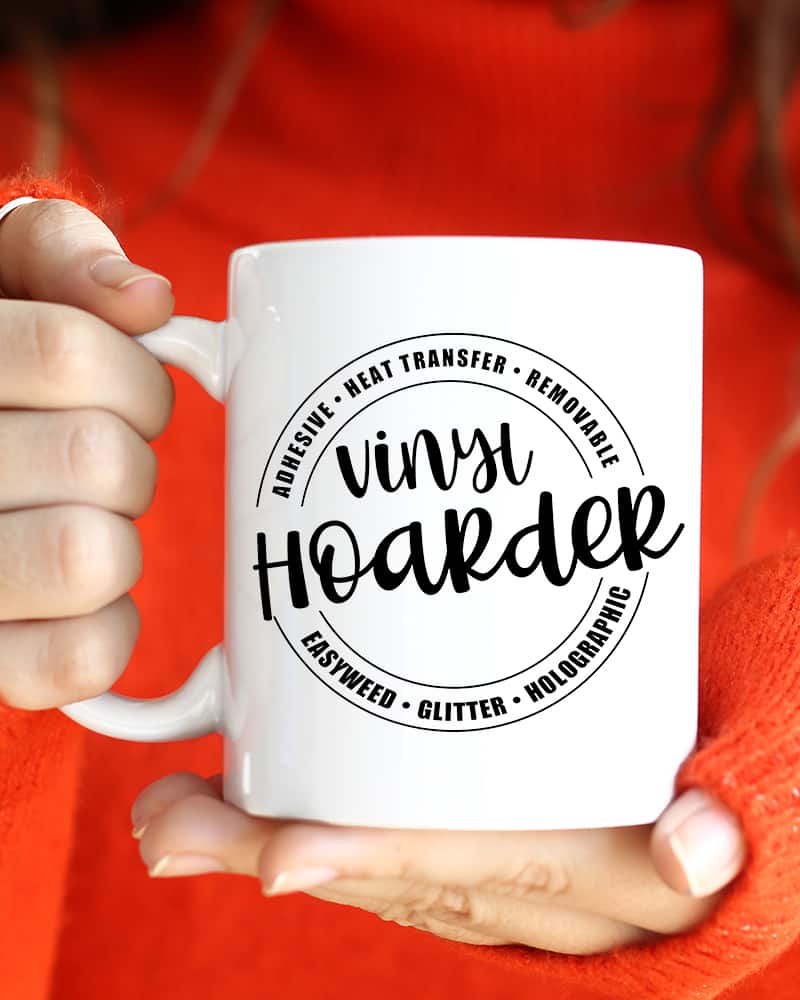
Craft Vinyl Hoarder SVG Cut File
Use this craft vinyl hoarder svg to label your crafty tool holder! Use adhesive vinyl on a mug and put all of your vinyl craft tools inside so that they’re always within reach while you’re crafting!
This post was last updated on November 10, 2022

Putting vinyl decals on mugs is such a fun way to customize them and make them your own. They make the perfect gift and are such an easy beginners craft project to try!
The only problem with putting vinyl decals on mugs is that the designs are small and it can be a little tough to put the decal on a rounded surface.
But we’re going to teach you how to take this craft vinyl hoarder svg cut file and put it on a mug the easy way!

Two big concerns with putting vinyl on a mug are getting bubbles in your design or losing letters/design elements when weeding.
For this svg cut file we’re going to show you how to reverse weed the image and how to use the dry hinge method to line up the image on your mug!
So let’s get started and use this craft vinyl hoarder svg cut file to make a custom mug!
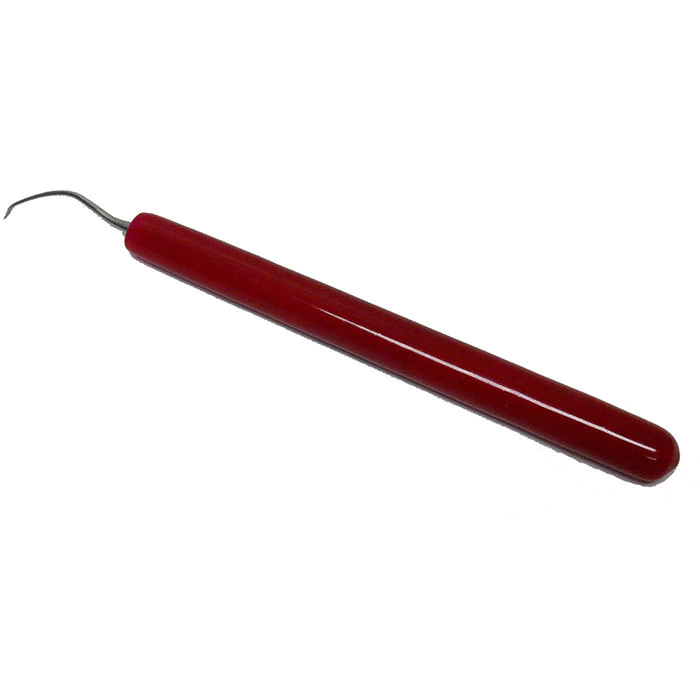
Materials
Everything you need to make this vinyl hoarder coffee mug!
- Silhouette Cameo
- Silhouette Cameo 4 Autoblade
- Cutting Mat
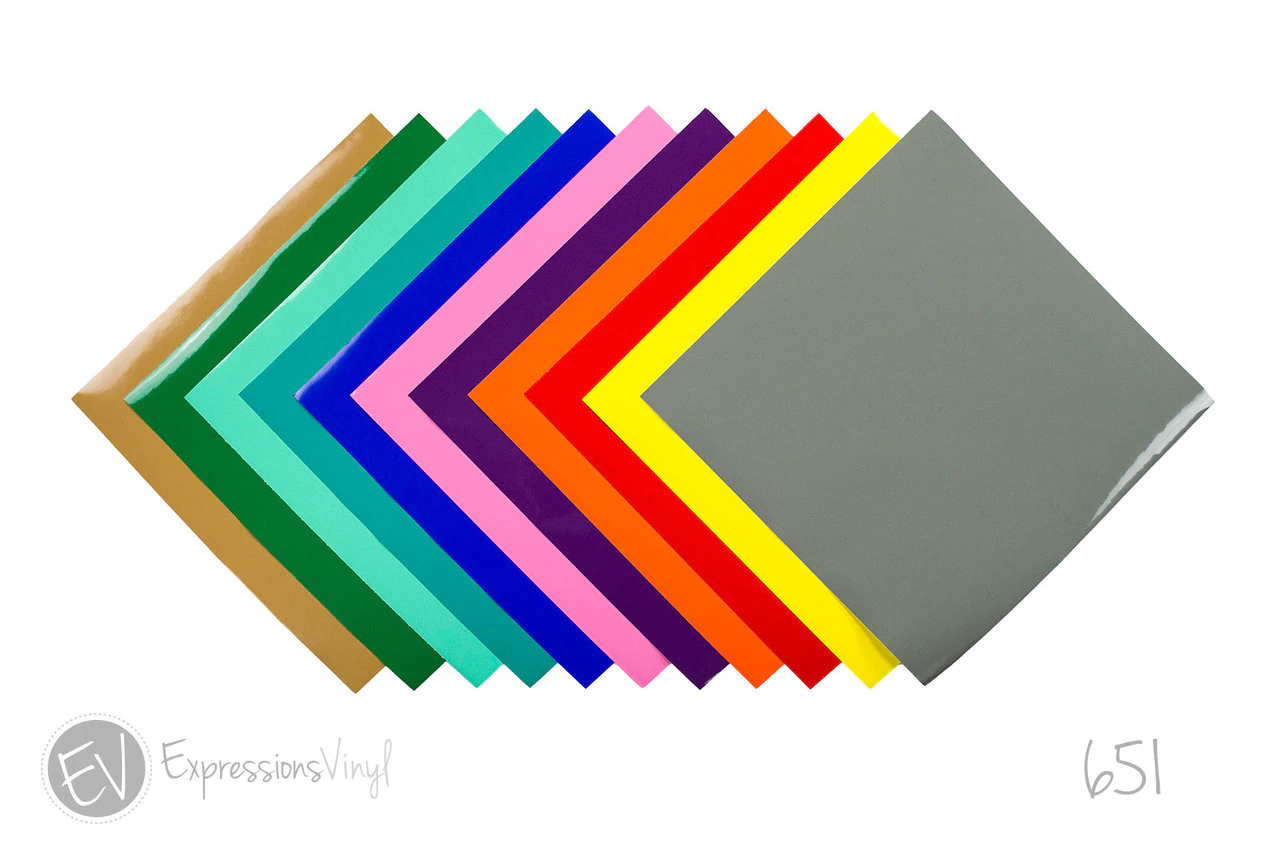
- Adhesive Vinyl
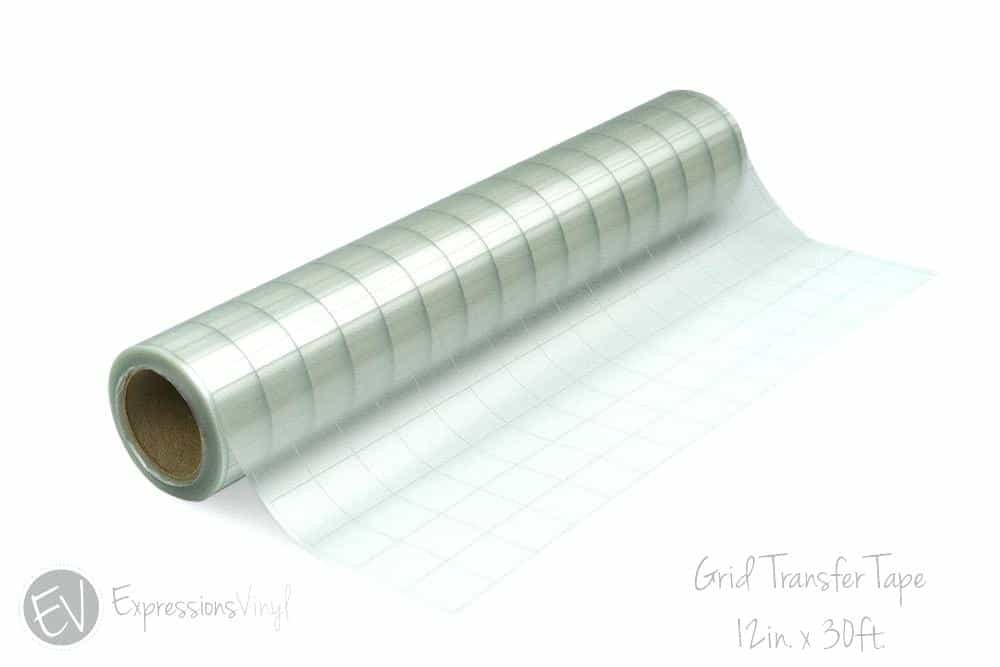
- Transfer Tape
- Coffee Mug
This post contains affiliate links. I may earn commission from qualifying purchases at no additional cost to you. I will never recommend a product I don’t use or trust.
Common questions about this Craft Vinyl Hoarder SVG cut file!
Where can I find this free cut file?
You can download this free file at The Craft Room!
There are five file types to choose from:
- SVG,
- PNG,
- JPEG,
- DXF, and
How big should a decal be to fit on a coffee mug?
It depends on the type of mug, but I tend to like getting fat mugs so that I can cut a bigger decal. Especially when the design has smaller letters on it!
I would measure your mug across to see how big the decal can be. Most mugs I use can fit a decal at least 2.5 inches wide, for this one I did 3 inches.

How to make a vinyl decal lay flat on a mug?
Whenever you lay a vinyl decal on a round surface, using the dry hinge method helps the decal lay flat and straight!
Learn how to use the dry hinge method here!
You can also cut small strips in the transfer paper around the design to help lay the decal flat. Make sure you don’t accidentally cut vinyl though!
You can see how we cut the transfer tape in this video!
The circle lines won’t lay straight, how do I fix that?
If you’re cutting thin lines it can be really hard to get them to line up straight.
I’ve been trying to figure out a way for years to fix this, but the only thing I know to do is to make the lines thicker in the Silhouette Studio.
When you download this design I went ahead and made the lines thicker for you so you don’t have to worry about it.
FAQ’s for making this craft vinyl hoarder coffee mug!
How do you get bubbles out of a vinyl decal?
If you lay vinyl on a mug and you get bubbles in your decal, you can use direct heat to get them out.
Use a hairdryer and heat up your vinyl, then use your finger to rub the bubbles out.
Where can you buy blank mugs?
You can find them anywhere!
The Dollar Tree has the cheapest blank mugs you can find. But you can also find them at Hobby Lobby, Target, Walmart or anywhere else you can buy mugs at!
Reverse weeding or traditional weeding?
I tried so hard to reverse weed with this design.
Reverse weeding is when you put a piece of transfer tape on top of your vinyl decal after cutting it, peeling off the paper backing and then weeding the design. The purpose of this is to keep all of your small pieces on the transfer paper so they don’t come up as you weed your design.
I cut this design 10 different times before switching to traditional weeding for this design. It’s what worked for me and I suggest doing what works for you!
GRAB 18 FREE CUT FILES FOR CRAFTERS!
Every month I team up with a group of amazingly talented crafters to bring you a bundle of free svg cut files! This month’s theme was crafts, which is pretty perfect since we’re all a crafty bunch here! You can download all of these awesome files by visiting the blog posts (links are underneath the image). All svg cut files are free to use for personal use only and don’t forget to tag us on Instagram (#svgdesignsquad) if you make one of our projects and share it!

- Just Keep Crafting by Persia Lou
- Crafting+Diet Coke by Crafting Overload
- Paint Palette Mini Pinata by Studio Xtine
- I am not messy… I’m crafty by Polka Dotted Blue Jay
- Floral yarn ball SVG by Oh Yay Studio
- Never Underestimate a Crafty Gal by Gina C. Creates
- Craftaholic Hat by Pen + Posh
- Crazy Craft Lady by Poofy Cheeks
- Craft All the Things by Crafty Life Mom
- Caffeine Craft Repeat by Liz on Call
- Crafty Friends Card by The Bearded Housewife
- I like crafting and like three people by The Walnut Street House
- Life is short. Do the crafting by Sunshine and Munchkins
- I Can Totally Make That! by Lettered by Stephanie
- Creativity in Progress Craft Room Sign by Spot of Tea Designs
- They See Me Rollin’ by Craftara Creates
- Vinyl Hoarder by Simply Made Fun
- Coffee & Crafts by Tried & True Creative
More Adhesive Vinyl Crafts!
- How to layer vinyl decals
- Beginners guide to HTV and Adhesive Vinyl
- How to apply vinyl to wrapping paper
- How to use transfer tape with adhesive vinyl
- Rae Dunn inspired Christmas ornaments

Vinyl Hoarder Coffee Mug
Download this free vinyl hoarder svg cut file and use adhesive vinyl to make a gift for your favorite crafty friend!
Materials
- Cutting Mat
- Adhesive Vinyl
- Transfer Tape
- Vinyl Hoarder SVG Cut File
- Painters Tape
- Blank Coffee Mug
Instructions
- Download the Vinyl Hoarder svg cut file. Open it up in your Silhouette Software.
- Measure the width of your mug and resize your cut file in the software.
- Load your adhesive vinyl onto your cutting mat and hit SEND in your software.
- Once the vinyl is cut, cut a small piece of transfer tape and lay it over your image.
- Rub the transfer tape onto your vinyl.
- Turn your vinyl over so that the backside (paper) is facing you and then start to weed it.
- Once you've weeded all of your design, put it back on the paper backing.
- Grab your mug and decide where you want to put your decal.
- Put the decal with the paper backing on your mug. Make sure it's straight then use the blue painters tape to tape it in place.
- Grab a pair of scissors and cut off half of your paper backing.
- Slowly lay your vinyl decal on the mug, working from the middle out so that you don't get any air bubbles underneath your design.
- Then, remove the rest of the paper backing and your blue painters tape. Slowly put the rest of the design on your mug.
- If you have air bubbles, use a hair dryer to heat the vinyl and then gently try to push the bubbles out.
Notes
DO NOT PUT YOUR MUGS IN THE DISHWASHER!
Remember to hand wash your mugs with vinyl on them only. Do not let them soak in warm water either! Hand washing ensures that the vinyl will last on your mug.
Recommended Products
As an Amazon Associate and member of other affiliate programs, I earn from qualifying purchases.