
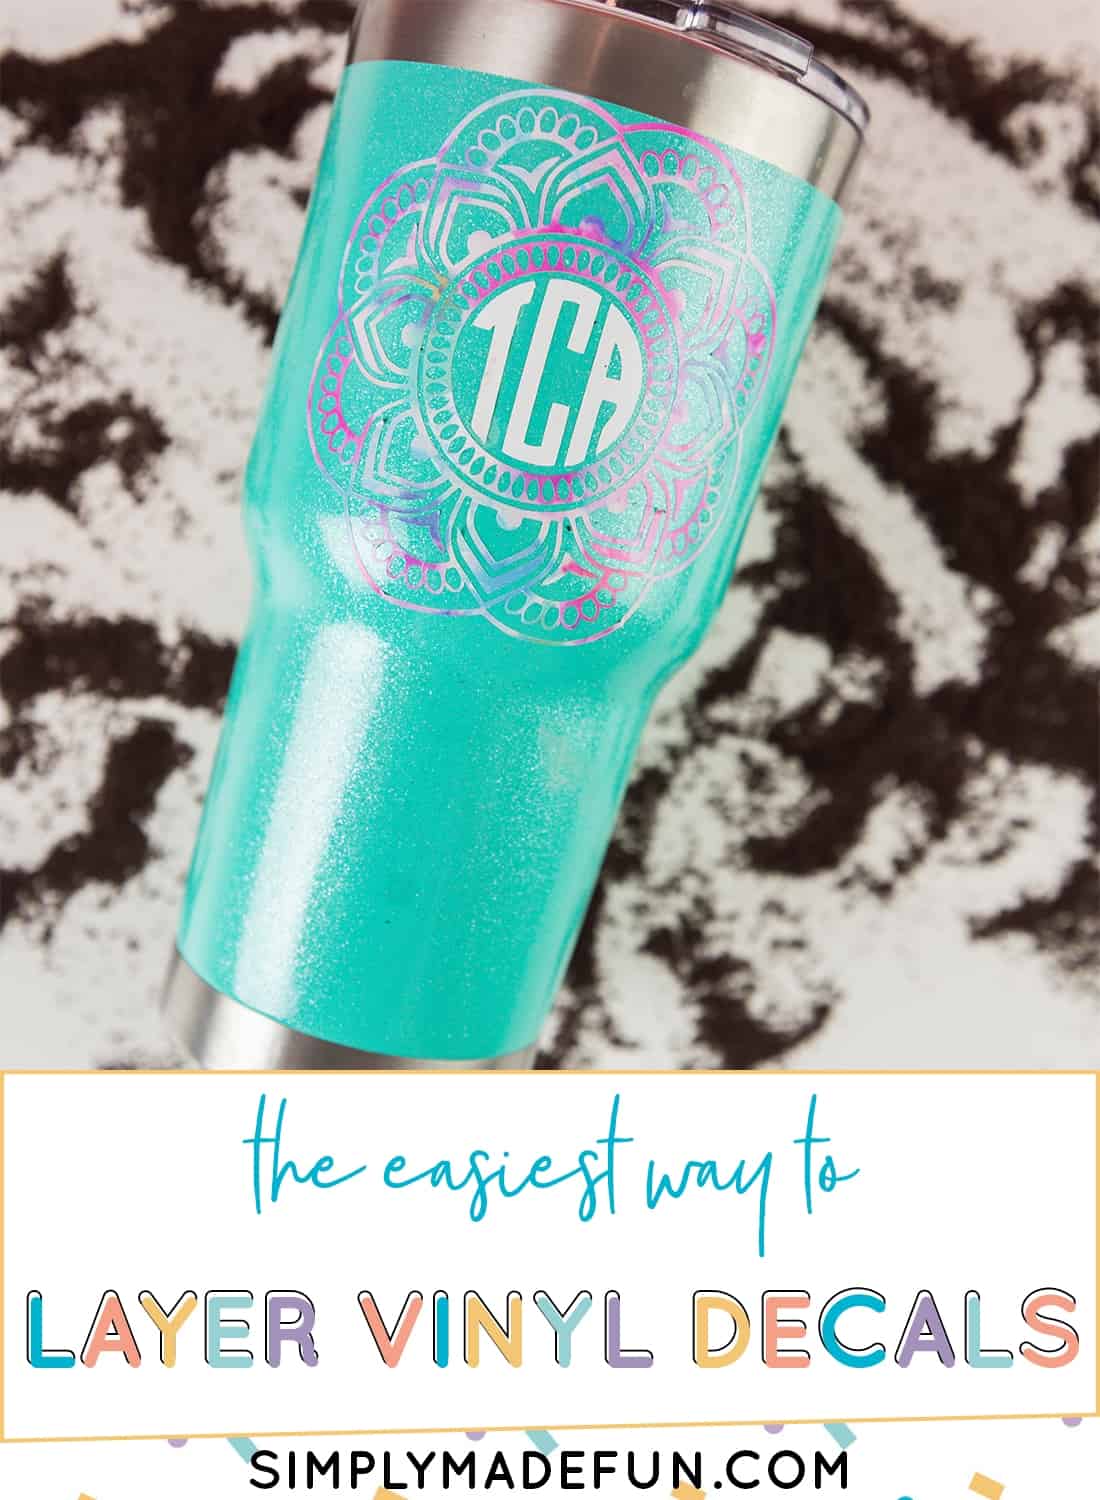
How to Layer Vinyl Decals With a Silhouette Cameo
This post contains affiliate links. I may earn commission from qualifying purchases at no additional cost to you. I will never recommend a product I don’t use or trust.
Learn the simple trick to layer vinyl decals with a Silhouette Cameo machine that only takes a few extra seconds before you hit cut in your Silhouette Design Software.

Layering vinyl decals with a Silhouette Cameo have always confused me. I look at other people’s projects and have never understood how they can line up layers of vinyl and have no imperfections. Because let me tell you, I never could do it myself.
I’m not one of those people who can eyeball it. Honestly, all the designs I’ve done that to are incredibly crocked and off center.
So…I needed a better way to do things.
Once I figured out that there’s actually a really simple trick to layer vinyl decals correctly it all clicked. My designs have started to look so much better!
Layered vinyl decals can end up looking amazing but if you’ve never done it before it can be very intimidating. And I don’t know about you, but if I’m nervous about trying something I tend to put it aside and “try it later”.
Which really means….I never get around to doing it.
Layering vinyl has always been one of those things that required a little bit of skill and practice. For this project you can kind of eye ball where the design goes and how to line it up properly. But sometimes you can’t! And sometimes you want to be more precise so eyeballing it just doesn’t work.
It’s all about what you’re comfortable with.
And unfortunately, I am TERRIBLE at lining things up/getting them straight so I need all the help I can get!

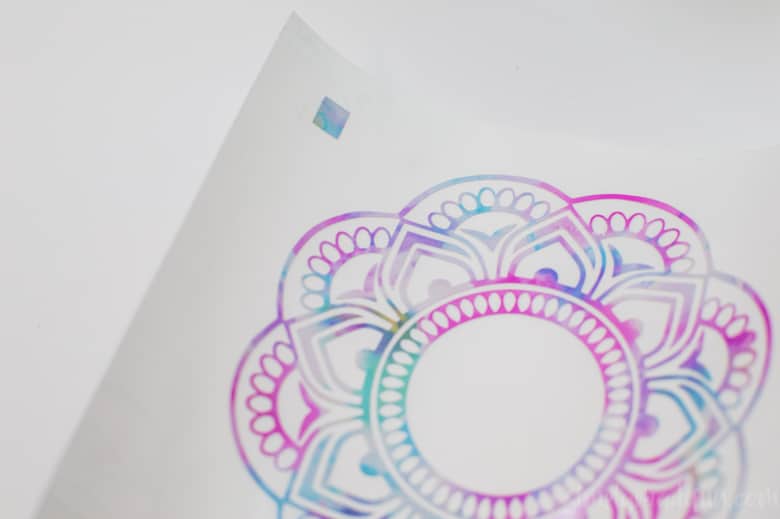
Whenever I use permanent vinyl on projects I cut out two small boxes on the top of the design that I can layer on top of each other as I’m placing each piece of the design on my project. It really helps me get the pieces right every single time!
I’ve learned a lot of this through trial and error. Don’t get me wrong, this is not a fool-proof way to do things. You may still mess up. Things may not look perfect once you’re done with them.
That’s OKAY.

Every time you do a project you will get better. You’ll learn tricks that help you be more efficient and get better results each time. It’s all about putting the time in to practice and get better! So don’t get discouraged if your projects don’t turn out perfect the first time around.
My fails have been well documented on Instagram stories! We all mess up. ?
You can also read about my Halloween Trick or Treat bag fail here. That one was pretty funny!
If you want to try to layer vinyl decals, read this first!
Do you have to take steps to line the design up in the software or can you do it after you cut everything out?
Honestly it is much easier on your if you do it in the software. I just use two small boxes on the sides of the design and cut them out with each layer. It takes a few extra seconds but saves you lots of time and frustration in the end.
What is the easiest way to line up all the layers of vinyl after you cut and weed your designs?
The easiest way is to weed the bottom layer first and then layer the other parts of the design on top of it with transfer tape until it’s all put together. Then transfer it onto your material.
PRO TIP: This will work if you’re doing more than two layers but I have always had the most success when only doing two layers for a vinyl decal.
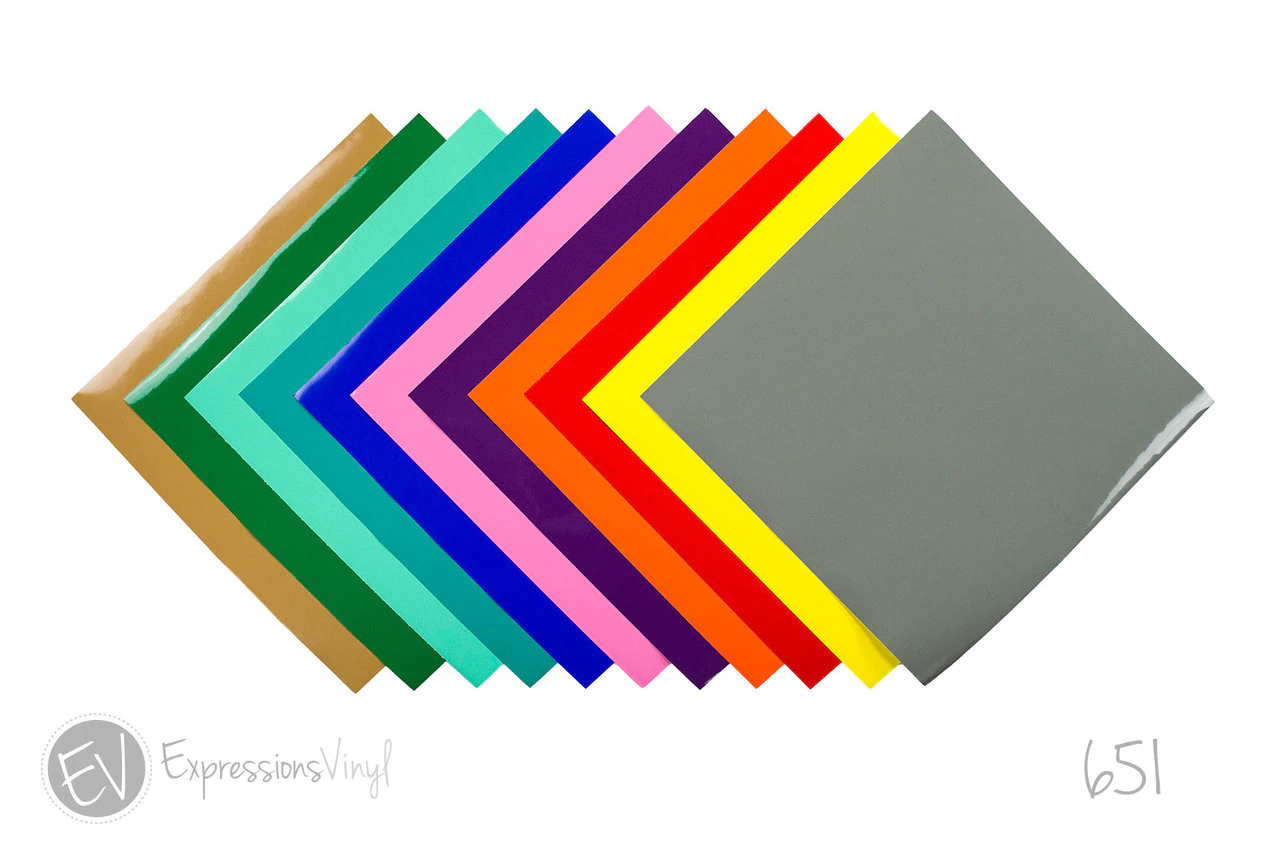
If you’re putting vinyl decals on a coffee mug, what is the best vinyl to use?
Always use 651 (also known as permanent vinyl) on coffee mugs, tumblers and thermoses. Really…you should use it on anything you want to permanently stick it to.
Are there special care instructions for washing mugs with vinyl on them?
YES! Never ever soak anything that has vinyl on them. Also refrain from using an abrasive brush on the vinyl. You want to hand wash your mugs in warm soapy water and then let them drip dry. Don’t ever put them in the dishwasher because the heat can cause the vinyl to peel up.
Do these tips apply to coffee mugs or can you use it for other projects?
These tips can apply to all sorts of projects you’re doing! Use the box technique to line up layers on signs, t-shirts (just remember to remove the boxes before you use your heat press!), Christmas ornaments, and anything else you make.
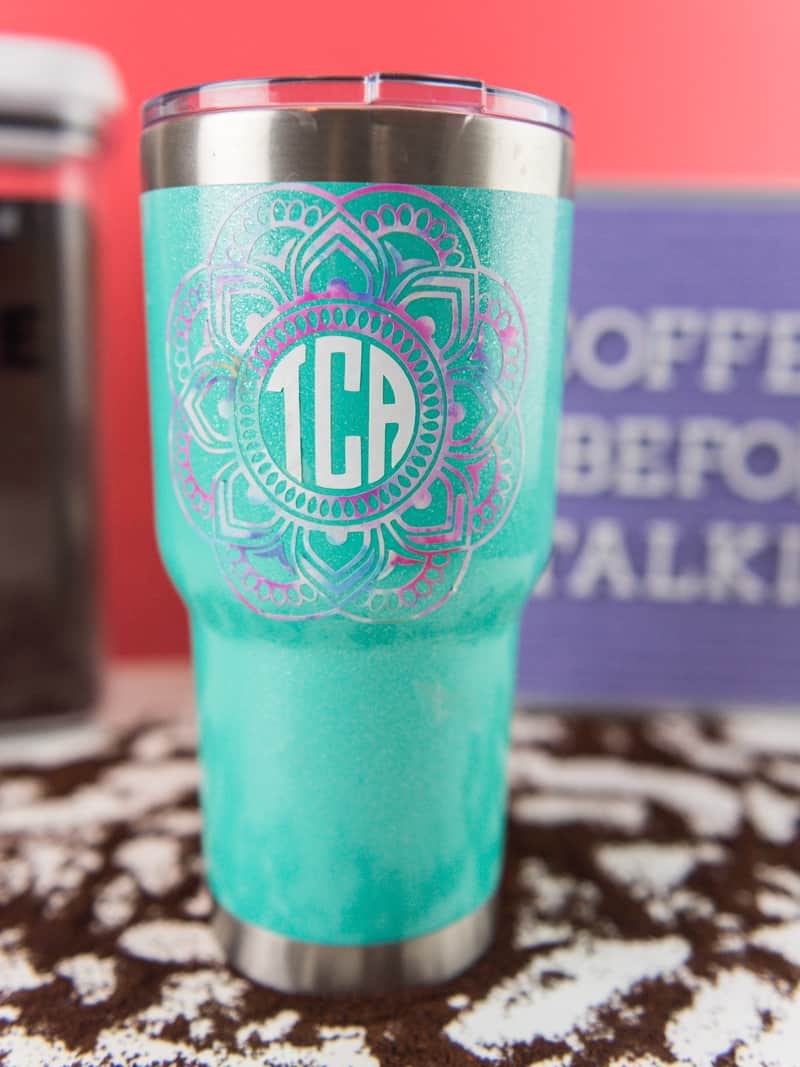
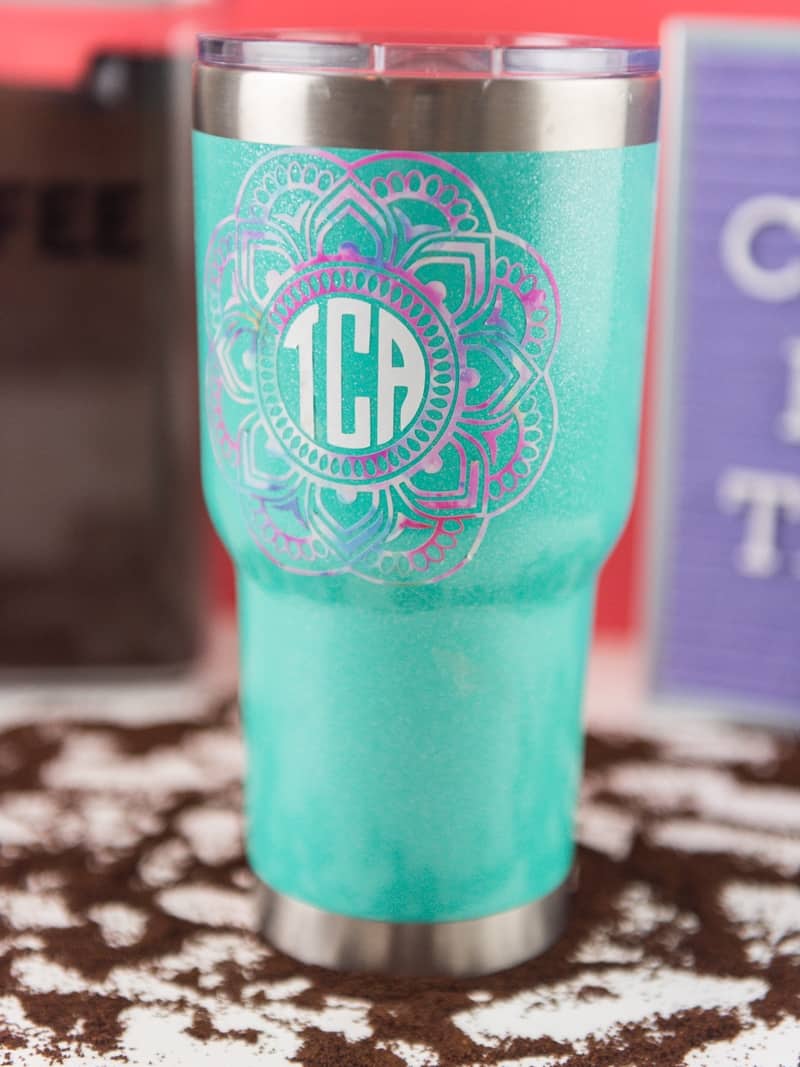
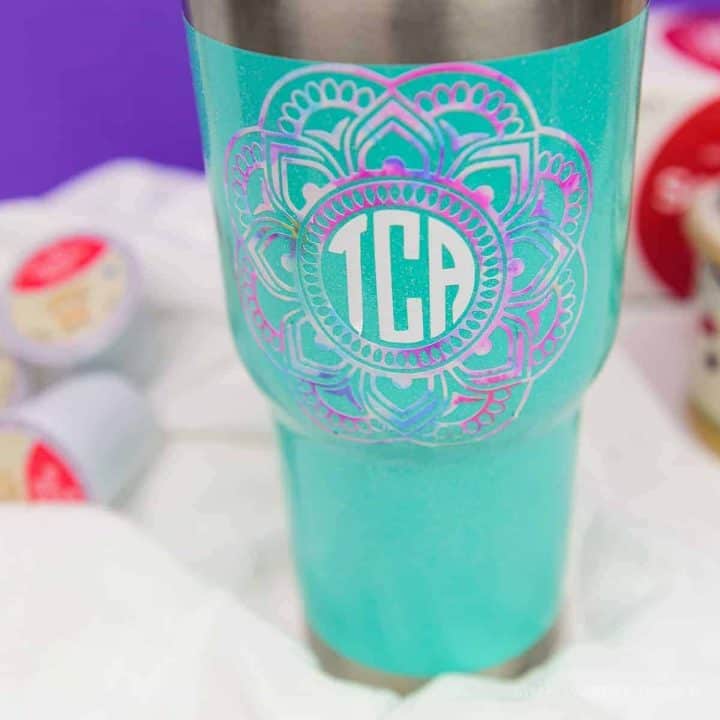
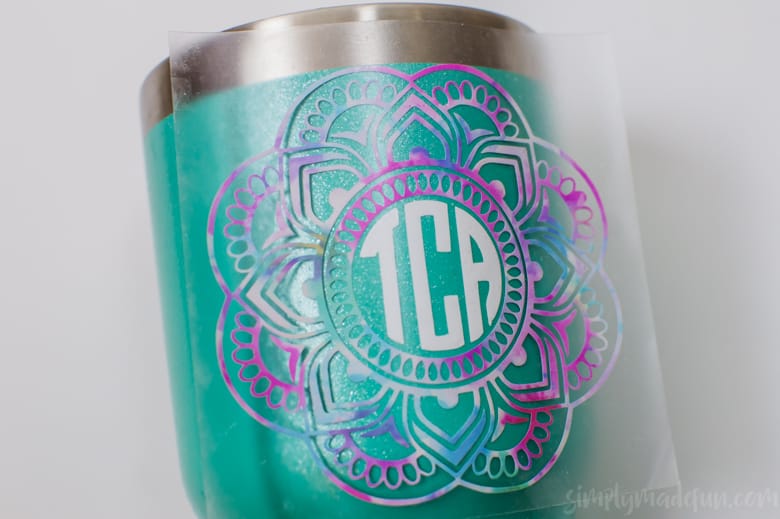
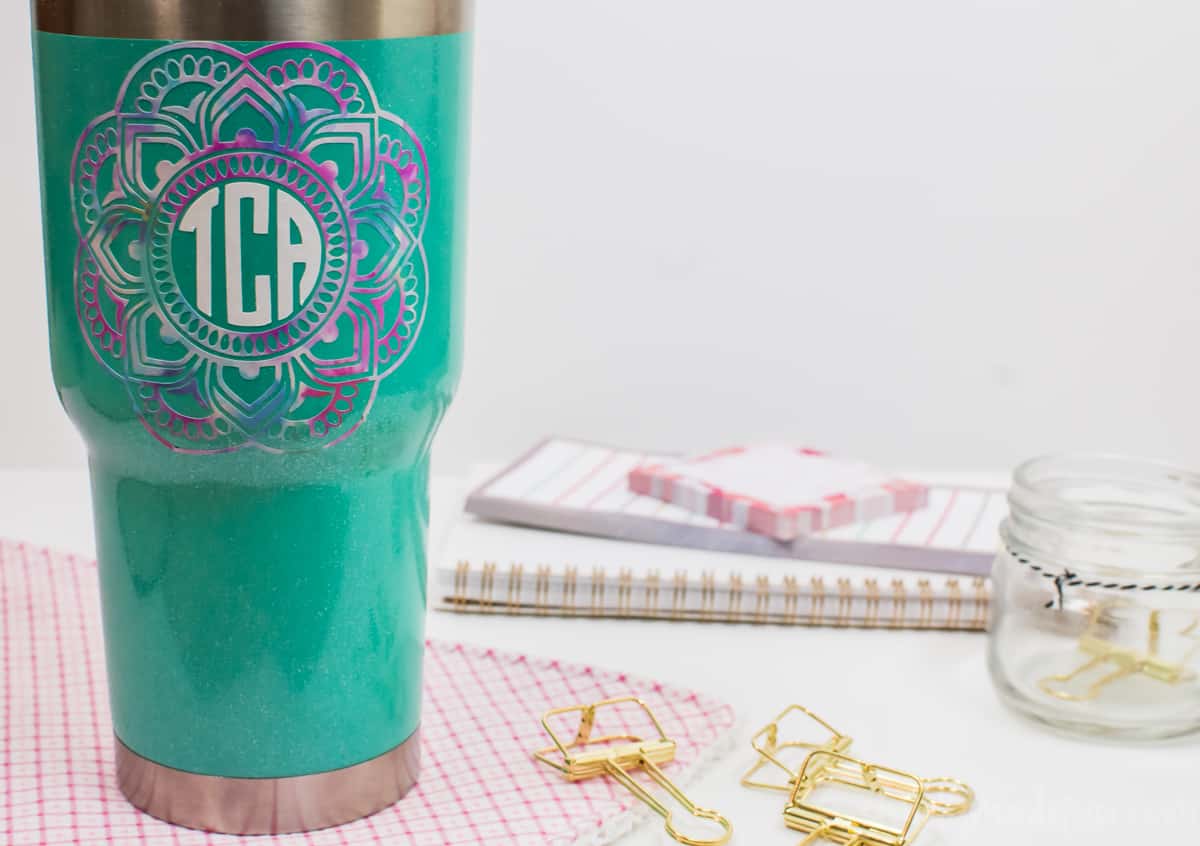
I know monograms are huge in the South (and rightly so, we like putting our initials on everything!) so I’m really loving this mug. I really love how the white monogram stands out against the green cup and the multi-colored vinyl. If you’re not big into monograms you could always put your full name or even just leave it blank. So many options!
Check out these quick and easy vinyl crafts that you need to try if you want to get in more practice!
- How to Use Printed Heat Transfer Vinyl on Leather,
- DIY No Soliciting Sign, and
- DIY Modern Farmhouse Kitchen Sign (and a FREE SVG file!)
If you want to buy some pretty patterned vinyl you should check out this post for where to shop! (the shop I bought the patterned vinyl on my mug is linked here).
This how to layer vinyl trick is:
- simple,
- easy to do, and
- saves you time!
Learn How to layer vinyl decals with a Silhouette Cameo!
How to Layer Vinyl Decals with a Silhouette Cameo
This easy trick will show you how to layer vinyl decals with a Silhouette Cameo machine!
Materials
- Permanent Vinyl
- Silhouette Weeding Tools
- Transfer Tape
- Mandala File
Tools
- Silhouette Cameo
- Silhouette Software Designer Edition
Instructions
- Follow the instructions in the video to make your circle monogram in the Silhouette Design Software.

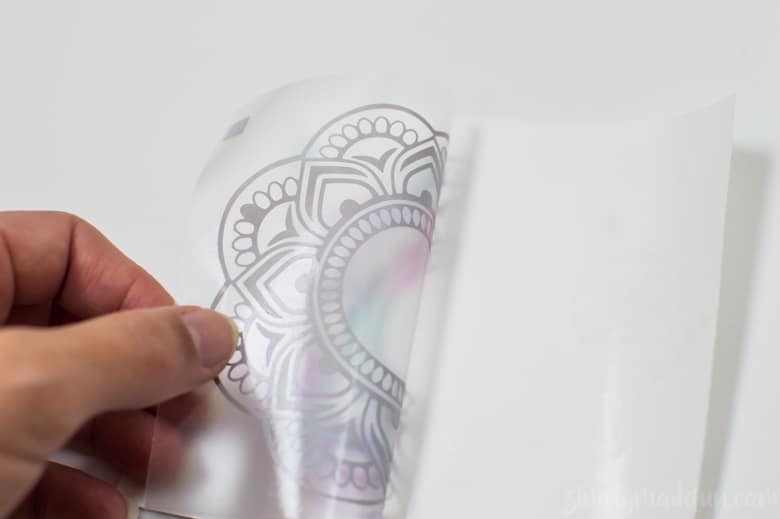
- Cut a piece of transfer tape that is a little bigger than your design, and then place it over one piece (I did the mandala first). Rub the tape with your finger (or one of the weeding tools) so that it adheres to the vinyl.
- Pull the transfer tape up and make sure that your design comes up with it.
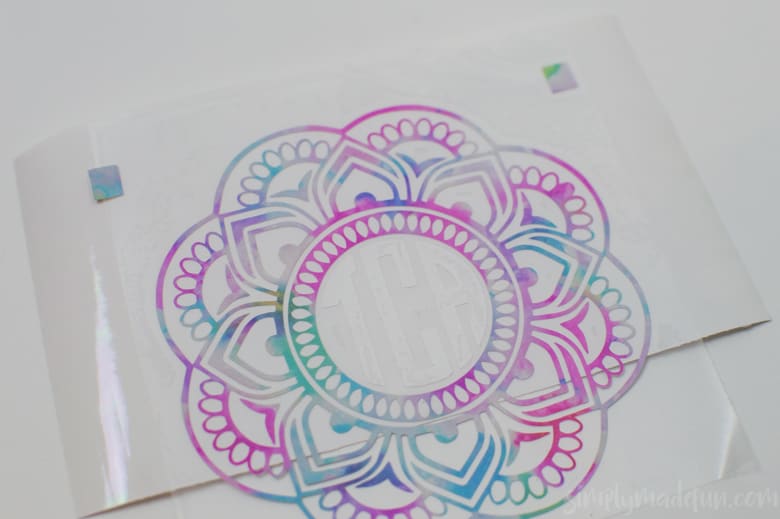
- Line up the boxes that are on the transfer tape and the ones that are on your second piece of the design (for me, that’s the monogram) and press the tape down onto the initials. Then pull it up, all while making sure the vinyl comes up with it!
- Now, remove the boxes! Since it’s permanent vinyl you don’t want to accidentally stick them onto your mug. Trying to get them off after the fact would be a huge pain.
- Then you'l line up your design on the mug and press down. Use your weeding tools and rub the design gently so that it sticks to the mug.

Notes
- Cut out two small boxes with each of your layers. These boxes help you line up your design when you go to layer it on your mug.
- A good rule of thumb is to make sure your design is one inch below the top of the mug. I didn’t have to measure because I just used the color as a guide. If you’re mug isn’t colored though, you’ll want to measure!
- When you wash your mug hand wash it only. Putting it in the dishwasher will pull the vinyl up. And since this design is so intricate (it took me at least half an hour to weed it) you won’t want to have to re-do it!
Recommended Products
As an Amazon Associate and member of other affiliate programs, I earn from qualifying purchases.


I love it! What a great idea to make the boxes so it’s always lined up correctly. I will be honest and admit that I’m scared of working with vinyl. I’m just worried I’ll do it wrong and waste my money.
Thank you Ali! I was so scared of working with vinyl at the beginning, but it’s so easy! I’ve definitely messed up and wasted vinyl (more times than I care to admit), but I am constantly learning and getting better! I say try it. I’m sure you will love it!
How did you get it all those colors like that? I have Design space.
Hi Danelle, it’s actually patterned vinyl that came like that. I’m a part of the facebook group New Chance Vinyl and they have a ton of different patterns to chose from (it’s hard to chose just one because they’re all really pretty!).
Where did you get that multi colored Vinyl? I keep looking everywhere for colors other then just solids but I can never find any!
I got it from a group on facebook called New Chance Vinyl! They have tons of different patterns to choose from.
What is the name of the vinyl you used? I love it!
It’s called Watercolor 2!
Could you provide a link for the permanent vinyl from Amazon that you prefer?
Hi Tiffany! I prefer this vinyl (http://simplymadefun.com/Oracle651) on Amazon (affiliate link), and I use it all the time. It holds up well and is really easy to cut!
Is there a clear coat or epoxy that you can put over to make ovine he stay better? I am using powder coated SIC cups and worried they will lift.
Dang autocorrect. To make the vinyl stick better!
Hi Denise! My cup already had a coat of epoxy because it came pre-made, so the vinyl is on top of it! I’ve never had a problem with the vinyl lifting (and I’ve used it a lot) as long as I hand wash it and don’t let it soak in soapy water.
Hi! Love this tutorial. I am in the buying stage and am leaning towards the Cameo 3. Can you tell us where you get the Feti cups from? I heard about them before but google doesn’t provide a source. And lastly can’t you put epoxy on top of the vinyl? Most videos show putting a second coat on top of the first layer of epoxy and the vinyl.
Dee
Hi Dee! Thank you so much! This particular cup was bought from an online vendor (I just can’t remember which one!) but I normally buy my Yeti cups from Wal Mart when they’re on sale! The ones from Wal Mart are the standard grey cups so you can add glitter and vinyl to customize them however you want.
And yes! You can put epoxy on top of the vinyl!
I just wanted to say thanks for the great idea on layering and add that Sam’s club has those cups for $15-20 (20 or 30oz) for 2 cups and they’re fantastic. They come in a variety of colors, as well.
Awesome. thanks for the great tutorial i am new to vinyl. this is really helpful
Great idea! Thanks for the tutorial!
Brilliant! Thank you for sharing!
Hi! I was wondering how you got the vinyl onto the cup without any bubbling? I just tried and I’m not having any luck with putting it on a tumblr/cup because it’s a rounded surface.
Hi Brandee! Whenever I place vinyl on a rounded surface I cut around the edges transfer tape every inch or so. It helps the transfer tape give a little so you can lay your design on a round surface.
I have a video for a different project that explains the process a bit better! http://simplymadefun.com/rae-dunn-inspired-christmas-ornaments
I am so glad I found this post! I have been working with vinyl for a while, but haven’t been brave enough to layer anything. I’m going to try my first project, and I’m looking for a little more clarification on these boxes. Can you maybe make a video or tell me a little more about how and where you put them for each layer? I do not have the DE version, but am considering it. Thanks!!
Hi Trish! I’m so glad you found this post helpful!
I put my boxes in the upper left and right corners of the design. They should be in the same location each time you cut out a different layer of your decal.
Before I upgraded to the DE version I used to select the entire design (plus the boxes) and then make copies. If my design had 4 colors I’d make 4 copies.
Let’s say each of my layers were these four colors: green, blue, red, and yellow.
After you’ve made your 4 copies you want to start deleting layers until you have 1 red, 1 green, 1 blue, and 1 yellow layer.
Move 3 of the layers off the mat and cut the one that’s left. Once you’ve cut all your layers you can use the boxes to line them up.
Let me know if you have any questions!
I’ve gone to both vinyl sites and their watercolor vinyl comes in permanent and have, which type should be used on the tumblers? Thank you for all your tutorials!!
Silvia
That should say “permanent and HTV”. Spellchecker at work!!
Hi Silvia! For tumblers you should use permanent vinyl. 🙂 Sorry I didn’t clarify but I’ll fix it for future reference!