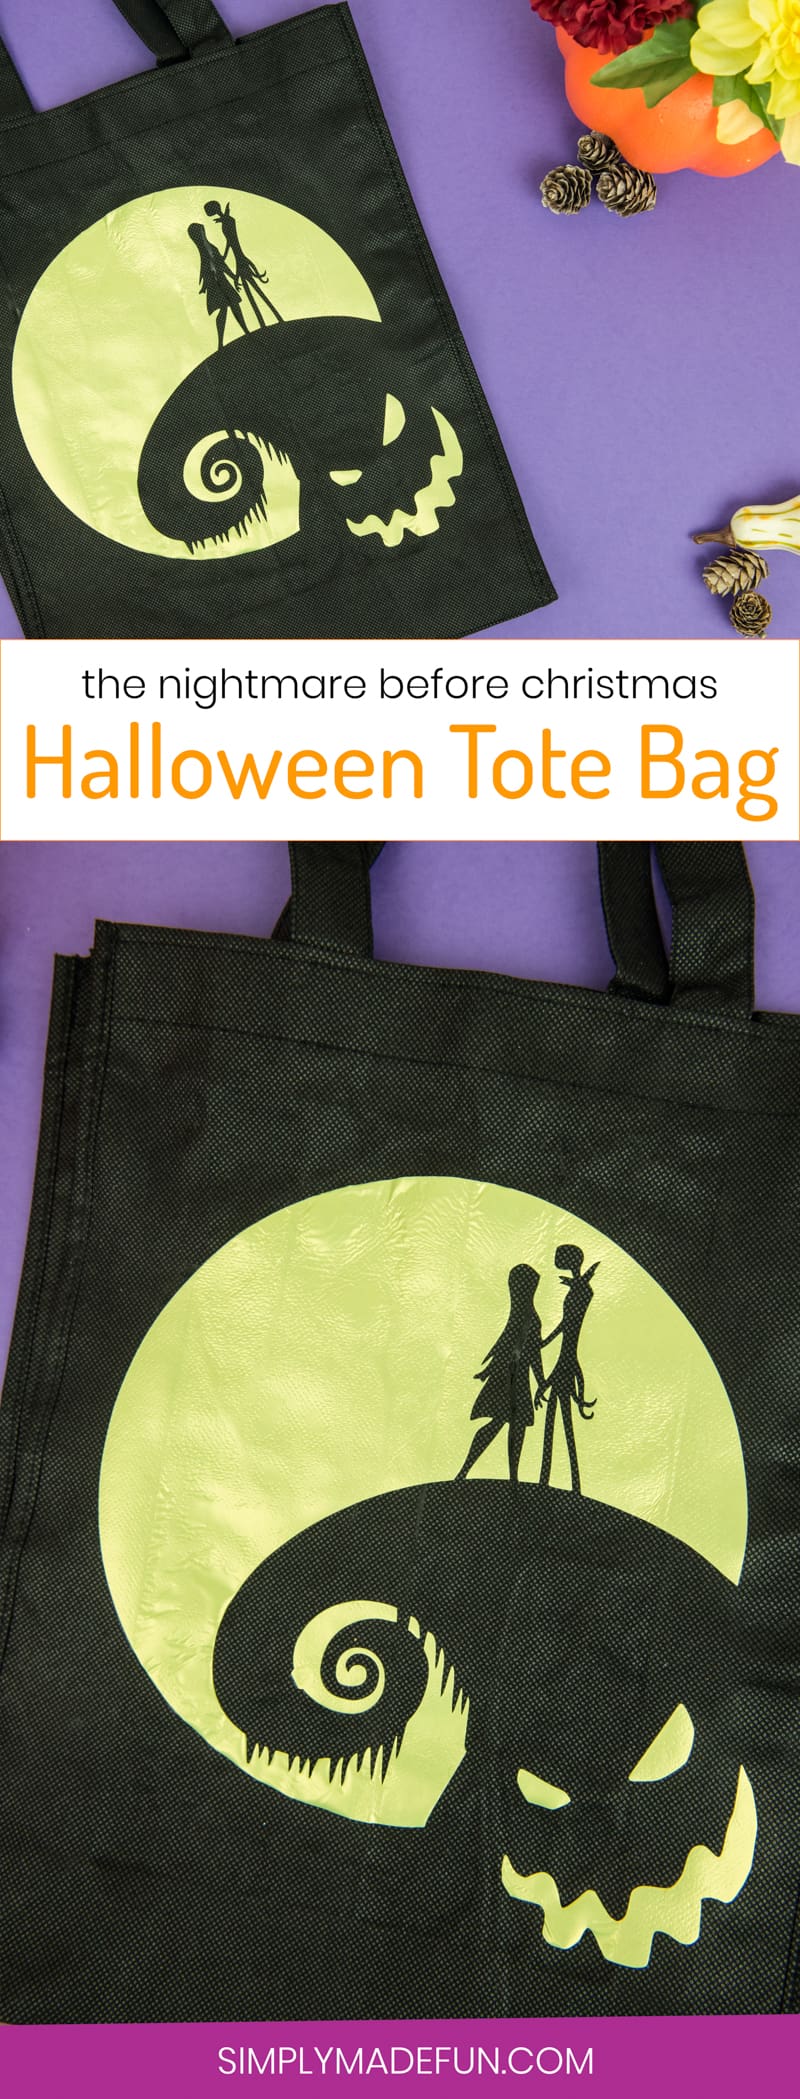
Nightmare Before Christmas Halloween Tote Bag
I don’t know about you but as I kid I would’ve loved to carry around this Nightmare Before Christmas Halloween Tote Bag!

The Nightmare Before Christmas was never one of those movies I remember watching as a kid. I don’t know if my parents thought it was too weird a movie for us to watch or if my sister and I had no interest in it, but I don’t remember seeing it until I was much older.
But I have a little secret I’ll share with you….at first I hated the movie.
I don’t know why but I just couldn’t stand it. Luckily I’m over that super weird phase and now love it. We watch it every year around Halloween and all through Christmas. Mostly because I can’t decide what holiday it’s for. I mean, isn’t that a huge debate among TNBC lovers? Can anyone tell me if we’ve settled on a holiday? Because I really don’t know the answer.
Not that it would really make a difference in our house. We’ll probably always watch it on Halloween AND Christmas. I’m cool with that.
If you’ve been around here you’ll know that I’m not a huge fan of Halloween. I don’t like candy-centered holiday’s because of my own food allergies, and now that my kid is allergic to dairy and peanuts it’s even more stressful. But just like my parents wanting to give me every experience growing up, I want to give my child the same. So he’s going out for Halloween and then his dad and I are going to binge eat his candy.
I mean, he’s two y’all. He doesn’t need all that sugar. ?
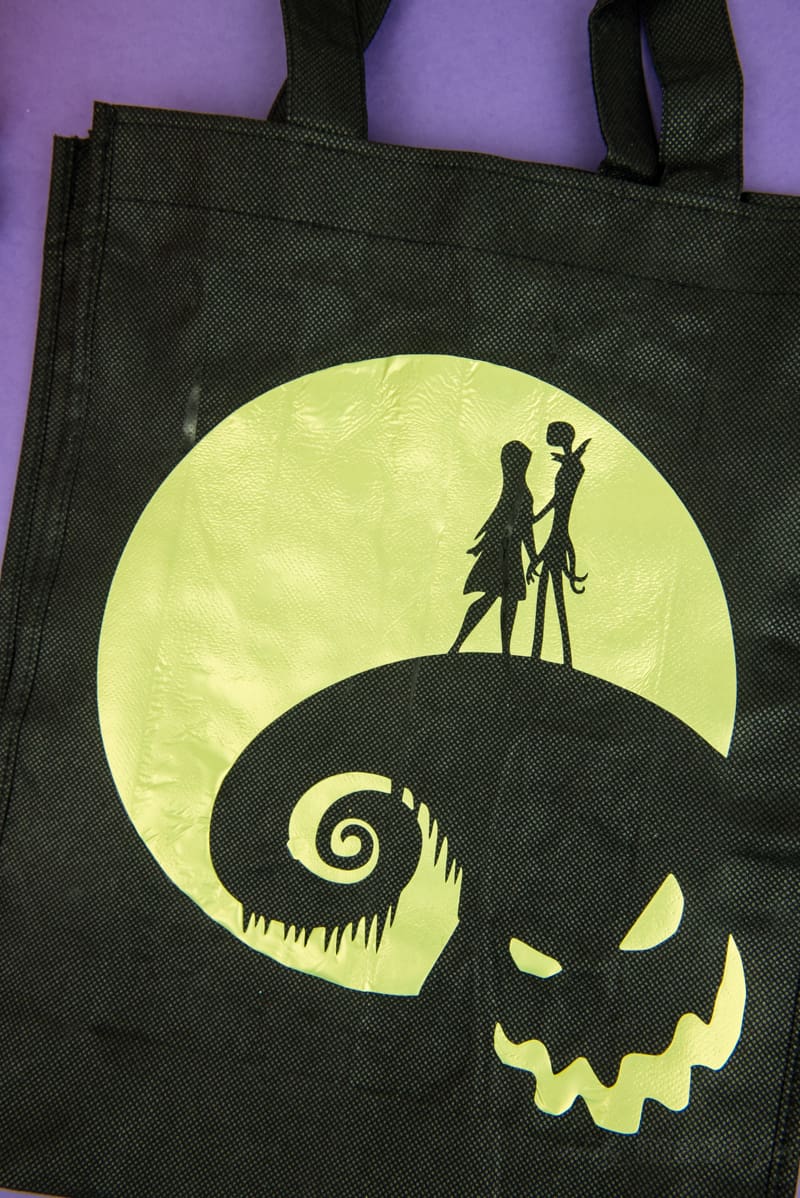
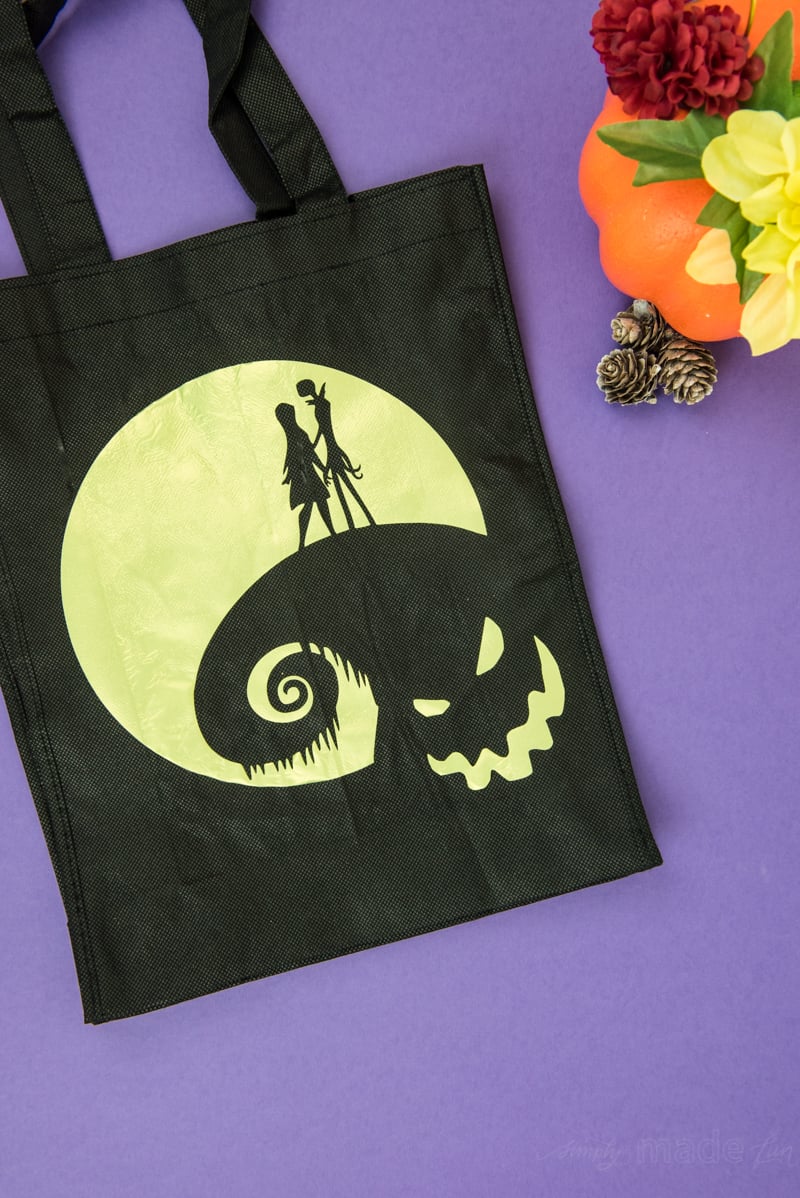
And because I’m the cool Disney mom around here, trick or treating wouldn’t be complete without a customized Halloween tote bag to get candy with. The Nightmare Before Christmas style.
This post contains affiliate links. I may earn commission from qualifying purchases at no additional cost to you. I will never recommend a product I don’t use or trust.
You can make your own personalized Halloween Tote Bag too!

Materials:
- Cloth tote bag (I bought mine at Hobby Lobby)
- Heat Transfer Vinyl (I buy all of mine from here, they always have super fast shipping!)
- Iron or Heat Press
- Pillowcase or Teflon Sheet
- Silhouette Cameo or Cricut Machine
How-to:
You can watch the full how-to Facebook Live video from yesterday or you can keep scrolling and read the directions if that’s more your style!
+ Then I cut it out using the smooth heat transfer settings on my Silhouette machine.
+ I like to fold my cloth bag in half and iron it so I know exactly where the middle of my bag is. It helps me position my design on correctly, and I highly recommend doing this step!
Just a little advice: If you iron your cloth bag before you put the vinyl on it, make sure you cover it with a pillowcase or even the teflon sheet. I did not and burnt one of my bags. Actually, I burnt a hole in my bag….so cover it y’all! You don’t want to waste materials like I did!
+ After that was done I placed the vinyl on my bag, put the pillowcase on top, and ironed on my vinyl. Make sure you’re holding the iron down for 45 seconds and putting lots of pressure on your iron. If, after 45 seconds you pull up your carrier sheet and realize not all the vinyl is stuck to your bag, lay the carrier sheet and pillowcase back on top and press again. But you only need to press for 20-30 seconds this time. Continue doing that until your entire design is sticking to your bag.
Just a few quick tips about the Halloween tote bag:
- When you’re pressing your design with your iron, BE CAREFUL. These cloth totes from Hobby Lobby are a little fickle and the bags can still burn even with a pillowcase and carrier sheet in-between the bag and the vinyl.
- Because these cloth bags are so thin you may also have the problem of the vinyl “bleeding” through the bag and causing the front and back of the bag to stick together. To stop that from happening, place something (like a piece of wood) inside the bag while you’re using your iron.
- If you put too much pressure or too much heat on your vinyl for too long it’ll start to look a little wrinkled. That definitely happened to me with this project, though I don’t hate the result.
This Nightmare Before Christmas Halloween tote bag came out pretty cute, with only a few minor flaws! Next time I may invest in an actual canvas bag so that my material isn’t as flimsy, but for a quick and cheap DIY I can’t complain.
Combine this Halloween tote bag with some of my other Halloween projects and you’ve got some cool after trick or treating par-tay decor!