This post contains affiliate links. I may earn commission from qualifying purchases at no additional cost to you. I will never recommend a product I don’t use or trust.
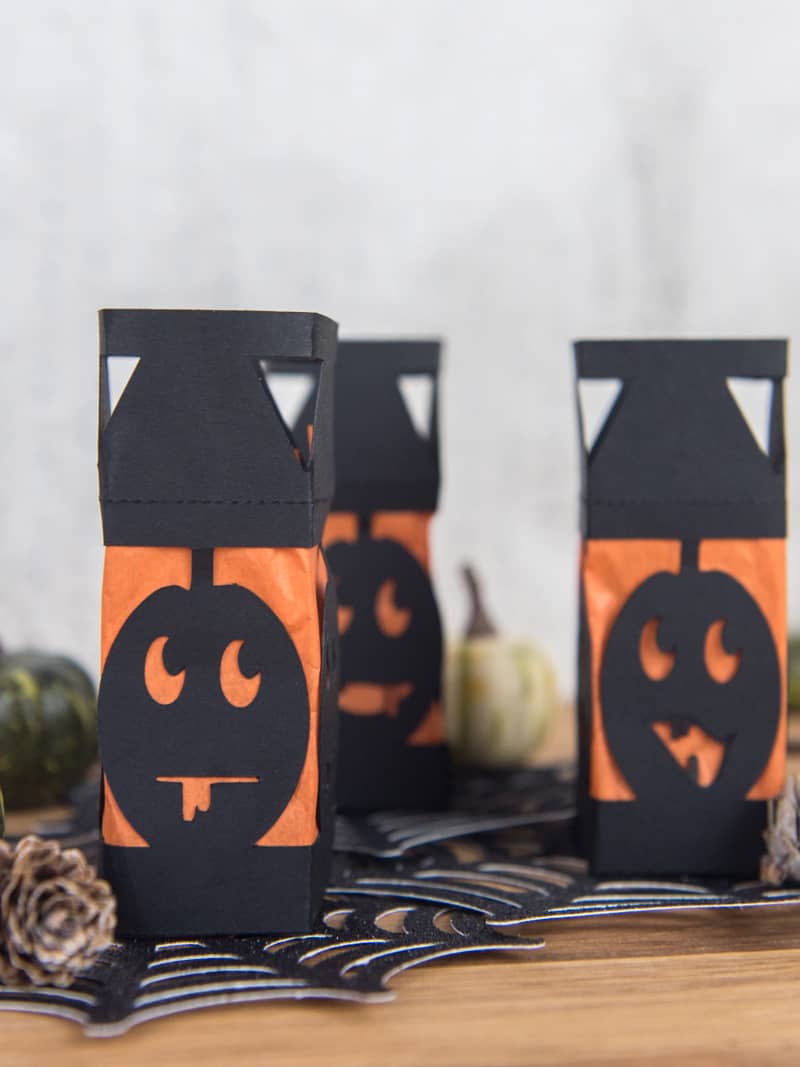
Make your own family-friendly Halloween decor this year when you grab the FREE SVGfile for these Mini Paper Pumpkin Lanterns!
I’m pretty sure vinyl is my kryptonite.
I can’t walk away from a good deal and rose gold is my new obsession. But even I know that I can’t make my blog all about vinyl. Well, I could but I think even I’d get bored with the repetitiveness after a while. ?
Because your cutting machine (whether you’re team Silhouette or team Cricut) can do so much more than just vinyl. And I know that I’m not using mine to its full potential, so I’m branching out and doing more. Or, trying to at least!
Some projects definitely haven’t come out like I planned but I’m learning and I want to share everything I’ve done and what mistakes I’ve made that you can avoid. These mini paper pumpkin lanterns are the perfect example of a project that came out MUCH different than I had intended.
I’ve never made lanterns before and wasn’t quite sure how to start out with my design. A quick Pinterest search pointed me in the right direction and I got to work in the Silhouette Design Studio. Originally I wanted a much more complicated design but I settled for something simple: silly pumpkin faces. Another family-friendly Halloween DIY, because y’all know how much I hate scary stuff!
Once I figured out that simple was better in this situation, I had a pretty easy time putting the paper pumpkin lanterns together. I mean, there were still a few bumps in the road but nothing major!
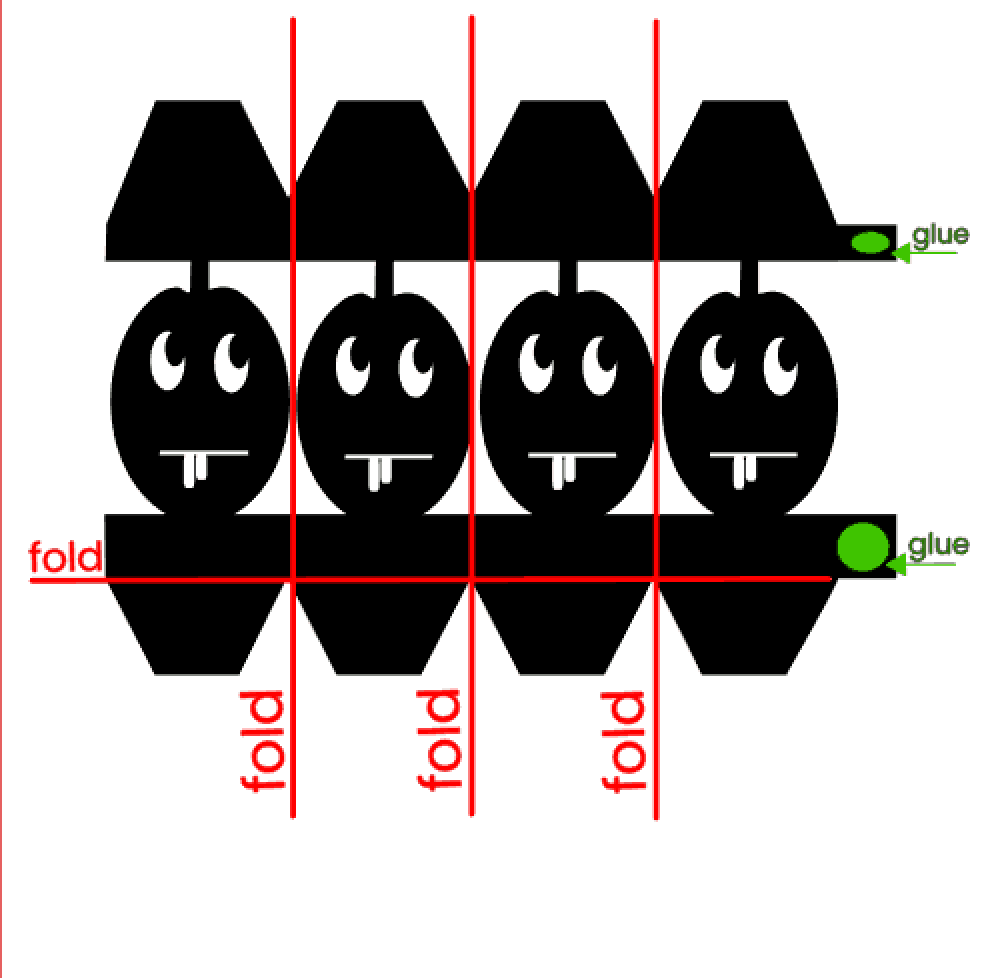
+ Cut out your design onto cardstock. I chose to make my small but you can make them as big or as little as you’d like!
+ Cut small strips of tissue paper and use glue dots to attach the tissue paper to the backside of your lantern.
+ Fold each side of your design (fold it in fourths!) and also where your dashed lines are.
+ Place glue on the flaps of your lantern to hold the sides together. You should also put glue on the bottom flaps so that when you fold everything together you can close the bottom!
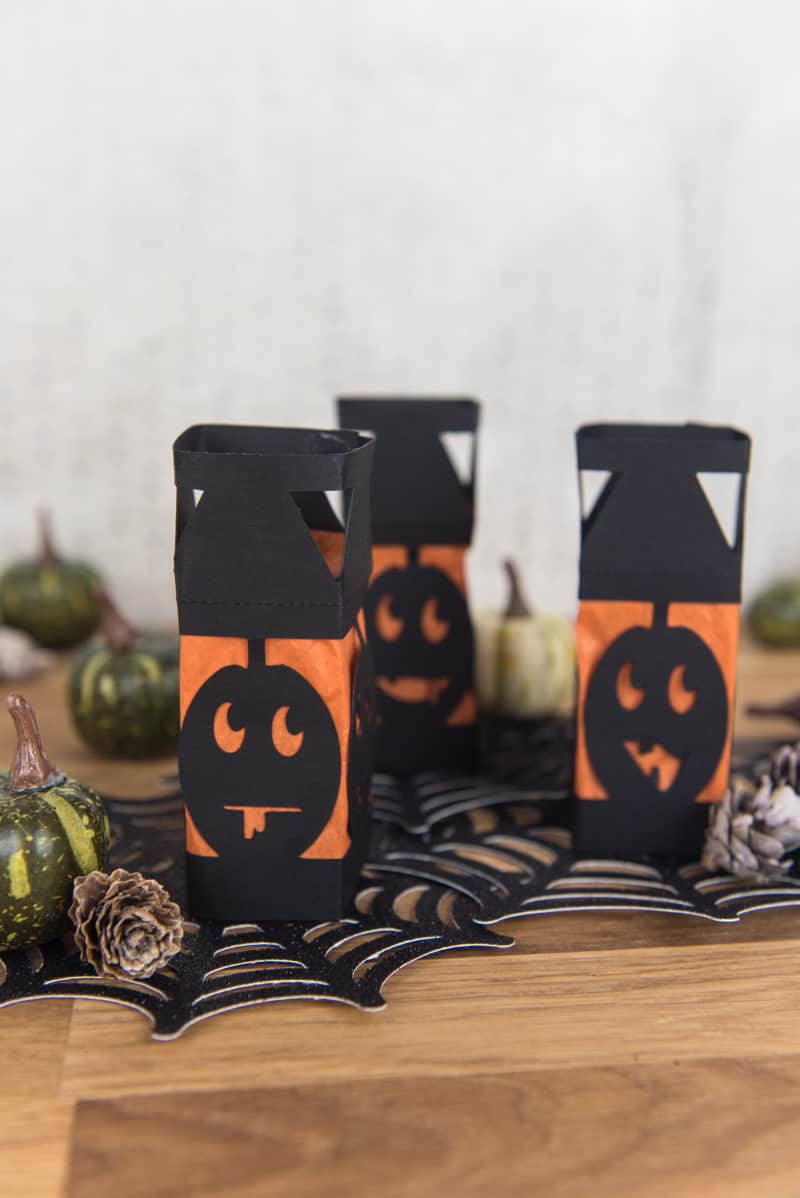
And if your lanterns are big enough you can put a small tea light in the middle to give it an eerie glow for your Halloween party!
I did a bit of tweaking to the design that you can download because after cutting them I realized there were a few issues. But now they should work well and they’ll look super cute too!
Combine these with some of my other Halloween projects and you’ve got yourself some cool party decor!
Join us for monthly chats about everything creative and fun in our newsletter + grab the FREE mac + pc keyboard shortcut guide for Silhouette users!
Yay! Thanks for joining us!
You're almost ready to start knocking out projects in no time at all. All you have to do is confirm your email and you'll get the free download. Are you ready to stop wasting time?