
How To Use Transfer Tape With Your Silhouette or Cricut Projects
Learn everything you need to know about how to use transfer tape on your Silhouette or Cricut projects! We will walk you through using it on adhesive vinyl decals and show you how to get the most out of each piece of transfer tape!
Have you ever tried to do a vinyl project without using transfer tape?
I don’t recommend it.
It makes the simple process of putting your vinyl onto your finished project material SUPER hard and ridiculously annoying.
And I’m all about cutting out frustrations wherever and whenever I can.
To be honest, when I first got my Silhouette I would pick the vinyl off the backing with my nails..
Which was so stupid because my vinyl always looked picked at and stretched.
And if I had wanted to do a design that had more than one piece or color…forget about it. I could never line it up right after removing the vinyl from the backing.
That’s where transfer tape would’ve come in handy. Because vinyl is very thin it’s hard to pick up without it. It also stretches very easily…which is why picking at it with my fingers was a dumb move.
MATERIALS:
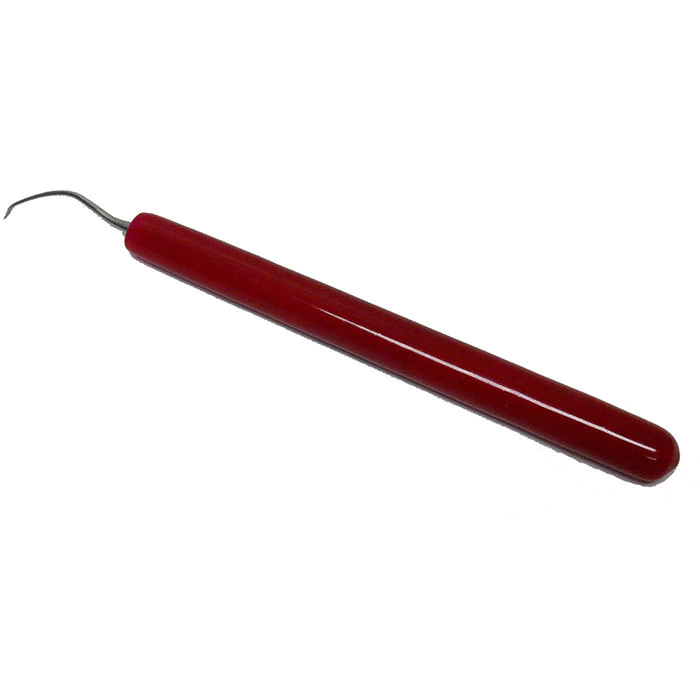
You will need:

This post contains affiliate links. I may earn commission from qualifying purchases at no additional cost to you. I will never recommend a product I don’t use or trust.
WHAT IS TRANSFER TAPE?
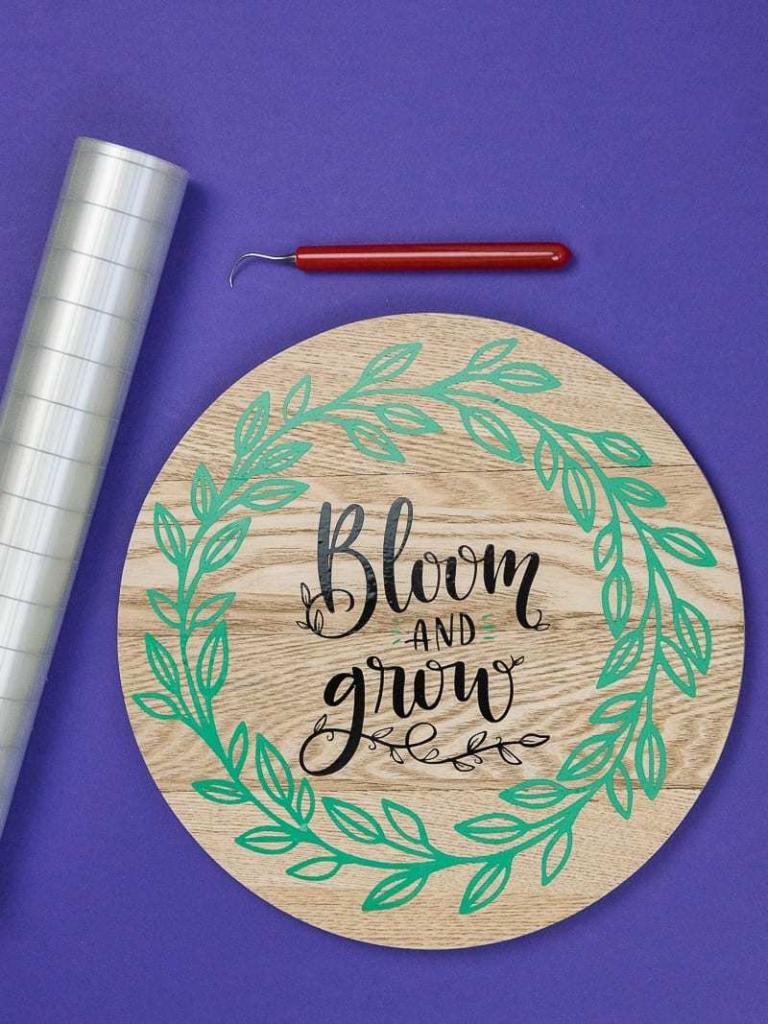
Transfer Tape is not actually tape. It is a sticky backed material that helps you transfer your vinyl design from the backing to your finished project. Transfer tape comes in rolls or sheets, and although the size, appearance and tackiness of transfer tape may vary they all do the same thing: move your vinyl decals to your final project!
HOW TO USE TRANSFER TAPE!
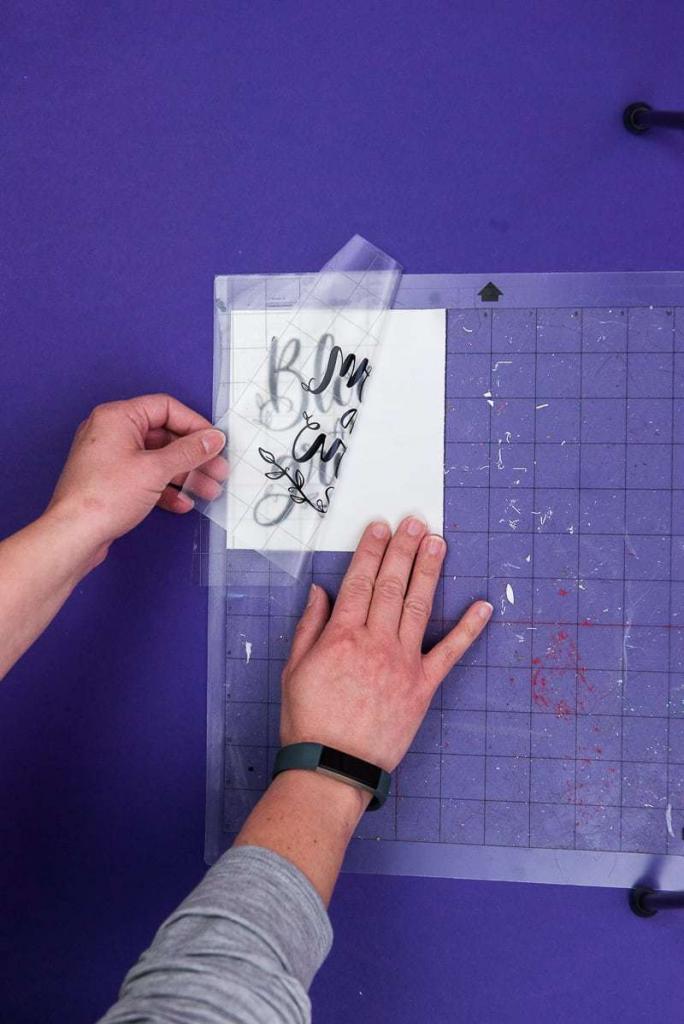
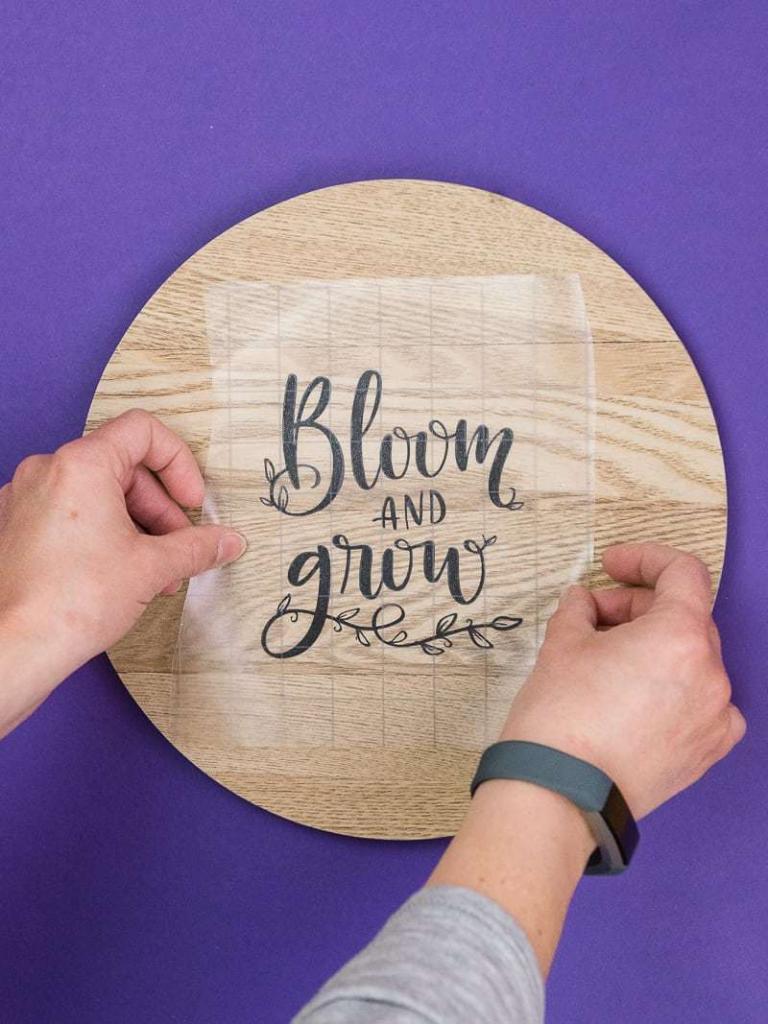
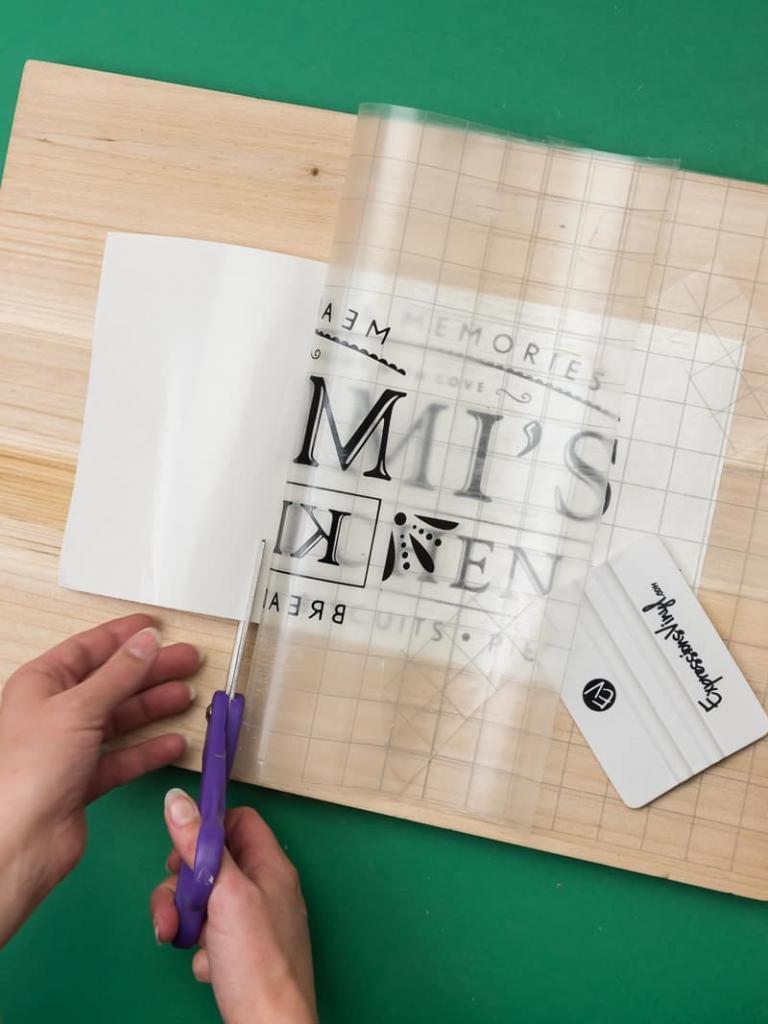
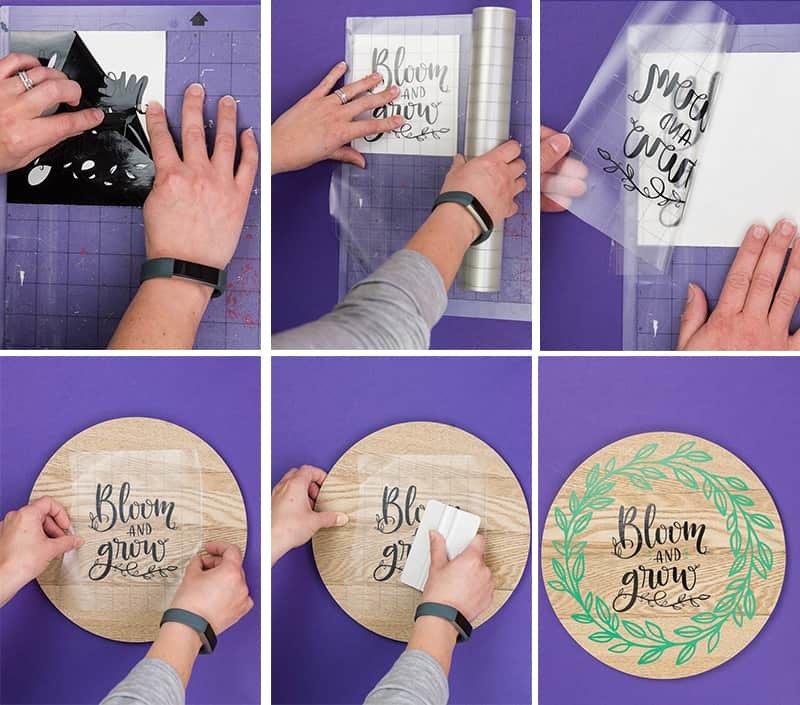
The first thing you need to do is cut out your adhesive vinyl design. Make sure that your Silhouette blade cut through the vinyl (it should not cut through the backing!), otherwise you will have a very hard time trying to get the vinyl off of the backing with your transfer tape.
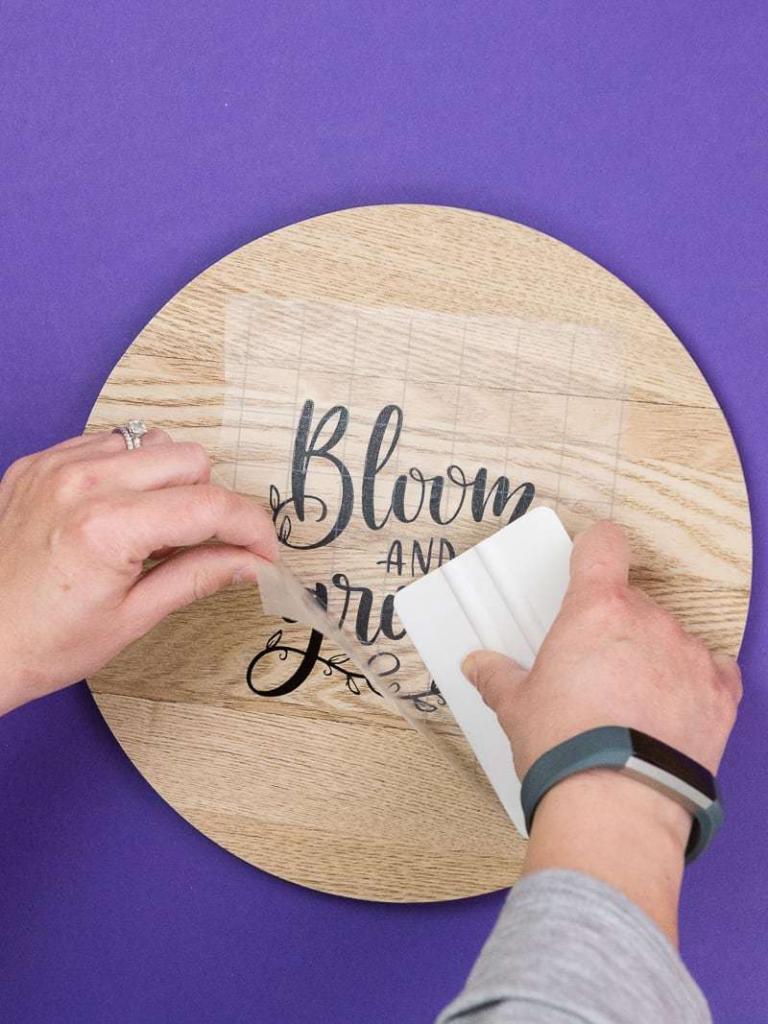
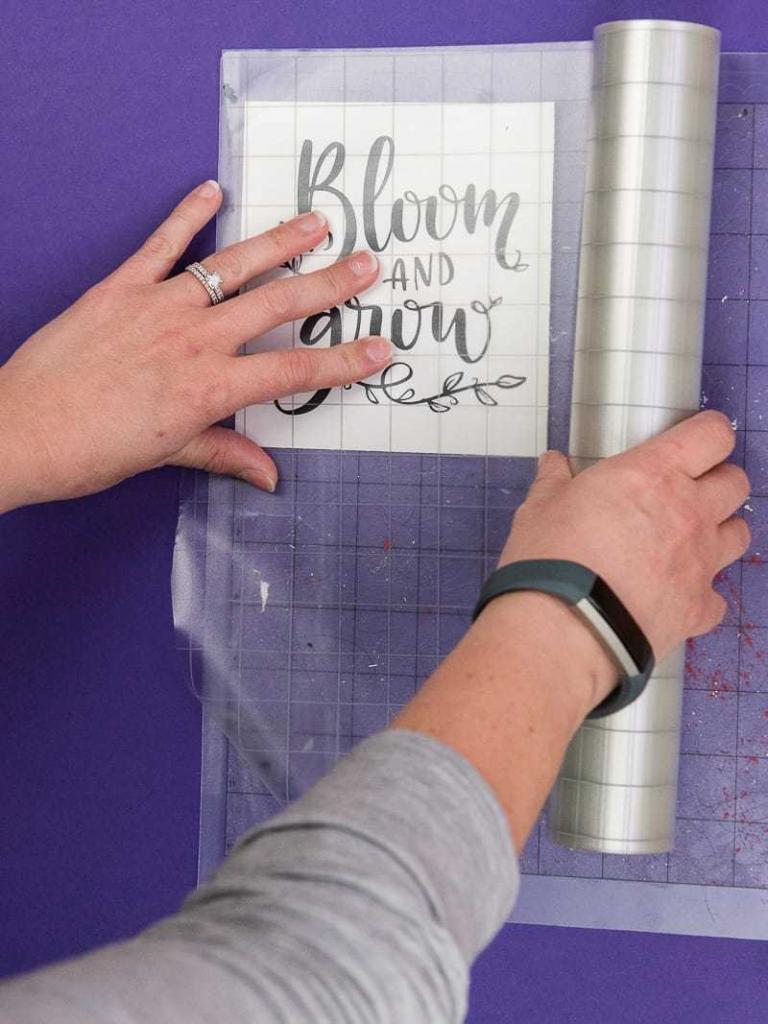
After your design is cut and you’ve weeded out all the extra pieces, it’s time to use the transfer tape. Cut a piece of transfer tape that is as big as your vinyl design and then lay the transfer tape on top of the decal. Smooth the transfer tape down on top of your vinyl with a scraper tool, and then peel the transfer tape off the paper backing bringing your vinyl design with it.
What transfer tape should you use for your Silhouette or Cricut projects?
I used to think that transfer tape was a personal preference thing and I still do to a certain extent. Sometimes you have to just try the different types of transfer tape until you find the one that works best for you!
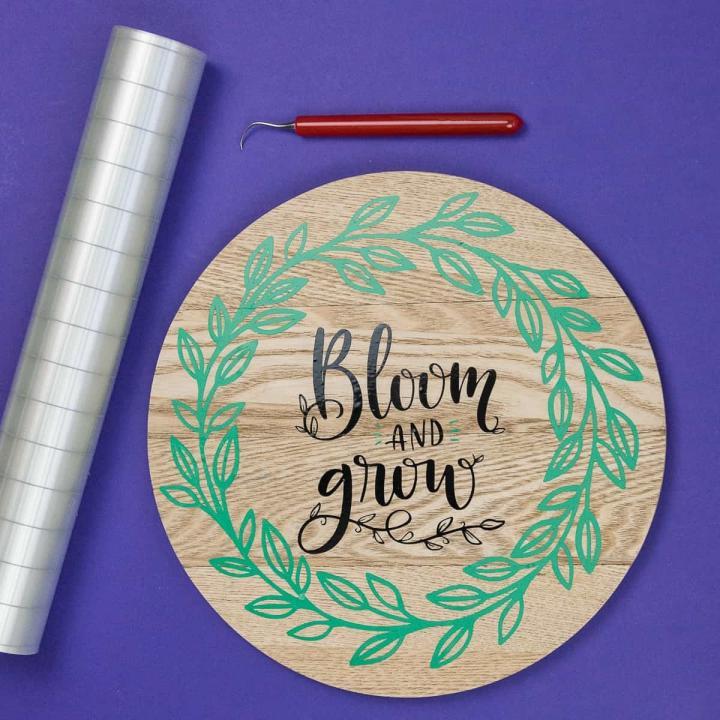
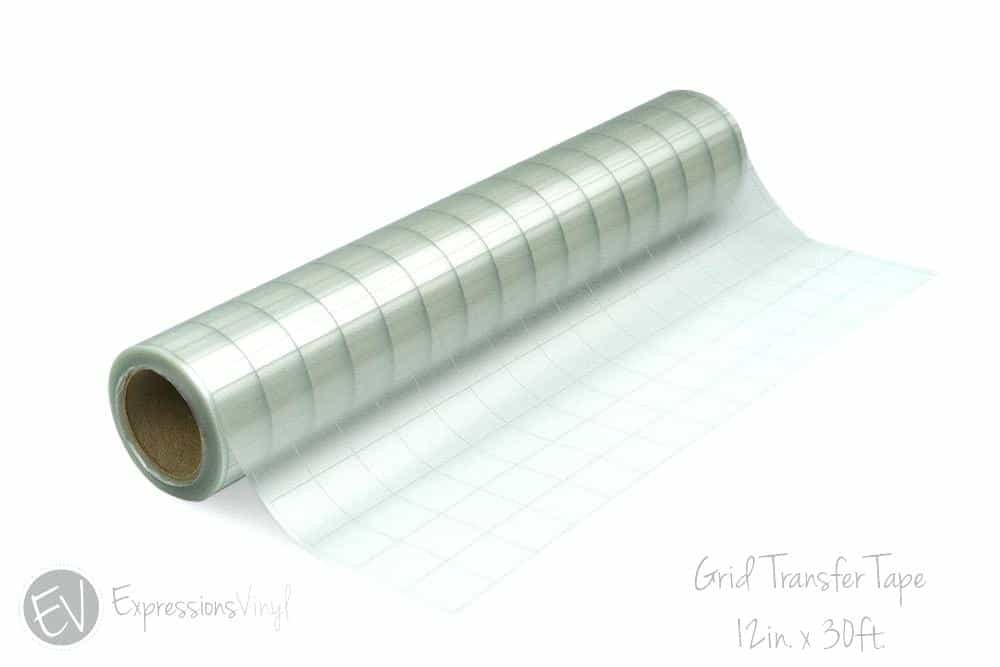
My top pick for transfer tape is the gridlined transfer tape from Expressions Vinyl. It’s very tacky and easily picks up my vinyl decals. Their clear transfer tape is similar, I just like the grid because it helps me line up my projects a little easier!
My second pick is paper transfer tape, like what I used on this project. I typically like paper transfer tape because it’s not as tacky and works well on wall decals, wrapping paper and more!
I haven’t used the Silhouette or Cricut brand of transfer tape in years so I cannot speak to how well they work. But I’ve always found that the brands from Expressions Vinyl or Swing Design work better anyway and that’s what I’ve always used!
Where can you buy transfer tape?
I have a few favorite places I always buy from:
Swing Design, Amazon and Expressions Vinyl.
If I’m in a bind and need it quickly I order from Amazon because I have Prime and get free two-day shipping. But Expressions Vinyl is always having sales and you can typically get transfer tape at a really good price from them.
Swing Design is another place I love and trust, but their shipping isn’t as fast as Expressions Vinyl so I usually use them as a last resort.
You can also go to Michaels, Joann’s and Hobby Lobby if you need transfer tape that same day. I typically don’t like the Silhouette and Cricut brands so I just stock up on transfer tape when Expressions Vinyl is having a sale.
Tips for using transfer tape on your Silhouette or Cricut Projects:
Always use the dry hinge method when applying vinyl decals with transfer tape!
The dry hinge method is an easy way to line up your vinyl decals on your project surfaces and a must-learn method if you are working with vinyl!
I go into detail about the dry hinge method in this post and walk you through how to do it for all of your projects. But the gist is that you tape down your vinyl decal on top of your project surface and then remove half of the paper backing behind your decal (see the image below).
This helps you position the vinyl exactly where you want it before getting it stuck on your surface.
If you’re applying vinyl decals to a curved surface, cut small snips around the decal to help with placement!
I love this trick and used it when making these Rae Dunn Christmas Ornaments!
Take extra care not to cut into your vinyl decal, but making tiny snips around the decal will help you manipulate the vinyl so that you can apply it to a curved surface easily!
Check out this video below to see how to do this!
Reuse your transfer tape!
Do not throw away transfer tape after you use it! One piece can be used on multiple projects as long as you store it properly.
To store used pieces of transfer tape I usually use the paper backing from the adhesive vinyl project I was making and lay the transfer tape on top of it.
The types of transfer tape I use typically don’t come with paper backing so saving and resuing paper backing from my adhesive vinyl works well for storing used pieces of transfer tape!
Do you really need transfer tape or can you transfer a decal without it?
I highly suggest using transfer tape, especially if you have a vinyl decal with lots of small design elements to it. It makes it easier to pick up the entire design and line everything up on your finished project.
If you don’t have transfer tape and are in a pinch, you can use these items instead:
- Painters Tape,
- Scotch Tape,
- Clear Contact Paper (not overly tacky but will work if you’re in a pinch!), or
- Adhesive lint remover!

FAQ’S to use Transfer Tape:
How long does transfer tape last?
I’ve had a roll of transfer tape last me more than a year and it has retained its stickiness and usability. As long as it is stored properly it will last you a long time!
How long can you keep transfer tape on vinyl before transferring it to a finished surface?
The longest I’ve left transfer tape on adhesive vinyl is a week. You can do it for longer but I never have, mostly because I like getting projects done quickly instead of having stuff lay around my craft room.
Small businesses who get a lot of orders are known to batch make vinyl decals and set them aside to use at a later date, and I’ve known quite a few people who let their decals sit with transfer tape on them for a month or more without problems.
You can test it and see what works best for you. But for me, a week is what I’m comfortable with!
Does transfer tape work on heat transfer vinyl too?
No it does not! Heat transfer vinyl comes with its own carrier sheet that will transfer your vinyl decal to your project.
You can read more about heat transfer vinyl and how to use it here!
Transfer Tape is only used on adhesive vinyl!
Other posts from the Learn Your Silhouette Series:
- Choose the Best Fonts for Silhouette Projects
- How to Cut and Weed Small Vinyl Designs
- How to Get Crisp Paint Lines with Stencil Vinyl
- How to Use Heat Transfer Vinyl on Shirts
- How to Remove Heat Transfer Vinyl if You Mess Up
How to Use Transfer Tape
Not sure how to use transfer tape? I'll teach you how to get professional results for your vinyl project with these simple tips and tricks.
Materials
Tools
Instructions
- Cut out your design and then use your weeding tool to remove all the little pieces that you don't need.
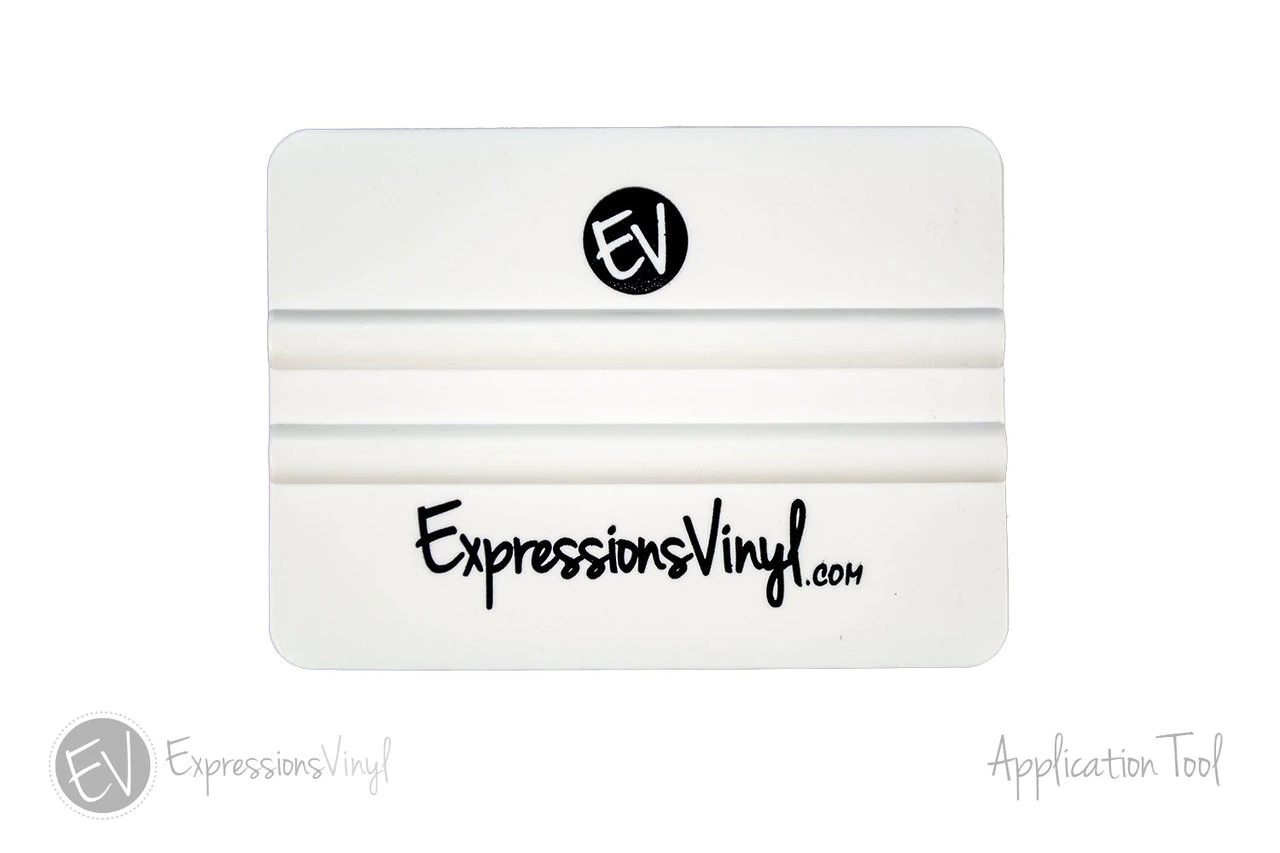
- Place your transfer tape on top of your vinyl and use the application tool to rub the transfer tape onto your vinyl.
- Start peeling back the transfer tape (SLOWLY) and make sure your design comes up with it. If it doesn't, put the transfer tape back on top of it and rub it again using your application tool. Continue to do this until your entire design comes up with the transfer tape.
- Lay your transfer tape on top of whatever you're putting your vinyl on.
- Use your application tool to rub the transfer tape and vinyl onto the final project.
- Pull up your transfer tape slowly, making sure the vinyl is sticking to your final project. If it's not, lay the transfer tape back down and rub your application tool on top of it again. Continue to do this until your vinyl is stuck to the project.
Notes
- Keep your vinyl on your cutting mat when you put the transfer tape on top.
- Cut a piece of transfer tape that is slightly bigger than your vinyl design. You should line it up with the edges of your cutting mat (which will also help you keep your design straight when putting it on your final project).
- To prevent bubbles in your vinyl, place the transfer tape on top of your vinyl design while it's still on the cutting mat. As you are laying the transfer tape down (do this very slowly), use your application tool and push out the bubbles and creases as you lay it down. Do this in sections until you've covered the entire design with transfer tape.
- You CAN reuse transfer tape. This works better on surfaces that are not wood because the transfer tape loses its tackiness once you use the application tool to rub it onto the wood. Always check the tackiness before you reuse though. If it's not strong, grab a new piece.
Recommended Products
As an Amazon Associate and member of other affiliate programs, I earn from qualifying purchases.


Ur post was a big help but I wish it was done in a video
Thank you for the feedback! I’m working on doing more videos this year and I will put this on my list!
Did you mirror your image?
No I did not! You only mirror your image for heat transfer vinyl.
The only exception to this is if you’re putting adhesive vinyl on the bottom of a glass dish. Then you’d want to mirror the design so it wasn’t backwards when you placed it on the dish.
Thank you for this post and telling us that we can leave the transfer tape on the vinyl for a short while. Of course, I did it backwards and did the vinyl cut first, then will buy the surface I want to put it on! I live in a rural area, so it will take me a couple of days to get the bucket I need. I have a Cricut, but other than that, it is pretty much the same process.
I’m so glad it was helpful! If you do this a lot I’ve heard of people putting their cut files in plastic sleeves and using a binder to keep them organized, it’s a great way to keep everything together if you do this a lot!