Fall is Booked Bookish Fall Sign
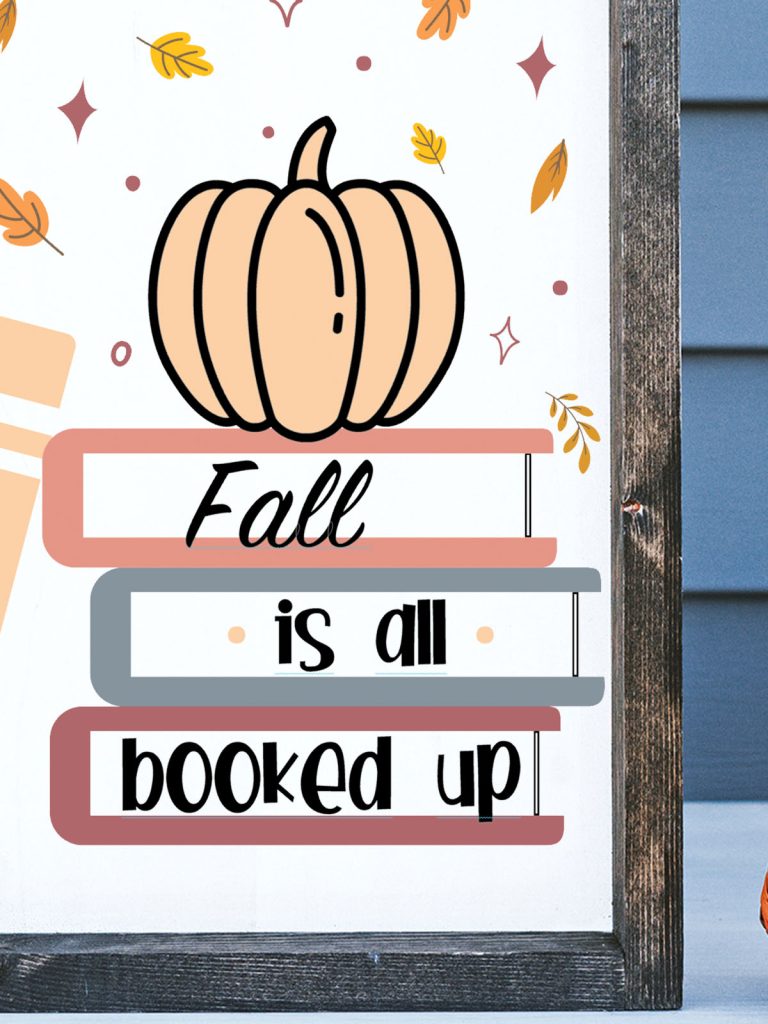
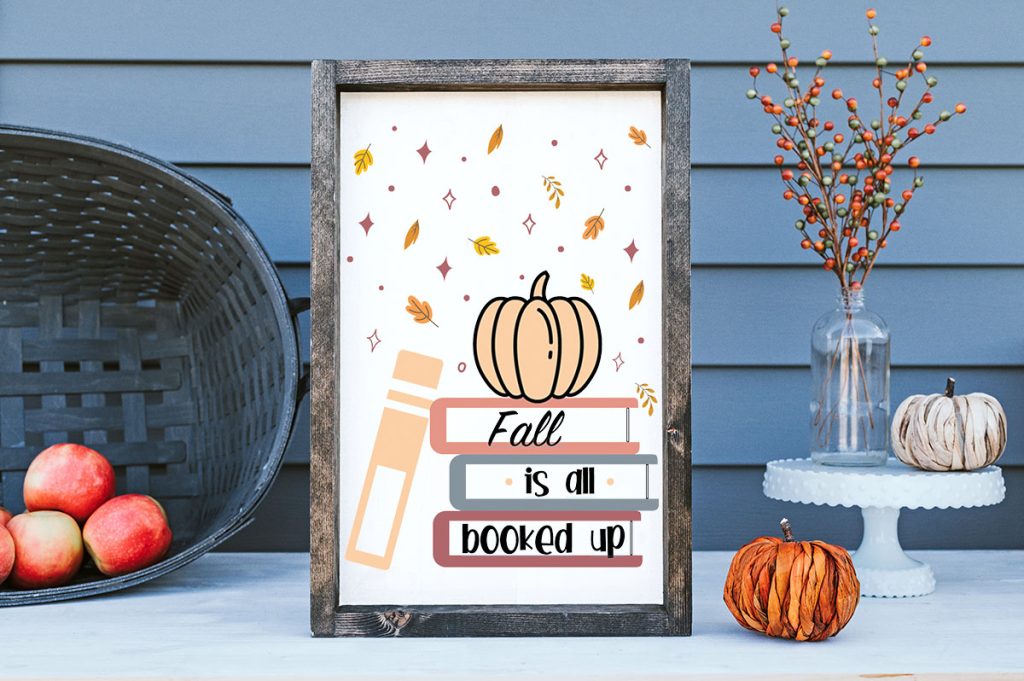
If you love to curl up with a good book and cozy blanket on cool Fall days, this Fall is Booked Bookish Fall Sign is the perfect Fall craft for you to make!

I’m always looking for things to decorate my bookshelf with and I love homemade signs.
There are three different ways you can make signs like these: painting a sign with stencil vinyl, using adhesive vinyl or using heat transfer vinyl.
The easiest way is to use adhesive vinyl on wood and it’s the way I suggest you do it if you’re a beginner.
Using stencil vinyl on wood is a more complicated way to do it but I love the final result. It does take some trial and error though to figure out how much paint is too much and how to stop paint from bleeding through the stencil.
Using heat transfer vinyl on wood is similar to using adhesive vinyl, expect that you’re using heat to adhere the vinyl to the wood. I really like this method too because once you heat up the vinyl it melts into the wood and looks similar to paint.

For this sign I decided to use adhesive vinyl, solely because I had all the colors I needed. I didn’t want to have to go to the store and shop for vinyl or paint!
I also didn’t want to have to use stencil vinyl on my wood sign. Signs from Hobby Lobby don’t do well with stencil vinyl in my experience, the vinyl always pulls up the paint.
I’ve found that if you’re using a sign you’ve painted…chalk paint is less likely to come up with your vinyl/transfer tape. Acrylic paint also works, but chalk paint is my personal preference.

Materials
Everything you need to make this Fall is booked bookish Fall sign:
- Wood Sign (from Hobby Lobby or you can make your own!)
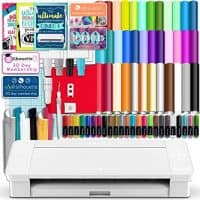
- Silhouette Cameo
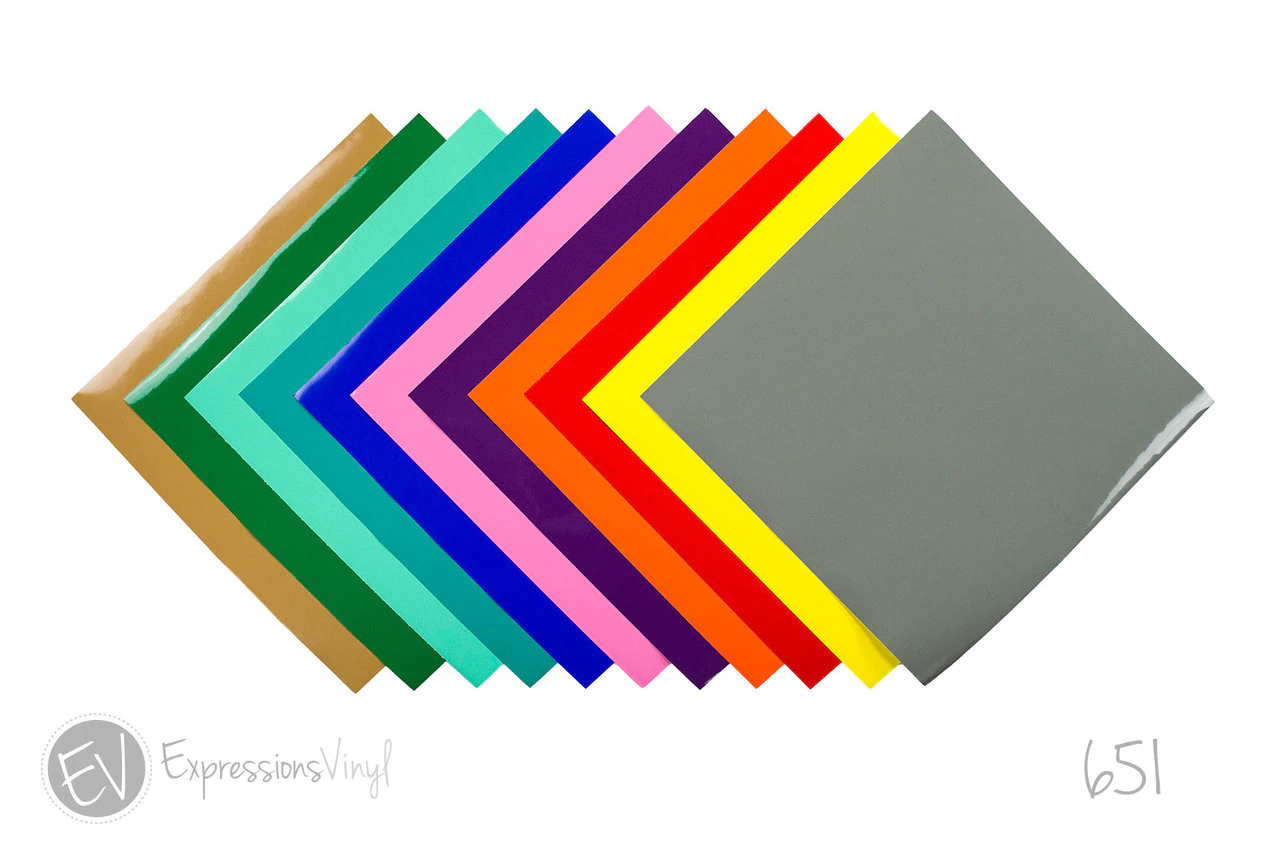
- Adhesive Vinyl
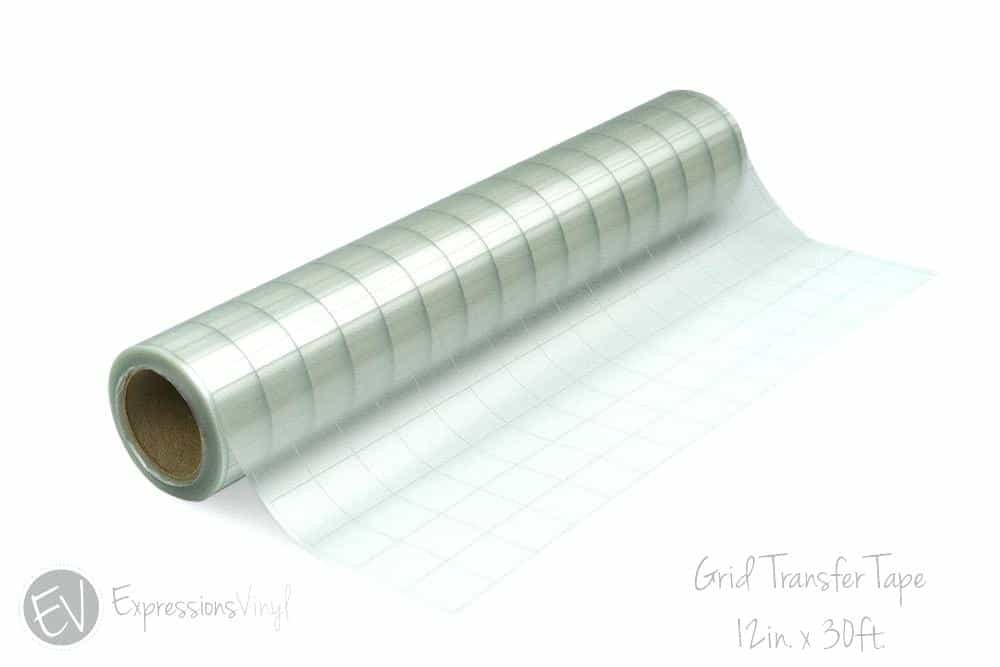
- Transfer Tape
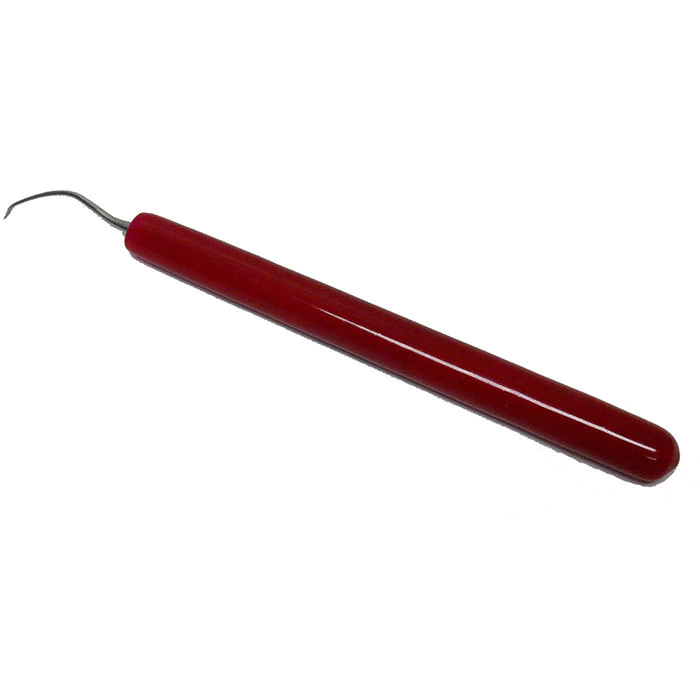
- Weeding Tools
- Scraper Tool
- Fall is Booked SVG
This post contains affiliate links. I may earn commission from qualifying purchases at no additional cost to you. I will never recommend a product I don’t use or trust.
COMMON QUESTIONS ABOUT USING ADHESIVE VINYL ON WOOD!
What type of adhesive vinyl can you use on wood?
There are two types of adhesive vinyl: permanent (oracal 651) and removable (oracal 631). Always use permanent vinyl on any type of wood sign.
Permanent vinyl can last up to 6 years if it is well taken care of so this is definitely what you want to use on a wood sign!
What type of transfer tape do you use with adhesive vinyl?
I typically use gridlined transfer tape, the clear kind!
I like it because it’s easier to see where you’re putting your vinyl decal and lining it up on your material is a breeze.
But any kind will work. The best thing to do is use all different kinds to see which one you like working with best.
Can transfer tape pull up the paint on your wood piece?
I have only found a problem with this if I am using a pre-finished Hobby Lobby sign.
If you’re painting your own you shouldn’t have this issue, at least, I never have!
If you’re worried, you can unstick your transfer tape a bit by putting it on a cotton t-shirt. It’ll still be sticky but it won’t be too sticky to where it’ll pull off paint.
I suggest taking a small piece of transfer tape and putting it on the wood first. Rub it down like you’re putting vinyl on the wood. If you pull it up and the tape doesn’t come with it you should be safe to transfer the entire vinyl design to your wood piece!
Do you need to seal the wood after putting the vinyl on it?
I never do.
Sometimes the sealant can cause the vinyl to yellow (especially if you’re using white vinyl) after a time so it’s not worth it to me.
Unless you’re putting your sign outside where it’ll be exposed to the elements you do not need to seal it.
FAQ’S ABOUT THIS FALL IS BOOKED SVG CUT FILE
How can I download this free svg cut file?
If you are an email subscriber you have access to all of our free svg’s through The Craft Room! Every email we send has the password to get into our free resource library and you can grab the file any time you want (it’s lifetime access!).
If you are not an email subscriber, you can sign up here and get access to all of our past, current and future svg’s!
What types of cut files are included?
We offer this cut file as an:
- svg,
- png,
- dxf,
- pdf and
- jpeg
You can use our cut files with any software that opens these types of files!
more Fall crafts!
- Camping Outside Coffee Mug (free cut file!),
- I Love Fall Most of All Sweatshirt (free cut file!),
- Hello Pumpkin Wood Sign (free cut file!),
- Football Y’all Shirt (free cut file!) and
- Gather & Give Thanks Tea Towel (free cut file!)

GRAB 20 FREE FALL CUT FILES!
Every month I team up with a group of amazingly talented crafters to bring you a bundle of free svg cut files! This month’s theme was Fall and there 20 free files for you to use! Download all of these awesome files by visiting the blog posts (links are underneath the image). All svg cut files are free to use for personal use only and don’t forget to tag us on Instagram (#svgdesignsquad) if you make one of our projects and share it!

Best Free Fall SVGs | Abbi Kirsten Collections
“I Love Fall So Mush” Mushroom SVG | Persia Lou
Fall Circle Design | Crafting Overload
Spice Spice Baby | Brooklyn Berry Designs
Layered Pumpkin Shadow Box | Gina C. Creates
Adorable Hello Fall SVG | Color Me Crafty
Pumpkin Spice Vibes | The Denver Housewife
Fall for You… | The Quiet Grove
Pumpkin Spice and Everything Nice | Dinosaur Mama
6 Fall Faux Leather Earring Designs | Kiy’s Craftroom
Girl Who Loves Fall | Crafty Life Mom
Sweater Weather | Artsy-Fartsy Mama
Hello Fall | Liz on Call
Fall-elujah | Simple Made Pretty
Fall Slimline Card | The Bearded Housewife
Pumpkin Vibes Baby | The Walnut Street House
Fall Leaves Heart | Sunshine and Munchkins
Gather and Give Thanks Cake Topper | Craftara Creates
Fall Is Booked | Simply Made Fun
Whatever Spices Your Pumpkin | Tried & True Creative

Fall is Booked Bookish Fall Sign
Use adhesive vinyl to make this Fall is booked bookish Fall sign with your Silhouette Cameo.
Materials
- Wood Sign from Hobby Lobby (or you can make your own!)
- Adhesive Vinyl
- Transfer Tape
Instructions
- Download your free Fall is booked svg cut file here.
- Open the file in your cutting machines software (we use the Silhouette Studio).
- Resize your design and cut by color.
- Weed your design.
- Pick up each color one by one, leaving the black outline of the pumpkin for last, with transfer tape.
- Transfer the design onto your wood sign.
Notes
1. The best way to line up adhesive vinyl is to use boxes to line your design up. You can see how we did that here!
Recommended Products
As an Amazon Associate and member of other affiliate programs, I earn from qualifying purchases.

