
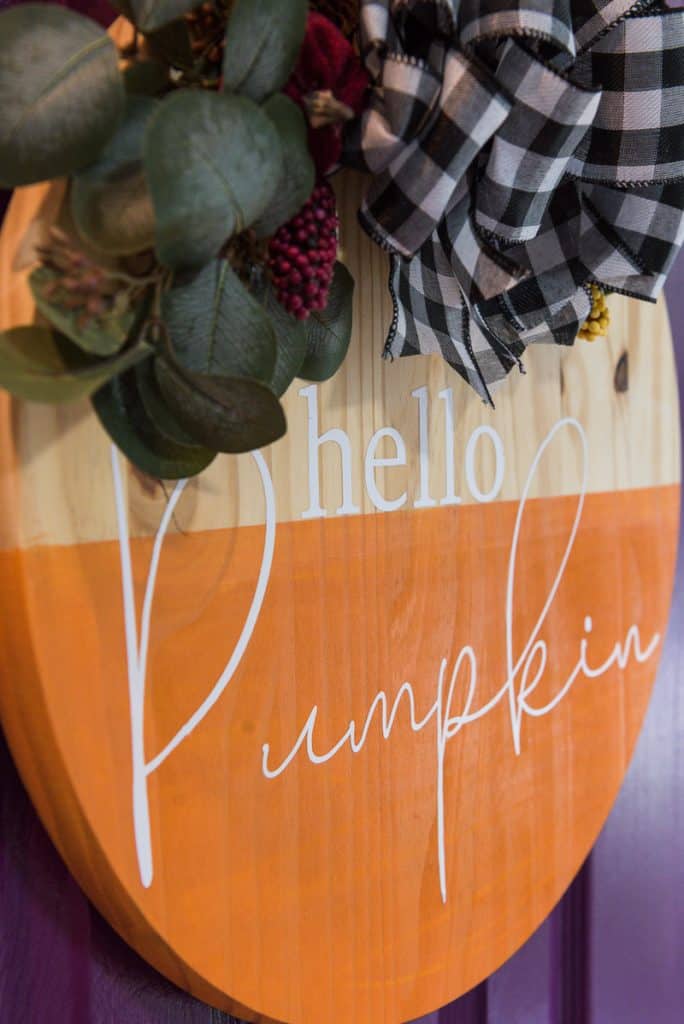
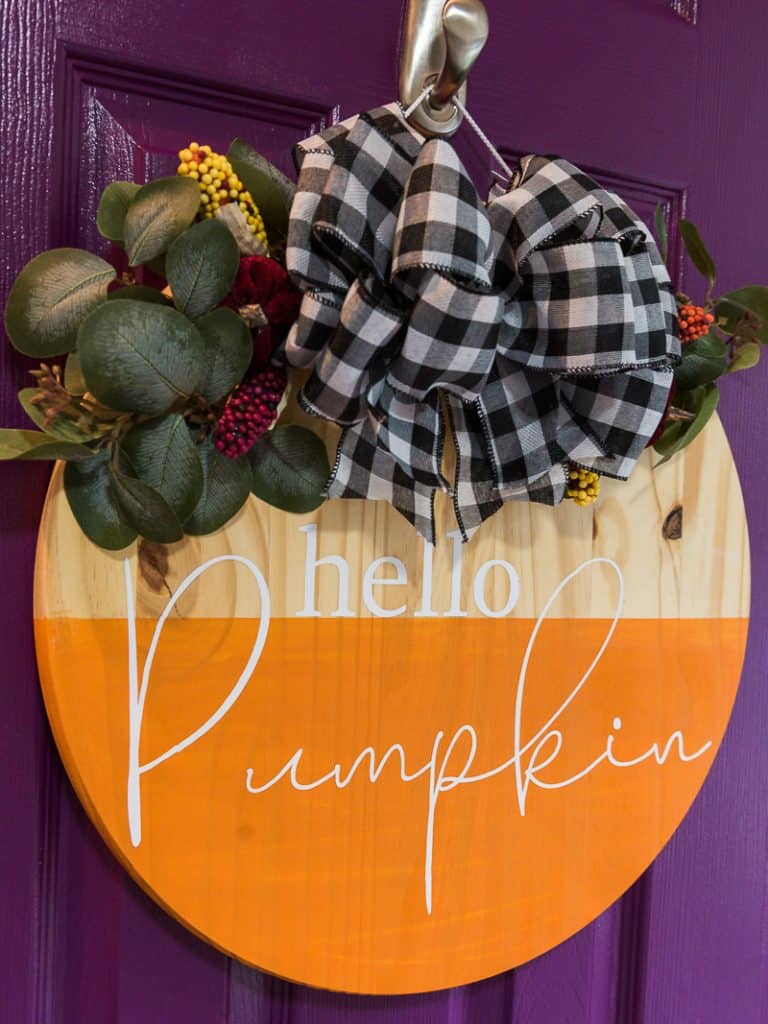
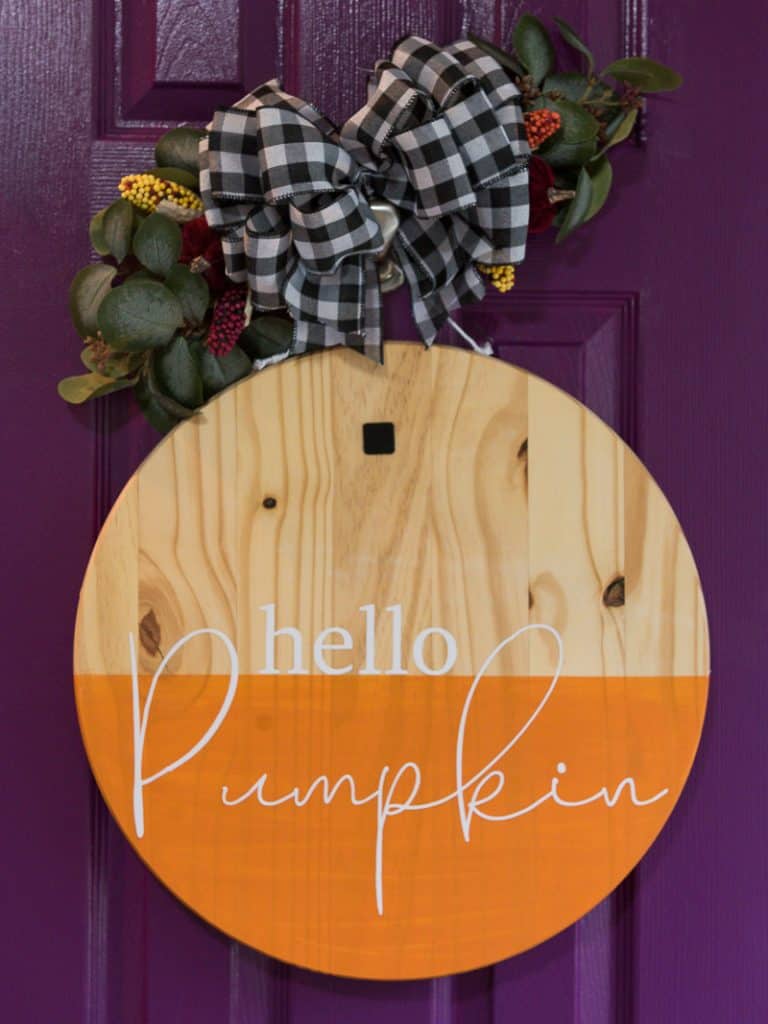
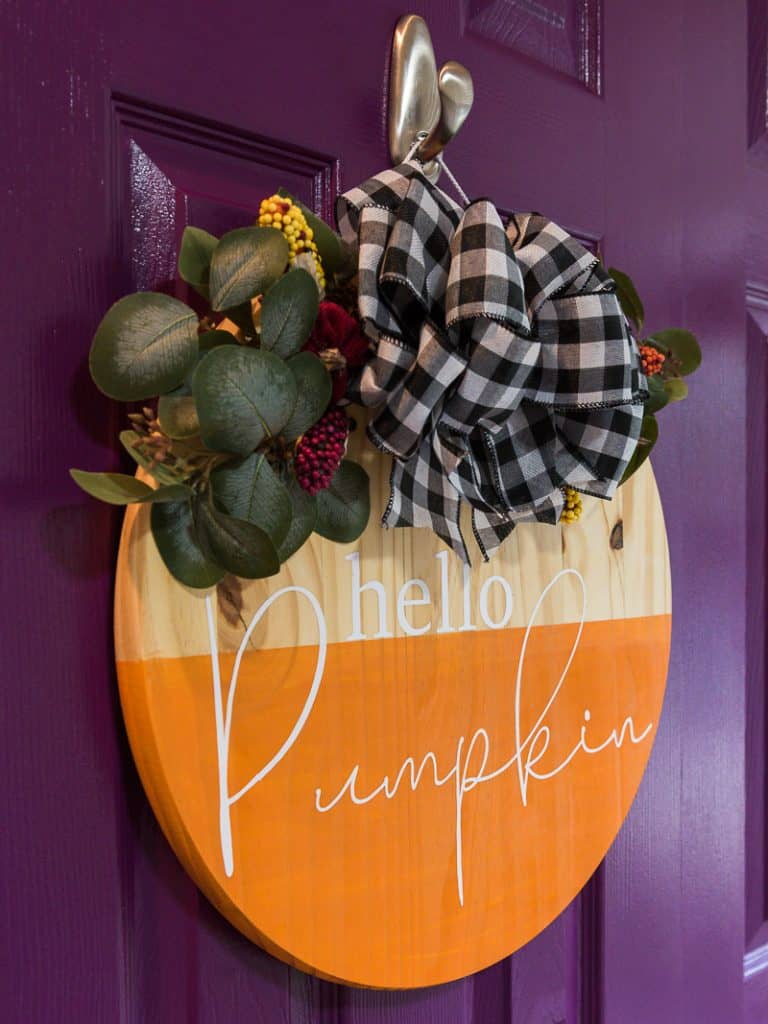
Easy Hello Pumpkin Round Door Hanger with Removable Bow
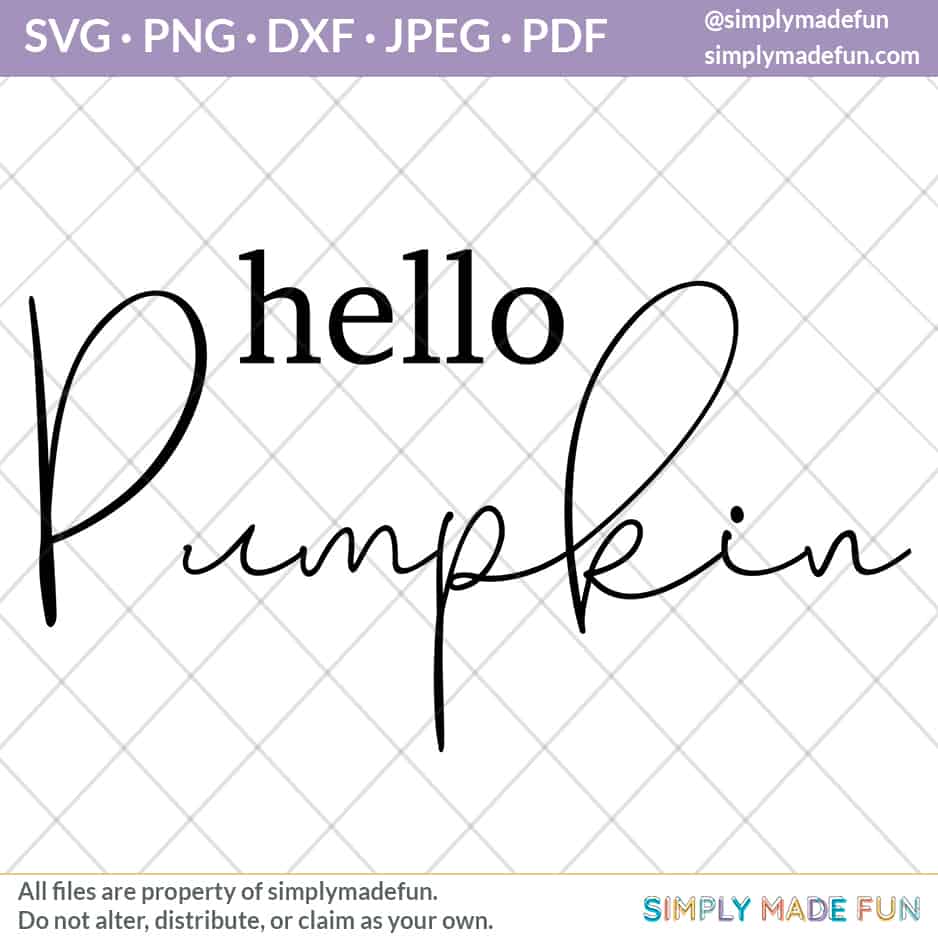
Use this free free svg to make your own Hello Pumpkin round door hanger! Use heat transfer vinyl on wood to get perfectly crisp looking letters or cut out a stencil with your Silhouette Cameo and use these tips to help you get perfectly crisp paint lines.

These wood rounds found at the home improvement store are perfect to use as wreaths!
The problem with these is that they can be a bit heavy so you have to make sure they are secure on your door and won’t fall off and pull the hook off with it!
Lately I’ve seen thinner versions of these wood rounds at craft stores (like Hobby Lobby or Michaels) which is a much better option if you’re worried about the weight!
There are a few things I did differently to this wood round that I haven’t typically seen in al the craft groups I’m in.
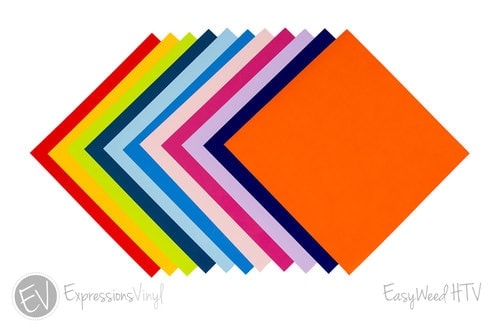
I decided to use heat transfer vinyl instead of paint and a stencil on wood (I did that here and I loved the result!). I like using htv because it melts into the wood and gives it a painted look without having to mess with a stencil and hope that your paint doesn’t bleed underneath.
I also made the bow removeable so that you can put a design on the back of your wood too. That way your wood round will always lay flat against the door because the bow is attached by velcro for easy removal!
Materials
Grab these supplies to make your own Hello Pumpkin Wood Round Door Hanger!
This post contains affiliate links. I may earn commission from qualifying purchases at no additional cost to you. I will never recommend a product I don’t use or trust.
Common questions about the Hello Pumpkin round door hanger.
Where did you buy the wood round?
I found mine at Home Depot but you can also find them on Etsy or at Lowes.
The ones from Home Depot and Lowes are heavy so if you want to find something thinner and more lightweight you should check both Etsy and Amazon.
The wood rounds from Home Depot or Lowes can be hung from a 5lb. Command Hook though! That is what I have on my office door and it’s still hanging in there with that wood round!
These wood rounds are incredibly popular and are sold out at a lot of Home Depot stores and Lowes. Check online before heading to your local store!
What font did you use for the word pumpkin?
The font is called Beverly Hills and you can buy it here!
How did you get such crisp paint lines on your wood round?
For this project I actually used heat transfer vinyl instead of paint. I just found it easier and faster because I didn’t feel like waiting around for the paint to dry!
But, if you want to use paint instead of htv, you can! Either way works and you’ll get the same result in the end.
I wrote an entire post about prepping wood signs for painting and stenciling that’ll help you stop paint bleeds in their tracks!
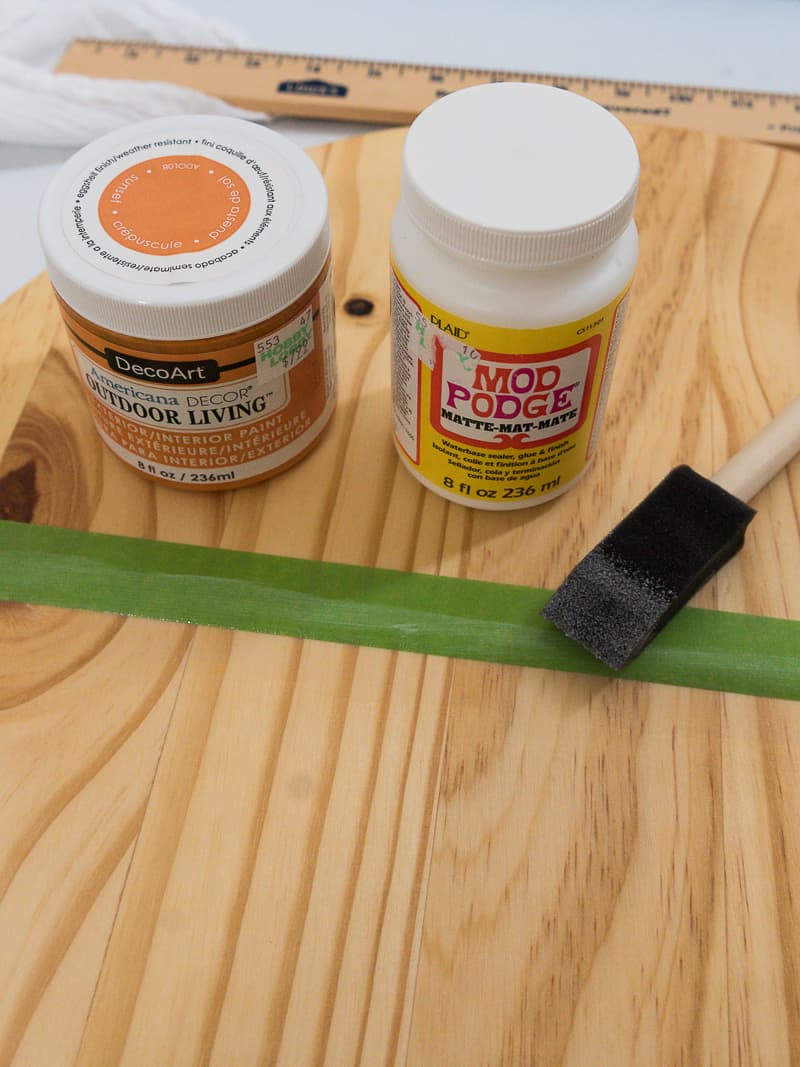
You will need either mod podge or paint (same color as the background of your round) depending on your project and what you prefer.
Can you use heat transfer vinyl instead of stencil vinyl and paint for your wood round?
Hell yea you can!
I used heat transfer vinyl on these wood ornaments and it is SO easy to do!
If I don’t have stencil vinyl on me this is actually my preferred method. You don’t have to worry about your paint bleeding either which is a huge bonus.
You can read all about using htv on wood here. It’s my favorite way to use up htv if I don’t need it for a t-shirt!
Do you need to seal your wood round after the paint dries?
I always seal wood signs, especially if they’re going outside.
For us, we have a screen door so the wood piece is always protected. But we do open the screen door from time to time and I always want my wood signs to be protected in those cases!
You should use polycrylic if you are going to seal your sign.
More Fall Crafts to Make!
- Gather and Give Thanks Tea Towel (free svg file!)
- 27 Easy Fall Crafts to Make
- I Love Fall Most of All (free svg file!)
- 50+ Pumpkin Crafts
- Thanksgiving to Christmas Reversible Wood Sign
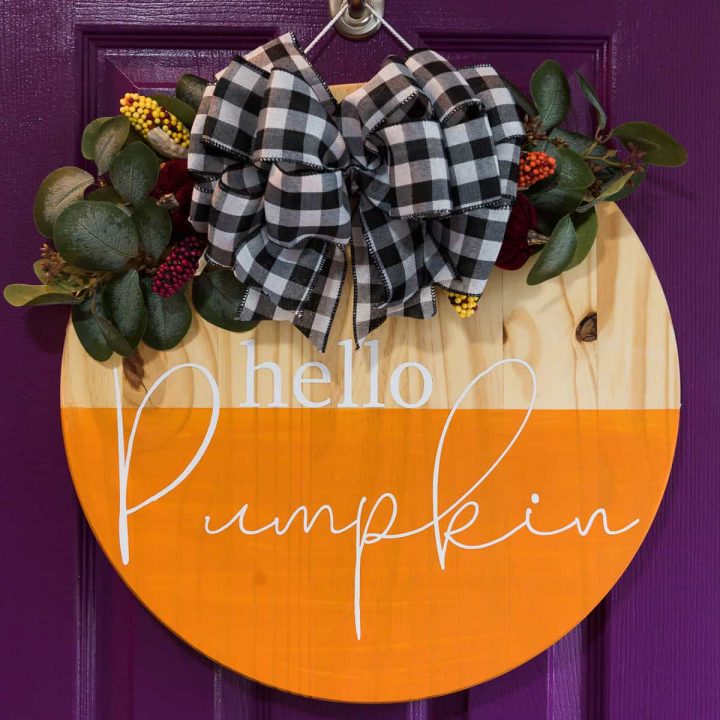
Hello Pumpkin Wood Round Sign
Materials
- Hello Pumpkin SVG File
- Wood Round from Home Depot
- Orange Chalk Paint
- Heat Transfer Vinyl
- Painters Tape
- Paint Brush
- Velcro (small square pieces work well)
- Rope
- Bow
- Other items like pumpkins, straw, leaves, etc
Tools
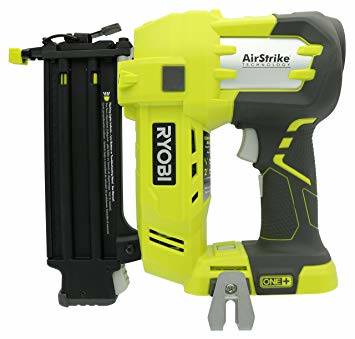
- Silhouette Cameo
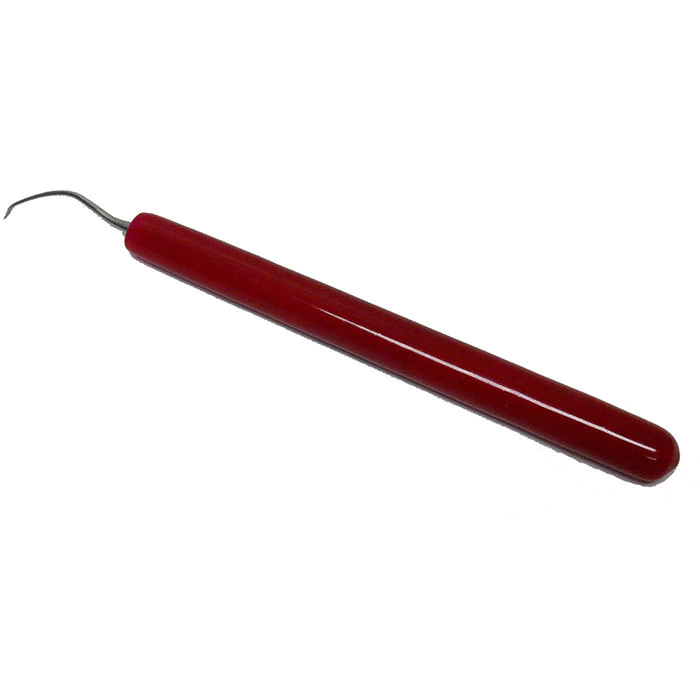
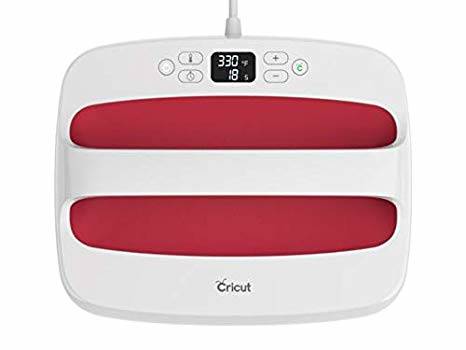
- Light Box Weeding Tool
- Cricut EasyPress
- Weeding Tool
- Teflon Sheet
- Hot Glue Gun
- Staple Gun
Instructions
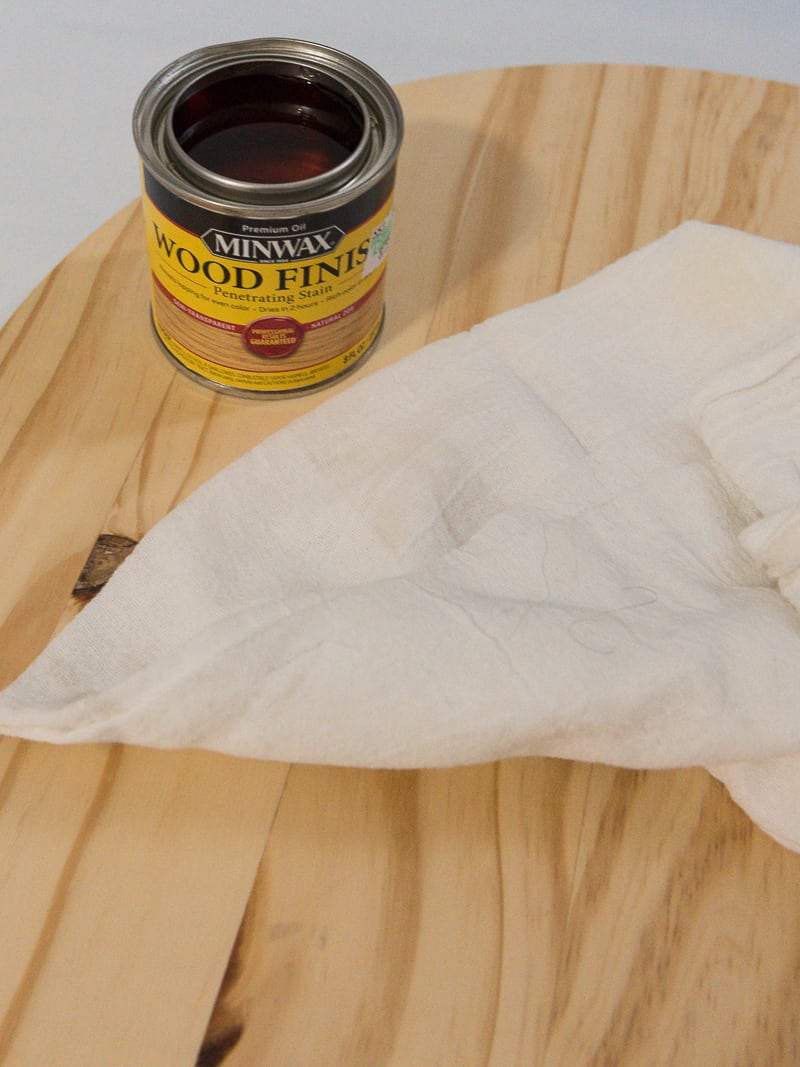
How to prep your wood
- Always sand your piece of wood before doing anything else! I like using 220 grip sandpaper and working down to 80 grip.
- Use a tack cloth to clean all the dust from your wood round.
- Use a coat of pre-conditioning stain on your wood to help your wood stain soak into your wood. You'll get a richer color by doing this!
- Let it dry.
- Then do a layer of your preferred wood stain color.

How to add color and vinyl to your wood round
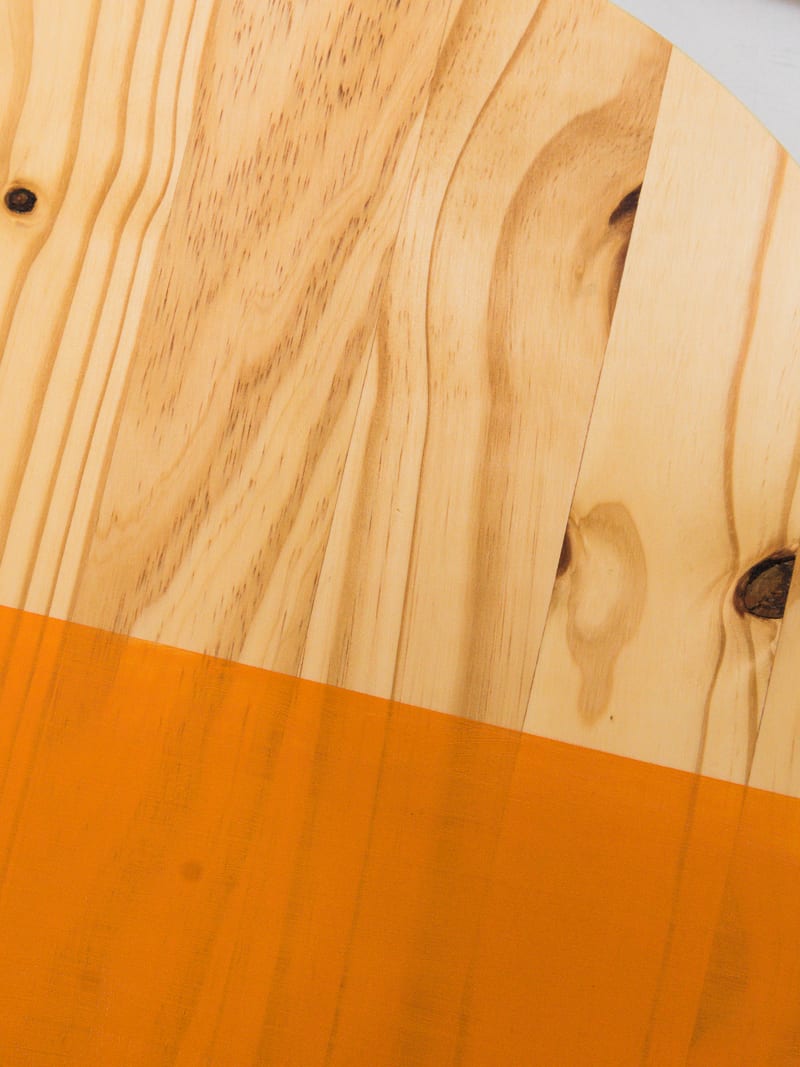
- Once your stain is dry (typically I wait about 30 minutes), tape off your wood round where you want to paint your color. I wanted my orange paint to be a little more than halfway to the top of the round.
- Because I used stain as my background color, I painted a light layer of mod podge on the edge of the tape to keep the paint from bleeding through.
- Once that was dry I painted that area below the tape with orange. Do two coats to get max coverage.
- Peal up the painters tape before the paint dries all the way. It should feel tacky to the touch.
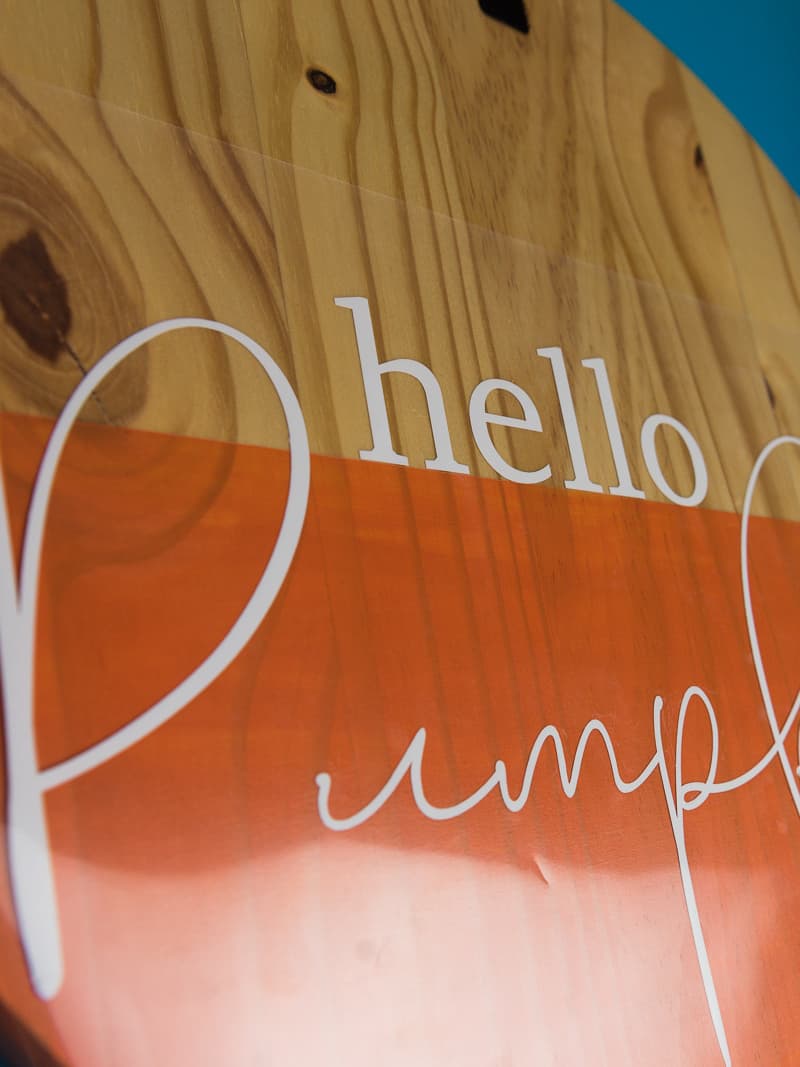
- While the paint dries, cut out your vinyl decal on your machine. (see note #1)
- Weed your design and place it on top of the pumpkin.
- Use your Cricut EasyPress to press your vinyl on to your wood round. Then peel off the transfer tape.
How to make your bow removable
- Grab your velcro and put a small amount of hot glue on the back side of it. Stick it to your wood (about an inch down and measure to find the middle).
- Glue the other piece of velcro to the back of your ribbon. Add in other things like leaves, pumpkins, etc if you wish.
- Then, stick the bow onto your velcro on the wood piece!
How to hang your wood round
- You will need a thick rope cut into a 5-6 inch strip.
- Tie a knot on both ends of the rope.
- Hot glue each end of the rope to the top of your wood round. (see NOTE #2)
- Use a staple gun to secure the rope to your wood round. This will really help keep the rope in place!
Notes
1. You can use htv, adhesive vinyl, or stencil vinyl for this project. If you're using stencil vinyl you MUST paint a layer of mod podge (or your background paint color) over the stencil to keep the paint from bleeding through.
2. You do not want the ends of the rope too far away from each other or else your wood round might not lay flat. Keep them about 1.5 to 2 inches away from each other!
Recommended Products
As an Amazon Associate and member of other affiliate programs, I earn from qualifying purchases.

Grab 12 Free Fall and Halloween Cut Files Before You Leave!
I also got together with twelve other creative friends to bring you a dozen free svg cut files to use for both Halloween and Fall! Click on the links underneath the picture to head to their blogs and download the free files! And don’t forget to use #svgdesignsquad on Instagram when you use one of our files in a project so we can see them!
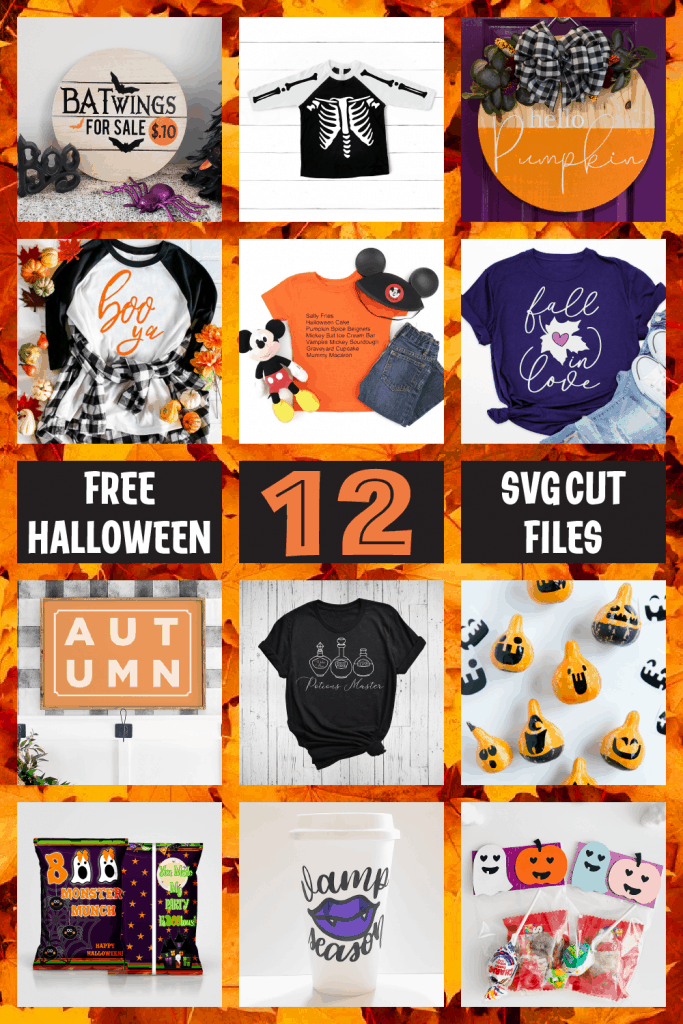
- Halloween Chipbag Printable from Crafts of a Different Shade
- Potions Master SVG from Crafting with Brenna
- Disney Halloween Treats from Polka Dotted Blue Jay
- Fall Gourd Face from Oh Yay Studio
- Autumn Sign Cut File from Poofy Cheeks
- Vamp Season Coffee Cup from MightE Made It
- Halloween Tee SVG from Sugar Bee Crafts
- Fall in Love from Polka Dotted Blue Jay
- Bat Wings for Sale Sign from Sunshine & Munchkins
- DIY Halloween Candy Bags from The Craft Print
- Skeleton Shirt SVG from Tams Sweet Life
GORGEOUS! Talk about a crisp orange line!