How to Make Painted Star Wars Ornaments
Use your Silhouette Machine to cut out vinyl stencils and make your own Star Wars Ornaments for your Christmas tree!
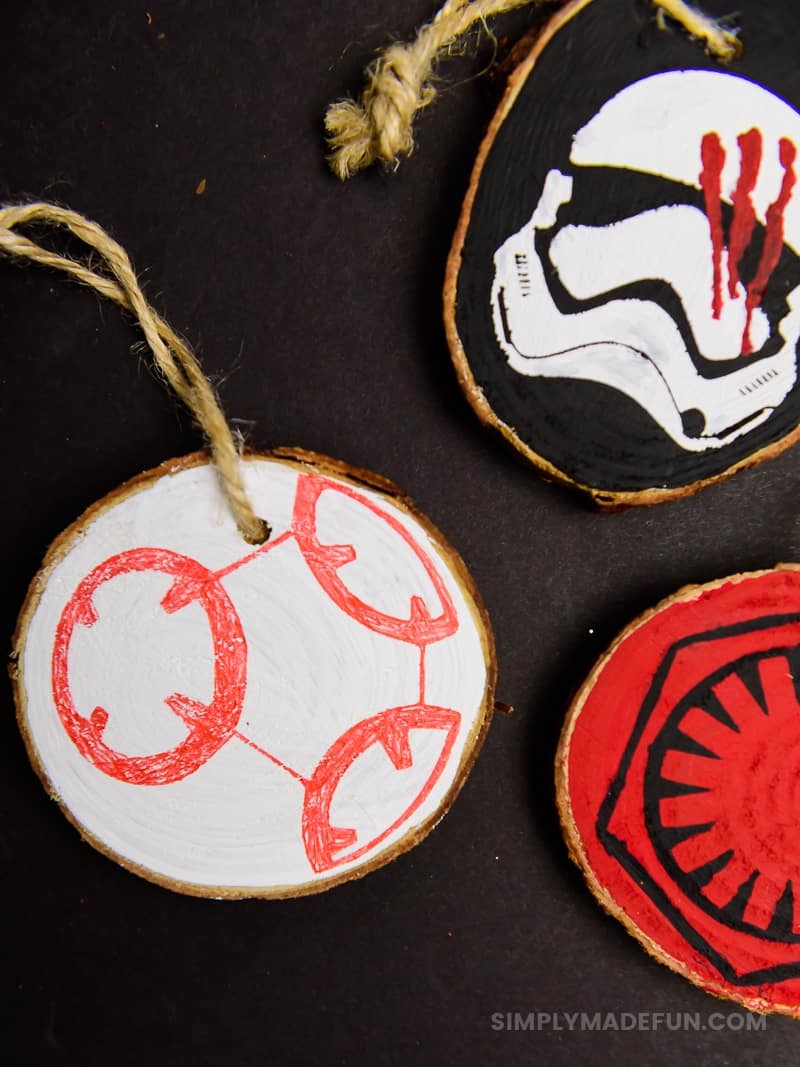
Wood slice ornaments, LOVE. LOVE y’all.
There’s nothing I like more than adding a little rustic to some nerdy decor, and today I’ve got the perfect DIY combo to share!
And of course, the timing couldn’t be more perfect since The Last Jedi is finally coming to theaters this weekend. And I can’t wait to see it on Friday!
My love of Star Wars started way back when (I don’t even know how old I was) my dad introduced me to the original 3. And then he took me to see episodes 1-3 in theaters with him. I really wish he was still here so we could go see the new episodes together, but at least I married someone who will continue the tradition of watching the movies with me!
About a month ago I bought some wood slices from Hobby Lobby for a project I never ended up doing. I swear, about 45% of the stuff in my craft room is materials for projects I never end up doing. Sometimes though, that works in my favor! Like it did with these ornaments!
These Star Wars ornaments are:
- simple,
- nerdy, and
- rustic.
The perfect crafty combination!
This post contains affiliate links. I may earn commission from qualifying purchases at no additional cost to you. I will never recommend a product I don’t use or trust.
Make your own Painted Star Wars Ornaments
Materials
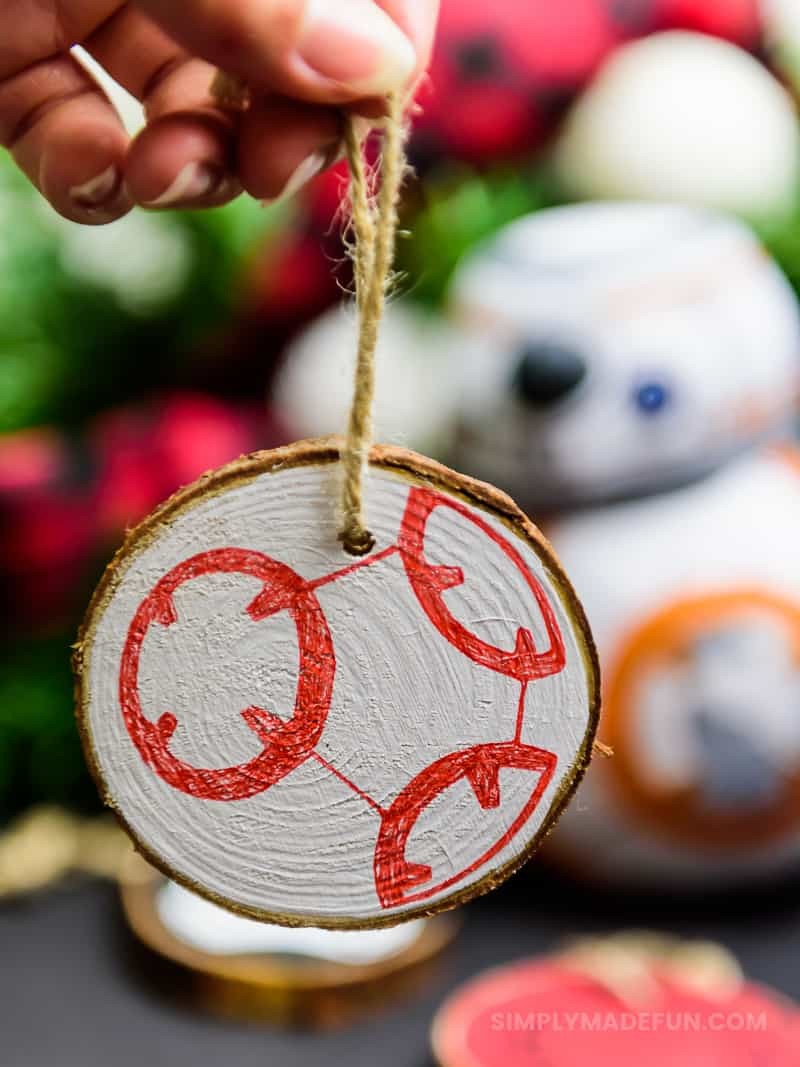
- Wood Slices (mine are from Hobby Lobby)
- DecoArt paint (in various colors)
- Stencil Vinyl
- Paint Brushes
- Transfer Tape
- Silhouette Cameo or Cricut Machine
Tutorial
+ Paint your wood slice and let it dry.
+ While it’s drying, cut out your stencil and weed the design.
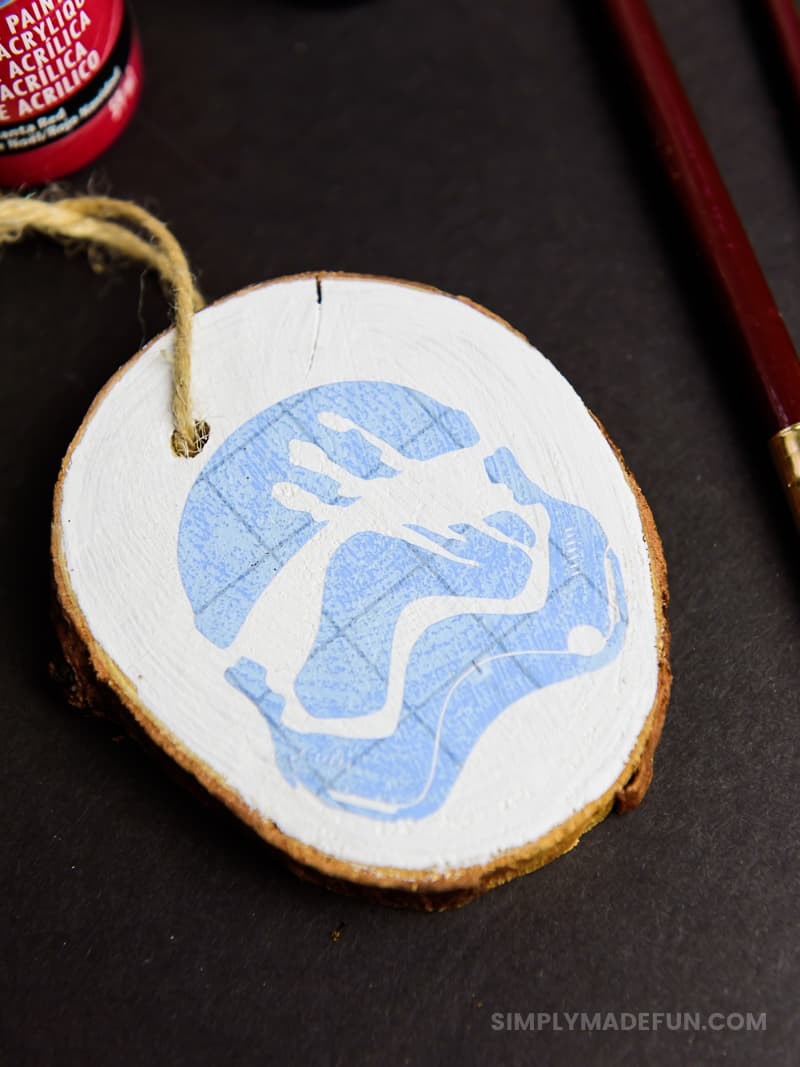
+ Use the transfer tape to pick up the design and place it on your wood slice.
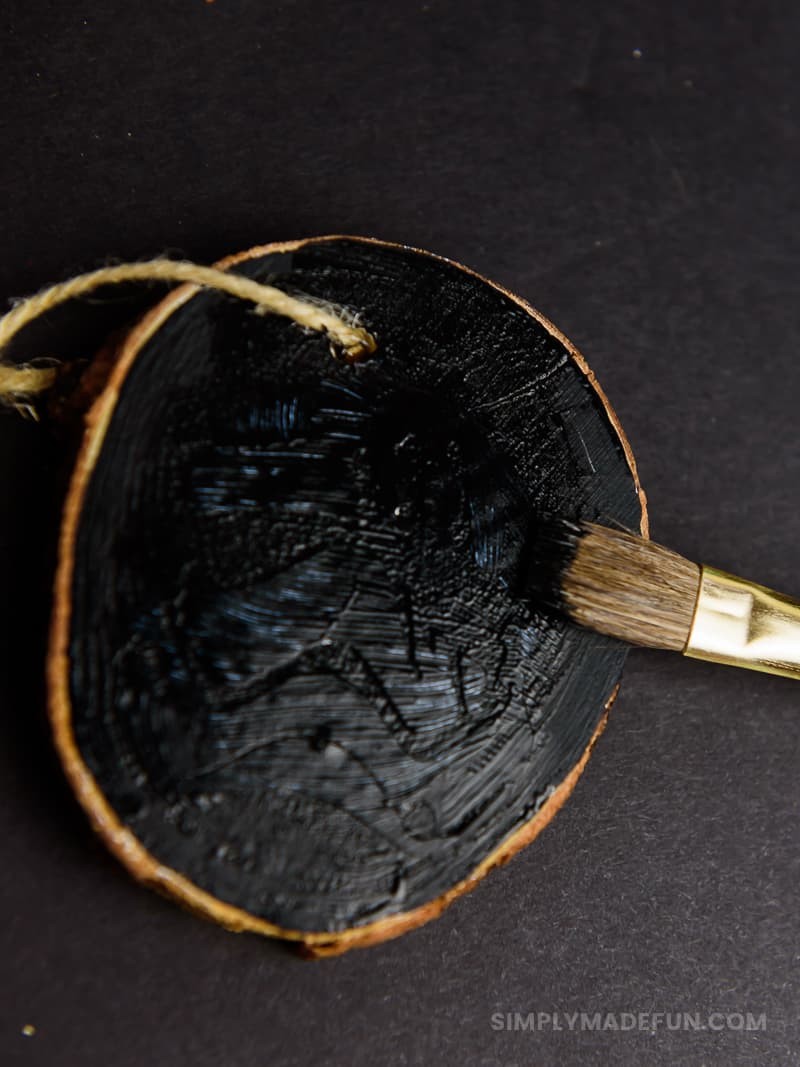
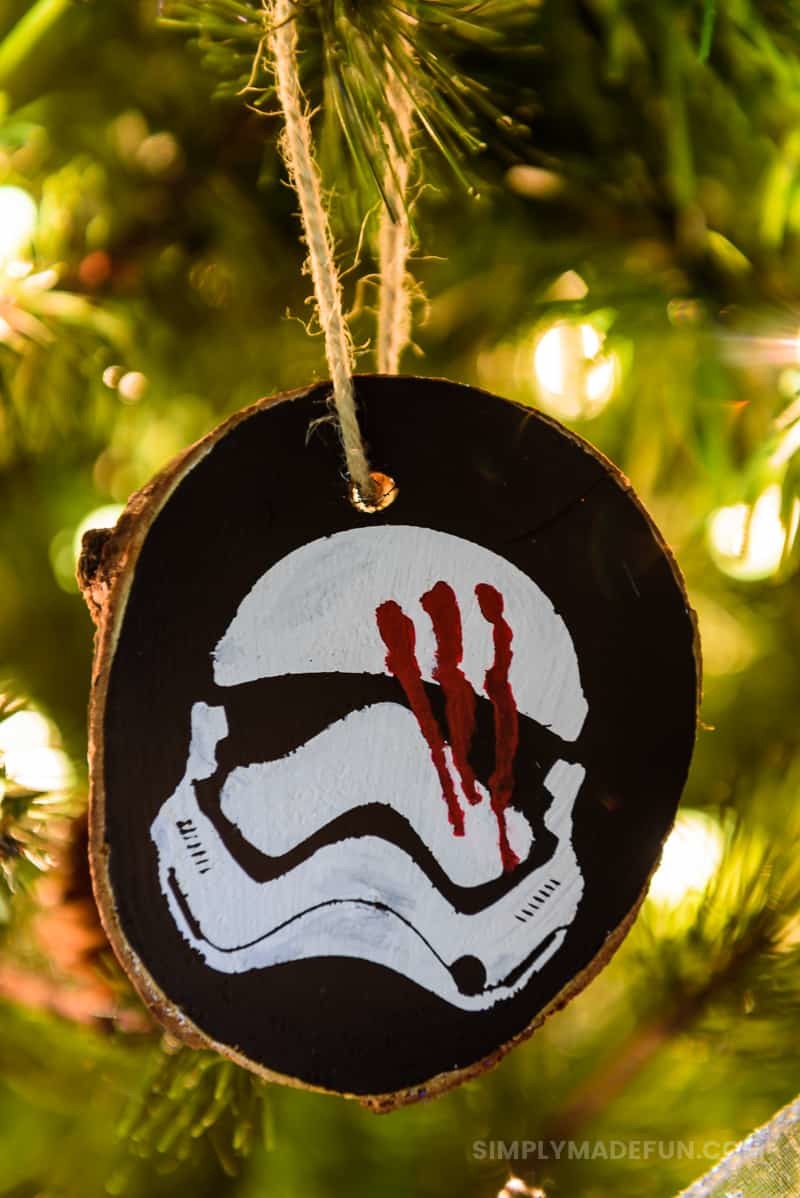
+ For Finn (my storm trooper), I painted black over the entire stencil, let it dry, and then peeled it up.
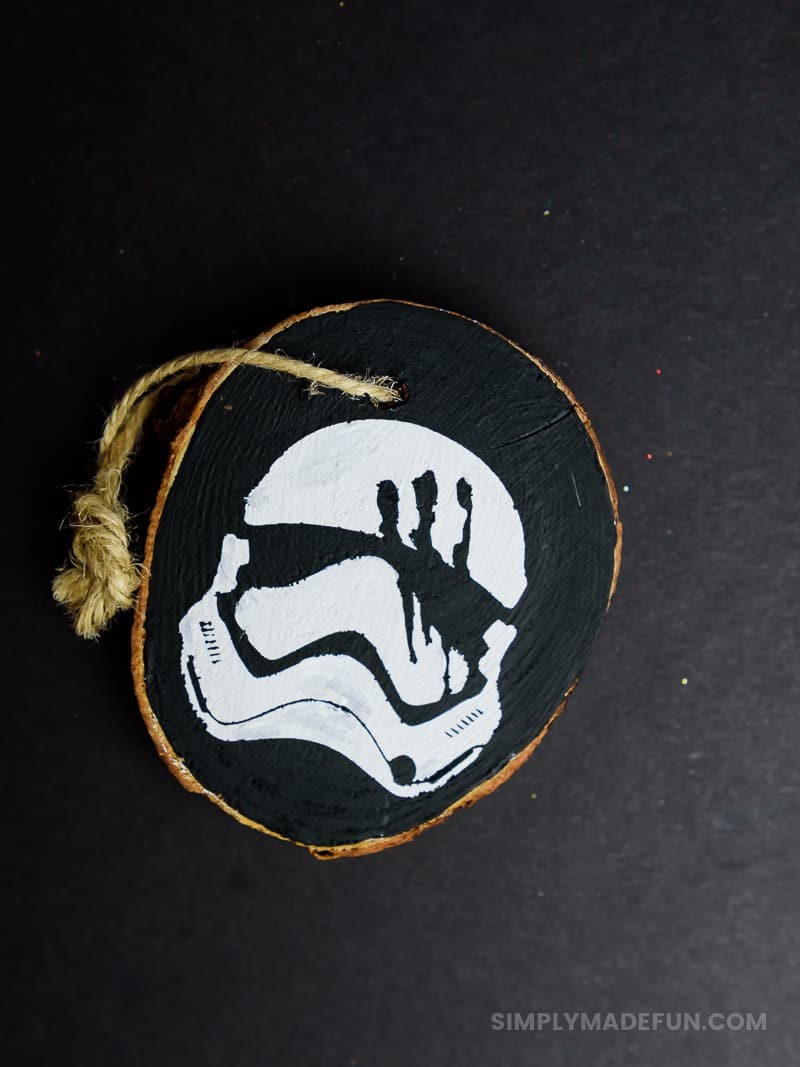
+ If you’re doing the same design, you can either leave the “blood” marks black or paint them red. I chose to paint them red…but I lost a little bit of the “design” along the way. It doesn’t look bad though, it just looks different than the design above!
+ Now is the time to do touch-ups if needed. If not…you’re done!
These painted Star Wars ornaments are just so cute and such a fun touch of “nerd” to our Christmas. I really love how they’re slightly minimalist in design and don’t necessarily scream STAR WARS (besides the Storm Trooper) unless you know the movies well.
And since I’m movie/tv fandom happy in general, I have a few other fun posts movie/tv buffs may love!
Because movie and tv lovers are my kind of people.

more fandom fun!
[pt_view id=”cba4f0d7ds”]

Even tho I am not a Star Wars fan (don’t hate me haha) I still think these are so cute!
hahaha Thank you!
You’re not missing out on anything by not watching the new franchise. 😉