
Weathered Picture Frame
I am constantly looking for new wall art to bring into the apartment. A lot of the space on our walls are taken up by personal photos and I’ve wanted to bring some beautiful paintings into the mix. And what better way to introduce beautiful paintings than by looking in the art shops at Disney?
Chris and I had seen a Thomas Kinkade painting at Disney back in November and fell in love with it. But when we finally decided that we wanted to buy it, they were sold out. I had told Chris that if the paintings were in stock while we were at Disney in April that we were ment to have one. And lo and behold, we got there and they had some in stock! And we bought the last one in the parks! I was so excited I almost started crying right there in the store.

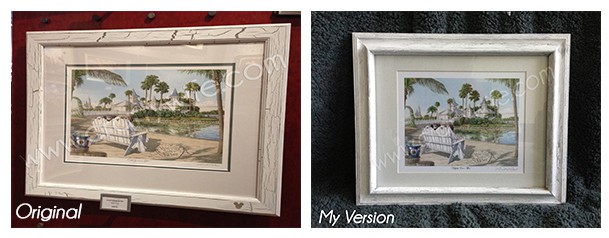
Once I got bit by the decorating bug I didn’t want to stop with the Thomas Kinkade painting. I had walked into the art shop at Epcot to look around and spotted a painting of the Disney Wedding Pavilion and I knew that I wanted it. It was perfect! We got married at the Pavilion the year before and it would be the perfect painting to get on our anniversary trip.
However, the painting was $475 and since we’d already spent a lot on the Thomas Kinkade picture I knew we couldn’t spend that much. Chris and I ended up buying a smaller print of the painting and decided to try to duplicate the frame since we liked it so much.
Materials:
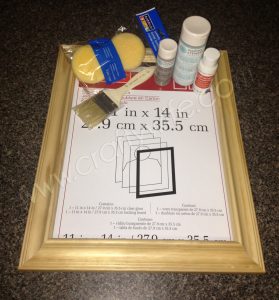
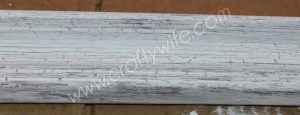
- Martha Stewart Weather Crackle Paint
- Martha Stewart Multi-Surface High Gloss Acrylic Paint, Grey Wolf
- Craft Smart Acrylic Paint, White
- Medium sized paint brush
- Sponge
- Unfinished wooden 11×14 picture frame
- Craft Smart Glass and Backing Kit
Directions:


Now, let’s break down the cost:
Martha Stewart Crackle Paint: $3.60 ($6 before coupon)
Martha Stewart Grey Wolf Paint: $3.19
White Acrylic Paint: $.25
Unfinished Wood Frame: $4.00 (on sale)
Backing and Glass Kit: $4.90 ($7 before discount)
Disney Painting: $47
This post contains affiliate links. I may earn commission from qualifying purchases at no additional cost to you. I will never recommend a product I don’t use or trust.
TOTAL: $62.94
Even though my version is a bit smaller than the original, I’m still happy with it because I did it myself and saved a few hundred dollars in the process! And I love the weathered look of the picture frame, I can’t wait to do it again on future projects!