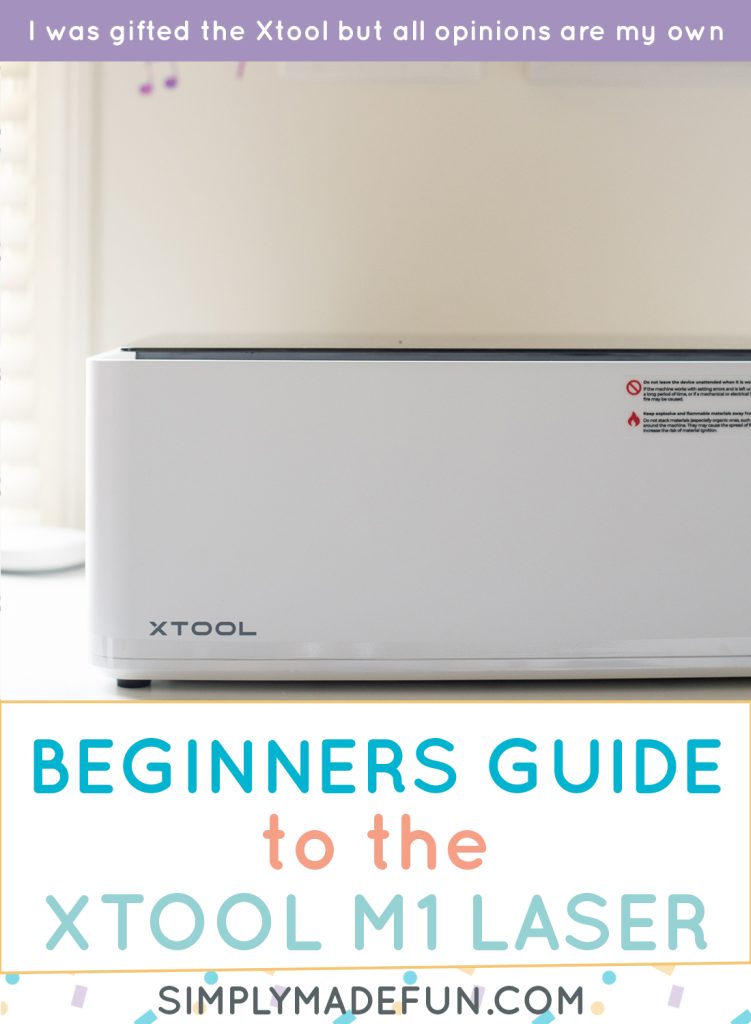
A Beginners Guide to the Xtool M1 Smart Laser Engraver and Vinyl Cutter
Are you thinking of getting a laser cutter for your craft room? This in-depth beginners guide to the Xtool ML smart laser engraver and vinyl cutter will help you determine whether this is the perfect machine to get started with laser projects!
The machine was provided by Xtool, but all opinions are my own!

I’ve had my eye on a laser machine for a while now but I just didn’t want to pull the trigger. First because the Glowforge was so expensive and I didn’t want to spend that much money on something I wasn’t sure I was going to like. And then I was pregnant and was worried about ventilation so I never pulled the trigger.
Xtool reached out to me in May to ask if I’d like to review their Xtool M1 smart laser engraver and vinyl cutter and I was very excited to try it! I love my Silhouette Cameo but I was really intrigued that the Xtool could engrave and cut vinyl in one, and I was excited to compare the vinyl blade to the blade on my Silhouette Cameo machine.
From my first impression I definitely think the Xtool M1 is a great beginner hobbiest machine to start out with. I love the price point and I like all of the features. I also love that the software is very user friendly and getting everything set up is a breeze.
But, let’s talk more about all of those points (and more!) below! If you want to jump to a specific section just click on the text in the table of contents below, and it’ll take you straight to the section you’re looking for.
This post contains affiliate links. I may earn commission from qualifying purchases at no additional cost to you. I will never recommend a product I don’t use or trust.
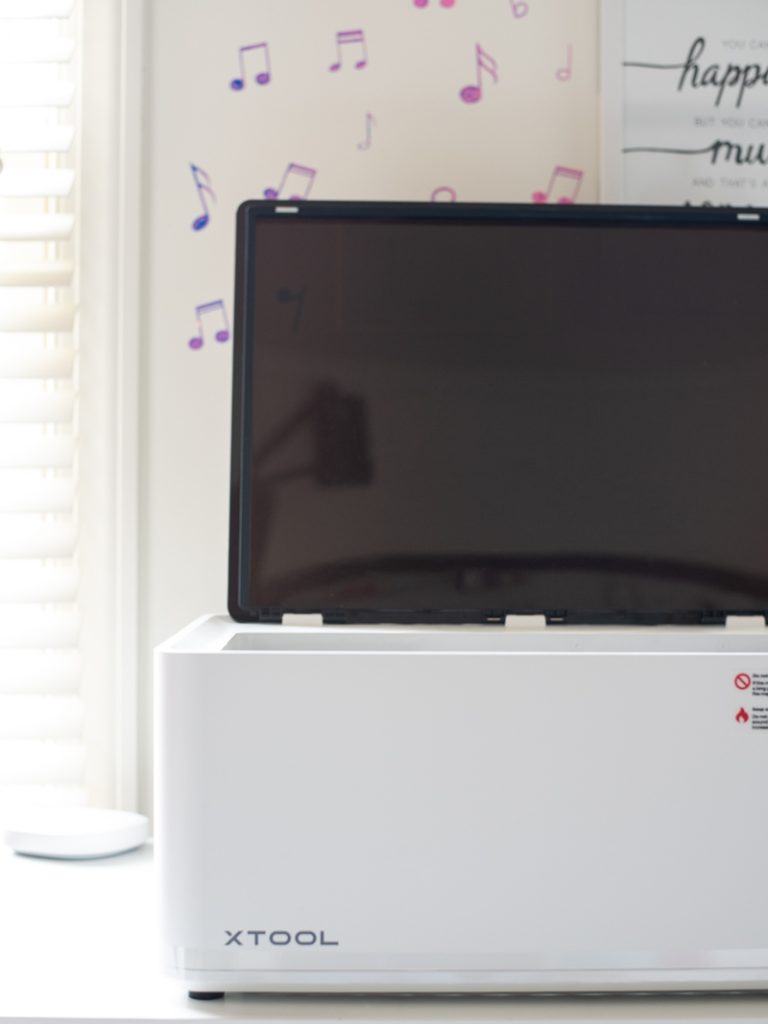
What is the Xtool M1 smart laser engraver and vinyl cutter?
The Xtool M1 is an enclosed laser engraver that also has a blade that can cut vinyl, leather, craft paper, felt and more.
There are three different machine bundles you can buy:
- M1 Basic – comes with the M1 machine and $97.98 worth of free material gifts.
- M1 Deluxe – comes with the machine, the RA2 Pro rotary attachment and $286.97 worth of free material gifts.
- M1 Ultra Deluxe – comes withe the machine, RA2 Pro rotary attachment, air assist, riser base with honeycomb and $346.96 worth of free material gifts.
I was gifted the M1 Basic with the air assist.
I also own the riser base with the honeycomb panel, the RA2 Pro rotary attachment and the smoke purifier. All of these items were purchased by me so that I could upgrade my machine and do more with it! I’ll go over these attachments in a different post!
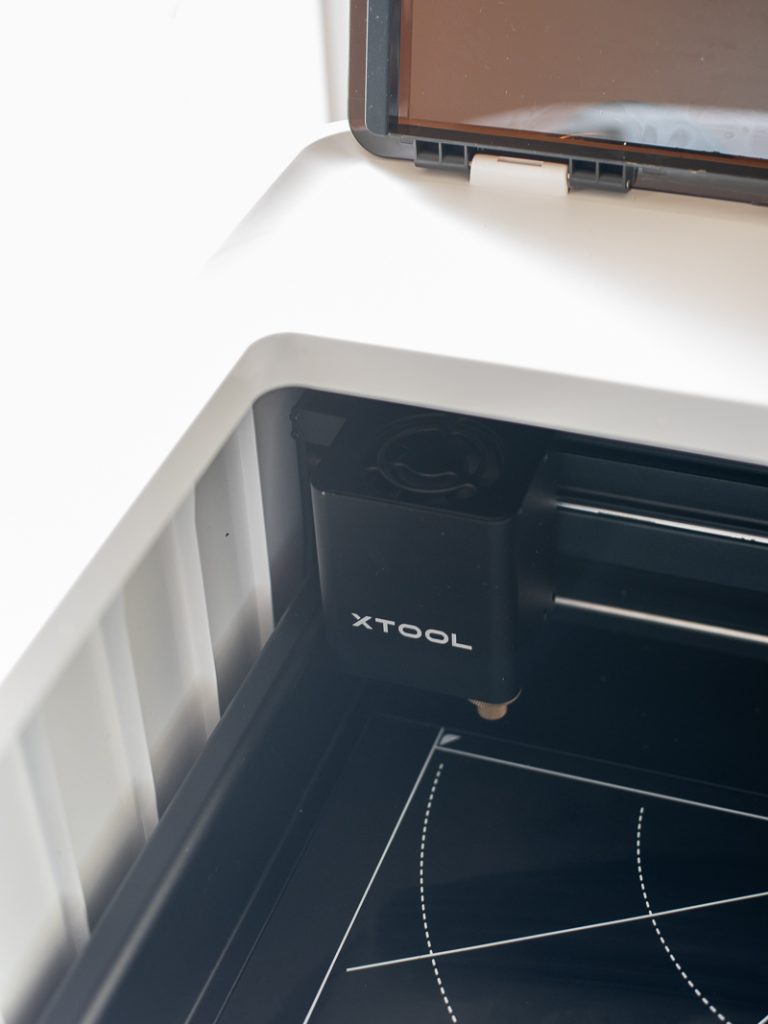
What comes in the box?
When you open the box you’ll find the Xtool M1 machine, cutting mats to use with the blade to cut vinyl and a small pack of materials to get you started.
The machine is mostly put together, there are just a few things you’ll have to do to get it in working order which we will talk more about below.
How to download the software
The Xtool comes with it’s own software for you to use and I’ve been playing around with it for the last week. I’ve found it’s very user friendly and if you have a basic knowledge of the Silhouette or Cricut software the Xtool Creative Space software will be easy to pick up!
To download the software, click here!
I’ve been using a combination of the Silhouette Software and the Xtool Creative Space software to make cut files and it’s been very easy to go between the two. I’ll have another post up next week about the software and showing you how to use it!
How to set up the Xtool M1 Laser Engraver and Vinyl Cutter
When it comes to the written directions for how to set-up the Xtool M1, I found the instructions lacking. I’m a visual person so I typically gravitate towards Instructional videos or even pictures in the instruction manual to help me put something together. But both the written instructions and pictures weren’t cutting it for me with the Xtool.
Because of this I went online and found their set-up video to help me. It was much easier for me to follow the video instructions to set up the machine and it only took ten minutes from start to finish! The most time consuming part was putting the vent hose on
Click here for set-up instructions, troubleshooting tips and more!
The air assist instructions are a little more complex so I waited for Chris to help me with it. There were more steps for set-up and I felt comfortable having an extra set of eyes while putting it together. There is some measuring involved and you have to be precise when measuring, so having no distractions is a must when installing the air assist!
What materials can you cut with the Xtool M1?
The Xtool M1 is a hybrid cutting and engraving machine. This hybrid machine is a laser engraver and vinyl cutter in one. It can engrave and cut thicker materials like acrylic and basswood, etch on glass, tumblers, ornaments and cut vinyl, felt and leather.
If you want to etch on tumblers or ornaments, you will need the rotary attachment. You cannot etch on them without it!
What type of files can you use with the Xtool M1 smart laser engraver and vinyl cutter?
You can open many different file types in the Xtool Creative Software!
- JPG
- Jpeg
- Gif
- PNG
- BMP
- SVG
- DXF
- WEBP
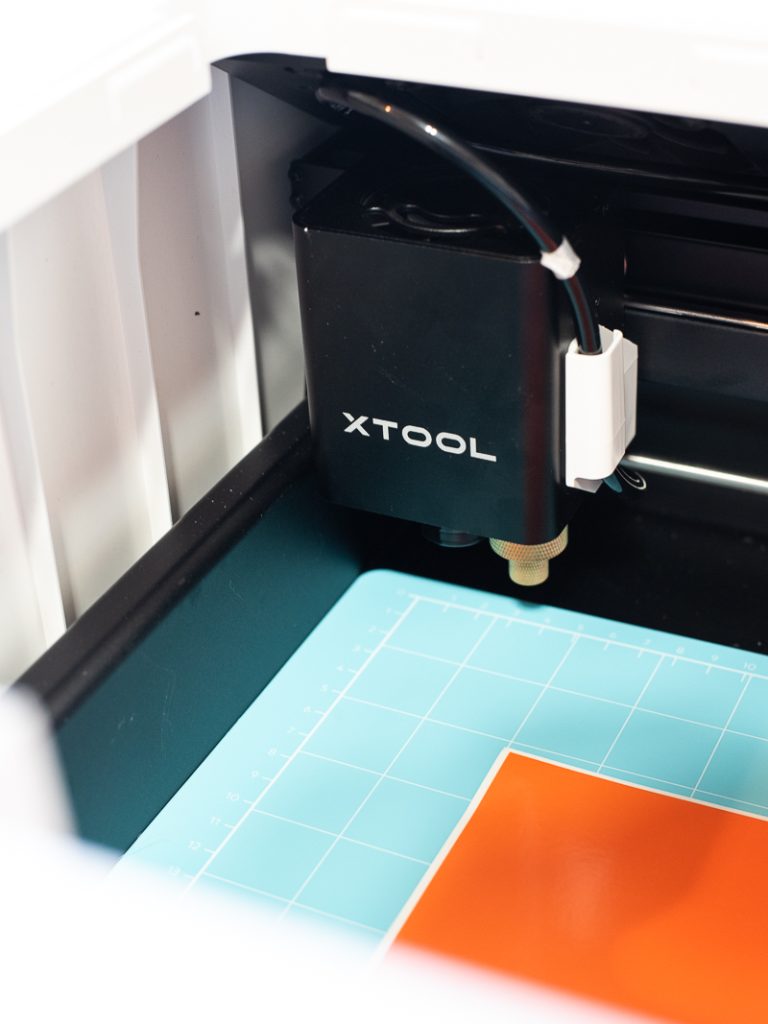
Making the first cut
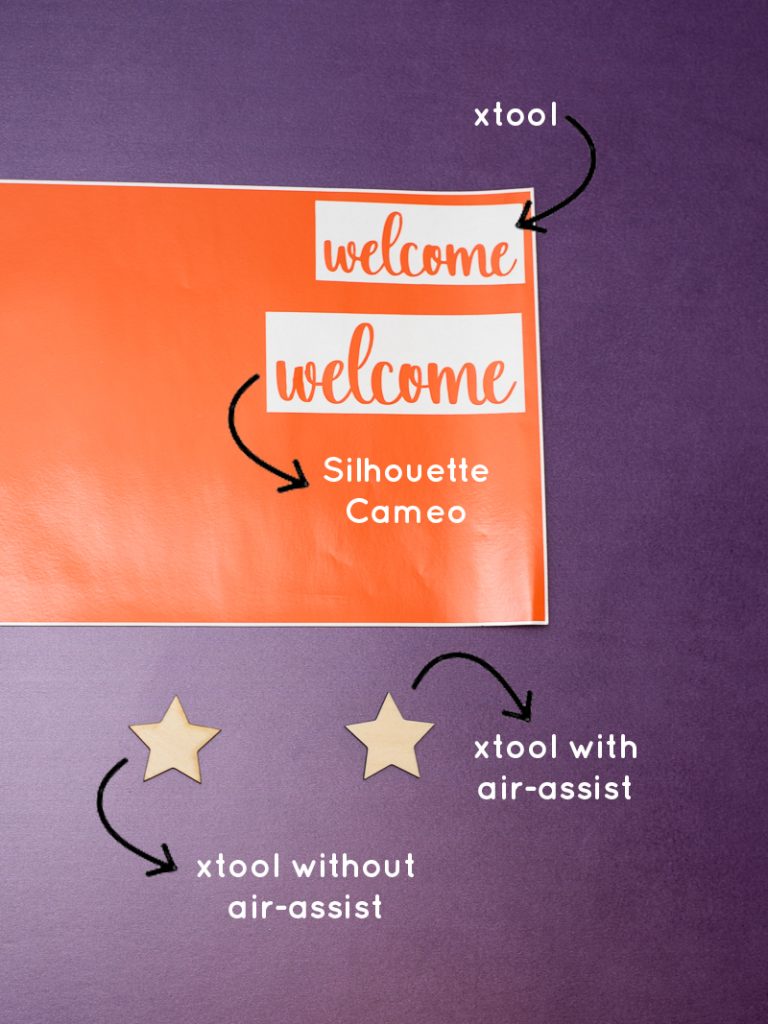
For my first cut I cut out a wood star with the basswood. The first cut I did was without the air assist, and you can see the burnt edges of the star. After installing the air assist I tried again and you can definitely tell a difference! The edges aren’t burnt at all, the star looks much cleaner overall.

To set up your machine to cut (we’re using wood in this example) you must first open the software. On the right side of the screen you want to make sure Laser Flat is selected (select open plane only if you are using the honeycomb panel!). Next select your material – I am using 3mm Basswood Plywood. After selecting the material the thickness should auto-populate. If it does not, click the ruler next to it.
Under height raised it pre-selects no. I like using the triangular prisms when using Laser Flat because it allows air flow underneath your material, but you do not have to use them. If you decide not to use them, keep it on no. For processing path you can keep it auto planning. I’ve actually never used it by layer but you can if you’re cutting out multiple layers!
Next you’ll want to add the star to your mat. A new tab will come up on the right side of you screen with settings that are specific to what you are cutting. For the star, I made sure to click Cut for processing type and Reference for the setting.
Once you have all of that done you will connect your Xtool to your computer – I chose to connect via USB for the first cut.
Then you will want to put your basswood in your machine and hit REFRESH underneath the Xtool M1 at the top right side. Once you hit refresh you’ll see the bed of your machine with the material in it on your screen. You can move the star around at this point so you can choose where the laser cuts it.
Now you’re ready to cut! Hit Process, Start and then press the blinking blue button on your Xtool machine.
Silhouette Cameo vs. the Xtool M1 Vinyl Cutter
This was the big test for me. Which one had the cleaner cut? Which one was faster? Would I choose one over the other for vinyl projects?
I did a test cut on both the Silhouette and the Xtool and I was surprised that I actually preferred the Xtool! The preset settings on the Xtool cut the vinyl faster, cleaner and on the first pass. My Silhouette preset settings did not work on my vinyl. I had to adjust the settings and cut it three times, and even then it didn’t cut every letter all the way through. My blade is new so I’m not sure what the issue was, but for this test cut the Xtool was the clear winner.
This doesn’t mean that I won’t reach for my Silhouette Cameo anymore, because I do love my machine and use it for a lot of different things! But I may find myself reaching for the Xtool when it comes to vinyl more than I thought I would, just because my blade is a little more fickle on the Silhouette.
The nice thing about having both machines is that I can cut duplicates of a design at once, cutting that part of the process in half. This will come in handy the most when making shirts for Disney vacations! I’m really excited about that part!
First impressions and thoughts
I honestly love this machine and am very excited to have it in my craft room! It’s a powerful little machine that can handle a lot of different materials which opens the door on different crafts I can try. Even Chris is already talking about highjacking it to make some things for a cooperative card game that he likes to play.
The one negative about the machine is how long it takes to cut/engrave. It’s not a deal breaker by any means but if you are looking to use this machine for a small business, you may want to look into their more powerful laser cutters instead (like the Xtool P2 laser!). This little machine is perfect for crafters/hobbiest who are looking to dip their toes into laser cutters.