
4 Tips For Efficient Editing with Adobe Lightroom
Hi there, Crafty Wife readers! I’m so excited to be here again with you today! It’s always so fun writing these posts because I am really challenged to focus in on the things I love, like photography! So today I’m here to give you some more tips on improving your photography.
After shooting my first two weddings (for tips on shooting your first wedding, read my last post here), I realized my next beast to tackle was editing. I now seriously think editing an engagement shoot or blog post photoshoot is something I could do in my sleep. A wedding however, is a whole ‘nother story. I have happy-trigger syndrome, so I took around 2500+ photos for each wedding.
Because I had so many photos I really had to learn to streamline my editing process. I am still fairly new to using Lightroom, so I’m sure there are many functions I don’t know yet. But I did learn a few things (only a few hundred photos in) that I think are key for making your editing process work more efficiently.
This post contains affiliate links. I may earn commission from qualifying purchases at no additional cost to you. I will never recommend a product I don’t use or trust.
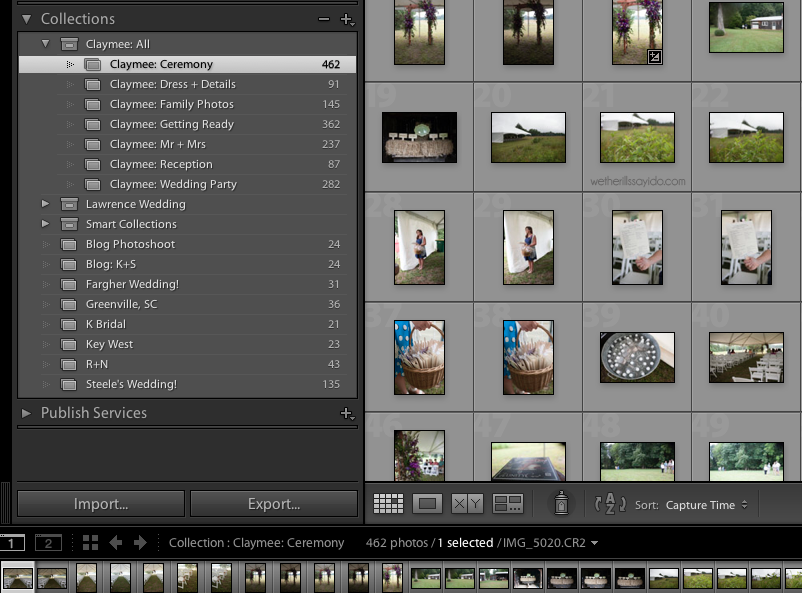
Use collections
Organizing your photos into collections will make your life so much easier. Even if you are just editing one group of photos (like maternity photos or a recipe shoot) having them in a collection allows you to reorder photos easily.
Because I’m a little crazy when it comes to organizing, I broke down each wedding into Ceremony, Details, Family, Getting Ready, Mr + Mrs, Reception and Wedding Party. This helped me to organize groups of photos that were only a few hundred rather than a few thousand at a time. This is also helpful for when you go back looking for a particular photo.
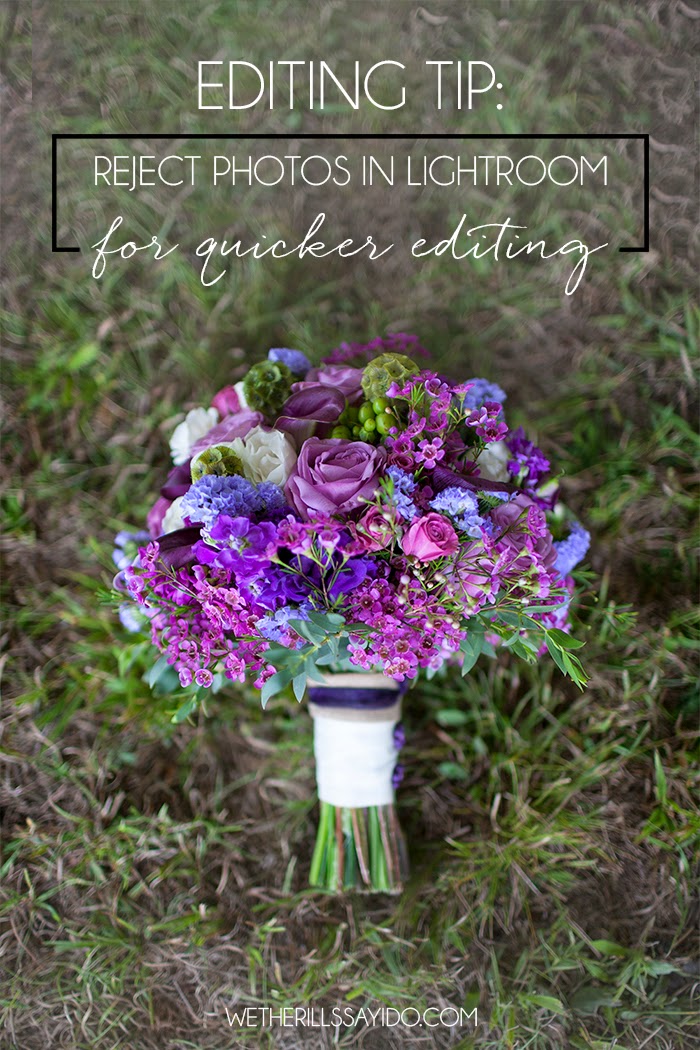
Mark & delete rejected photos
My first time going through photos, I focused on the ones that were completely bad and couldn’t be used. This included misfires, photos where someone was talking or blinking, and lighting that was unsalvageable. As you are moving through photos (first double click one photo then move through with your arrow keys), click X on your keyboard to make photos as rejected.
Once I went through one set of photos I decided to delete the rejected ones. I was very picky about the ones I chose to mark as rejected and didn’t use this as a “maybe” collection. To delete them from your collection you click command + delete or go to Photo –> delete rejected photo. When you delete them from a collection, you don’t delete them from your library, but if you go into your library and do command delete again, you’ll be able to choose whether to delete them from your hardisk (i.e. forever) or just remove it from lightroom (but leave the photo on your hard drive).
This automatically should cut down the number of photos you will need to edit. The reverse of that is to flag the photos you want to edit, but to me this just doesn’t work as well.
As a side note, if you make them as rejected but don’t want to delete them, you can go to Library –> enable filters and then Library –> Filter by flag –> Then select which ones you want to edit.
Edit in batches
Some people love using presets in Lightroom, but I personally have not found any presets that I love, so I edit the semi-old fashioned way. Editing in batches helps you edit similar photos at the same time. This is extremely helpful for things like weddings, where you will have many photos with the same lighting situation. You’ll be making very similar edits on outdoor photos, indoor photos, etc.

Copy + Paste Settings
Once I started working through batches of photos, I would come across a handful that needed almost exactly the same edits. Instead of having to memorize what kind of edits I made, I copied and pasted settings from one photo to another. Sometimes I had to go in and adjust a little but copy and pasting for similar lighting situations really cut down my editing time!
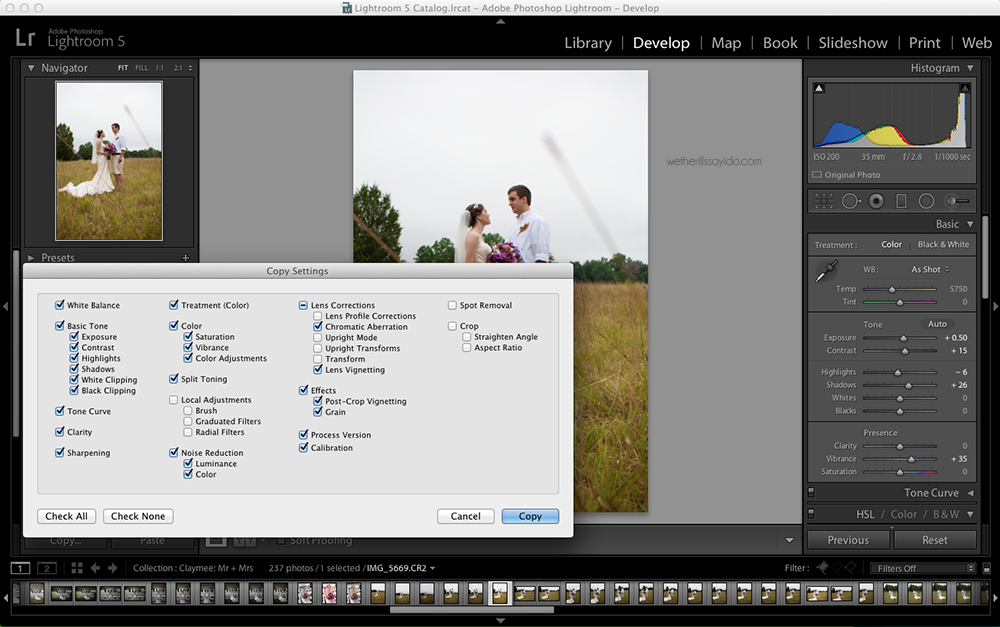
To copy and paste the settings, make sure you are in the Develop mode. Edit one photo to your liking, then press command + c on a Mac or go to the edit menu and select copy. If there are some things that you don’t want to copy, you can uncheck those things within the menu. Then click enter or select copy.
With these quick tips, you should be on your way to a streamlined and easier editing process using Adobe Lightroom! I also highly recommend taking this class from Skillshare if you are interested in learning more about Lightroom! You can follow this link for a free month trial!
I took a class in Lightroom once, but left too long of a gap until I started using it and I forget things! However, I am a big fan of using ratings on photos. I give all my favourites 5 stars and then I use the filter (bottom right) to set it to only rated photos. Then I can just edit and export the ones I plan on using
I use ratings sometimes too and they can be so helpful when you have a ton of photos! I also like using the flag option to reject photos, it’s so easy! Thank you so much for stopping by, Casey!
Madison, you’re brilliant!
She is! I need to start using her Lightroom techniques now. haha
I love Lightroom. If you really want to get into batch editing, you should check out the sync and auto sync functions. If you use ctrl or shift to select multiple photos (starting with the one you have already edited) you will notice that the “previous” button in the bottom right corner of the screen will turn into a “sync” button. You can click that and then will see the same screen as you do with copying and can select which edits you want to copy to all the photos at once. You can also select the toggle next to “sync” to turn on auto sync which will then let you live edit one photo and sync the edits to all the rest that you selected to auto sync. It’s such a HUGE time saver.
Fantastic tip this. I had wondered how to paste changes into a large number of files at once. Thank you.