Christmas Village with Adhesive Vinyl
This post contains affiliate links. I may earn commission from qualifying purchases at no additional cost to you. I will never recommend a product I don’t use or trust.
You don’t need a cutting machine to decorate this wood Christmas village with adhesive vinyl!
I love my Silhouette Cameo machine but sometimes I don’t want to pull it out to make something.
At Target the other week I gravitated towards some wood houses in the Dollar Spot and figured they’d be fun to put adhesive vinyl on.
And boy was I right!
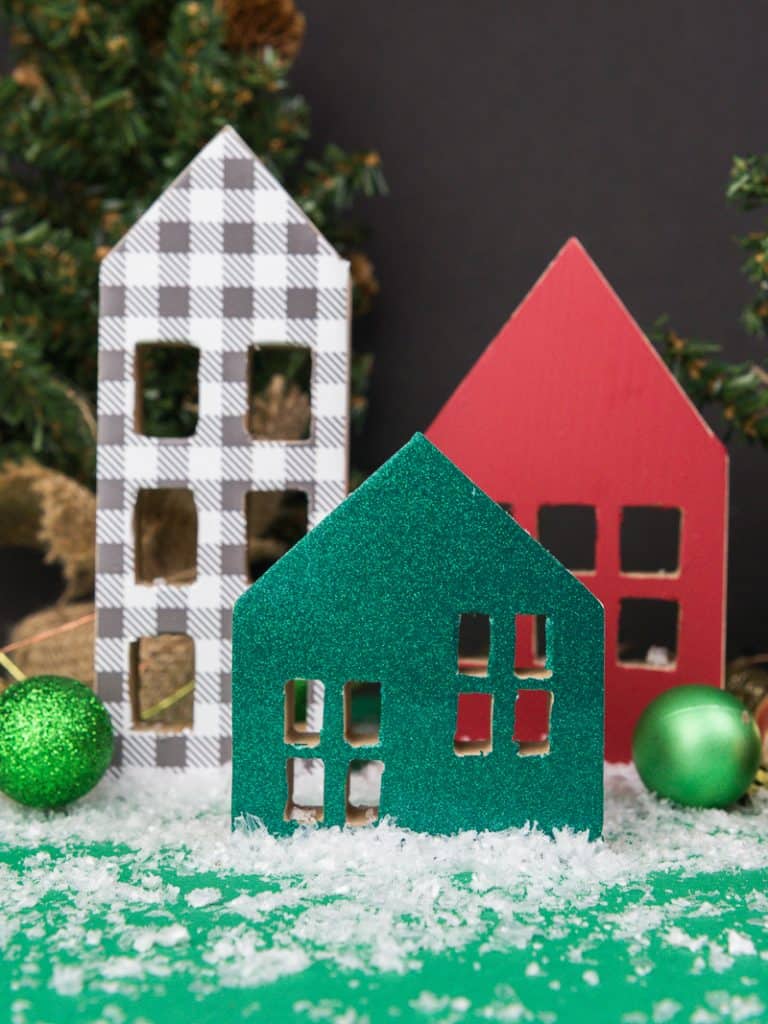
This wood Christmas village with adhesive vinyl took me 20 minutes to do (maybe less if I’m honest) and added so much glitter and shine to my shelves for the holidays!
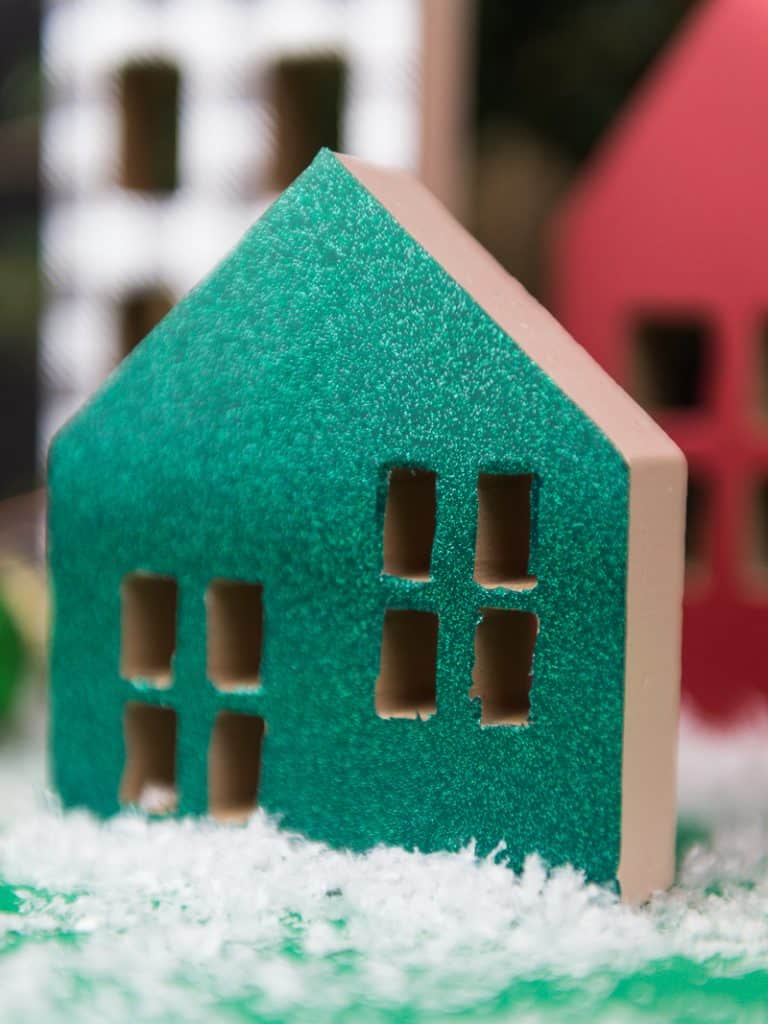
What I love most about this project is that it doesn’t have to be perfect. If you look closely you can see little bits of the vinyl left behind in the windows but from a distance its not noticeable.
I probably could’ve gone back with my exacto-knife and removed the pieces if I wanted to, but I didn’t. You can if you want….it’s up to you!
What you need to make this wood Christmas village with adhesive vinyl:
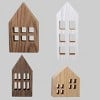
- Wood houses from the Target Dollar Spot
- Exacto-Knife
- Scissors
- Adhesive Vinyl (mine is from the November Mystery Box)

Read these tips before you make your Christmas village with adhesive vinyl
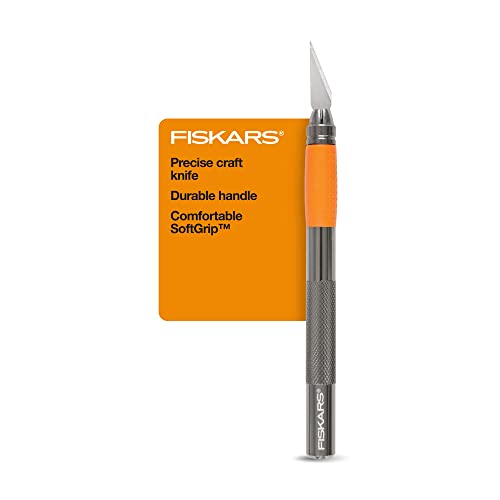
What type of exacto-knife do I need for this project?
I have the fiskars exacto knife and it’s what I used in the video for this post too!
I love it and use it for a lot of projects. I’d also suggest getting a self healing cutting mat to put underneath so that you don’t accidentally cut your table!
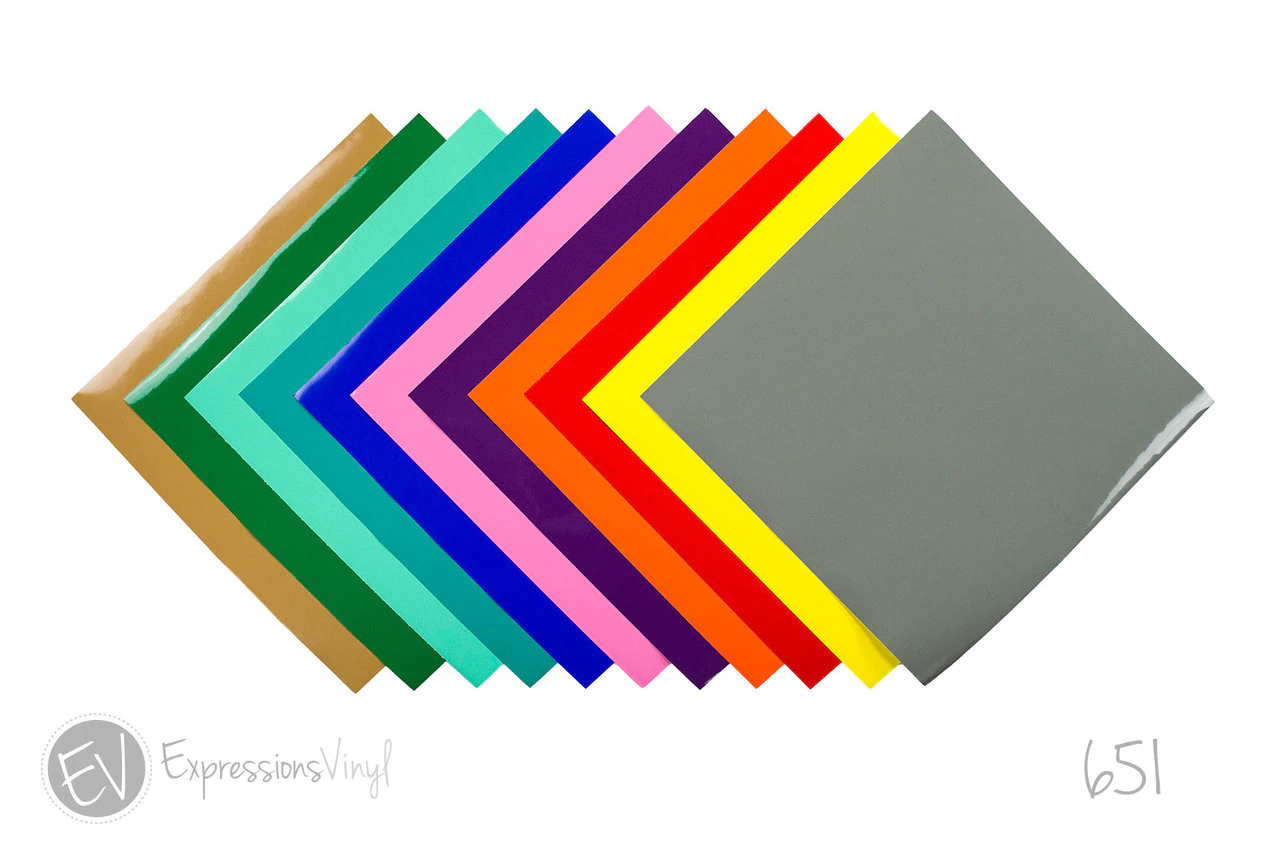
What type of vinyl can I use on the wood houses?
I used Adhesive Vinyl but you can also use Heat Transfer Vinyl on wood.
I subscribed to the Expressions Vinyl Mystery Box and all of the vinyl I used for this project came from the November Mystery Box.
How do you cut out the windows?
I pushed my finger down on the vinyl to find where the windows were. Then I used my exacto knife to cut out each window.
Sometimes I had to go back and cut off excess pieces I left behind but sometimes I just just left it.
All I had to do was push the vinyl back into the window. It’s not noticeable from far away!

Other Christmas Crafts We Love:
- Rae Dunn Inspired Christmas Ornaments
- Handlettered Rudolph Wood Sign
- Faux Suede Christmas Tree Earrings
- How to Use Heat Transfer Vinyl on Wooden Christmas Ornaments
- Merry & Bright SVG File
Christmas Village with Adhesive Vinyl
Materials
- Wood houses from Target Dollar Spot (come in a pack of 4)
- Adhesive Vinyl
- Scissors
Tools
Instructions
- Lay your house down on top of your vinyl.
- Cut out a square/rectangle that is the size of your house.
- Remove the backing from your vinyl and place the piece of vinyl on top of your wood house.
- Cut off all the excess vinyl on the sides.
- Then use your exacto-knife to cut out all of the windows in your house. It doesn't have to be perfect! If you have small pieces left over you can just push them back into the window (I show how to do this in the video below!).
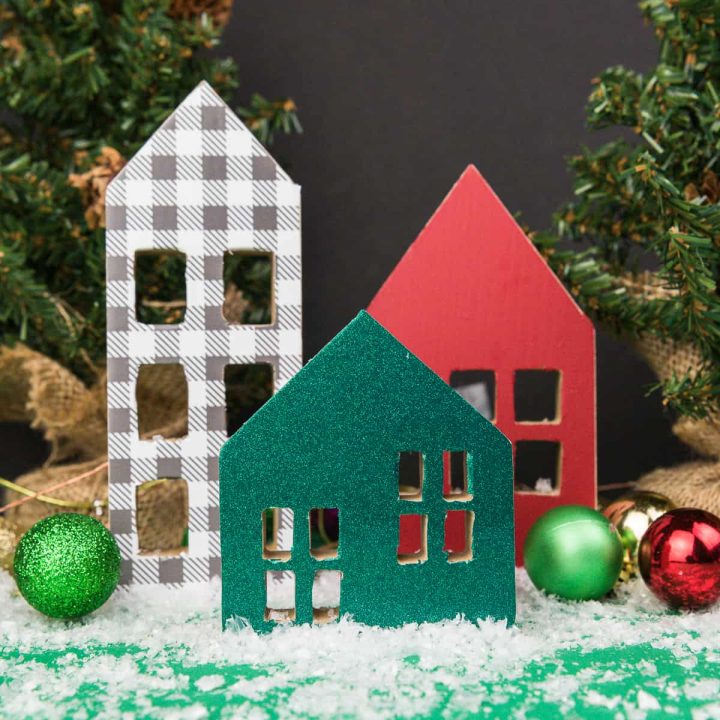
- Set up your little village in your home so you can enjoy it for the rest of the season!
Notes
- Grab some tea lights to put behind the houses if you want it to look like there are candles burning in the windows!
Recommended Products
As an Amazon Associate and member of other affiliate programs, I earn from qualifying purchases.