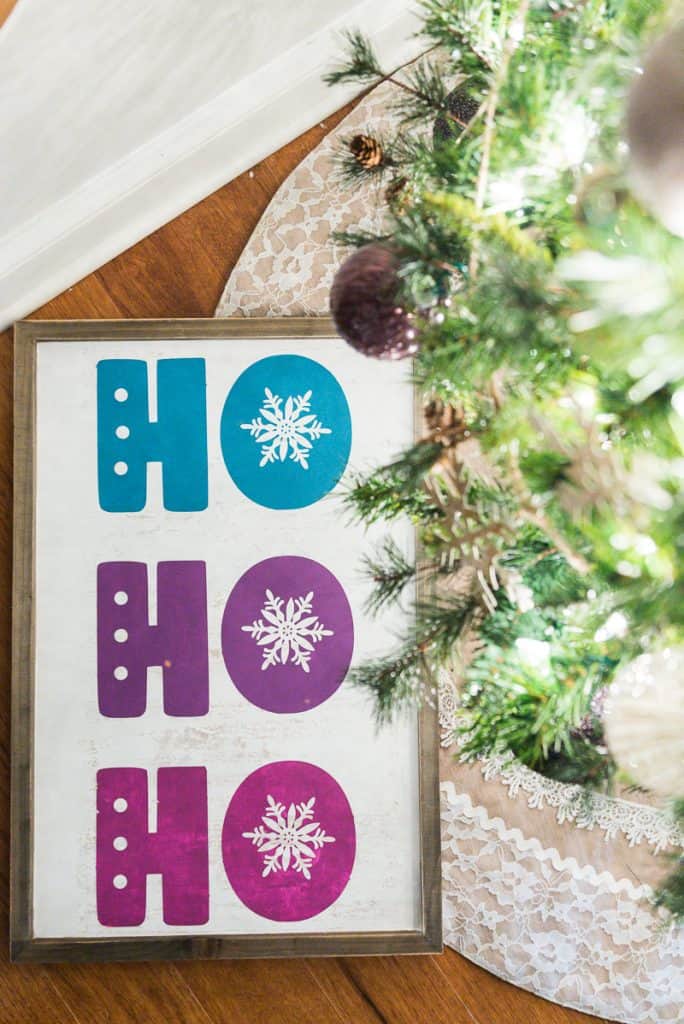
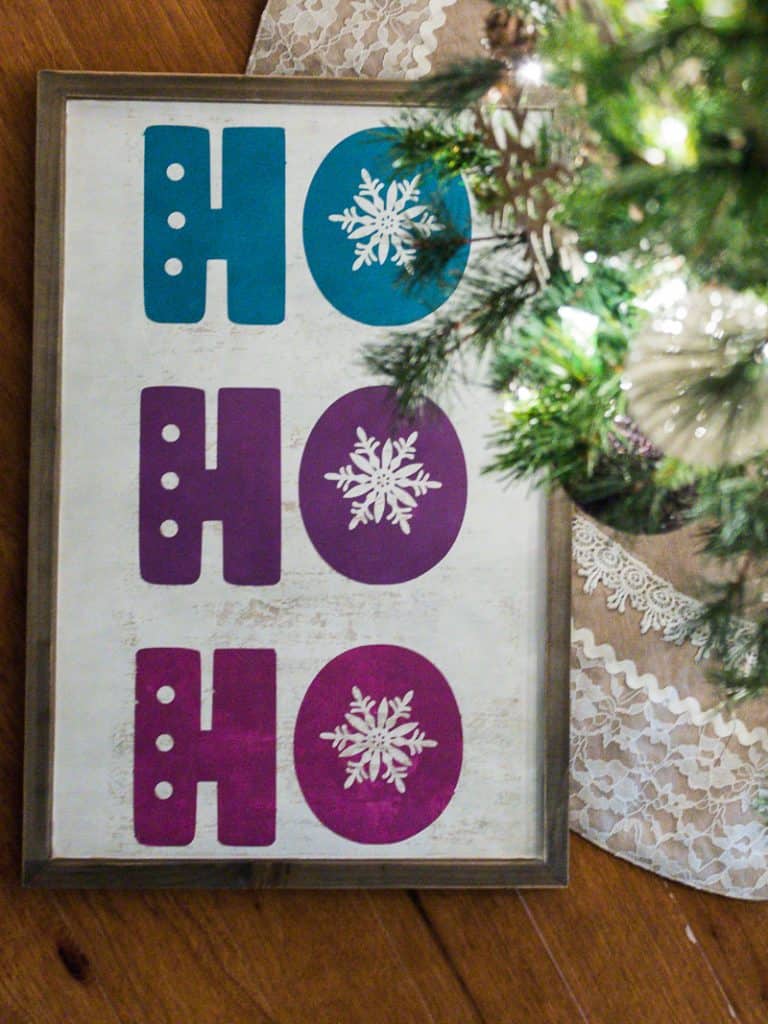
Ho Ho Ho Christmas SVG File
Use this Ho Ho Ho Christmas SVG file on wood signs, sweatshirts, paper banners and more this holiday season!
Traditional vs non traditional Christmas tree? Which one are you?
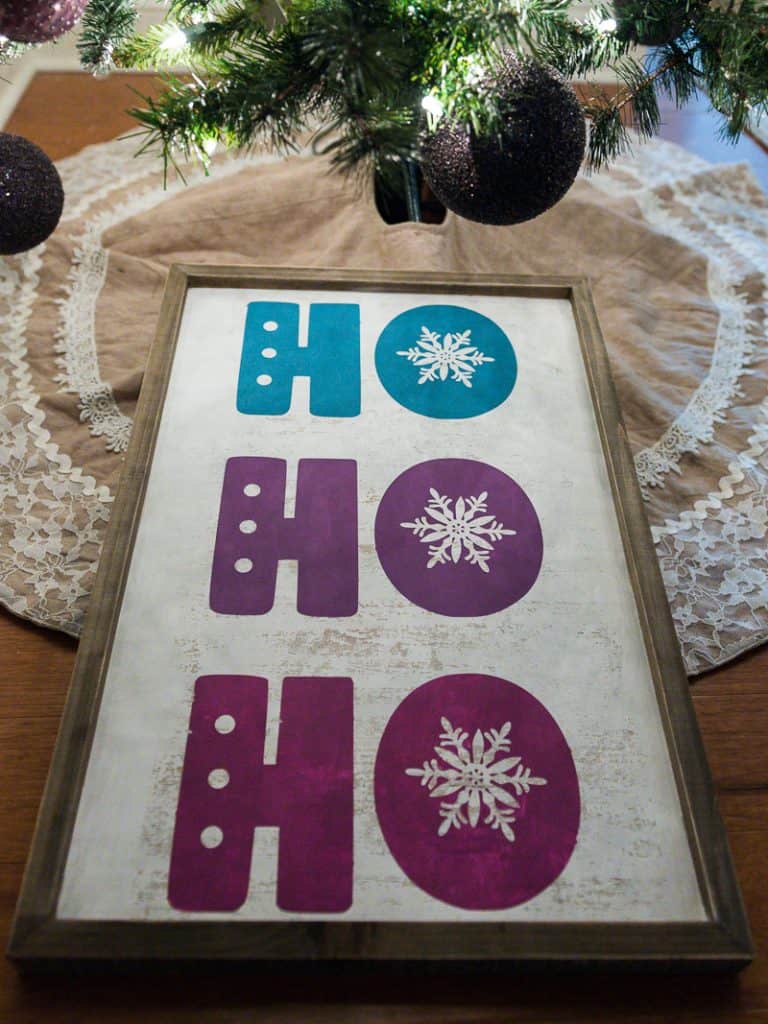
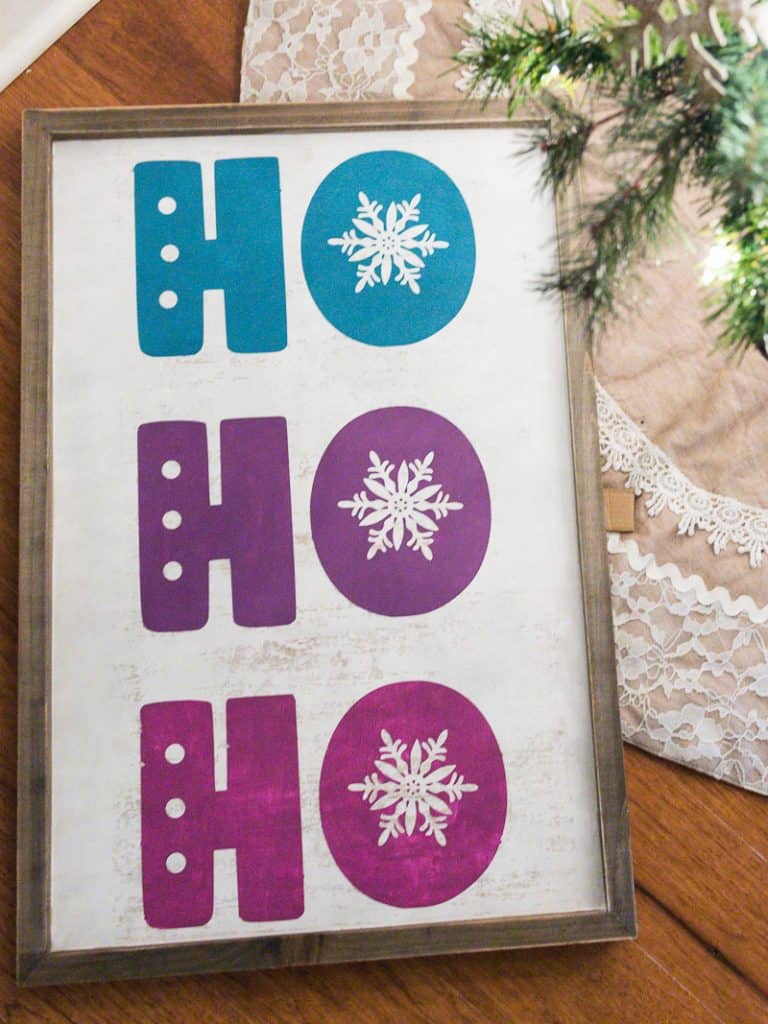
I’ve always been traditional but once I found some beautiful purple bulbs for our tree I never looked back. The only problem was, I didn’t have a lot of colorful Christmas decor to match.
So I made my own, starting with this Ho Ho Ho Christmas svg file!
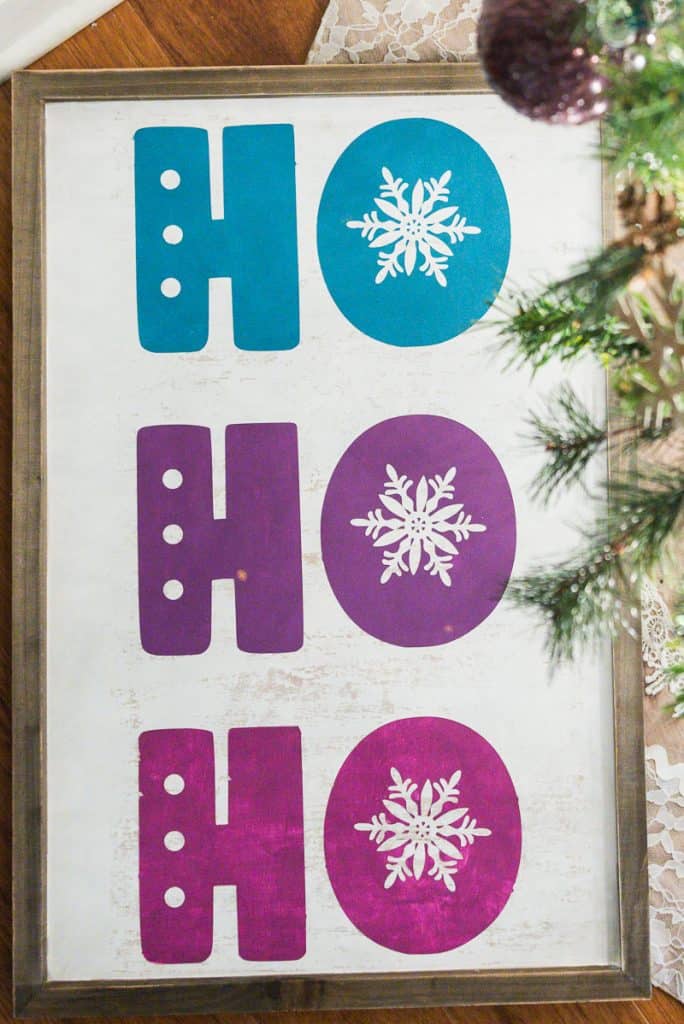
For this project I used a pre-made wood sign from Hobby Lobby but you can just as easily make your own if you want!
If you decide to make your own Poofy Cheeks has a great step-by-step tutorial for you to follow!
Materials
What you’ll need to make this Ho Ho Ho Christmas svg file sign are:
- Wood sign from Hobby Lobby (or you could make your own)
- Silhouette Cameo
- Stencil vinyl
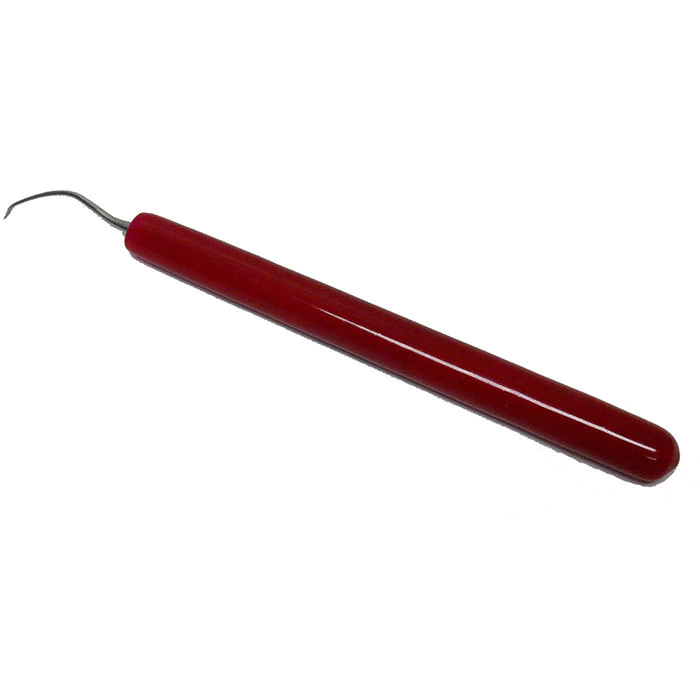
- Weeding Tools
- Transfer Paper
- Acrylic Paint
- Paintbrush
- Ho Ho Ho Christmas svg file

This post contains affiliate links. I may earn commission from qualifying purchases at no additional cost to you. I will never recommend a product I don’t use or trust.
Tips for making the best wood signs:
Wood signs are fairly easy to make as long as you prep your wood and seal your vinyl before painting. Don’t worry if you’ve never done it before, we’ll walk you through it and help answer all of your questions along the way!
Can you cut a stencil that’s wider than your machine?
Yes you can! One way to do this is to turn your design 90 degrees and cut by line. You can see how I did that when I made this sign with the dry hinge method!
You can also use the slice tool like I did in this post! This works well if it is one continuous design (like a circle or a large animal).
What vinyl can you use on wood?
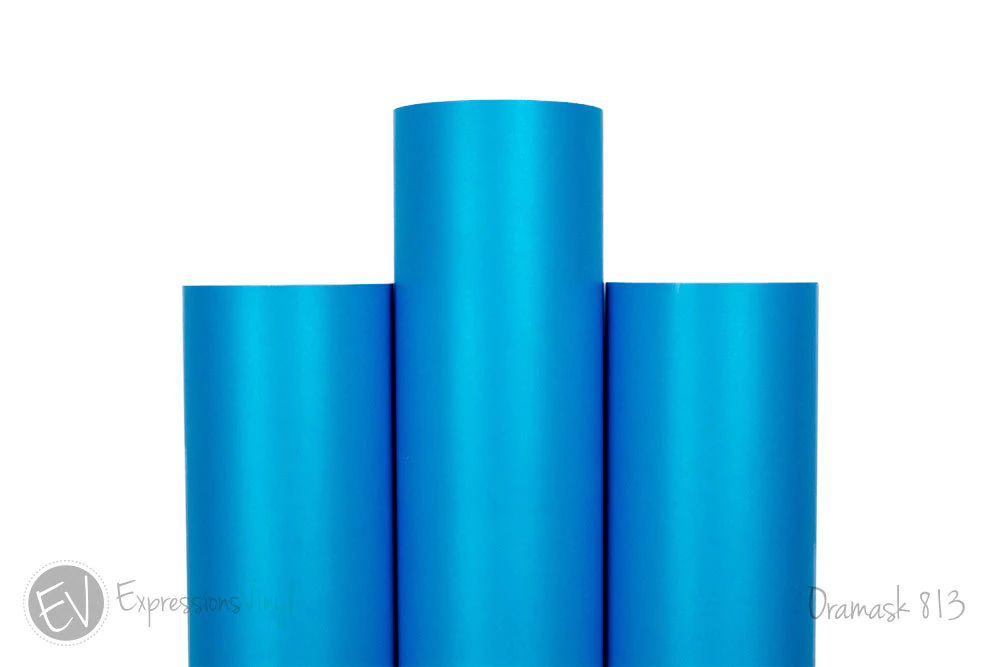
If you are painting, my favorite type of vinyl to use on wood is Oramask 813 stencil vinyl! I always feel like it sticks to the wood better and my paint doesn’t seem to bleed through as long as I use my tricks for sealing my stencil first!
You can also use removable vinyl as a stencil and that works well too! I actually have a ton of this in my craft room and this is a great way to use it up! You should also seal this type of stencil before painting too.
If painting isn’t your thing you can also use heat transfer vinyl on wood like I did here (it’s so fun!) or you can use regular adhesive vinyl.
I personally love htv over adhesive because it melts into the wood and looks more like you painted it.
How do you put the vinyl on wood?
If you’re using stencil vinyl, removable vinyl, or adhesive vinyl you will need transfer paper to put your vinyl on the wood.
To do this, you will lay your transfer paper on top of your vinyl and pick it up. Then you will put the transfer paper with the vinyl on your piece of wood. I have a whole post on what transfer paper is and how you use it that’ll walk you through all of the steps.
Heat transfer vinyl comes with a carrier sheet on top so you do not need any extra transfer tape to transfer it to your wood piece. Check out this post that tells you everything you need to know about heat transfer vinyl if this is what you choose to use for this sign!
Do you need a clear coat on top of the vinyl to seal it?
I honestly only do this if the wood sign is going to go outside. I do not recommend sealing a sign that will be indoors, there’s just no need to! You should only do it if your sign is going to be exposed to the elements (sun, wind, rain) on a regular basis.
To seal a sign I use Polycrylic. It is a water based sealer that works best over water based stain and any type of paint. It also has a satin finish that I tend to prefer on my projects.
Ho Ho Ho Christmas SVG File FAQ:
Why can’t I open the file in my Silhouette software?
You may be trying to open the wrong kind of file if you’re having issues with your software!
Check below to see what file types each edition of the Silhouette Software opens to make sure the file you’re using is compatible with your version of the software.
The BASIC Silhouette Studio can open these types of files:
- STUDIO
- DXF
- PNG
- JPEG
- BMP
- GIF
- TIFF
The Silhouette Studio Designer Edition can open all of the Basic Studio file types plus:
- SVG
- GSD
The Silhouette Studio Designer Edition Plus can open all of the Basic Studio and Designer Edition file types plus:
- PES
- DST
- EXP
- JEF
- XXX
The Silhouette Studio Business Edition can open all of the Basic Studio, Designer Edition and Designer Edition Plus file types plus:
- EPS
- AI
- CDR
Why can’t I get my file to Cut?
If you’re using the Basic edition of the Silhouette Software you MUST trace the image first before cutting it! (you can see how in this post — video tutorial is included!).
If you have the Silhouette Studio Designer Edition or above, you can import an SVG and cut it without tracing. This is the easiest way and my preferred method!
Other wood sign crafts:
These wood signs are some of our favorites!
- No Soliciting Sign
- Merry and Bright Christmas Sign
- Fresh Cut Christmas Tree Sign
- Reversible Merry and Bright Sign
- DIY Hand Lettered Rudolph Craft

Ho Ho Ho Christmas Sign
Materials
- Wood Sign from Hobby Lobby (or make your own)
- Oramask 813 Stencil Vinyl
- Ho Ho Ho Christmas svg file
- Paper Transfer Tape
- Acrylic Paint
- Paintbrush
Instructions
- Download the Ho Ho Ho Christmas svg file and open it in your software.
- Load your stencil vinyl into your machine.
- Then, if you have the Business Edition, open up the SVG file and hit CUT. If you only have the Basic Edition of the software, you have to open the PNG or JPEG file and trace it before you can cut it (see the tutorial in this post that'll show you how!).
- Cut and weed your design and then use your transfer tape to pick up the entire design and place it on your wood board.
- Seal the stencil with mod podge or paint (see note #1) and let it dry.
- Then paint your sign with the colors you prefer!
- Once the paint is tacky (not fully dry!) pull up your stencil.
- Hang your sign up and enjoy your work!
Notes
1. Which should you use: mod podge or paint to seal your sign? It really depends on the base of your sign. If you painted the sign yourself then use the base paint color on top of the stencil. If you buy a premade sign, use mod podge on top of the stencil.
You can head to this post for more detail on how to best seal the stencil for your project!
Recommended Products
As an Amazon Associate and member of other affiliate programs, I earn from qualifying purchases.