
Customize Your Disney Magicbands with Vinyl
This post contains affiliate links. I may earn commission from qualifying purchases at no additional cost to you. I will never recommend a product I don’t use or trust.
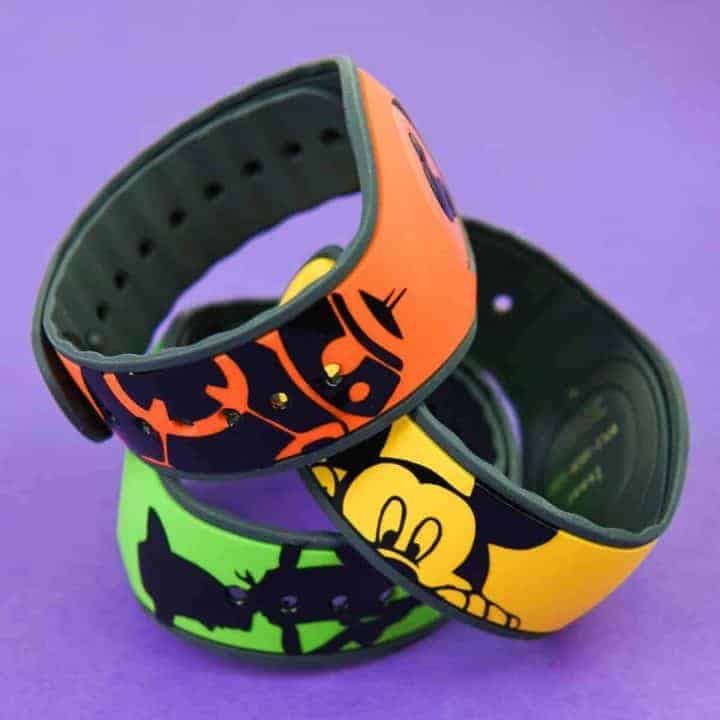
Use your scrap adhesive vinyl to decorate your Disney magicbands! Grab the free magicband 2 file to help you make a vinyl decal that will fit perfectly on your magicband along with tips on how to get your vinyl to stick if it’s giving you trouble.

As if I really needed another obsession but…..I found one.
Let’s just add magic bands to the ever-growing list of things you can put vinyl on. Because it’s such an awesome idea that I can’t believe I never thought to do it before now!
The best thing is that you can pretty much do anything with your bands. Get them ready for Toy Story Land or just show your love for your favorite characters. They can be anything you want them to be!

Over the weekend I was organizing my closet and found three untouched Magic Bands still in their box. We have so many of these things that they kind of show up at random times when we’re cleaning. They’re everywhere. Most crafters fear glitter everywhere, I fear my house getting overrun with magic bands.
It’s totally possible y’all. We have a lot of them.
Which actually works out in my favor because now I can vinyl all the things! With so many Disney characters there are hundreds of possibilities. Decorating them may never get old.

Why customize your Disney magic bands with vinyl?
- It’s a fun way to use up vinyl scraps!
I cut lots of vinyl and always have small pieces laying around that I never know what to do with. Making small decals for my magic bands is a really easy way to get rid of those scraps and create something cute with it! - It’s a cheap craft.
This is a cost effective way to create something fun and unique for your next Disney vacation. - It’s a fun project for kids to help with!
I love getting my toddler involved in projects (if I can) and having him decide what characters to put on his magic band is really fun for him. It also gets him excited to wear it AND hypes him up for the vacation. If you have older kids they can weed and apply the design to the magic bands as well.
The other great part about this craft is that it takes 20 minutes to do. And you know how much I love those quick and easy crafts!
Before you get started decorating your Disney magic bands with vinyl, read this!
I’m having trouble getting the vinyl to stick to the band. What’s the trick?
If your vinyl is giving you trouble try hitting it with hot air from a hair dryer. The heat will help the vinyl stick to the band! It’ll also help you get out bubbles if you have any after you lay your vinyl on the magic band.
Is the free file for the Magic Band 2?
Yes! These designs were put on the Magic Band 2 and I used the file offered in this post.
How do you cut small designs without losing any pieces?
This is such an annoying problem to have! I’ve been there many, many times. Definitely slow your speed down when you cut small designs.
You can also head over to this post about cutting and weeding small designs for more tips and tricks to help you be successful with your projects!
Should you clean the band before applying the vinyl?
YES! Use rubbing alcohol to clean the band and then let it dry before applying the vinyl.
How long does the vinyl last on your magic bands?
Ours has been on for over a year and it hasn’t cracked or come off yet! But it really depends on you and how you treat your bands. Don’t bend them back and forth unnecessarily and make sure you cure them (or let them sit in the box they came in with the snaps closed) for 20 to 30 days before your trip if you can! Letting them sit in the curved position helps the vinyl get used to it and it’s less likely to crack when you’re wearing it every day.
Do you have to put clear nail polish or some other clear protectant on top of the vinyl to keep it from coming off the magic band?
Do not do this. Please don’t! If you put a layer of clear nail polish on top of your band it is more likely to snap.

I had the hardest time getting the Mickey design to stick to my band. For that one, I skipped cleaning it with rubbing alcohol and I really believe that’s why I had a hard time with the vinyl.
But it’s so simple. Even with the little hiccups I had the project was fun and easy. And you know what? If you mess up or get bubbles in the vinyl you can easily move it and fix it. Just be careful with small pieces. That’s actually the real reason Mickey only has three fingers on one of his hands!
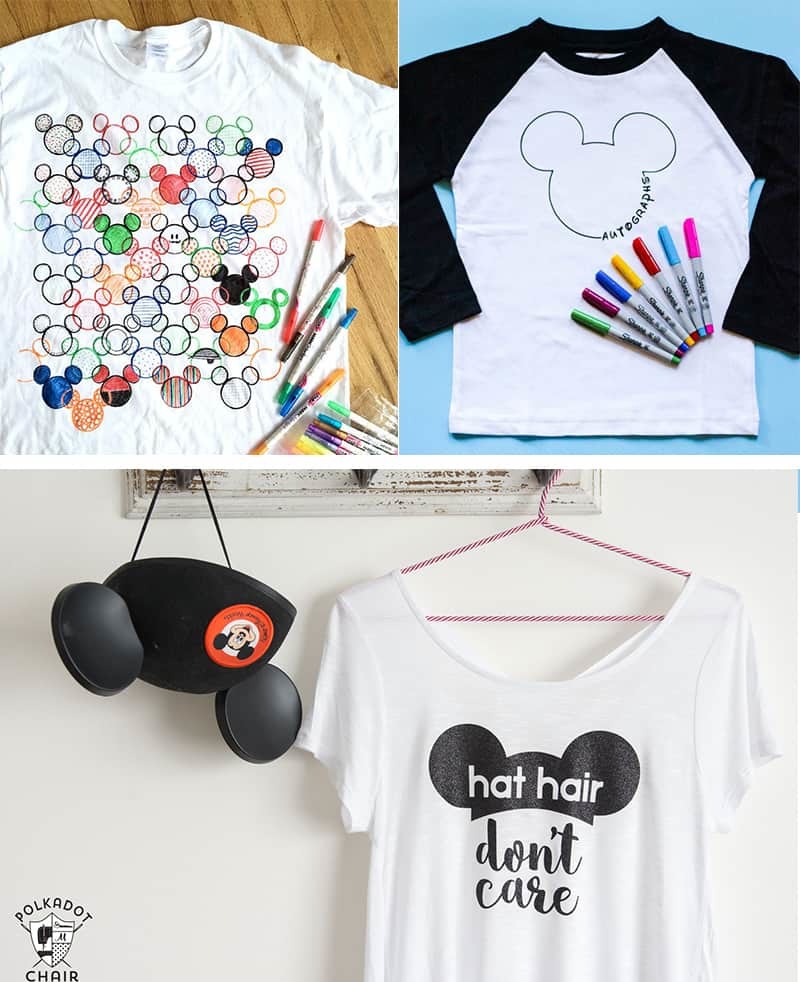
Make even more Disney stuff before your next trip!
This project is:
- fun,
- easy, and
- cheap!
Customize Your Disney Magic Bands with Vinyl
Customize your Disney Magic Bands with vinyl just in time for your next Disney vacation!
Materials
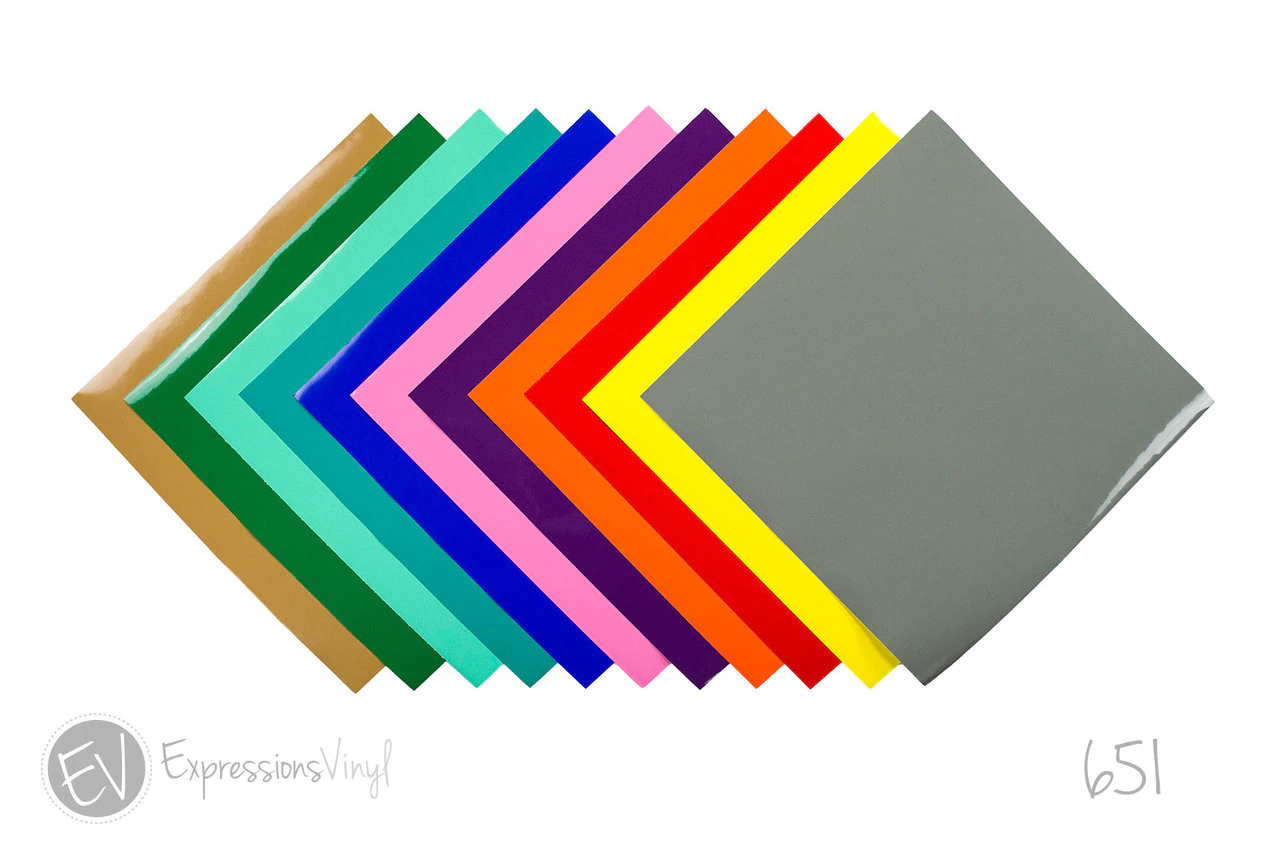
- Adhesive Vinyl
- Disney Magic Bands
- Transfer Tape
- Rubbing Alcohol
- Cotton Balls
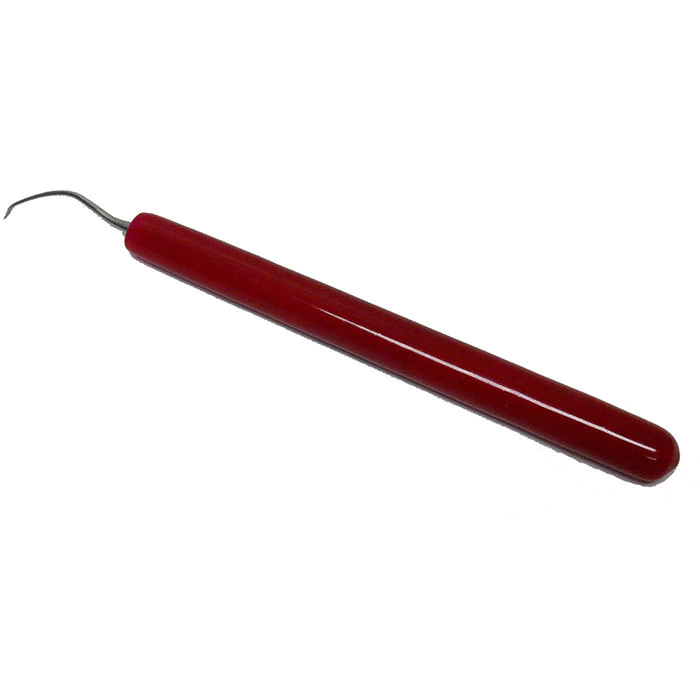
- Weeding Tool
- Disney Magic Bands Template
Tools
- Silhouette Cameo
- Hair Dryer
Instructions
- Clean off your magicbands with rubbing alcohol and set them aside to dry.
- Download the Disney Magicbands Template and open it in your Silhouette Software.
- Find the designs you want to use for your magic bands (I found mine in the Be Our Guest Facebook group) and open them up in your software.
- Resize the images on top of the band template until you are happy with how they look and hit cut.
- Weed your vinyl decals and then use transfer tape to pick them up.
- Put the vinyl decals on your magic bands.
- If your vinyl is having trouble sticking to the band, you may need to blast it with some heat. Use a hairdryer (on a low setting) to heat up your vinyl and use your fingers to "push" the vinyl onto the magic band.
- Let your magic band sit before use. I recommend 20-30 days if possible.
Notes
- Before doing anything, clean your magic bands with rubbing alcohol. This will help the vinyl stick to the band!
- If you have any questions (or need further clarification), I made a video that will walk you through cutting your vinyl designs!
Recommended Products
As an Amazon Associate and member of other affiliate programs, I earn from qualifying purchases.


What size does the template need to be made when you insert it into the Cricut Design Space ?? The exact dimensions is where I am having trouble
Hi Renee. Are you asking for how big the template (band) is in the software? If so, it’s 7.856 x 1.334. You should be able to use the template included in the post (if you click on it there’s a png, svg, and dxf file to chose from). If you need a different type of file please let me know!
Hey there! I’m having a hard time getting the download link to work. The website keeps saying it won’t load. Do you happen to have another link for the template?
Thanks!
Kayla
Hi Kayla! I’m so sorry the link isn’t working for you! Try this one and let me know if it’s still not working for you. 🙂
http://bit.ly/MBandPNG
The new link you sent worked perfectly. Thanks so much!
The Facebook group does not appear to be valid any longer. Is there another location to locate designs?
best regards,
Drcronus
Unfortunately they set the group to private a few weeks ago and are not accepting new members. I’m part of another group called Disney Friends and Super Hero SVG’s that you could check out!
What kind of Vinyl do you use that will stay stuck to rubber? I alcoholed the band and it still doesn’t want to stick at all
I used permanent vinyl (oracle 651)! You may have to heat the vinyl with a hairdryer to get it to stick as well. And sometimes it takes a little bit of time and elbow grease.
Hi Teresa
Thanks so much for the template. I have a cricut and when I upload the file in comes in very small. When I ungroup and am able to select just a magic band, what should the dimensions be?
Hi Kathy! I just downloaded the Cricut software so I could try to figure out what’s happening with the file! I’m not sure why it is so small but each individual magic band should be 7.857 inches tall and 1.334 inches wide.
Hi! I’m very new to silhouette. I was trying to add the mermaid scales like in the you tube video. I bring the magic band template into studio project, add a picture of mermaid scales, and line them up over the band. When I select the scales and the band and click subtract it takes away everything the scales are laying over. It doesn’t leave the scale pattern or the outline of the band. Any suggestions? Did I miss a step?
Hi Erin! Did you trace the mermaid scales first before trying to subtract them? Sometimes if it doesn’t work try tracing the image and then select everything and subtract it again.
Thanks for the template and the instructions! Will Siser Easy PSV Glitter vinyl work for the magic bands? My grand daughter wants glitter vinyl.
Hi Marie! As long as it is permanent vinyl it should work. I’ve never tried glitter on mine so please come back and tell me the end result!
Hello! Is there any thing i can do to make sure the vinyl sticks after very little time. I will only be getting my magic band a day before I go to the parks. What is the best thing to do in order to give the magic band its best chance. I only really need it to stick for a few days.
Hi Sophie! Your best bet is to let the band sit overnight in the package it comes in. Having it bend in that way will help prevent it from cracking/peeling during your trip. I recommend a long sitting time because it lowers the chance significantly of the vinyl peeling up but you can bypass that and still have it work for at least one trip.
You can also use clear nail polish or a clear protectant spray from your local craft store on top of the vinyl decal to make sure it stays. 🙂 (though this can cause your vinyl decal to crack so you should not skip the stop of letting the band sit in the box if you decide to use this method)
is there a template for the Mickey head on the MagicBand?
I saw your tutorial on How to Customize Disney Magic Bands with Vinyl and where you stated that the template was for the Magic Band 2 so my question is do you have a template for the Magic Band+ ?
Hi Evelyn! Unfortunately I do not have a template for the new magicband!
Thank you for this!!! I’m going the WDW with my friend and her fiance and I’m super excited to make them fun band 🙂