
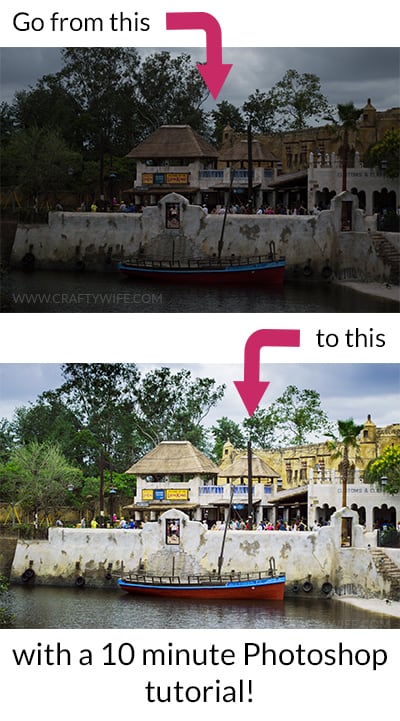
Fixing a Photo's Exposure in Photoshop
No matter how hard we try, sometimes a photo just doesn’t come out the way we want. Maybe it’s a little under or overexposed, and that can leave us frustrated and feeling like we have to throw away an otherwise good picture because we don’t know how to fix it. If you use Photoshop though, there is a very simple solution to fix your exposure. And, you won’t lose any detail in the process!
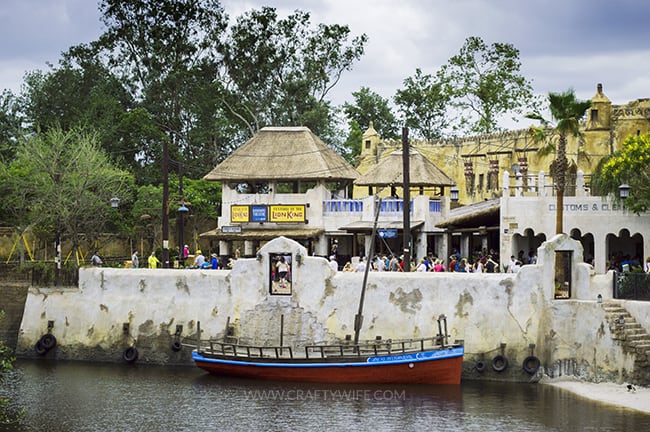
When we were at Disney back in June we were able to grab a Fastpass+ reservation at the new location for the Festival of the Lion King show (a definite must-see)! We were so excited to see this new area, and it didn’t disappoint. It’s also a future home to the entrance to Avatar Land, but a bit of sneaking around got us nowhere. We could only see a bunch of guys in hard hats. At least we know they were working hard (or hardly working)!
When we got home, I was really bummed to see that this photo didn’t come out like I hoped. Once again, my Practical Photography magazine came to the rescue! On page 98 was an easy tutorial to fix the exposure issue, and I was pleasantly surprised to find out it worked!
Okay, let’s get to the tutorial!
This post contains affiliate links. I may earn commission from qualifying purchases at no additional cost to you. I will never recommend a product I don’t use or trust.
DISCLAIMER: This tutorial is long and has a lot of pictures! I’m going to walk you through step-by-step that way, if you’re a Photoshop newbie, you can follow along easily!
Ready? Okay, here we go!
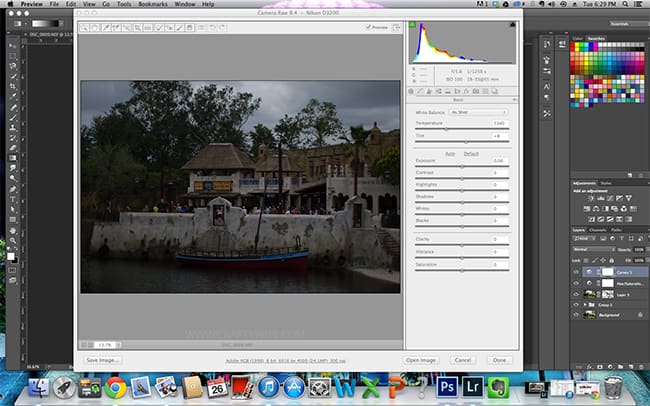
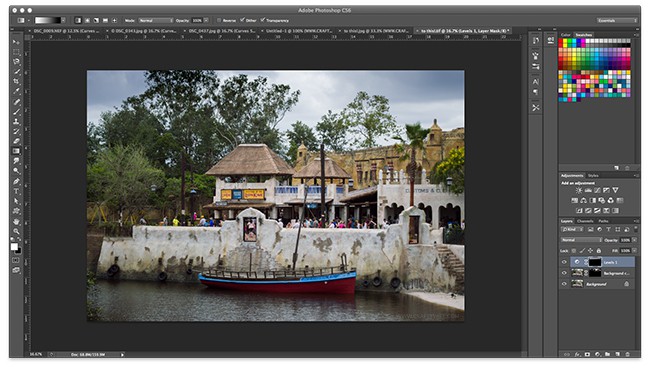
First, pick which picture you’d like to start with. I’d suggest using a RAW format one with lots of detail in the sky and in the picture itself. Second, open up photoshop and then open up the picture. You should see this screen if you’re using a RAW photo format.
Next we’re going to adjust the exposure, contrast, and highlights.
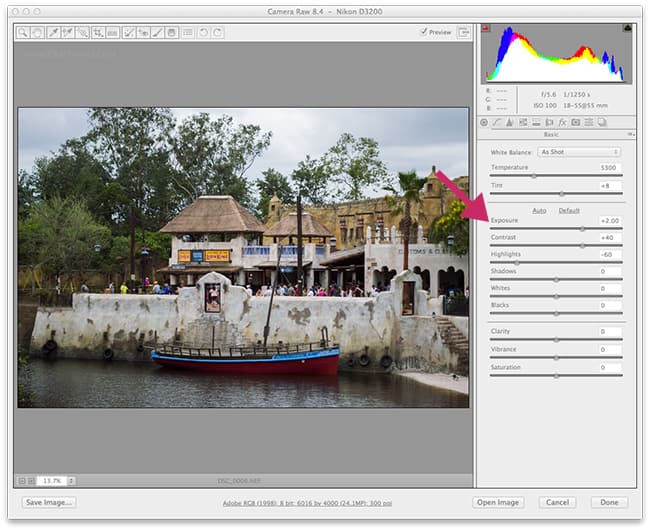
Contrast: +40
Highlights: -60
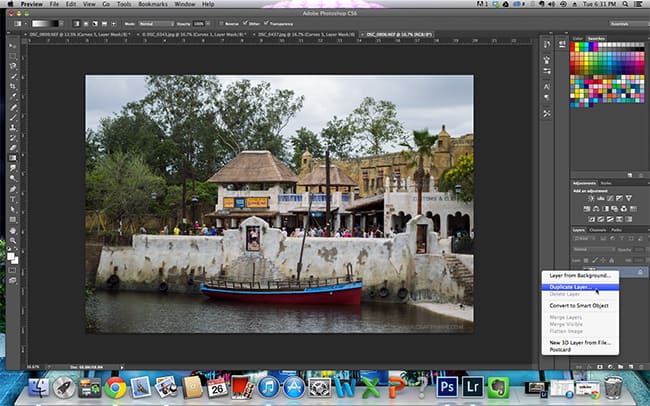
After that, click done and the image will open in Photoshop.
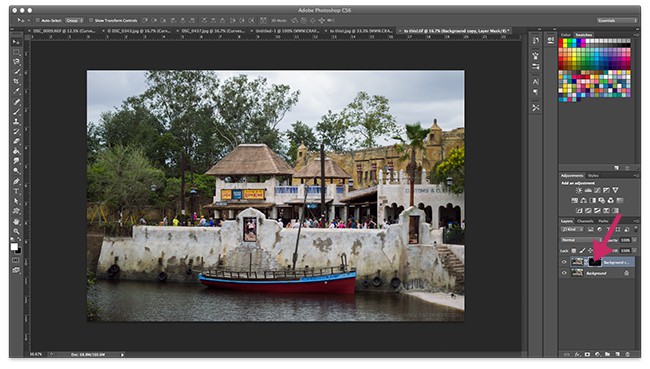
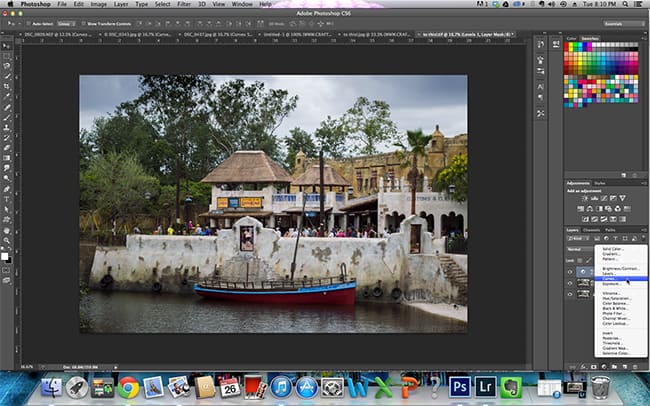
Right click on the background image, and duplicate it. You never want to work off the original image, because if you make a mistake it is much harder to fix it!
Now, head up to the top navigation bar and click on select > color range. Color range lets you select part of an image you want to edit which, in our case, is the sky.
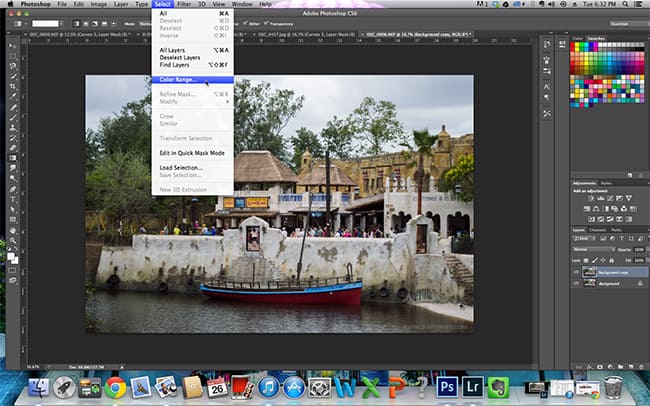
Once you click color range, a white box will pop up with a smaller display of your image inside. Use your mouse and click on the sky on the original picture. Most of your original picture will turn black, except for the part of the image you clicked. This is exactly what you want! There will be some part of the image that won’t turn black, but that’s okay for now. We’ll fix it in a minute.
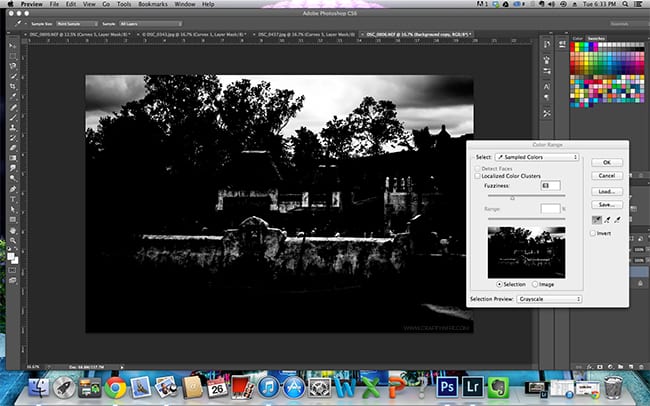
Click okay on the color range box and you’ll notice that there is a dotted line around your sky. Now we want to add a layer mask to the duplicate background layer, that way it is easy for us to come back to it and edit the sky.
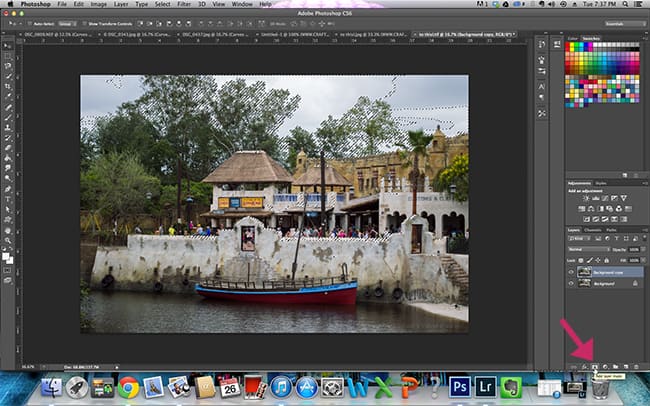
Right click on your layer mask.
You’ll notice that it pulls up a black and white photo, which is what we want. But, we only want the sky white, and so that means we need to use the brush tool to color in the rest of the photo. If you accidently paint a part of the photo black and it shouldn’t be, click on the color white and brush over it with the brush tool. It’s really easy to fix!
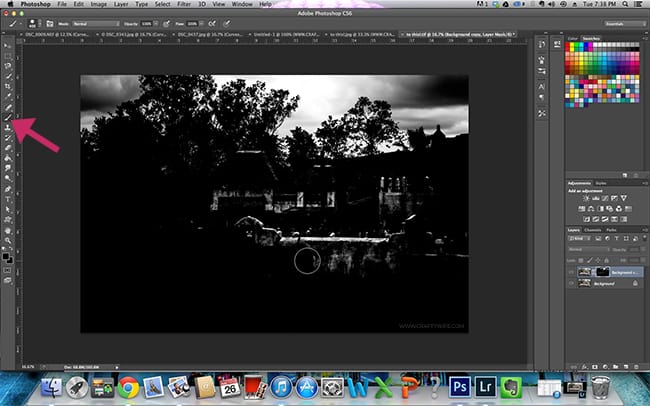
This is how it’ll look when it’s done.

We’re done with the labor intensive part now! Yay! Okay, now we have to alt click on the layer mask to bring back our colored image.
And now we’re going to mess with the levels in the sky.
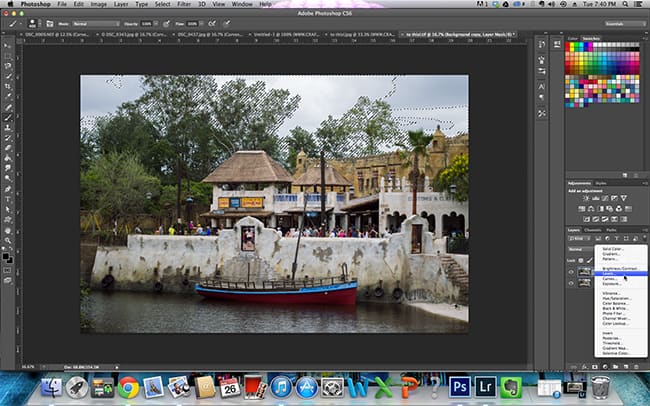
There will be a small box that will appear on the right side of your photo. At this point, you’ll want to control click on the layer mask so that your sky will be selected (that means you’ll have the dotted line around it like in my picture above).
Click on the middle arrow in your levels box and move it to the right. I like to keep mine between 60 and 42, but you can do whatever looks best to you. I like 42 as my lowest point because if I go any further then the sky doesn’t look realistic anymore.

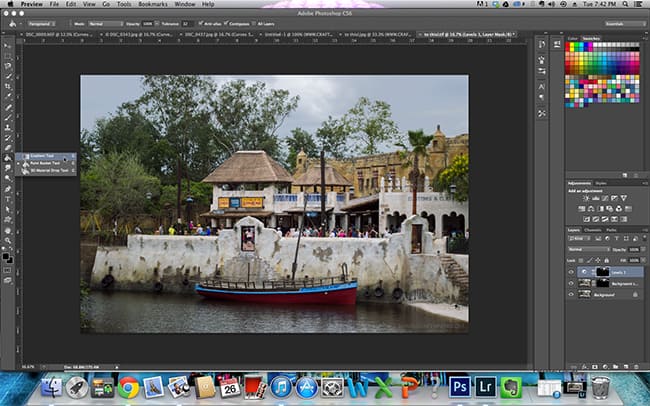
Next, you’ll want to click on the gradient tool. This tool will give the sky a more dimension. Make sure that the colored boxes under your toolbar on the lefthand side is white over black, if it’s not just hit the letter D. Then, make sure your gradient tool is set to Foreground to Background. Next, click on the top of your picture and drag the line down to your horizon.
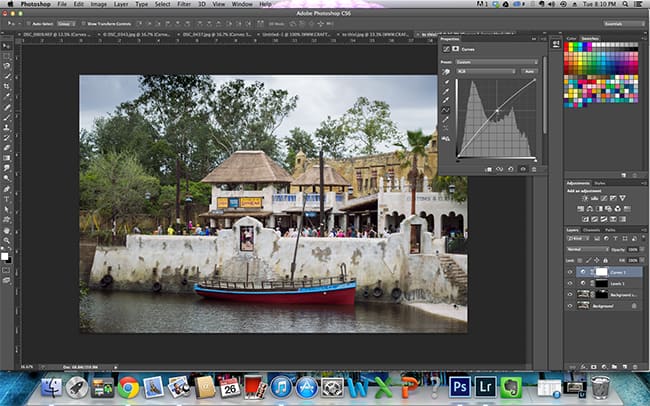
I don’t know about you, but now my photo looks a little bit dark. To up the brightness of the photo, click on curves and wait for a box to pop up on the right side of your photo.
Click in the middle of where the four lines come together, and then drag the line up until you’re happy with the brightness of your photo.
At this point I like to mess around with the colors, adjust the hue/saturations, and maybe up the brightness a bit more. If I’m working solely in Photoshop, this could take me anywhere from half an hour to an hour depending on how much work I want to do to my photo.
If you don’t want to spend that much time, you can stop right here. If you’d like to learn how to do everything I mentioned above, I suggest heading over to youtube and watching one of my favorite Disney photographers (The Time The Space Photography) tutorials on how to edit photos.
You can find the video here.
I have to say that I’m pretty pleased with the before and after!

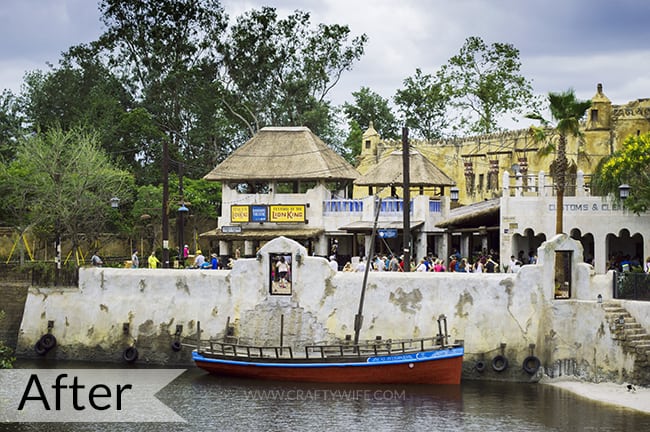
So, what do you think?
Would this be something you’re willing to try to save your own photos?
