
A Quick & Easy Garage Update
Hey guy! It’s Bex from Butcher’s Niche again! I’m not gonna lie to you. When we first bought our house, I was not very happy with the outside. It had great bones, just like most of the rest of the house. But it just wasn’t doing it for me . . . whatever that means.
 So 90’s!! First things first, I painted the front door to brighten things up. Geesh, it made such a difference. But there was still something missing . . .
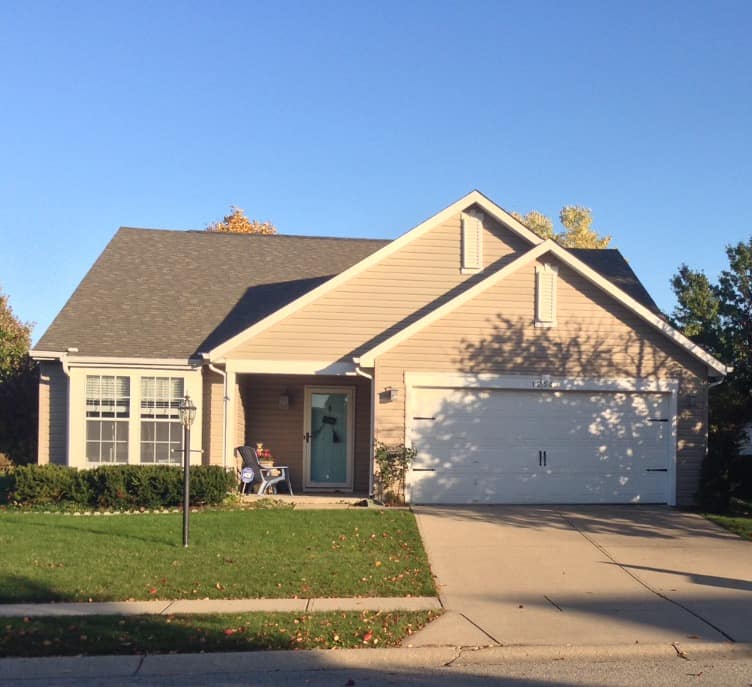
I found these on amazon and knew they were what we were missing. The perfect garage update! Bonus it’s super easy to put on . . .
Step One:
Place and measure where you want to situate the brackets, making sure they line up on both sides and are level.
Step Two:
Drill the screws in the brackets in the designated holes.
Step Three:
Figure out where you want your handles situated. There are a few different options, whether you want them closer together or farther apart. Make sure they are level, then mark where you need to pre-drill the holes.
Step Four:
Pre-drill where you marked the holes, put on the handles, then insert the bolts.
Step Five:
Put the bracket in the bolts on the inside of the garage door, then tighten the nut around the bolt.

That’s all! And look at the difference it made! The garage update was just what we needed. Yes, the fact that these pictures were taken around Thanksgiving before all the leaves fell makes it look even better . . . but take my word for it, it still looks super good! I have a way with words I know . . .
Do you have any outdoor projects happening?