Make Your Own Happy Planner Halloween Stickers
This post contains affiliate links. I may earn commission from qualifying purchases at no additional cost to you. I will never recommend a product I don’t use or trust.
Are you looking to add some tricks and treats to your Happy Planner? I’ve got the perfect Halloween Stickers for you to do just that!
I am such a planner junkie. I’ve had an Erin Condren Life Planner, many Target-brand planners, and now a Happy Planner. I have to say that the Happy Planner is by far my favorite, I use it for everything! I’m not quite sure why this brand is my planner of choice, but it is! And I can’t wait to start decorating it and making it my own. Which is why I made Halloween stickers for the month of October!
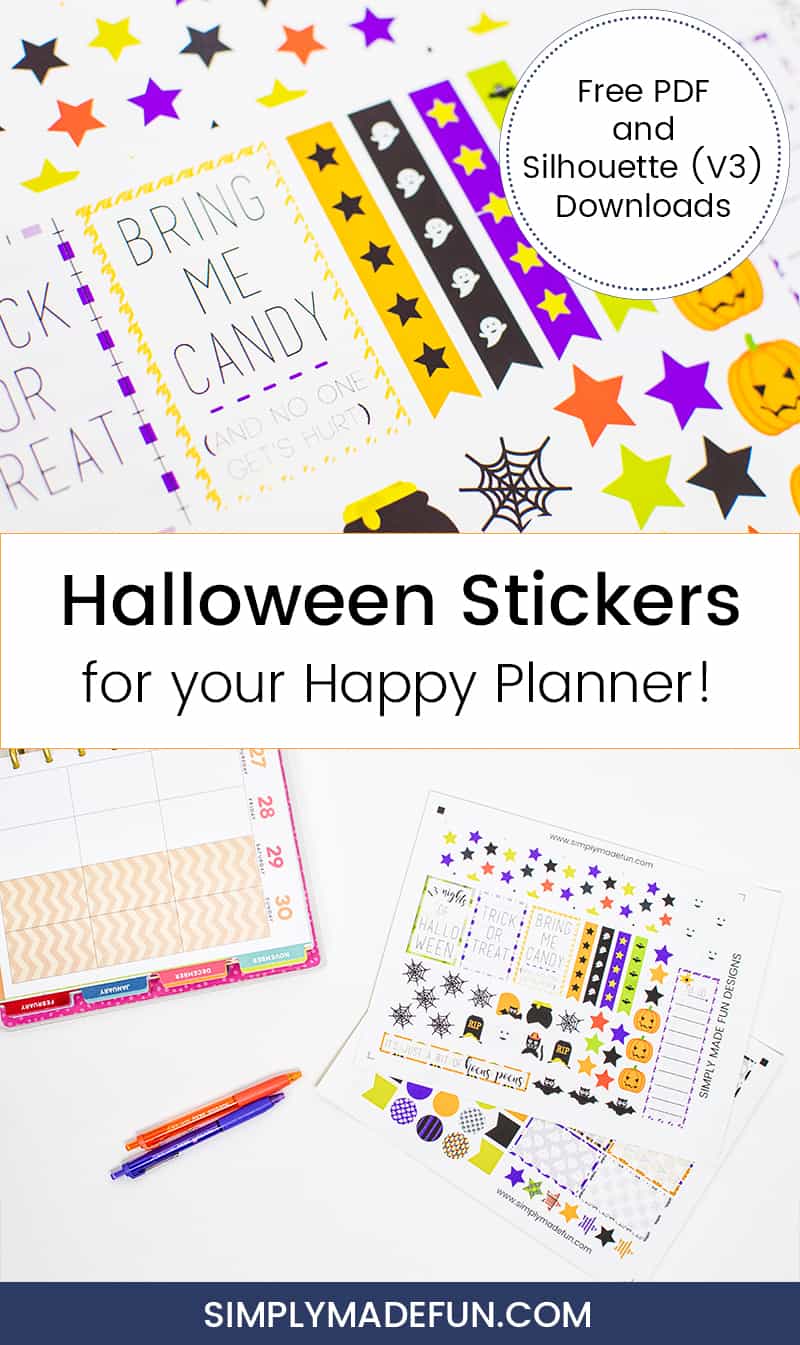
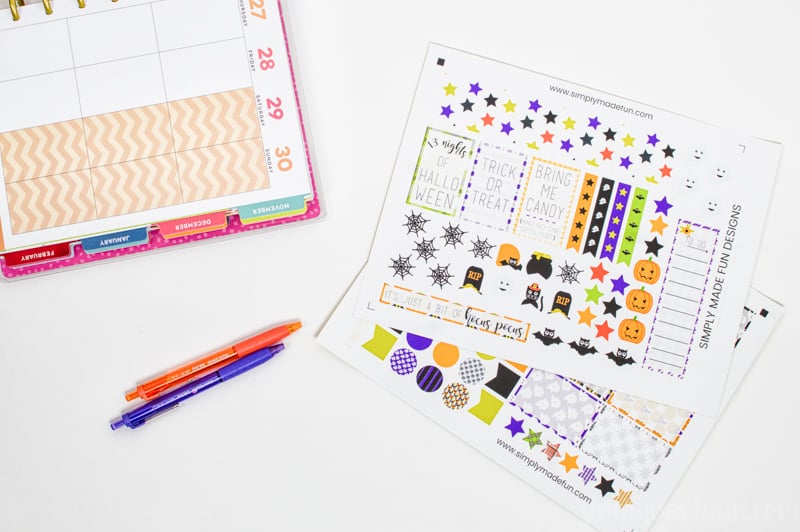
The other night I was going through my planner, looking at what we had going on this month and realized the pages looked a little too plain for my liking. I haven’t made a layout since my Captain America themed stickers (unless you count the Back to School stickers) and I think I’m way overdue for one.
With Halloween just a few weeks away (seriously, how did that happen?) there’s no better time to do a holiday themed layout. I mean, I probably could’ve planned it a bit better so I could’ve enjoyed the layout all month long, but I apparently don’t plan these things very well!
If you want to print out your own Halloween stickers, I’ve got free files for you! And if you don’t have a Silhouette to cut them out with, I’ve included PDF files so that you can use the stickers too!
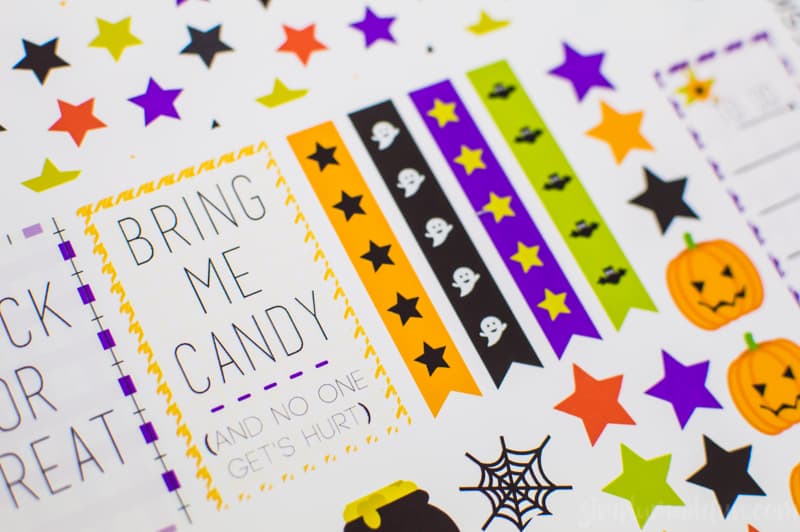
Download Your Own Halloween Stickers!
What you need for your Halloween Stickers:
- Silhouette Cameo
- Sticker Paper
- Halloween Stickers Files
- Colored Printer
First, Download & Print Out Your Own Halloween Stickers
Continue with the instructions only if you’re using your Silhouette Machine to cut them out!
Open the downloaded files in your Silhouette software.
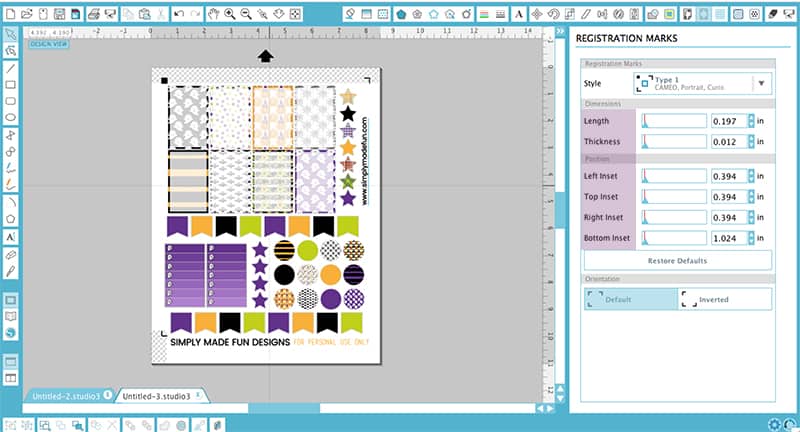
In the toolbar, open up the Registration Marks tab. Under Style select Type 1 (Cameo, Portrait, Curio).
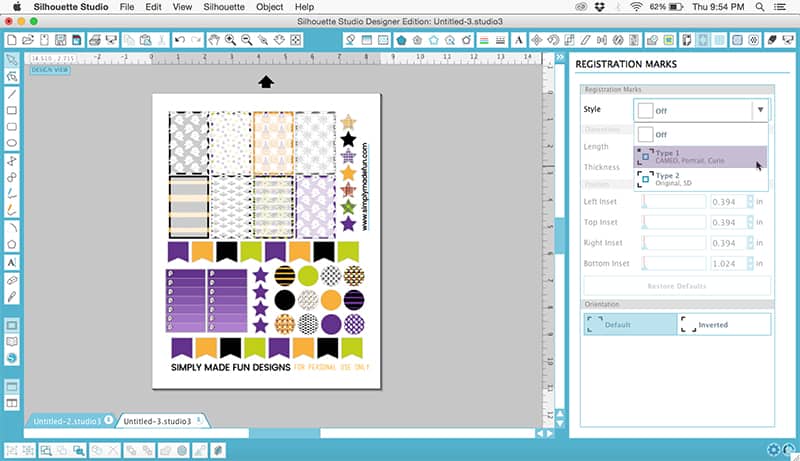
PRO TIP: Move all the tabs (length, thickness, bottom insert, etc) over to the far left. (pictured below). Doing that will give you more room for the stickers and you won’t waste so much paper when you go to cut them out!
Next, head to the Cut Settings tab and select Sticker Paper under Material Type.
Load your sticker paper onto your mat and then load it into your Silhouette.
Make sure all your cut settings are correct, and then press Send to Silhouette.
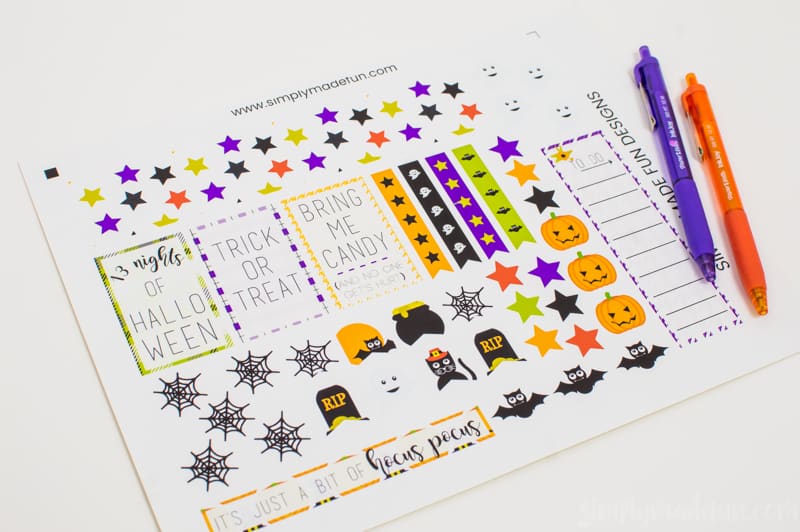
You should have the most perfect kiss cut on your stickers once they’re all cut, and you’ll be able to pull them up off the backing easily and stick them in your planner.
** Since there are different sized Happy Planner’s, please be aware that these stickers only fit perfectly in the 7 x 9.25 inch planner. They are a little bit smaller than the 8.5 x 11 planner and too big for the Mini Happy Planner (sized 4.63 x 7). So please make sure these are the correct size for your planner before you cut!
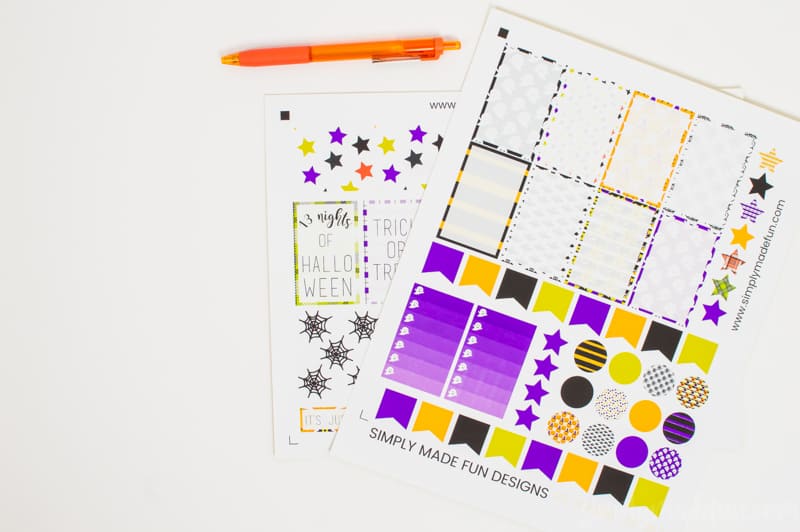
Well, my white planner pages will be white no more! I love the added color, the fun sayings (seriously, give me candy and no one gets hurt), and the little reminder that the holiday season will soon be here. This is, quite frankly, my favorite time of the year and I am ready to start celebrating. I’m just starting a few weeks earlier than I planned!
Download Your Own Halloween Stickers before you leave!
Do you customize your planner with fun designs like these Halloween Stickers? Or do you keep your planner plain?
Check out more sticker freebies from the blog!
[pt_view id=”29f3d00y4c”]

JUst found your site through an Instagram stories post. Love it! I have a silhouette gathering dust in my cupboard but I will be digging it out once I’m back from vacation to try this out Amazing resource, love what I’ve seen so far, thanks so much for sharing
Thank you so much! Your comment made my day, I’m so glad that my Silhouette posts have inspired you to use your Silhouette again. Have a wonderful Friday! 🙂
oh-my-gosh! You made your own stickers? You are too cool for me, girl! I am lucky if I can find time to BUY stickers! Very impressive! Happy Halloween!
These are so cute- I love love love the colors! Thanks for sharing these they are so awesome!
My planner is plain and boring. Lol. These are cute and I think it’s time I add some fun into my planner.
Thanks for the adorable freebie! My planner is so boring, maybe if I spiced it up more I would use it regularly! Thanks for the great ideas!
Great tutorial! This is a cute idea and a money saver that allows for customizing.
I love my regular old target planner!! I use it for everything! I couldn’t live without it. Thanks for all these awesome tips!
I totally love this idea of Happy Planner! This is really amazing and cute.
I know my daughter would love these! She is always decorating her planner with fun stickers.
I love these. Stickers are so fun and I love sticking them to notebooks. Thanks for sharing these. So cute.
These are super cute! I pinned this so my daughter and I can do this over the weekend, thanks for the great idea!! 🙂
What an interactive project! Thanks for sharing, I’m sure many families would love to partake in a diy sticker project like this one.
Omg what cute stickers!!!!! So cute and festive. Perfect for this Halloween season.
I did not know you could cut stickers with a silhouette! My kids are going to be loving this! Going to try it tomorrow.
I need to get into the planner world. I love this festive stickers to go with it!
Honestly, I would never come up with an idea to make stickers myself! This is just brilliant! Love the designs also.