
Learn how to Distress Vinyl for a Game of Thrones Shirt
This post contains affiliate links. I may earn commission from qualifying purchases at no additional cost to you. I will never recommend a product I don’t use or trust.
Do you know how to distress vinyl after you cut it? I didn’t know that was possible but it is! And odds are you already have the tool you need to make it happen in your house.

April is going to be EPIC.
I feel like I’ve been waiting for April 2019 for years. Which is crazy because they only announced the last season of Game of Thrones recently and it hasn’t been that long since Infinity War came to the big screen.
But, I’m a tad dramatic so I’ll continue telling people that it’s felt like years to finally get to the conclusion of these two stories.
I am a HUGE fan of making shirts for events. Two years ago I made this Game of Thrones bleached shirt for myself and I still wear it all the time. Though Chris says it looks more like The Lion King than the Lannister Lion, but whatever. I still love it.
This year I knew I wanted to make another Game of Thrones shirt but I also wanted to make one for Avenger’s Endgame. I kept coming up blank.
Chris and I have been rewatching the entire series to get ready for the last season. We were on the episode where Jon takes a small group of men from the Night’s Watch over the wall to avenge Lord Commander Mormont and they start to say their vows. That’s when it clicked.
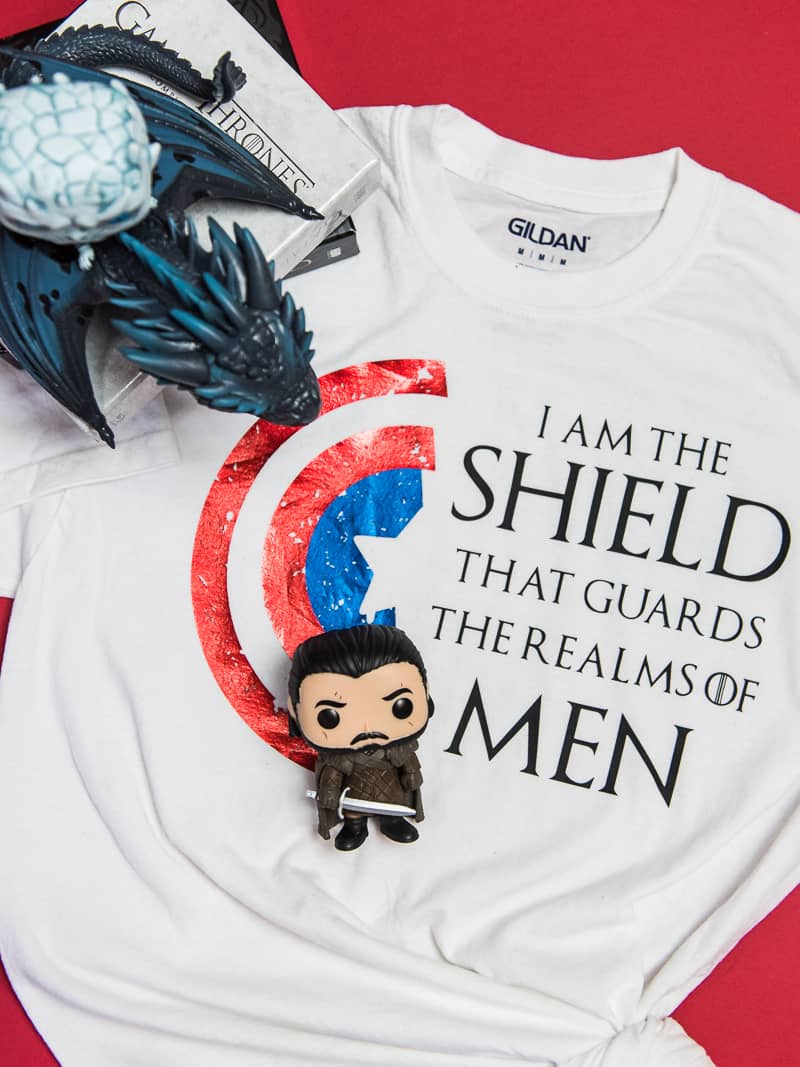
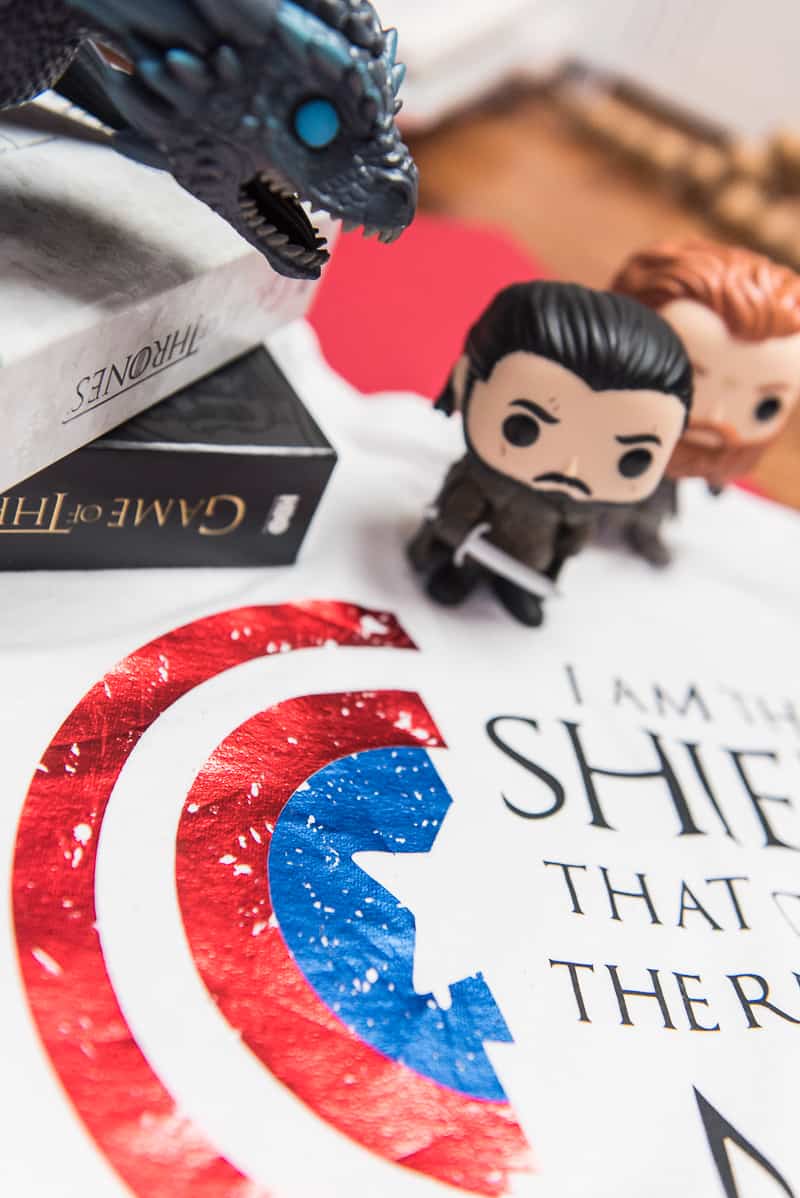
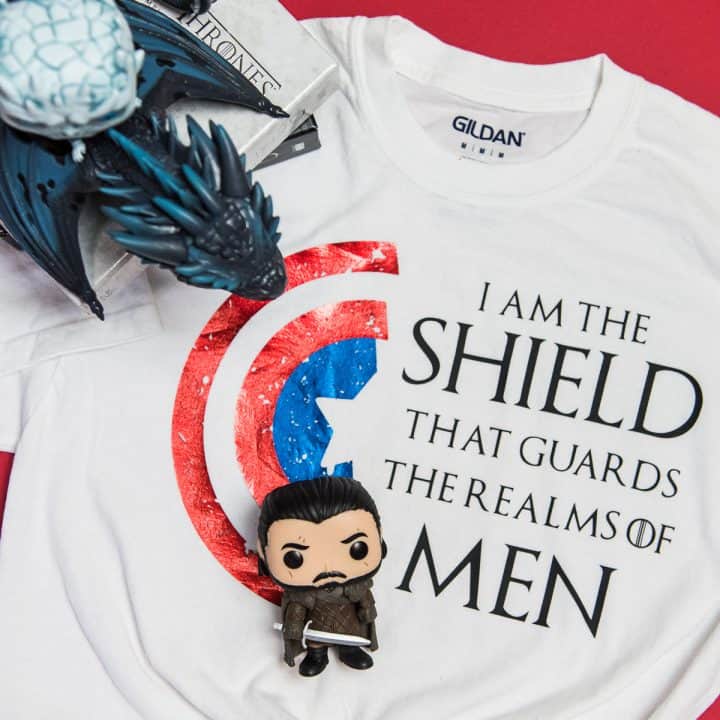
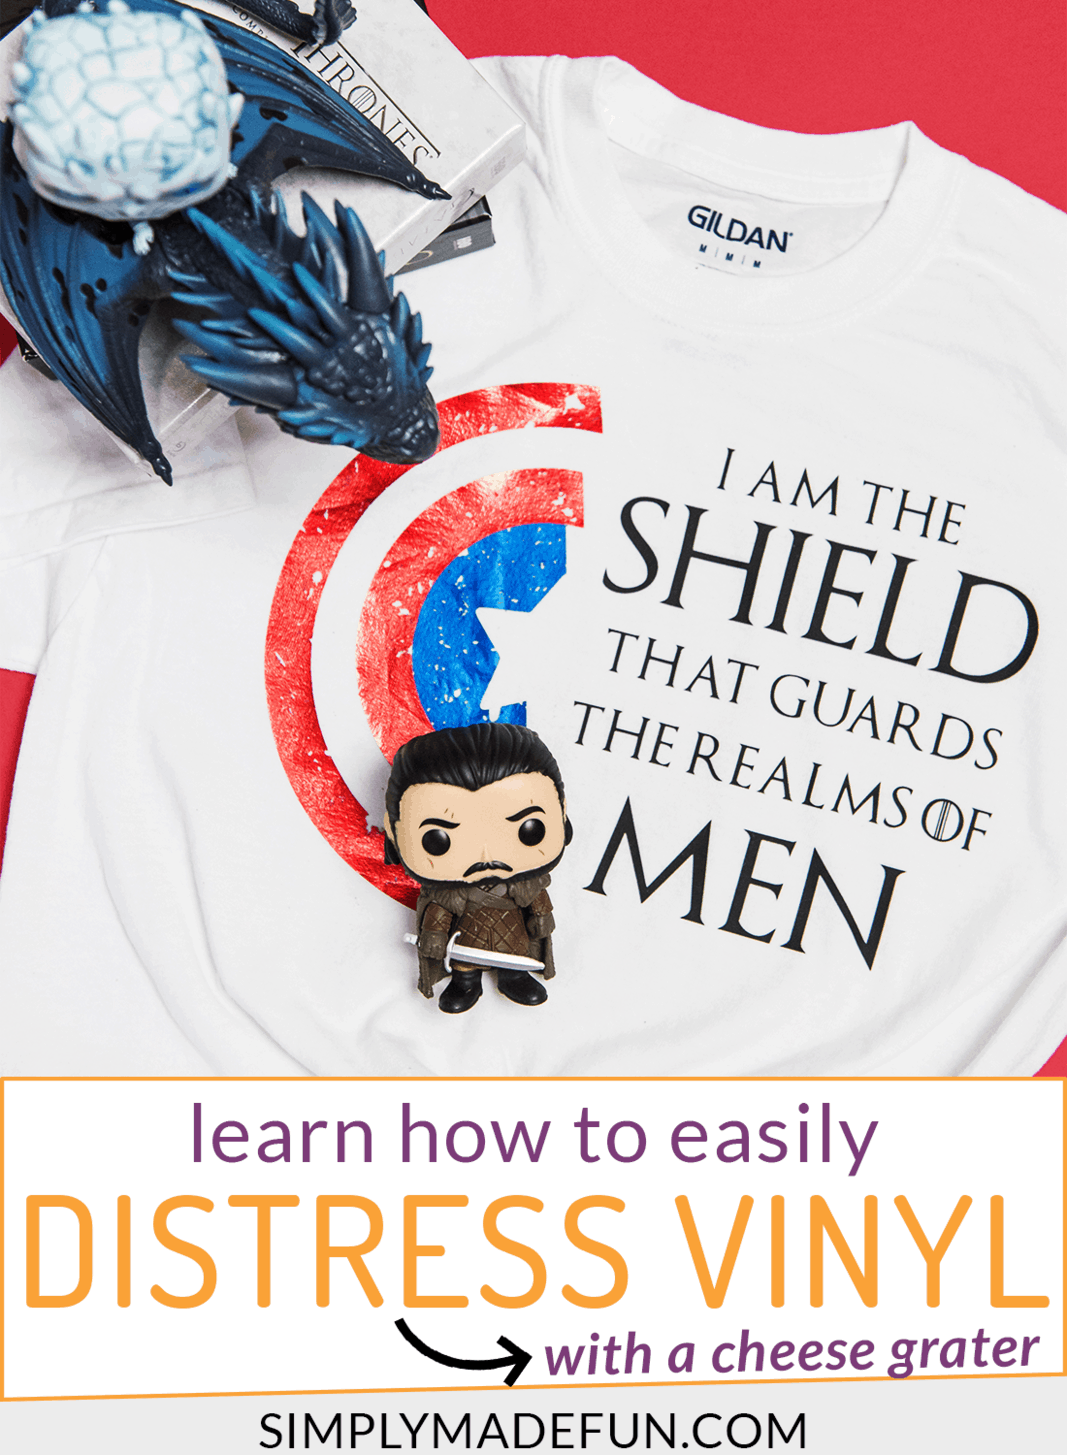
"I am the shield that guards the realms of men".
Shield. Captain America. Game of Thrones.
PERFECT.
I knew I wanted to distress part of the image to give it a worn look. Both Game of Thrones and Endgame are going in to huge battles and everyone is going to come out of it beat up and battle worn. I wanted to have that look on the shirt.
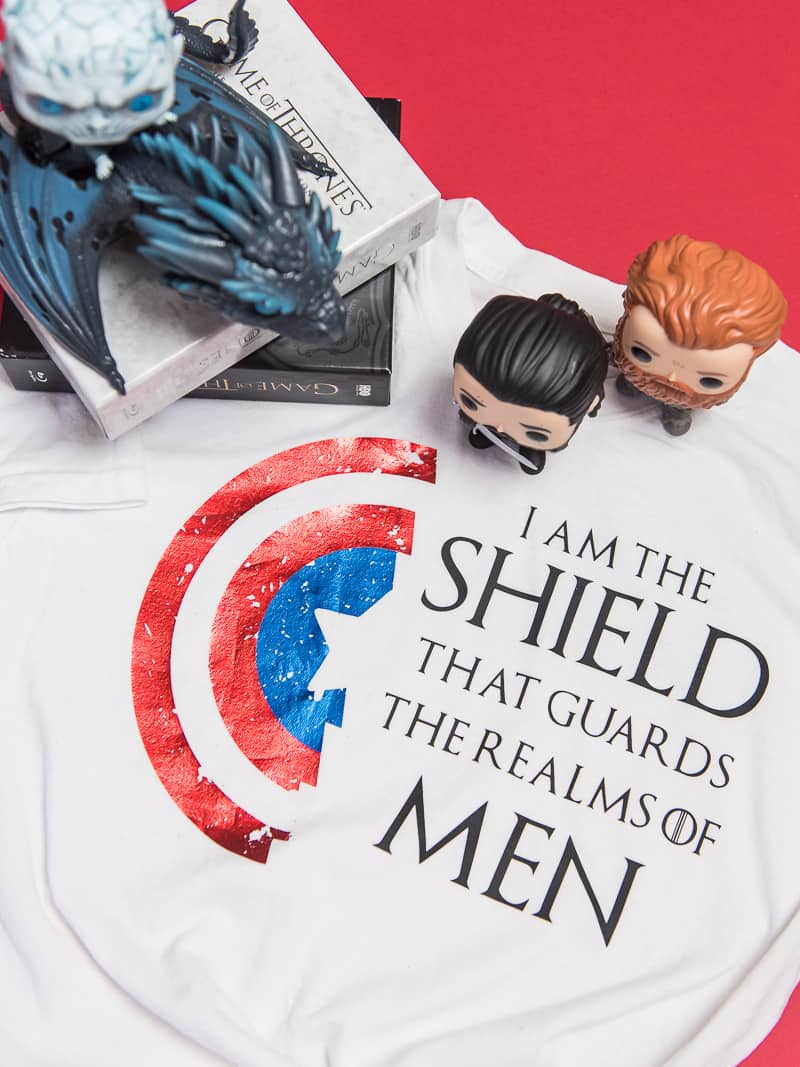
To figure out what to distress I looked at two things: size and weight. The Shield was by far the winner in both categories which meant you’d be able to see the distress much easier than you would if I had done it to the font.
Did you know that you can distress a design AFTER you cut it? I didn’t. I had zero clue until someone told me you could in one of the Silhouette groups I’m in. And it’s a game changer you guys. A total game changer.
You can distress anything now! It’s amazing!
To get the correct size design for your t-shirt, download the sizing and placement guide here!
To distress your designs you need one of these: a cheese grater (one with tiny holes) or a pedi egg. I only had a cheese grater so that is what I used.
To distress your design after you cut it you need to do three things:
- DO NOT WEED your vinyl beforehand. This will keep those tiny distressed pieces from sticking to the carrier sheet (though you will get a few rogue pieces that will stick no matter what).
- Only use the grater on the back of the vinyl. I have not tried this with permanent vinyl, only heat transfer….so I can’t say that this works for both types. But with HTV you want to only distress from the back (non-shiny side) of the vinyl.
- If you drape your vinyl over the side of a counter/table top it is easier to distress. Laying it flat on the table makes it more difficult to get a good distressed look. The angle makes it easier for your cheese grater to really “dig” into the vinyl.
These tips for how to distress vinyl are:
- easy to do,
- require tools you (most likely) have in your home, and
- are much easier to weed than if you cut a distressed decal.
How to Distress Vinyl for a Game of Thrones Shirt
Learn how to Distress Vinyl
Learn how to distress vinyl with tools you most likely already have in your home.
Materials
Tools
- Silhouette Cameo
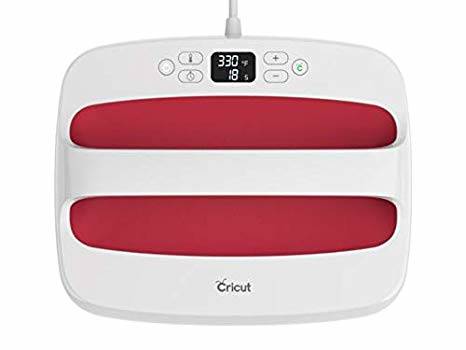
- Cricut EasyPress
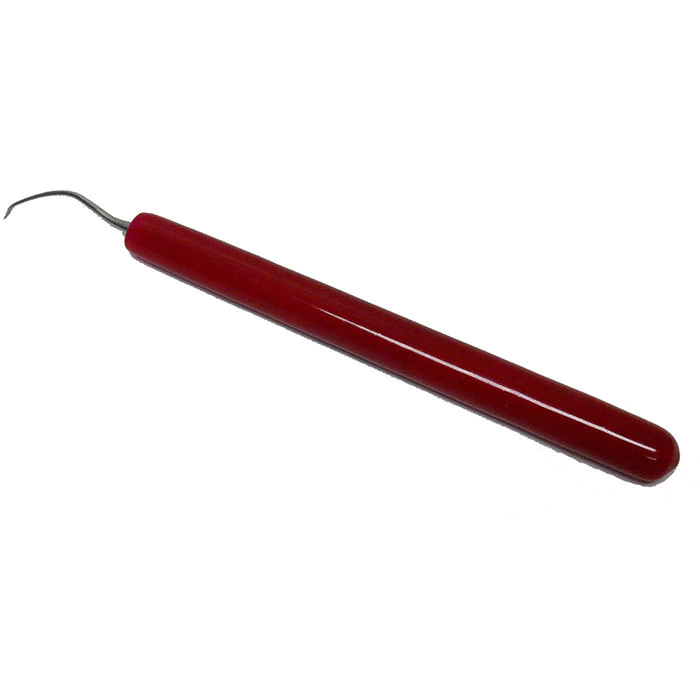
- Weeding Tool
- Pedi Egg (optional)
- Cheese Grater (optional)
- Silhouette Designer Edition
Instructions
- Make sure your design is mirrored and then hit cut. (see note #1)
- Use your pedi egg or cheese grater and roughen up the vinyl. (see note #2)
- Weed the vinyl and heat up your EasyPress. (you can reference the EasyPress guide to see what settings you need to press your vinyl)
- Fold your t-shirt in half (lengthwise and up the middle) and use your EasyPress to iron the creases of your folds. This will help you line up your design in later steps.
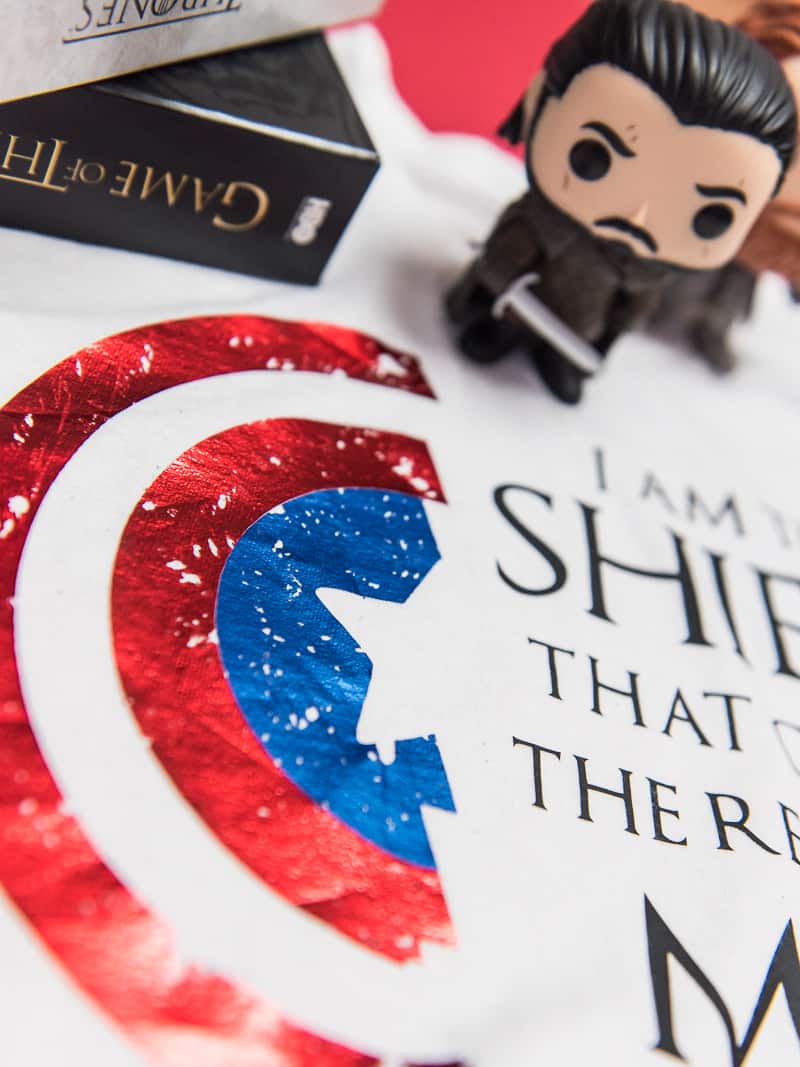
- When you're layering multiple colors (like we are with the SHIELD) you want to be careful that you don't press for too long because that'll melt layers and then the different colors won't line up properly. Heat each layer for 5-10 seconds (just enough so the carrier sheet comes off while the vinyl sticks to the shirt). Then do one final press for 30 seconds once all the layers are on the shirt.
- Press the text on to the shirt as well.
- Then turn the shirt over and press one more time (this step is optional but I've found that my vinyl is less likely to lift if I do a final press).
Notes
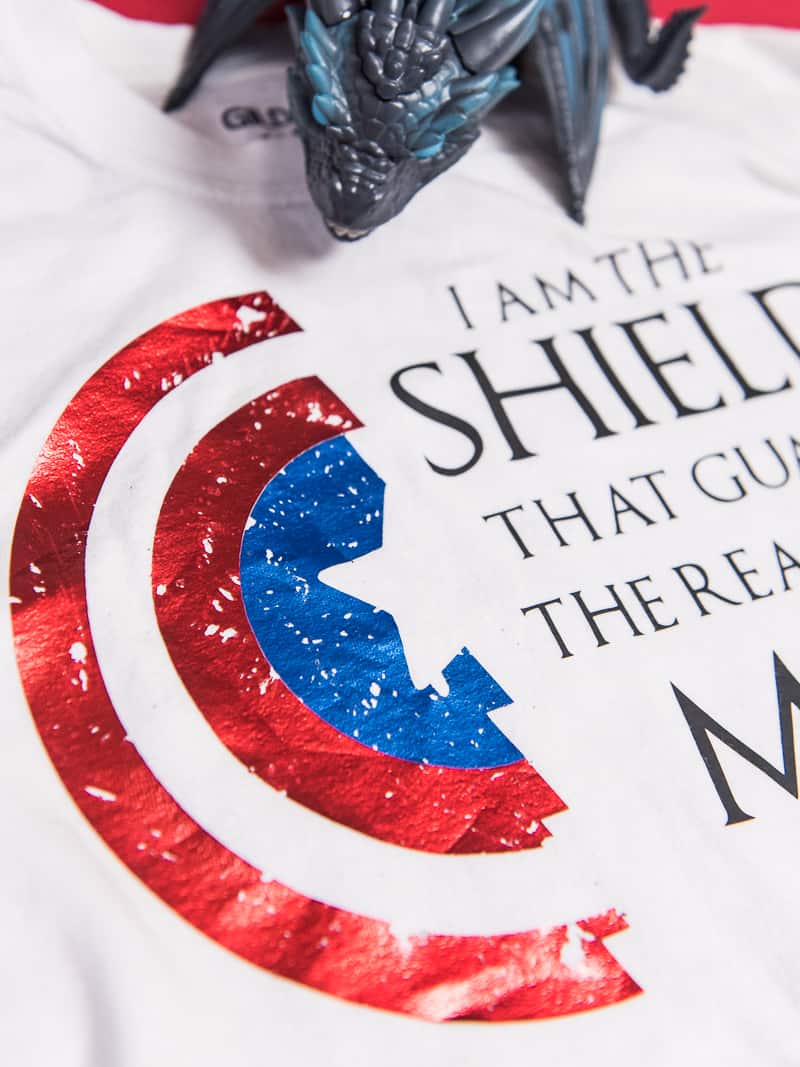
- I used Easyweed Electric for the shield to give it more of a shine and to have it stand out against the text. Make sure (if you use the same vinyl) that you use the cut setting for VINYL METALLIC. And always cut twice.
- I used a cheese grater because it was what I had on hand. Make sure it has small holes so that you're not taking away too much of the vinyl. Put the vinyl (shiny side down) on the edge of the counter and scrape it with your cheese grater. Continue to move the vinyl around and grate it until you're happy with how it looks.
Recommended Products
As an Amazon Associate and member of other affiliate programs, I earn from qualifying purchases.

And if you want to learn more about using your Silhouette Machine, check out the How To Silhouette series here on the blog!
[pt_view id=”091f571140″]
“Fold your t-shirt in half (lengthwise and up the middle) and use your EasyPress to iron the creases of your folds. This will help you line up your design in later steps.”
Mind. Blown. That is so simple, yet, so genius. My hero-of-the-day award goes to you; and I tip my hat to you.
Thank you for this. <3
Thank you! I learned that trick a while ago and it has helped me so much when making shirts. I’m so glad you find it helpful and mind-blowing as well! 😉