
How to Make a No-Sew Tutu
This post contains affiliate links. I may earn commission from qualifying purchases at no additional cost to you. I will never recommend a product I don’t use or trust.
Do you need a quick and easy tutu but don’t own a sewing machine? You don’t need one! Whip up this no-sew tutu in the time it takes you to watch an episode of The Office.

As a kid I was such a tomboy.
I’m pretty sure my mom cringed with embarrassment when I walked into school in an oversized shirt and jeans. I just didn’t do the girly thing back then.
Even now I’m much more comfortable in jeans and a t-shirt, but if there’s a reason for it I will put on a dress (and like it).
For Mickey’s Not So Scary Halloween party at Disney World this year the family and I went as characters from Toy Story 3. I was Bonnie (the little girl who got all the toys at the end), Chris was Woody, and the toddler was Buzz Lightyear.
I had decided early on that I wanted to make both mine and Chris’s costumes. It saves money but I could also customize them however I wanted. Chris’s Woody costume was a huge hit and he got compliments all night long. But…no one knew who I was. At one point I got asked if I was Rex (the dinosaur) because I was carrying him around. ??♀️
That’s okay though! I probably should’ve gone as Bo Peep or Jessie if I wanted people to recognize me but I wanted to do my own thing. And it was more fun that way!
Though let’s be honest, now that Toy Story 4 is out people would probably know who I was. I just did it a year too early. Oh well.
I could have added more tulle (and I should have) to my skirt but I honestly finished this right before we left for Disney and I had other things that needed to get done. So…I worked with what I had. But I could have added another spool of tulle on it and it would’ve been perfectly fluffy and full!
Depending on how big the person is you’re making this for you may need more or less than 3 spools. I think 4 would’ve been perfect for me, but it really is personal preference depending on how full you want your skirt to be.
I will say this though. It is a pain in the butt to use the restroom when you’re wearing a tulle skirt and overalls. If I had been smart I would’ve weaved a ribbon in-between each piece of tulle to hold them in place. There was a lot of shifting around after my bathroom break and quite a few bald spots that I was walking around with as the night went on.
Not that that’s a big deal to most people. But I’m a bit OCD so it bothered me a little bit.
Other than that though this costume was perfect! I wasn’t too hot and it was easy to move around in. What more can you ask for when it comes to a Halloween costume?
Before you start this no-sew tutu project, read this!
How do you figure out the size of you ribbon?
Take a long piece and wrap it around your waist. Make sure you leave an extra foot or so of ribbon at the ends so you can tie it around your waist when you’re wearing it and then cut it.
You want to make sure you can easily fit it around your waist but also have extra ribbon to secure it with a knot when you’re ready to wear it!
How do you know how much tulle you’ll need?
This really depends on the size of the person you’re making it for, how long they want the skirt to be and how full they want it to look.
My rule of thumb is to grab at least 2 spools for a child and double that for an adult. I used 3 spools for mine but it wasn’t as full as it should’ve been and there were gaps in between the knotted pieces of tulle as the night wore on and I was moving around a lot. I think an extra spool would’ve given me the fullness I needed for my own skirt!
How itchy was it? Could you wear it all night without it irritating you?
I will not lie, I inherited my dad’s thick thighs so the overalls bugged me more than the tulle skirt did. I typically wear 5″ inseam on shorts and the overalls were shorter than that and kept riding up and causing discomfort.
But, I had zero problems with the tulle skirt. It is itchy though and I suggest wearing some sort of shorts underneath to stop it from irritating your skin. As long as you do that you should be able to wear it all night long just fine!
Was the outfit cool enough for the Florida heat? Or would you have done something differently if you were to wear it again?
Nope. The outfit was fine and I was comfortable (minus the overalls riding up) all night long. We typically like to wear costumes that aren’t hot or heavy when we do Mickey’s Not So Scary Halloween Party and this was perfect for me!
My biggest piece of advice for the Halloween Party (if you go!) is to do a comfortable costume. Going overboard is not our style. We’re comfort over fashion every day of the week.
This no-sew tutu is:
- easy,
- fun for kids, and
- takes less than 20 minutes!
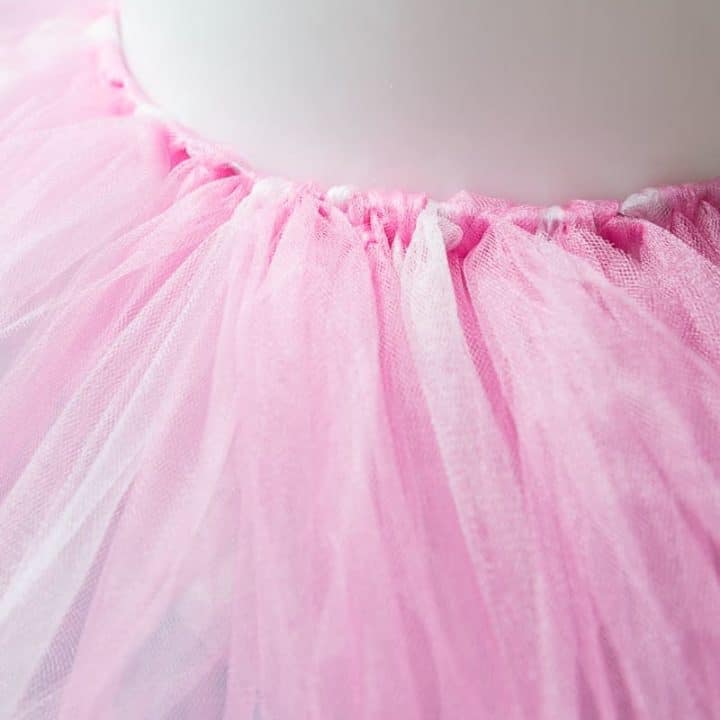
How To Make A No-Sew Tutu
If you have 30 minutes you can throw together this no-sew tutu!
Materials
- 3 spools of tulle (from Hobby Lobby in different shades of pink)
- Elastic or Ribbon
- Scissors
- A large piece of cardboard
- Large round bucket or trashcan
- 2 large rubber bands
Instructions
- 1. Figure out how long you want your skirt to be and then make sure the cardboard is that length. I ended up using a picture frame that was the length I needed to wrap my tulle around because I didn't have a piece of cardboard that was long enough!
- 2. Tie a piece of ribbon around your waist and then cut it to the correct length. Leave enough at the end so you can tie a bow in the back! (SEE NOTE #1)
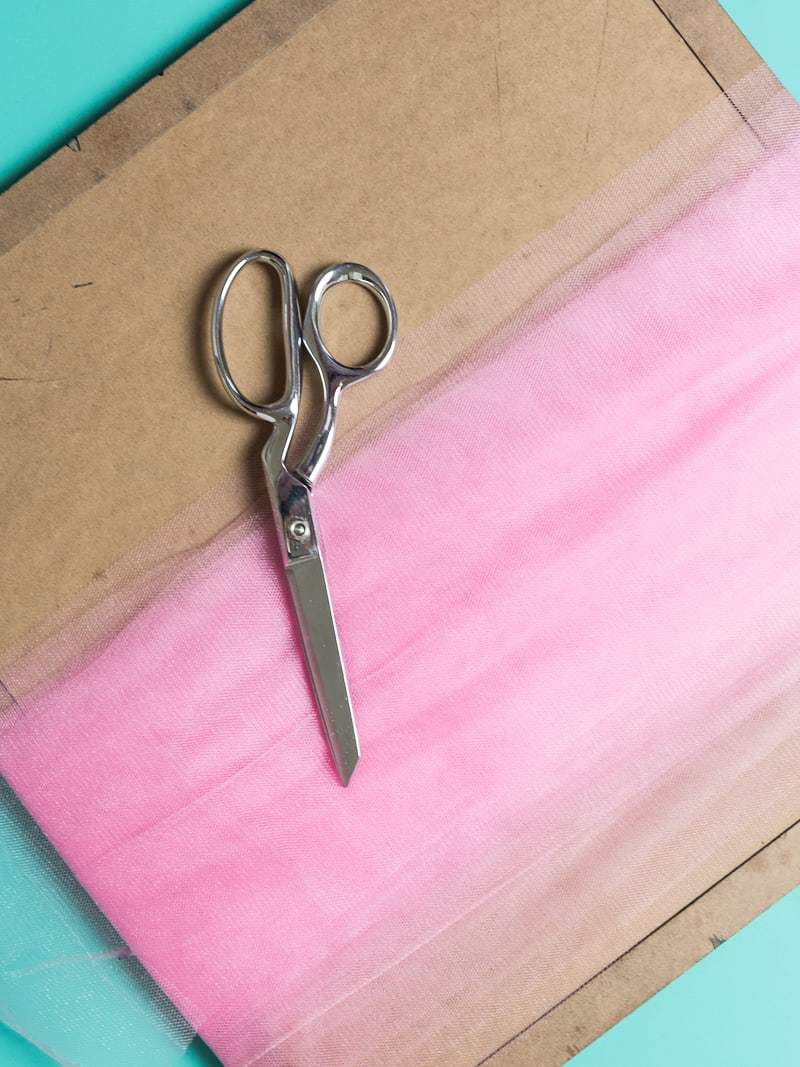
- 3. Wrap the tulle around the cardboard (not too tight because you will have to cut it later on!).
- 4. Secure each end with rubber bands to keep the tulle in place while cutting.
- 5. Using fabric scissors (because they make cutting the tulle easy-peasy) only cut one end of the tulle!
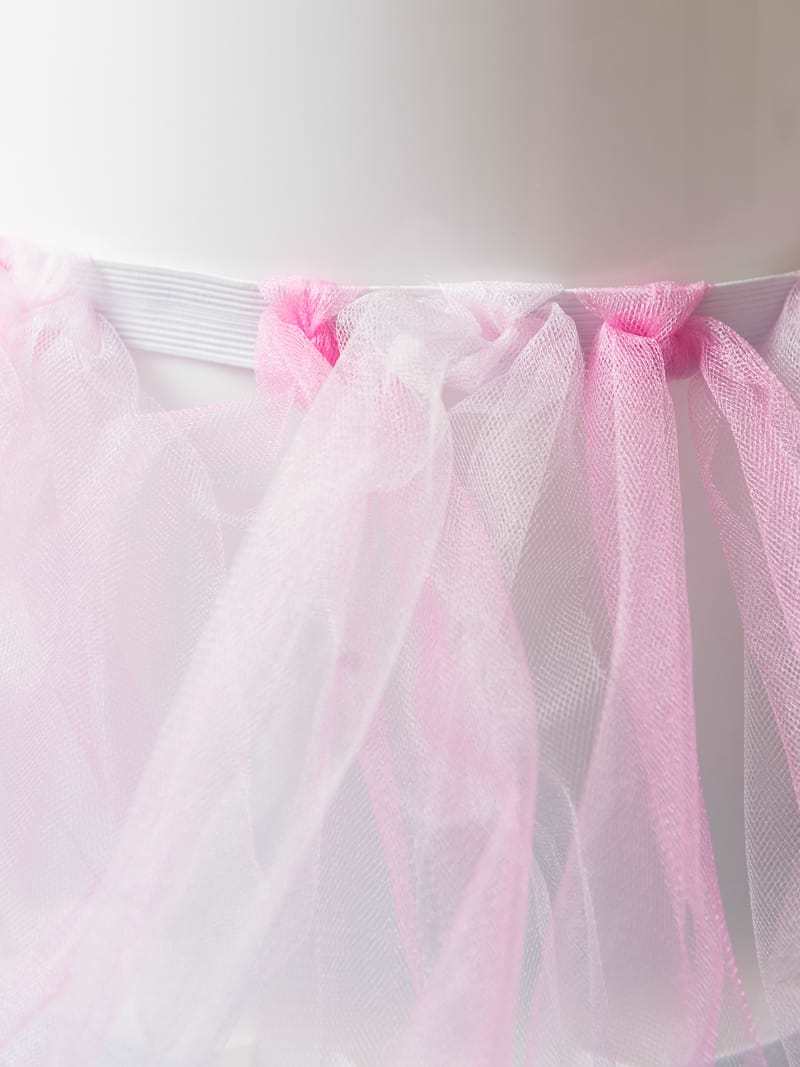
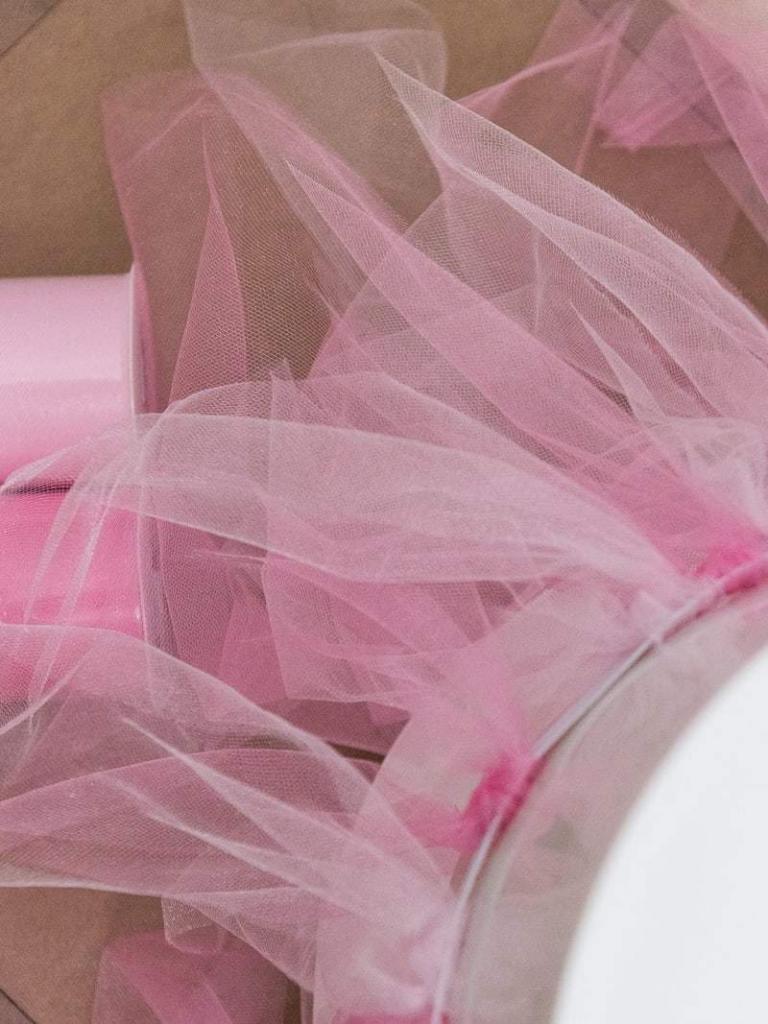
- 6. Tie your ribbon or elastic around the bucket (I used elastic for my own skirt but if you want to do a no-sew skirt use ribbon!). Make sure it is tight and secure before you start tying the tulle to it.
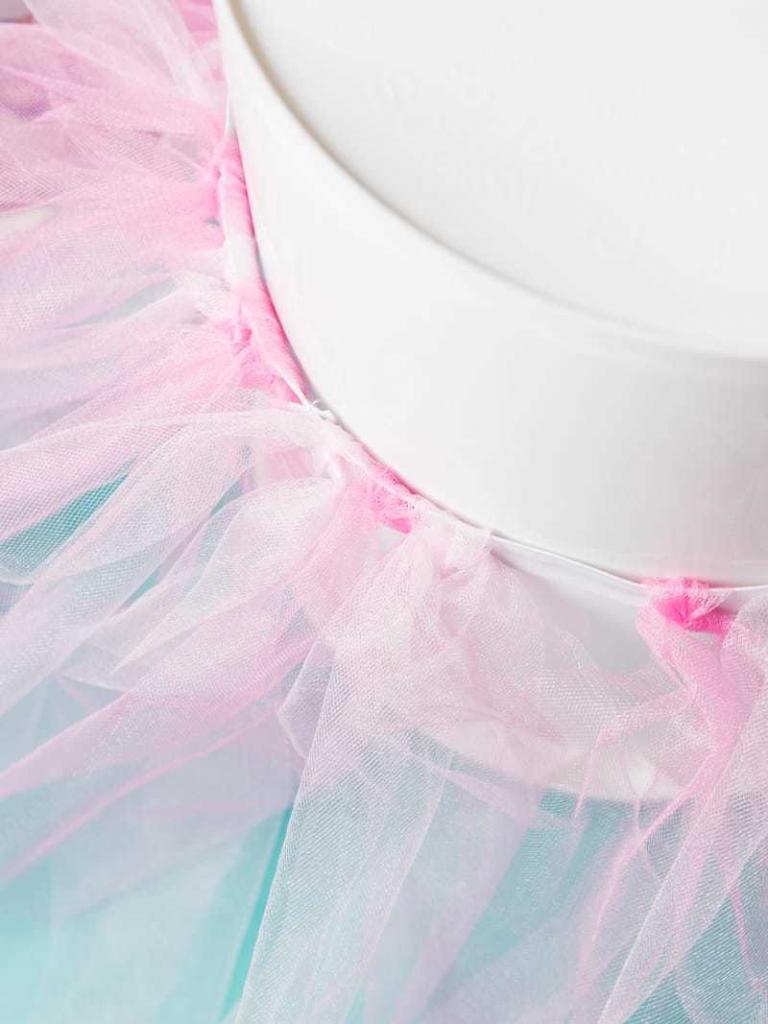
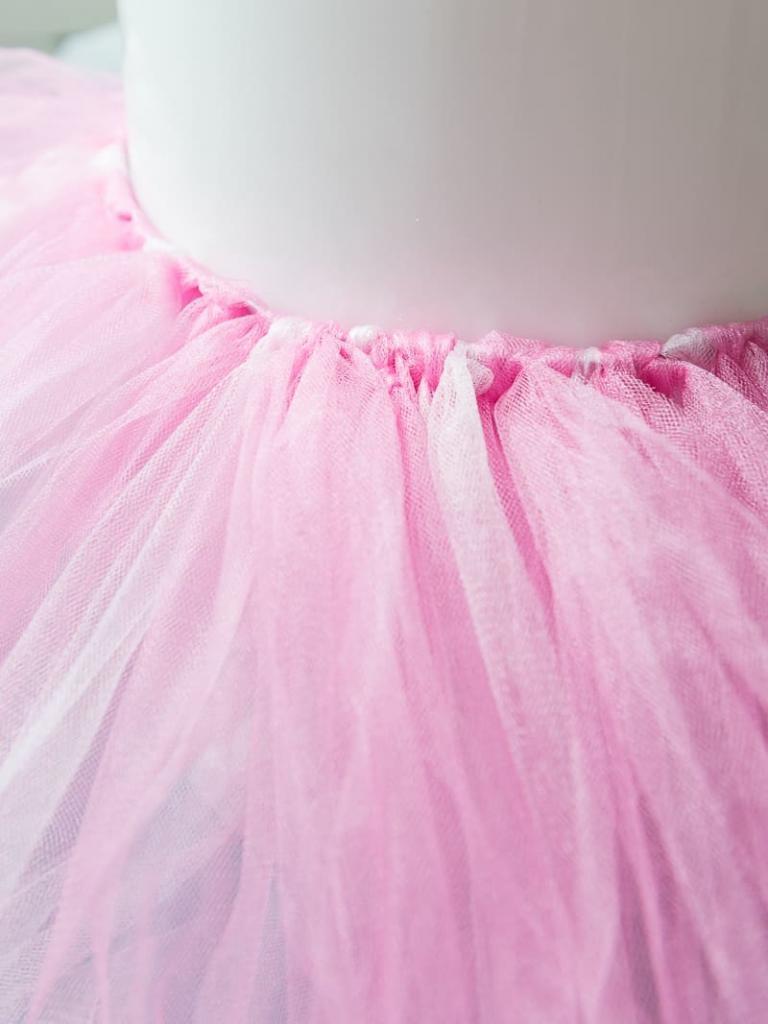
- 7. Start tying your pieces of tulle around the ribbon.
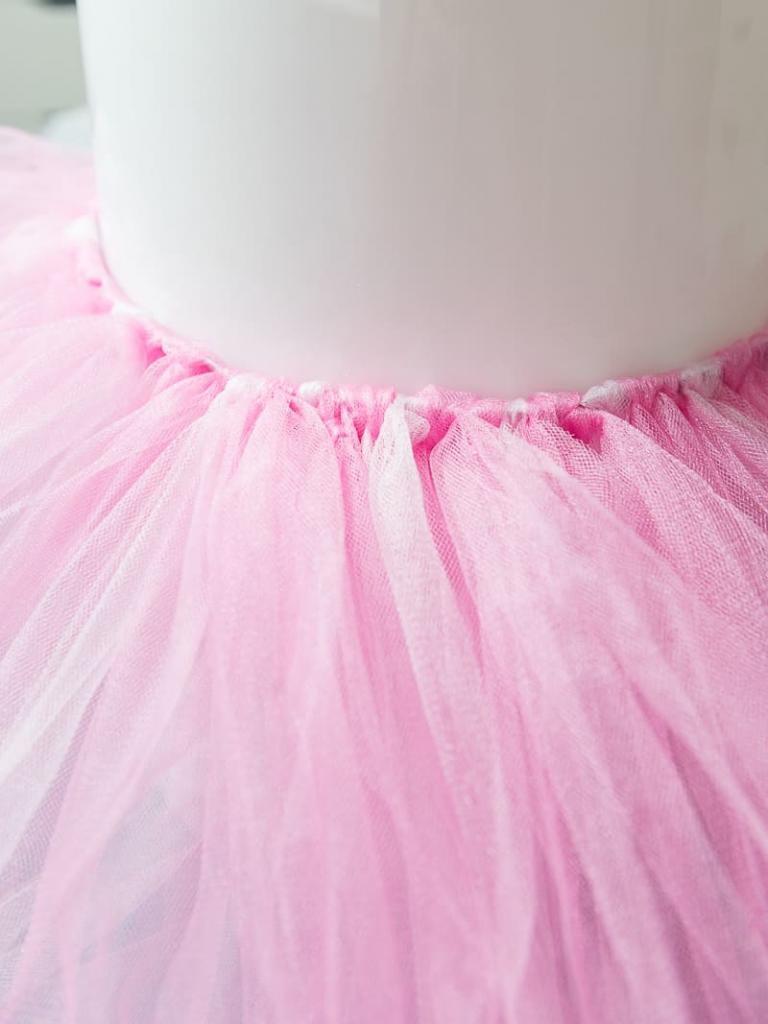
- 8. Continue tying the tulle until you can no longer see your ribbon. I personally wanted to add a bit of dimension to my skirt so I used two colors and alternated them.
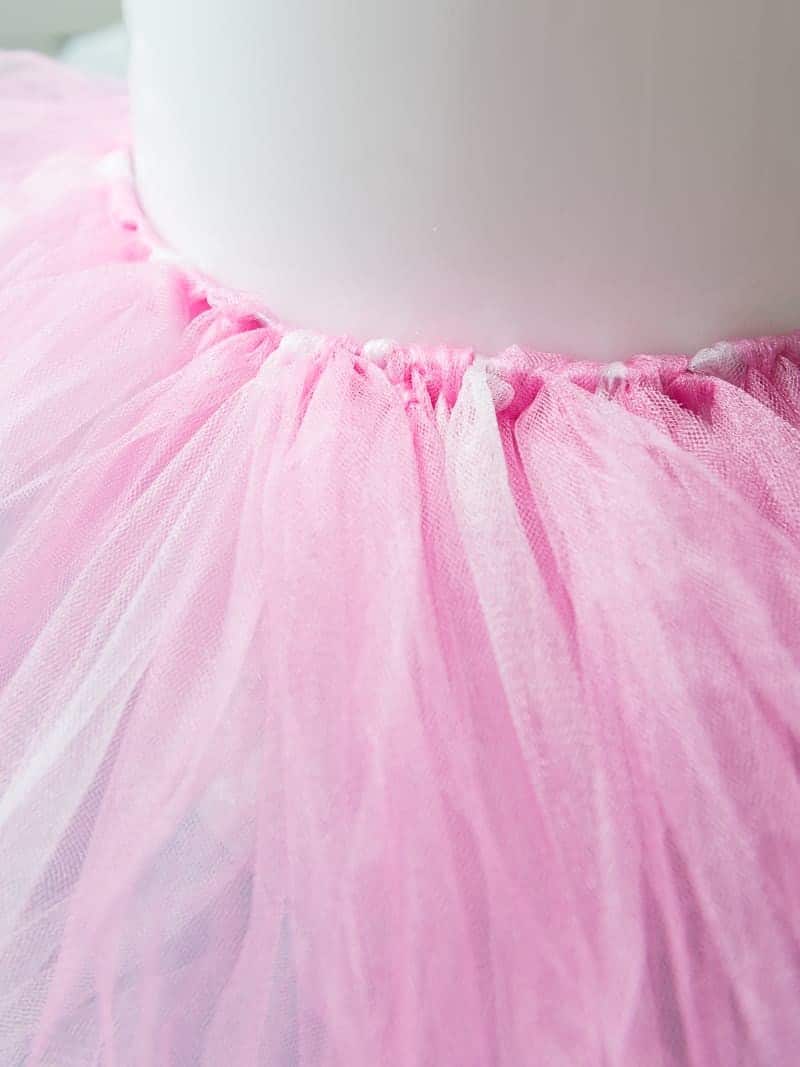
- 9. If you're using a ribbon, remove it from the bucket periodically so that you can try it on and make sure you like the way it looks. If it's not full enough keep adding tulle until you're satisfied! Once you love the way it looks, you're done and ready to wear it!
Notes
- If you would rather use elastic than ribbon, you should sew a the ends of the elastic together after you've measured it and cut it down to the size you need. Personally I think this makes the whole thing more secure but if you don't want to sew anything the ribbon also works well!
- Don't skimp on the tulle! Always use more than you think you need. You can never have too much.
- If you are making this tulle skirt for a baby the how-to is almost the same. The only difference is that I would use this headband because it's stretchy and the perfect size to fit around a baby's waist! Years ago this is what I did for my niece and it worked perfectly.
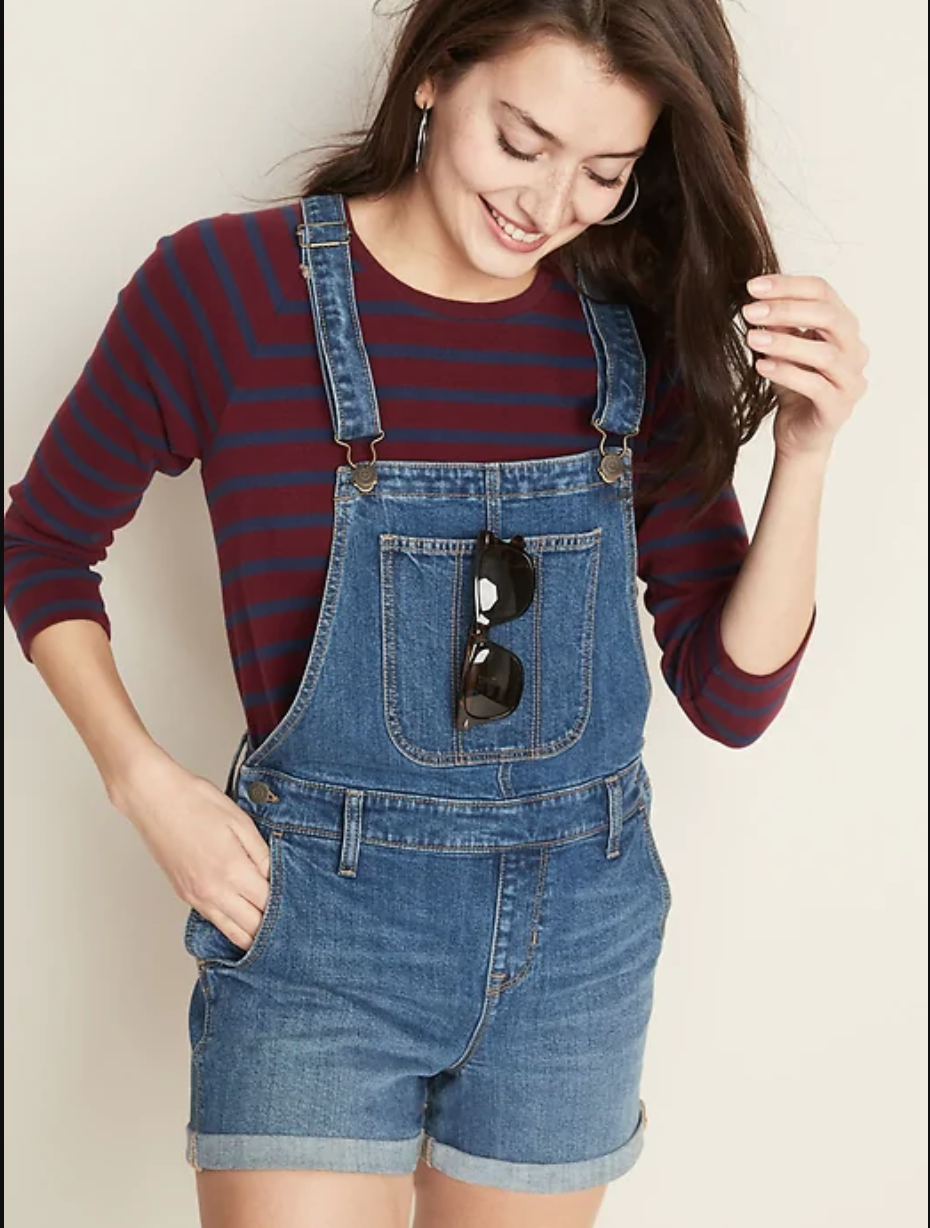
Outfit details:
- Overalls from Carly Jean Los Angelas. They're sold out but you can get a similar pair here.
- Striped shirt is from Amazon.
Recommended Products
As an Amazon Associate and member of other affiliate programs, I earn from qualifying purchases.


Thanks for linking up at TGIF link party! This is too stinkin adorable! I have a little boy and don’t get to have any tutus in the house, maybe one day! Thanks for sharing!
Kat, thank you! I hope you get at least one girl who will wear a tutu someday! I’m hoping that if I ever have a girl she’ll be decked out in tutu’s and cowboy boots (and I’ve probably jinxed myself into having all boys now! haha).
Stopping by to let you know you’ve been featured at the TGIF Link Party this week! I hope you’ll stop by to grab a button and link up with us again!
http://www.livingbettertogether.com/2013/08/tgif-link-party-no-8.html#
That is so exciting! Thank you so much!
I LOVE your tutu! Thank you so much for posting the directions! I just practically made a replica for my daughter’s first birthday and I am so excited about it! Fabulous job!
Thank you so much! And thank you for stopping by! 🙂
Where the pieces of tulle 15″ or 30″?
Were*
The finished tutu pieces were 30″ long. I took the spool of tulle and wrapped it around the cardboard until the spool ran out, then cut it. Once I cut it, folded it in half, and tied it to my headband, the pieces were 15″ (folded). I hope that makes sense and helps! Let me know if you have any more questions. 🙂
I love this tutu! I am going to try and make it for my daughter’s 1st birthday cake smash! 1 question… are you wrapping and tying the tulle around the entire headband or through the holes in the headband? may be a silly question, but just making sure!
Hi Shana! Thank you! I’m so glad you like it. And it’s not a silly question at all! For this particular tutu I put the tulle through the holes to give it a more full look, but you could also just tie it around the entire headband. It just depends on what you like!
How are you tying the tulle to the hairband?
I just tied regular knots. There are some tutorials out there that suggest tying different (and complicated) types of knots but I did not do anything special for mine.
Love the tutu!
Here is another idea if you dont happen to have a small round trash can. You can use a roll of paper towels. I put the roll on a paper towel holder, this gives it a little weight to keep it up right and spins easily.
That’s a great idea Jackie! Thanks for the tip!