
Bright & Colorful Painted Wooden Spring Sign
This post contains affiliate links. I may earn commission from qualifying purchases at no additional cost to you. I will never recommend a product I don’t use or trust.
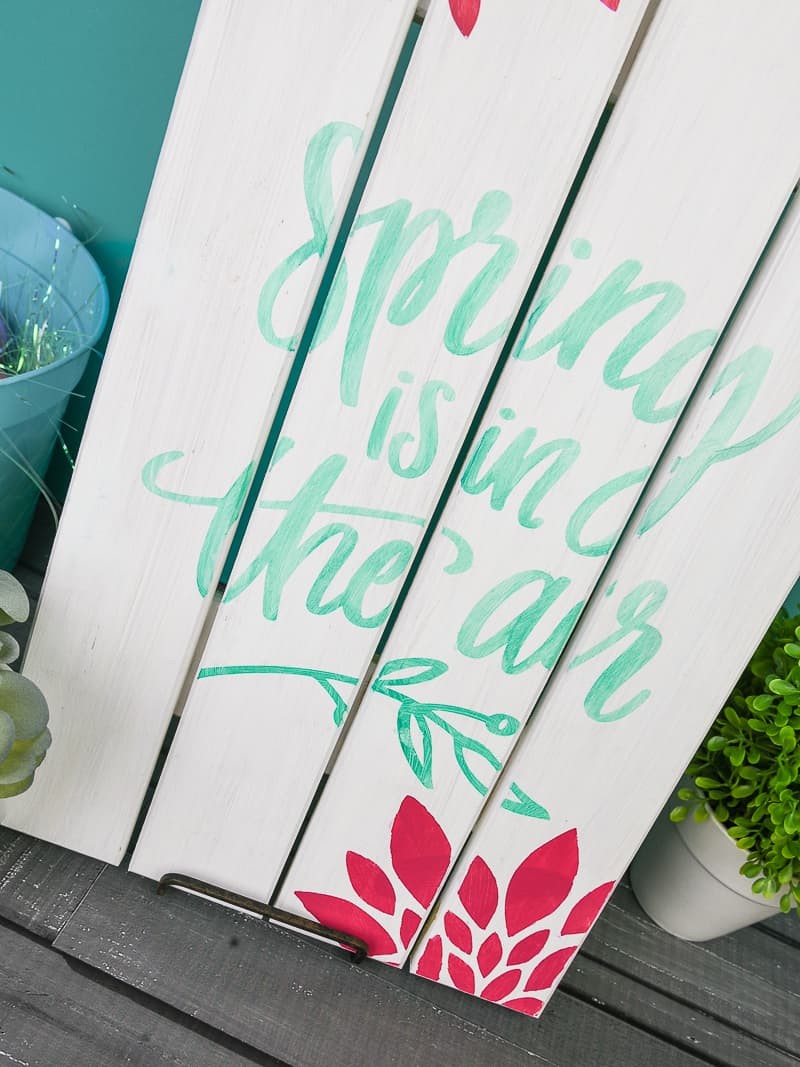
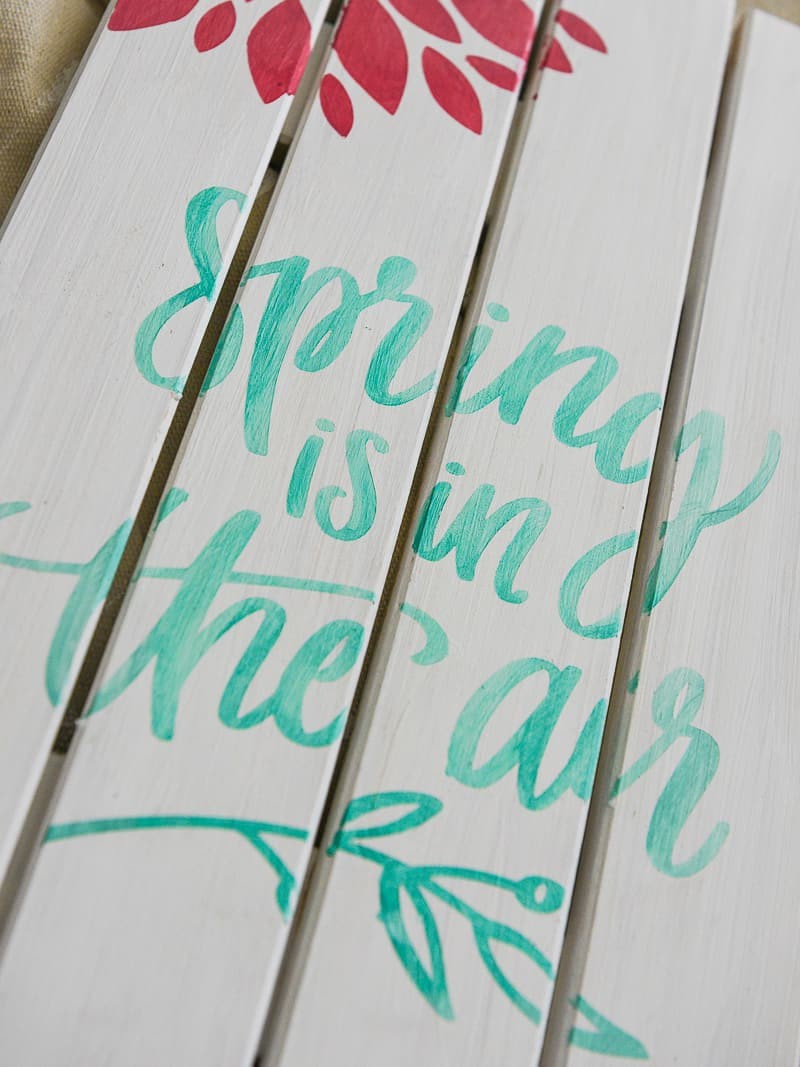
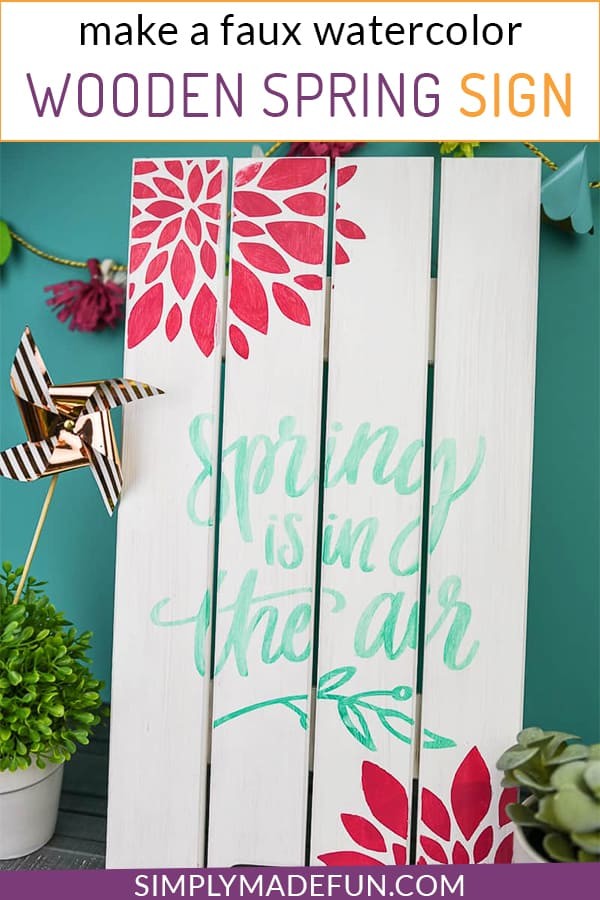
I always love Spring because of all the colorful crafts that start popping up everywhere. So I decided to add a pop of color to my home with this bright & colorful Painted Wooden Spring Sign! It’s easy to make, so easy you can have it done in 20 minutes!

Does anyone else feel like winter is lasting forever?
The days are finally longer (hooray!) but it’s still freezing outside. Can we just skip to the point where we’re in the mid 70’s every day and I can forever wear flip flops again?
I am ready. SO ready.
I don’t know about you, but the weather always seems to coincide with what I want to DIY. It was slightly warmer than it has been this weekend which had me dreaming of all the Spring crafts. Honestly, this wasn’t what I was planning on sharing today but the sun was shining outside and it just looked warm (even though it was still in the 40’s), so that made me want to pull out some pretty colors and paint.
And that’s what I did!
The Spring is in the air phrase came from the same bundle as this gradient Easter egg and it’s full of springtime goodies…as well as some other fun stuff! So if you’re looking for a reason to DIY all the things this season, you need to check out some of the SVG files in this bundle!
This project is:
- Colorful,
- Bright, and
- quick to make!
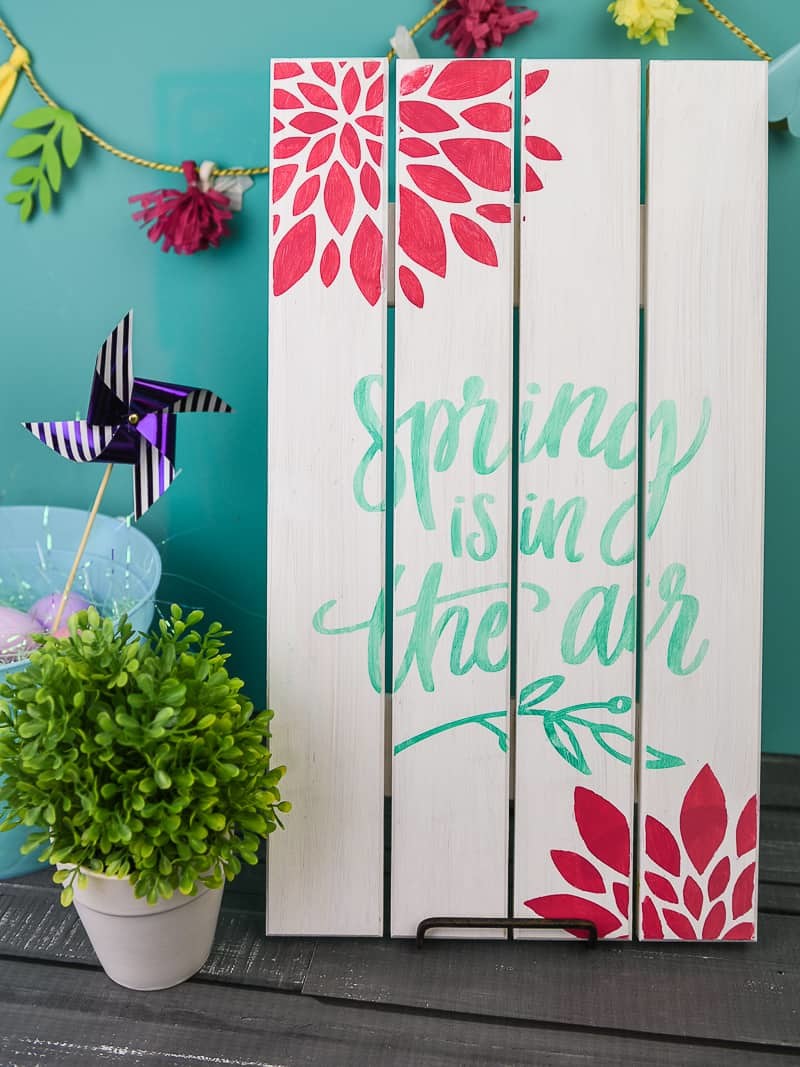
Let’s make a painted wooden Spring sign!
Materials:
- Wood sign (bought at Hobby Lobby but you could make your own with scrap wood!)
- Silhouette Cameo
- Oramask 813 Stencil Vinyl
- DecoArt Snow White Paint
- Martha Stewart Watercolor Paints, Beach Glass and Emerald City
- Paint Brushes
- Mod Podge
- Transfer Tape
Tutorial:
+ Paint (or stain) you wood, let it dry and set it aside.
+ Cut out the design with your Silhouette Cameo, weed the letters.
+ Use the transfer tape to pick up your stencil and put it on the wood (make sure the paint is dry first!).
PRO TIP: If you’re staining the wood instead of painting it let the wood dry for 24 hours before painting over it. This is especially helpful if you’re using permanent vinyl on wood, but I like to do it even if I’m just using paint!
+ I always like to paint a layer of mod podge over my stencil before painting it because it helps to keep the paint from leaking through your stencil. (this step is optional, though I highly recommend it!)
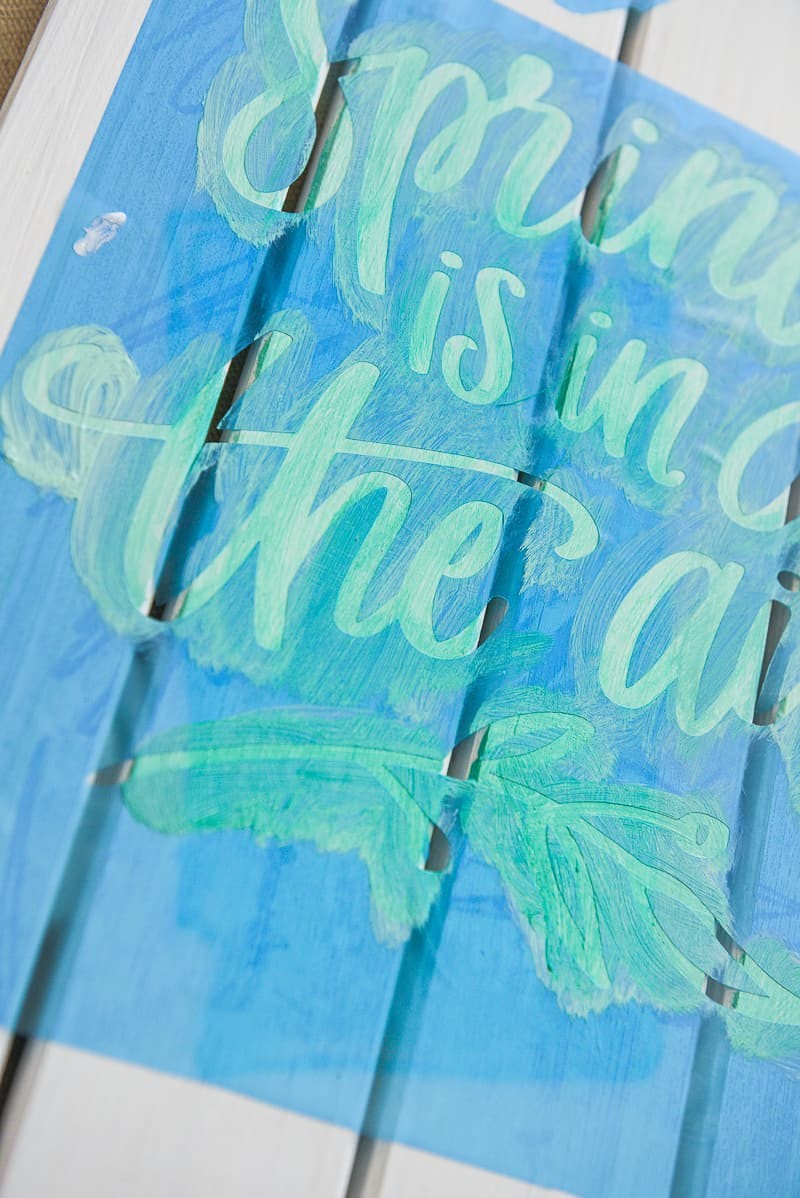
+ Using a very small amount of paint, paint your stencil.
PRO TIP: For the “spring is in the air” portion I mixed two Martha Stewart Watercolor paint colors together. The first color (Beach Glass) was a little too light and the second color (Emerald City) made it way more visible against the white background.
+ Peel up the stencil while the paint is still tacky.
+ If you need touch-ups, now is the time to do it! I had a few minor mistakes but they were easily fixed with a small paint brush.
Want more Spring crafts in your life? Check these out!

I don’t know about y’all but these bright and fun colors have really put me in the mood for Spring! Warm weather, cookouts, flowers in bloom. I AM SO READY!
Now all we need is for the weather to cooperate so that it actually looks and feels like Spring outside.
more 20 minute crafts!
[pt_view id=”aa12d5fg3o”]
I love this, it is so cute! Seriously why can’t you live closer to me so you can make me all the pretty things? Haha!