
Silhouette Portrait Newbie Mistakes
A week ago I finally decided to bite the bullet and buy myself a Silhouette Portrait. I have been talking about wanting one of those beauties for about a year now, but I never felt like I really needed it so I just kept putting it off. Which I now realize was a stupid decision and I’m left wondering how I ever crafted anything without it!
Before I show you my first project, I want to share some of the things I learned over these past few days when it comes to setting up and using your silhouette. Please keep in mind that I used to have a Cricut Expressions so some of these things should have been common sense to me. Should have being the operative word.
- When inserting the blade into it’s holder, check to make sure the little white cap at the end is off and you can actually see the blade! I wasted at least half an hour trying to cut a piece of paper before realizing that I needed to remove the cap.
- Before putting paper on your cutting mat, use a clean cotton t-shirt and pat down your mat. The Silhouette mat is extremely sticky and by doing this you’ll cut down the sticky and have an easier time peeling your paper (and design!) off the mat once it’s cut.
- Do the test cut! There is actually an option to do a small test cut at the top of your piece of paper before attempting to cut your design. DO THIS. That will tell you if you have the blade set to the right number, and will save you paper and heartache in the long run.
- Make sure you click double cut in your cut settings. I noticed that one cut was almost never enough for my paper and always benefited from cutting each shape twice.
- Buy the tools
 for your machine! My favorite so far has been the scraper tool because it makes it super easy to get excess paper pieces off of your cutting mat once you’re done cutting your design. But the hook and the spatula have also been great help in weeding out the smaller parts of a design and getting the design off the cutting mat without ripping it.
All in all I am really happy with my new crafting machine and can’t wait to use it for future projects for the blog! I already have a fun project lined up for next Tuesday so I hope you’ll check back for that.
Do you have any tips or tricks that you would be willing to share with this silhouette newbie? I’m open to any and all suggestions!
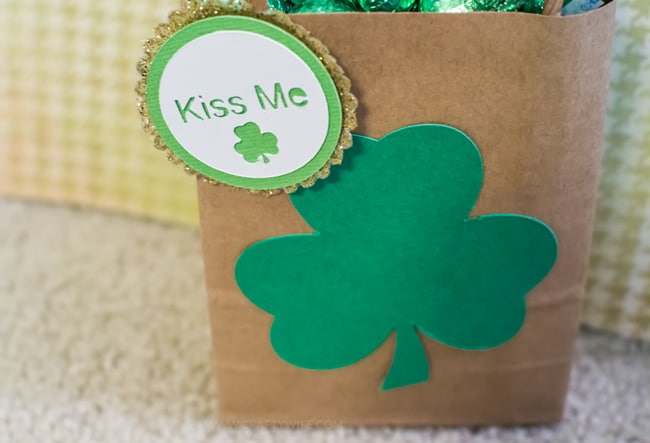
In the meantime, you can head on over to My Crafty Spot to check out the very first thing I made with my Silhouette!
I have a portrait too & I absolutely love it! I can’t get it to cut vinyl though, I haveno he what I’m doing wrong. The double cut is always a good idea, better safe than sorry!
I haven’t attempted vinyl yet because I’m sure I’ll have trouble with it! Have you tried changing the number on the blade? If I can’t get it to cut I usually just up that number and see if that works. 😉