Take Great Photos With These Wedding Photo Tips
My little sister finally got married to her high school sweetheart last Saturday! To say I’m thrilled he’s finally a part of our family is an understatement, but I can’t think of any other word to describe my joy. He’s probably one of the funniest and most caring guys I’ve ever met. And they are perfect for each other.
For the big day, my little sister asked me to be the matron of honor and I was so excited to take on the job. She also asked me to bring my camera to capture moments from the morning of since her photographer wasn’t getting there until 2:00pm. I really wanted to make sure I was capturing sweet moments from her day, and decided to use these three wedding photo tips to help me along the way!
To be honest I still have a bit of trouble when it comes to indoor photos. I’m sure it’s due to my lack of experience, but my indoor photos tend to come out super grainy or completely out of focus. I’m not even going to put up my photos from the rehearsal dinner because they are terrible. But I was able to capture some really great ones from the morning of. And I’m sharing my wedding photo tips with you, because I want everyone to be able to have great photos of such special memories!
This post contains affiliate links. I may earn commission from qualifying purchases at no additional cost to you. I will never recommend a product I don’t use or trust.
1. Natural Light
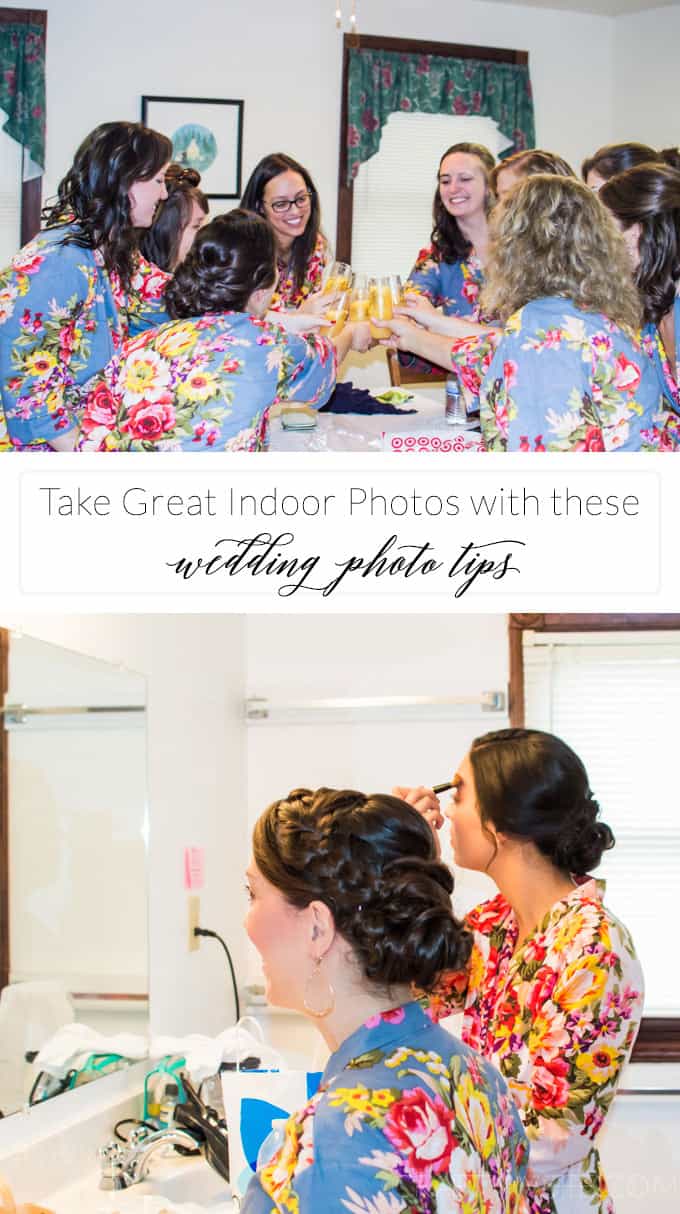
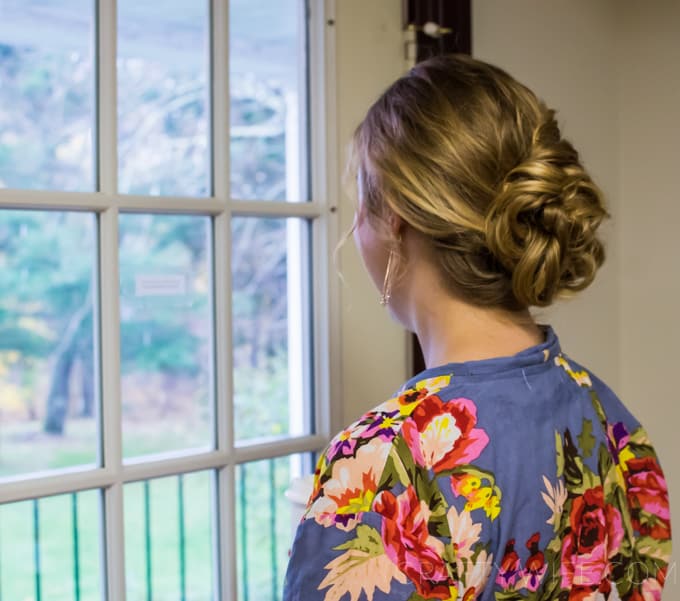
Lucky for me, the cabin we were staying in the night before the wedding had a ton of windows which let in loads of natural light! Whenever possible I moved towards the windows to light up the scene I was shooting. Because we were inside and I wanted to make sure that everyone would be in focus, I upped the ISO (ISO 800) and shot towards the light. And I loved the results!
2. Up the ISO
Even though there were a ton of windows at the cabin, it was raining like crazy all morning. While there was still a bit of light coming through I knew it wasn’t enough to keep my shutter speed settings where I needed it to be. So, I set my ISO between 800 (when I was near a window) and 1600 (when natural light wasn’t available) in order to keep my shutter speed high enough for my photos to be crystal clear. Because I was using my 35mm lens, the shutter speed needed to be 35 or above to prevent blur.
3. Don’t use too low of an aperture
Let’s talk aperture for a moment. Using a low aperture lets in more light and gives you a beautiful blurred background (also known as bokeh). But guess what, it also can cause blurred photos if there is a lot of movement or if you’re getting a photo of a large group of people who are all different distances from the camera. If you use a higher aperture it will cut down on the movement blur and help you on your way to beautiful and clear photos! But you do need to know that aperture is just one-third of the puzzle when it comes to crisp photos. Getting the ISO and shutter speed right as well as the aperture is what makes the perfect photo. If one is off, then you will not get the desired result.
For all of these photos I upped the aperture to at least f/8 to keep everyone in focus. You can see in the group photo above that the faces in the back are a tad bit out of focus so I probably could have upped the aperture a bit more, but since I wanted the focus on the glasses the blurred faces work well.
I had so much fun taking photos last Saturday and I really hope that my sister loves them as much as I do! I am so grateful that she had so much faith in me to even ask me to capture the day for her, and I really love that I was able to get the practice. After all, practice does make perfect!


These are such great tips! I totally agree with you on the note about aperture. Everyone assumes that you should shoot with a low aperture for more light, but so many times that makes the photos so blurry! Great tip.
Thank you!! Oh my gosh, that note on aperture came from so much trial and error. When, of course, I could have asked you how to stop it and that would’ve saved me a world of horrible photos. haha