
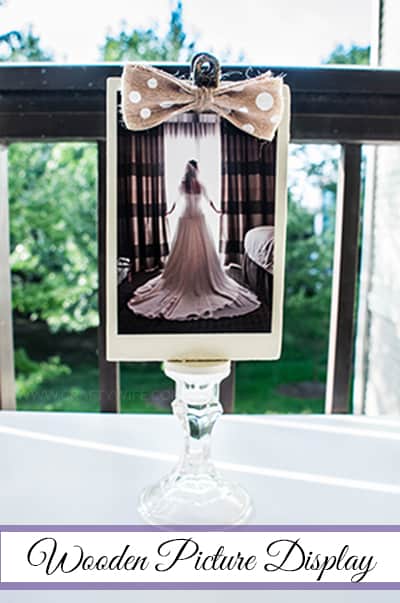
Wooden Picture Display
Two weeks ago when my mother-in-law was in town we had a week full of craft days. We brainstormed, went to Michaels for supplies, painted, glued, went back to Michaels, and glued some more. It was so much fun. My brain is actually all crafted out at the moment (hard to believe, right?) but we were able to do so many projects that I think I’m set for the blog for a while which is awesome!
My mother-in-law has a small business at home, and so she really wanted to make a project that she could take with her and sell. And she really wanted to make something she could use chalk paint for. After a few searches on Pinterest she found just the thing!
The wooden picture display is so easy to make! Here’s what you need:
This post contains affiliate links. I may earn commission from qualifying purchases at no additional cost to you. I will never recommend a product I don’t use or trust.
Materials
- A candlestick holder from the Dollar Tree (or a wooden one from Michaels or a thrift store)
- A large (and thick) piece of wood from Michaels
- Sandpaper
- A foam brush for painting
- A small round piece of wood that will fit on top of the candlestick holder
- Burlap ribbon
- Jute or twine
- A clamp to hold the picture in place
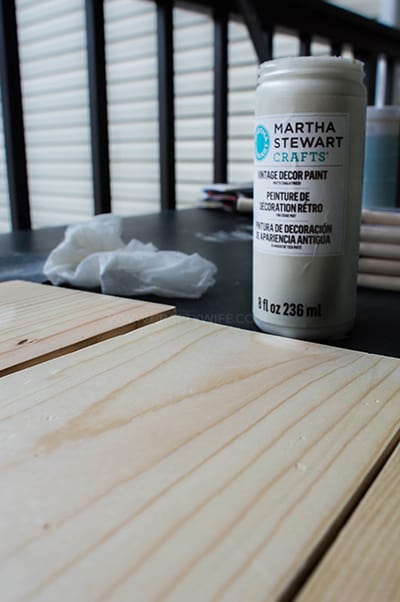
- Martha Stewart Chalk Paint (we used Linen for this project)
- E6000 glue and/or mod podge
How-to
1. Sand down all of your wood then wipe it down with a clean cloth before painting it.
2. Martha Stewart Chalk paint is incredibly thick, so you may only have to do one coat (I think we did two). We painted ours in the late afternoon so we let it dry overnight just as a precaution.
3. This step is optional, but my mother-in-law sanded down the paint on the larger wooden piece the next day to give it more of a worn look.
4. After that she painted a layer of mod podge over the wood so that everything would set.
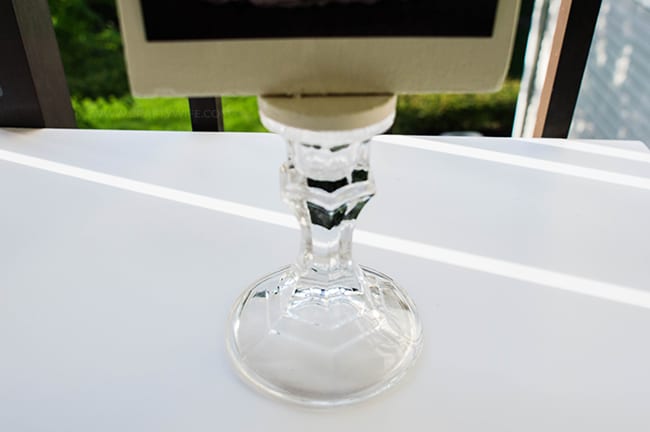
5. Use the E6000 glue to attach the small round wooden piece to your dollar store base and place something heavy on top so that it will set.
6. Attach the clip to the larger piece of wood (near the top center) with E6000 glue as well. Hold it in place for a few minutes so that it will set.
7. While the glue is drying, make a bow using the burlap ribbon and tie it around the middle with twine.
8. Attach the burlap bow to the clip using either hot glue or E6000.
9. Glue the larger piece of wood to the stand with E6000 and let it sit overnight.
10. Once everything is dry you can clip a picture, notepad, or anything else you’d like on the board and display it in your home!
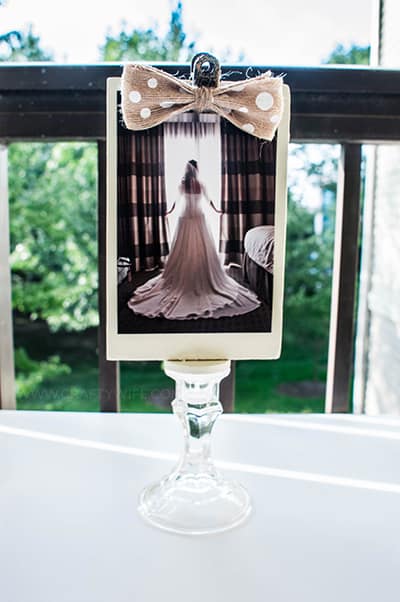
We used a wedding picture of mine, but how cute would this be for a baby shower decoration with a sonogram picture attached to it? There are so many possibilities and cute things you could use to decorate this display with.
What do you think?
What would you use to decorate it if this was in your home?