
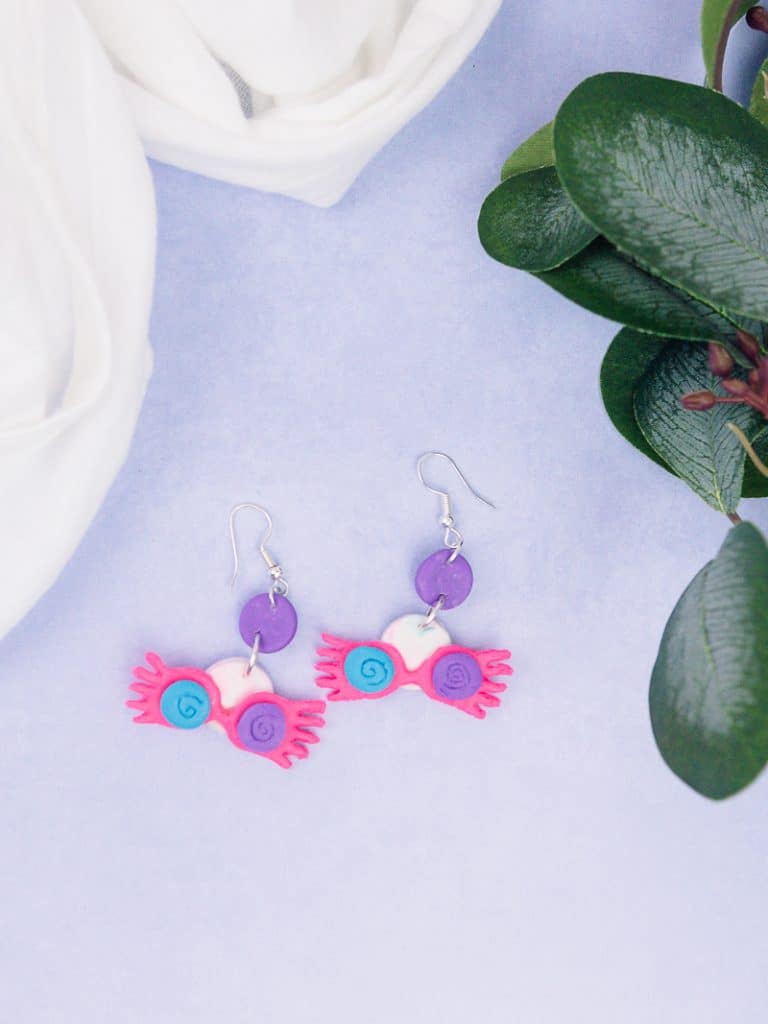
Harry Potter Polymer Clay Earrings
Use your Silhouette Cameo to cut out the Quibbler glasses Luna Lovegood wears to make fun Harry Potter polymer clay earrings!
I have been wanting to try to make my own clay earrings for a while now and I finally did it!
I definitely underestimated how long and hard this project would be, even with all the research I did beforehand. I decided to use a 3D printed mold for earrings and this definitely made things harder. But they still came out looking pretty good for my first try!
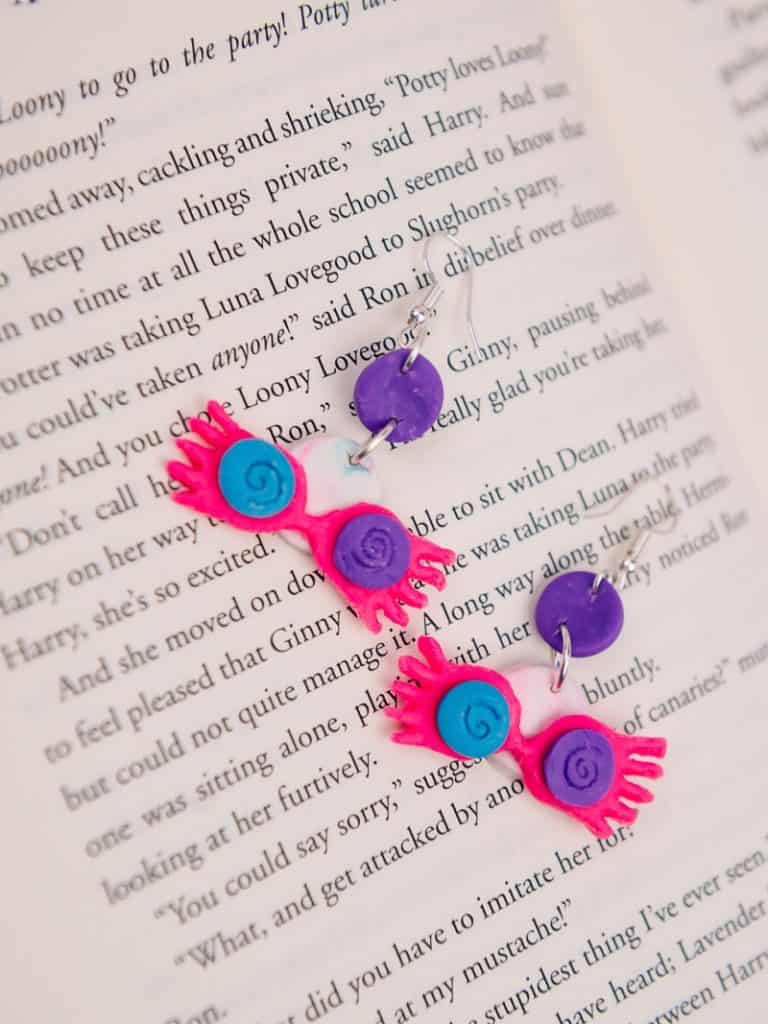
These Harry Potter polymer clay earrings are colorful and eccentric, exactly like Luna Lovegood…who inspired these fun clay earrings!
Not all clay is created equal so when you’re looking for polymer clay you should look for some from the Sculpey Store. It’s a little more expensive than what you’d find at Michaels but the consensus is that the quality is better!
I also found out that you need to start out with a very clean workspace because polymer clay will pick up every bit of dust and lint in your work area.
And while you can use any type of clay mold on Amazon, you can also cut your own with the Silhouette Software. All you need is an exacto knife to cut out the design in your clay from around your stencil.
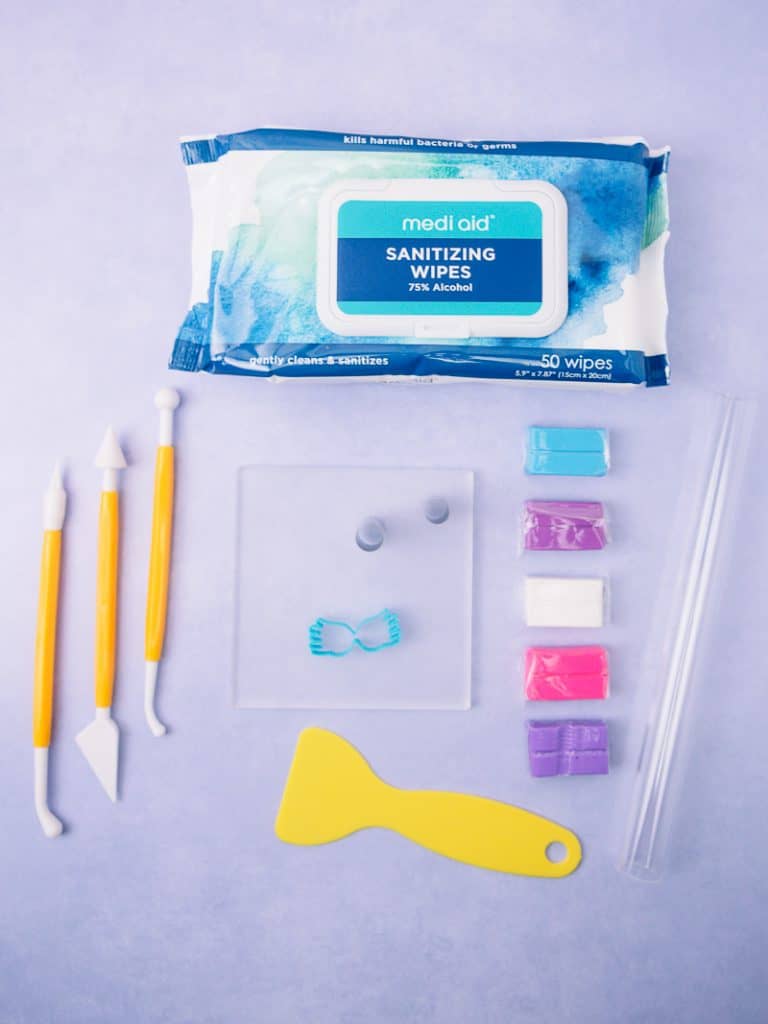
Materials
Everything you’ll need to make these Harry Potter Polymer Clay Earrings!
- Polymer Clay
- Filament for Stencil
- 3D Printed Stencil
- Baking Sheet
- Earring backs and hooks
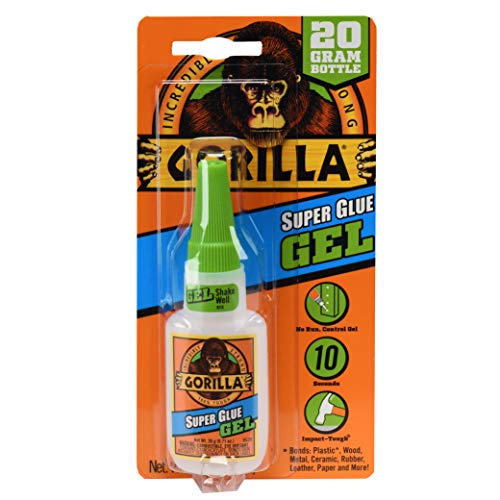
- Gorilla Glue Gel
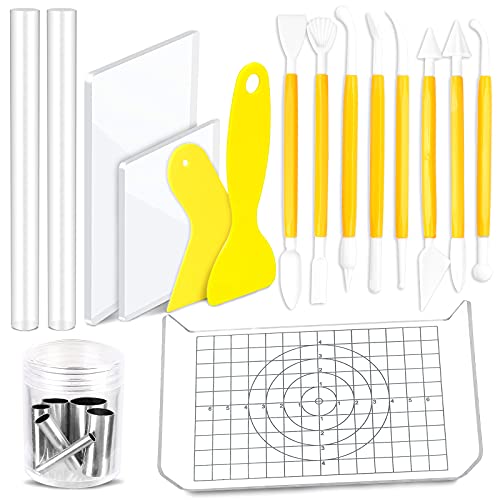
Tools
- 3D Printer (we own this one and love it!)
- Acrylic Rolling Pin
- Molds for the Earrings
- X-acto Knife
- Jewelry Pliers
- Flat Baking Sheet
This post contains affiliate links. I may earn commission from qualifying purchases at no additional cost to you. I will never recommend a product I don’t use or trust.
Tips for these Harry Potter Polymer Clay Earrings
How do you soften the polymer clay before using it?
Before you use your clay you need to condition it.
Conditioning is the process of kneading the clay to make it softer, flexible and easy to shape.
You can knead the polymer clay in your hands by rolling it. You’ll know the clay is ready to use when you can roll it out into a long coil and it doesn’t crack when you bend it or have rough edges.
How do you get rid of dust, lint and fuzz on your clay earrings?
If you notice bits of fuzz, dust or fingerprints on your clay you can use a cotton swab with alcohol on it to wipe them off.
It’s best to do this before you bake your clay earrings so you don’t bake the impurities on to your earrings.
You can also use fine grit sandpaper to smooth everything out once they are out of the ovens, but be careful! You don’t want to sand things down too much.
The edges of the earrings are rough, how do you smooth them out?
If you notice rough edges on your clay earrings after you bake them you can sand them down with fine-grit sandpaper.
It’s easier to smooth the edges after baking but you can also try to fix them before you put the earrings in the oven if you wish.
3D printed cutter or a paper stencil?
I really thought a 3D printed cutter would be great for this project but it made things so much harder!
The problem with a very small 3D printed object is that it’s not very stable and there are tiny little strings all over it that you have to get rid of being pressing it into the clay. Otherwise all of those little strings get caught in the clay.
Also, the issue with the mold was that the pieces are very close together so the clay got stuck in those pieces and it was hard to get out.
I had the most luck using the mold almost like a stencil. I gently pressed it into the clay to make an outline and then used an exact-o knife to cut it out. I would suggest using a stencil and not a small 3D printed mold unless it is specially for clay earrings.

Faq’s and Troubleshooting for these polymer clay earrings
Why does the clay look burnt?
Clay will burn if you cook it for too long or at too high of a temperature. Make sure you’re cooking it at exactly the temperature it says on the back of the box you bought.
If you’re still worried then you can put a small foil tent on top of your clay to make sure it doesn’t burn!
I decided to put my baking sheet on the bottom rack and that worked fine for me!
Why does the clay break once out of the oven?
This can happen if your clay is too thin. Make sure you’re rolling it out to 1/4 thickness or more (depending on what you like) so that it won’t crack!
We’re part of the Team Creative Crafts: Harry Potter Edition!
This week we’ve joined the Team Creative Crafts to share tons of Harry Potter creations! The projects being shared are so fun and perfect for all types of Potter fans. Click through to see all of the cool things that have been shared.
- Wizarding Spells Shirt from 5 Little Monsters
- Harry Potter Word Search from Sunshine and Munchkins
- 5 Harry Potter Doodles from Amy Latta Creations
- Harry Potter Wreath from Sisters, What!
- Harry Potter Scarf Pattern from Smiling Colors
- Harry Potter Hogwarts Banner from Laura’s Crafty Life
- Harry Potter Glasses Tutorial from Ginger Snap Crafts
- Harry Potter Owl Craft from Jenny’s Crayon Collection
- Potion’s Master Kitchen Aid Mixer from Anitas Croggins
- Hogwarts Harry Potter Wreath from Crafting Cheerfully
- Hogwarts House Shirts from Artsy-Fartsy Mama
- Harry Potter Pond Slime Recipe from Michelle’s Party Plan It
- Heat Foil a Harry Potter Card from Doodlecraft
- Mischief Managed Toddler Tee from Little Dove
- Meet Me at Hogwarts Cut File from Polka Dotted Blue Jay
- Harry Potter Inspired Felt Accessories from Making Celebrating Blog
- Harry Potter Slytherin Shot Recipe from Homemade Heather
- Harry Potter SVG from Poofy Cheeks
Check out our other Harry Potter crafts on the blog!
- Harry Potter Infusible Ink Tote Bag (free file!)
- Layered Harry Potter Shirts
- Harry Potter Onesies
- His & Hers Harry Potter Mugs
- Fantastic Beasts & Where to Find Them Magical Congress Ornament

Harry Potter Polymer Clay Earrings
Materials
- Polymer Clay
- Filament for Stencil
- 3D Printed Stencil
- Baking Sheet
- Earring Backs and Hooks
- Gorilla Glue Gel
Tools
- 3D Printer
- Acrylic Rolling Pin
- Molds for the Earrings
- X-acto Knife
- Jewelry Pliers
- Flat Baking Sheet
Instructions
- Pull out the clay colors you're going to use and the tools and set them aside.
- Wipe down your workspace with baby wipes and wash your hands before pulling the clay out of the bags.
- Pull out the clay one color at a time. Knead the clay with your hands until it is soft and pliable.
- Roll it out and then use your molds or stencils to cut out your design.
- Set it aside on a piece of parchment paper on a baking sheet.
- Continue kneading your colors and cutting them out until you have all the pieces you need.
- Preheat the oven and put all of your pieces on the parchment paper.
- Once the oven is ready, place the baking sheet in the oven and bake the clay until it's done!
- As soon as you pull the clay out of the oven poke holes in the pieces for your earring rings.
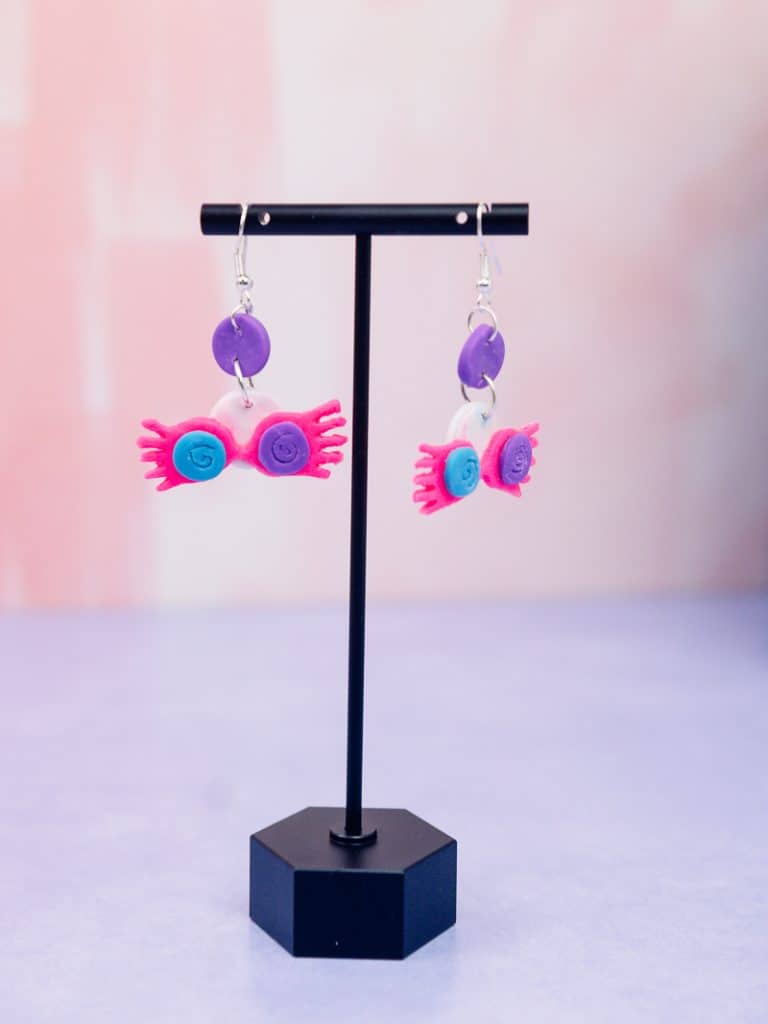
How to assemble the earrings:
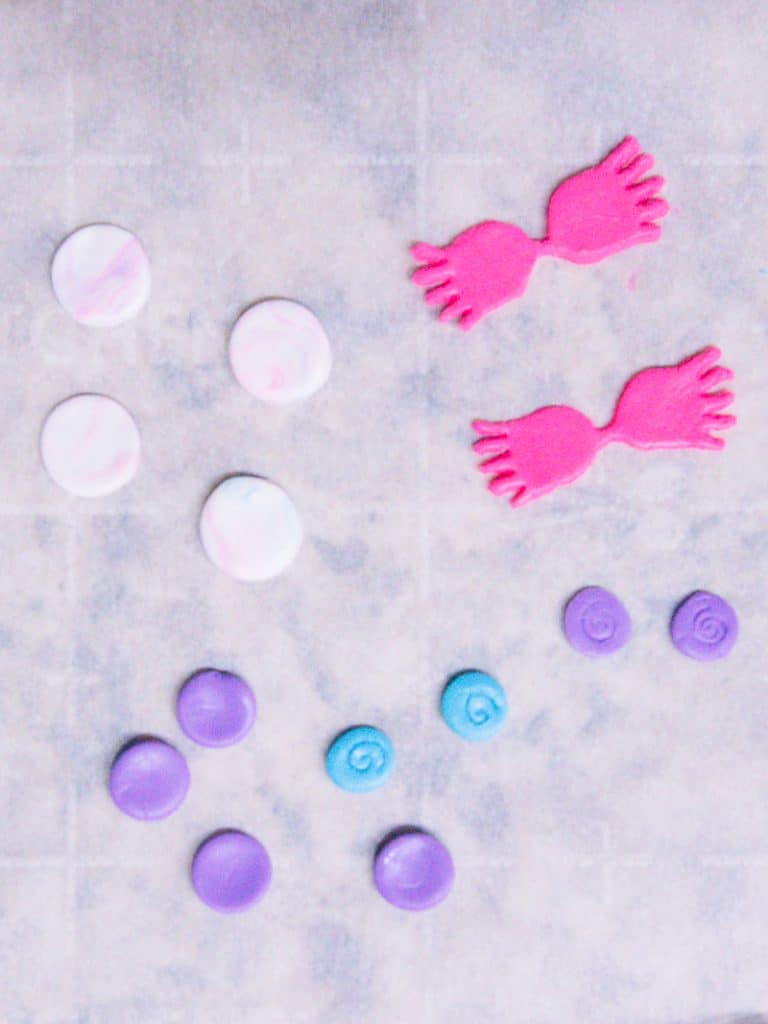
- Once the earrings are cooled off, use the gorilla glue and add the small purple and blue circles on the glasses. Let the glue dry
- Use your pliers to pull the earring rings apart.
- Put the earring rings through the holes in your clay earrings and connect all of your pieces.
- Depending on the types of backs you used (I used stud backs) you either glue them on with gorilla glue or put them through the holes if you're using earring hooks.
Notes
- Make sure you wash your hands between colors and wipe down all of your surfaces and tools. This stops the colors from bleeding together!
Recommended Products
As an Amazon Associate and member of other affiliate programs, I earn from qualifying purchases.


These are so fun!
Luna is my favorite and these are adorable, Teresa! Thanks for joining in the Creative Crafts FUN!
Thank you so much Beth! It was so much fun being part of this roundup. 😊