All American Family SVG Cut File
This post contains affiliate links. I may earn commission from qualifying purchases at no additional cost to you. I will never recommend a product I don’t use or trust.
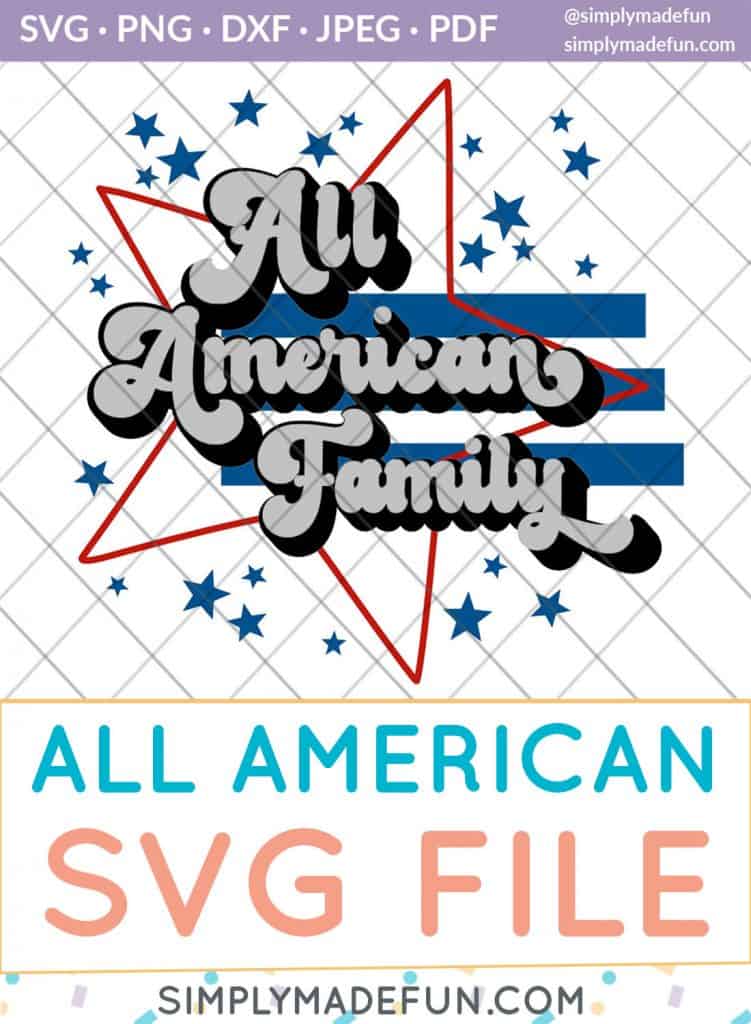
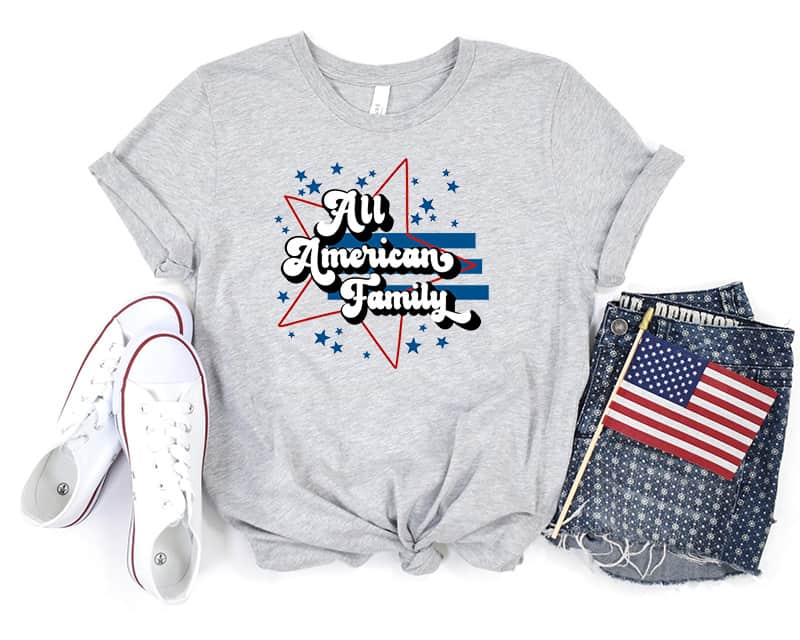
Use this All American Family SVG on pillows, wood signs, t-shirts, tote bags and more! It’s the perfect file to use for your 4th of July crafts!
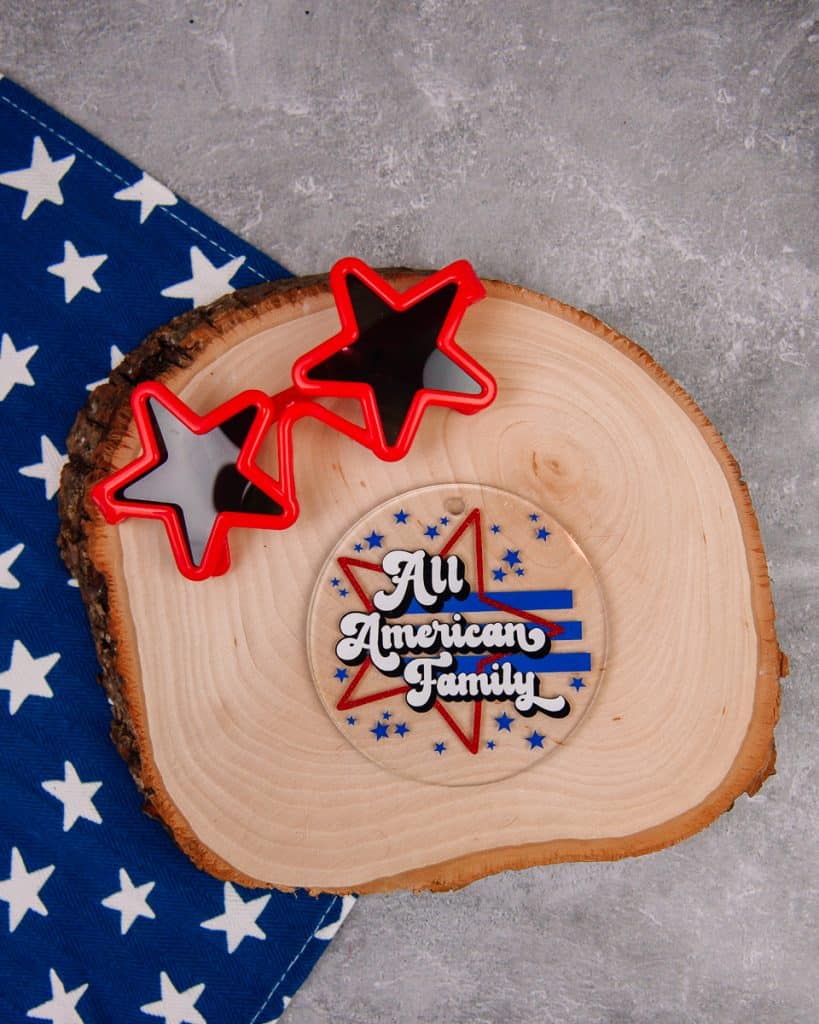
I’m totally ready to make all the 4th of July crafts for this year. I might be making up for last year a little bit, but I’m excited for it!
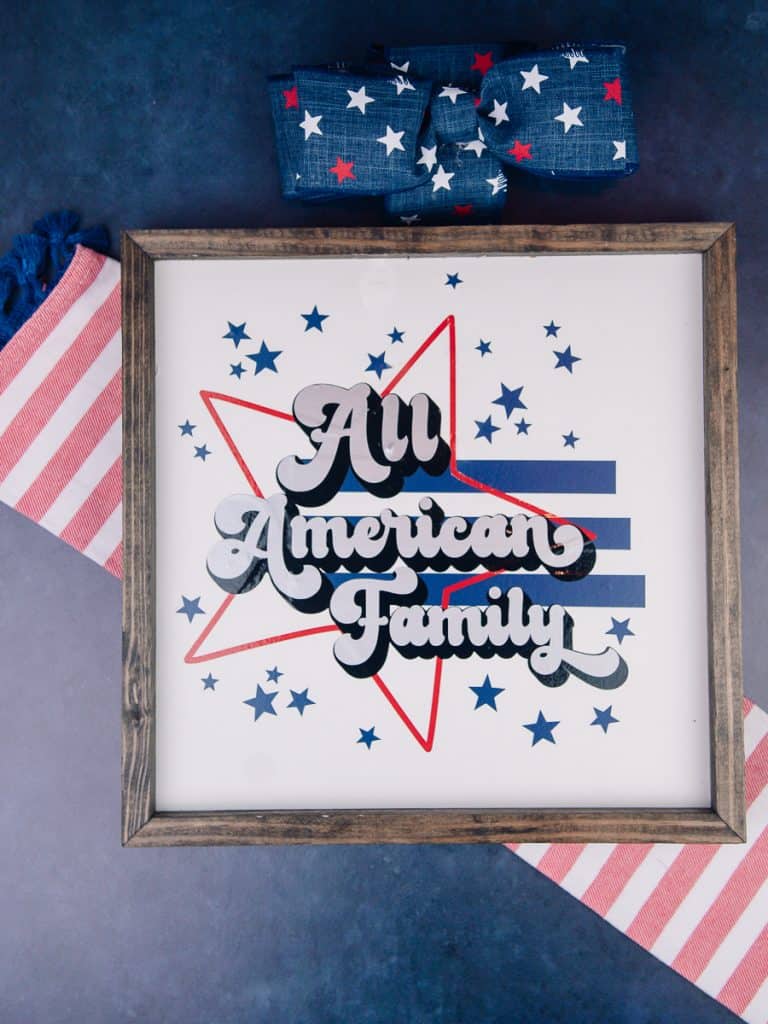
This All American Family svg has a bit of a retro look to it but it is absolutely perfect for all the 4th of July crafts you can make!
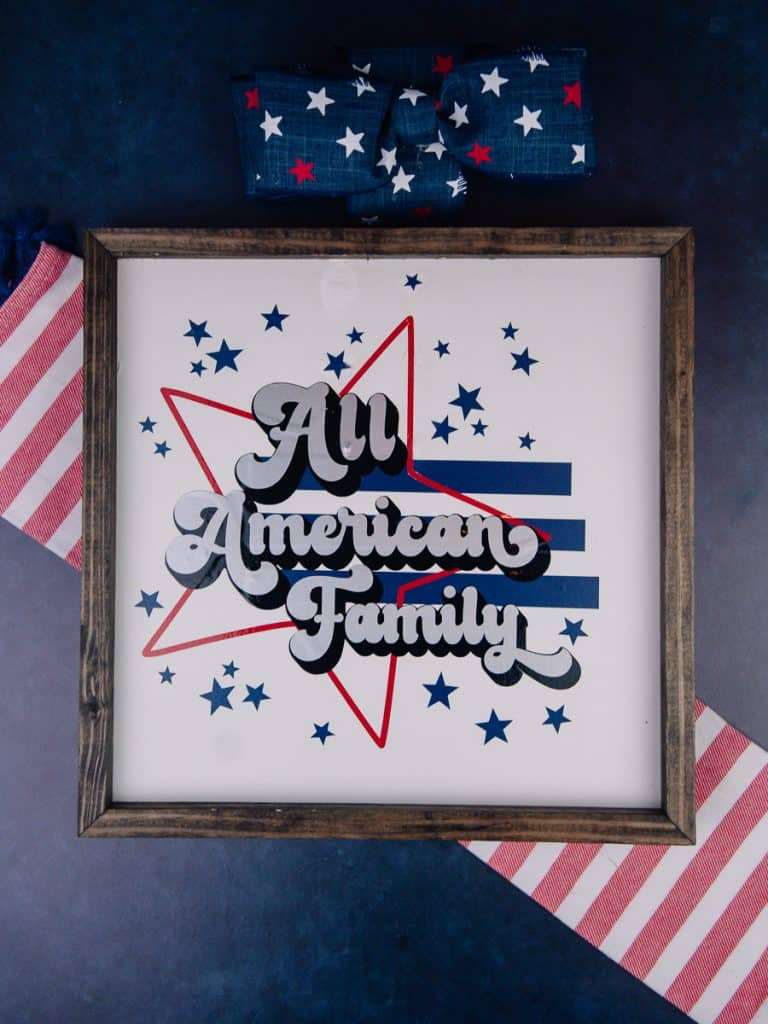
I’m going to show you 4 different ways to use this All American Family SVG cut file today, including layering adhesive vinyl on a wood sign and how to layer the decal on a tea towel!
MATERIALS
My go-to’s are always t-shirts or wood signs, but if I can use heat transfer vinyl it’s what I’ll use 90% of the time.
So I’m challenging myself to branch out and use different materials for this svg file!
You will need:
Wood Sign
- Wood Sign (mine is from this Etsy shop – or you could make your own following this tutorial from Poofy Cheeks Blog!)
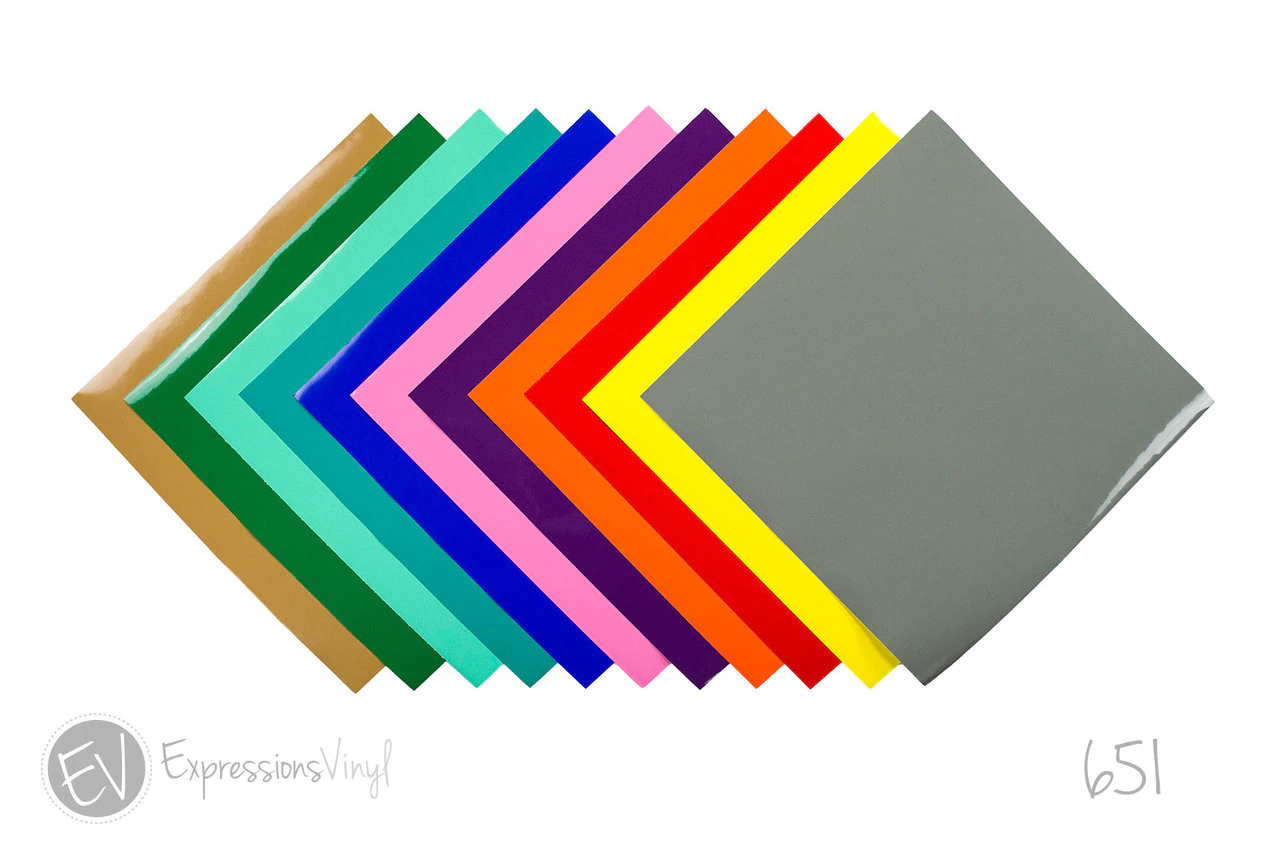
- Adhesive Vinyl
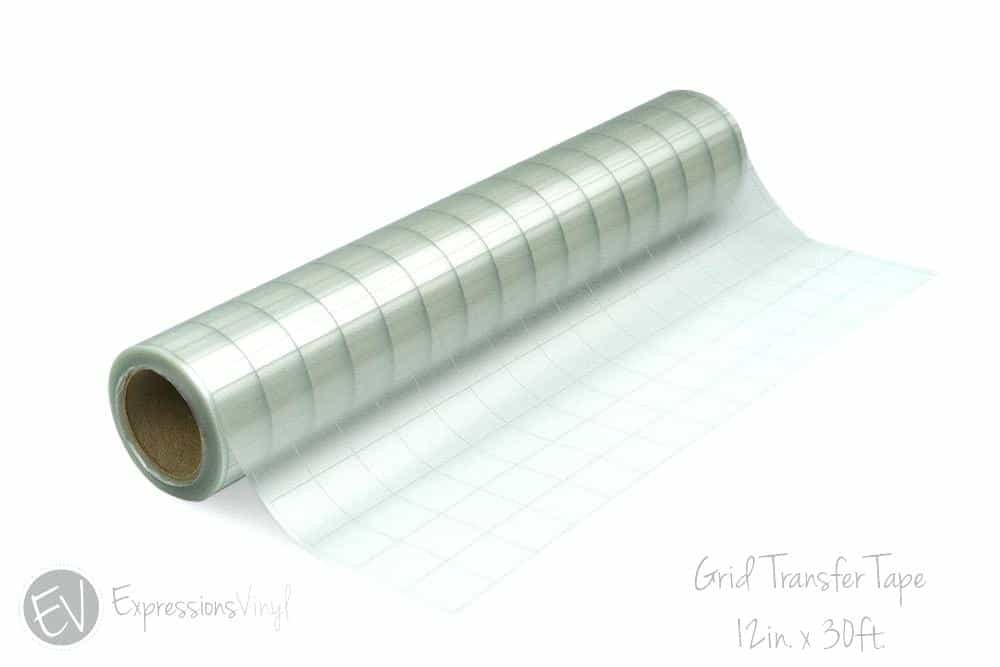
- Transfer Tape
- Ribbon
- Hot Glue
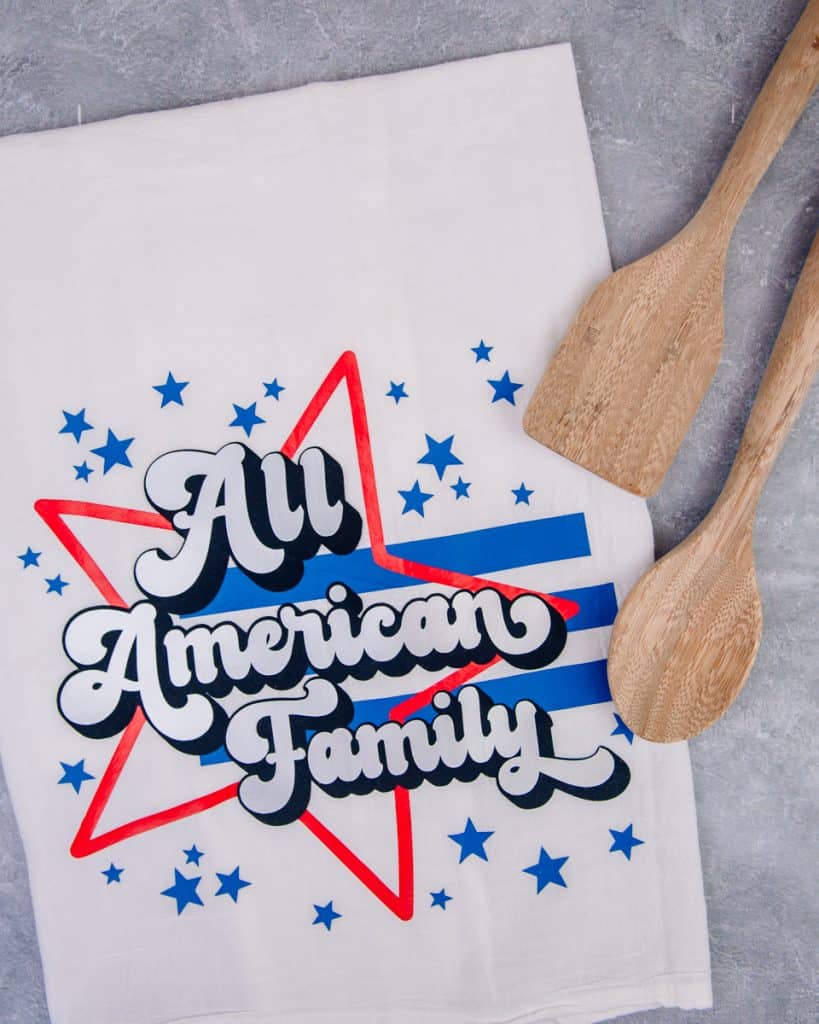
Tea Towel
- Tea Towel (you can find blank ones at Target)
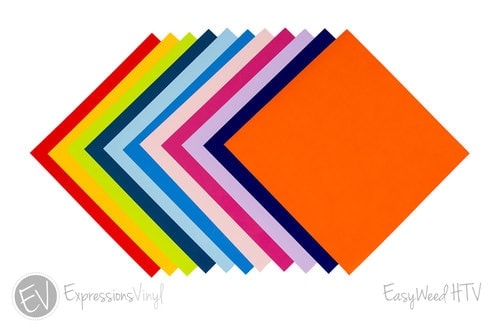
- Heat Transfer Vinyl
- Heat Press (I have this one and I love it so much!)
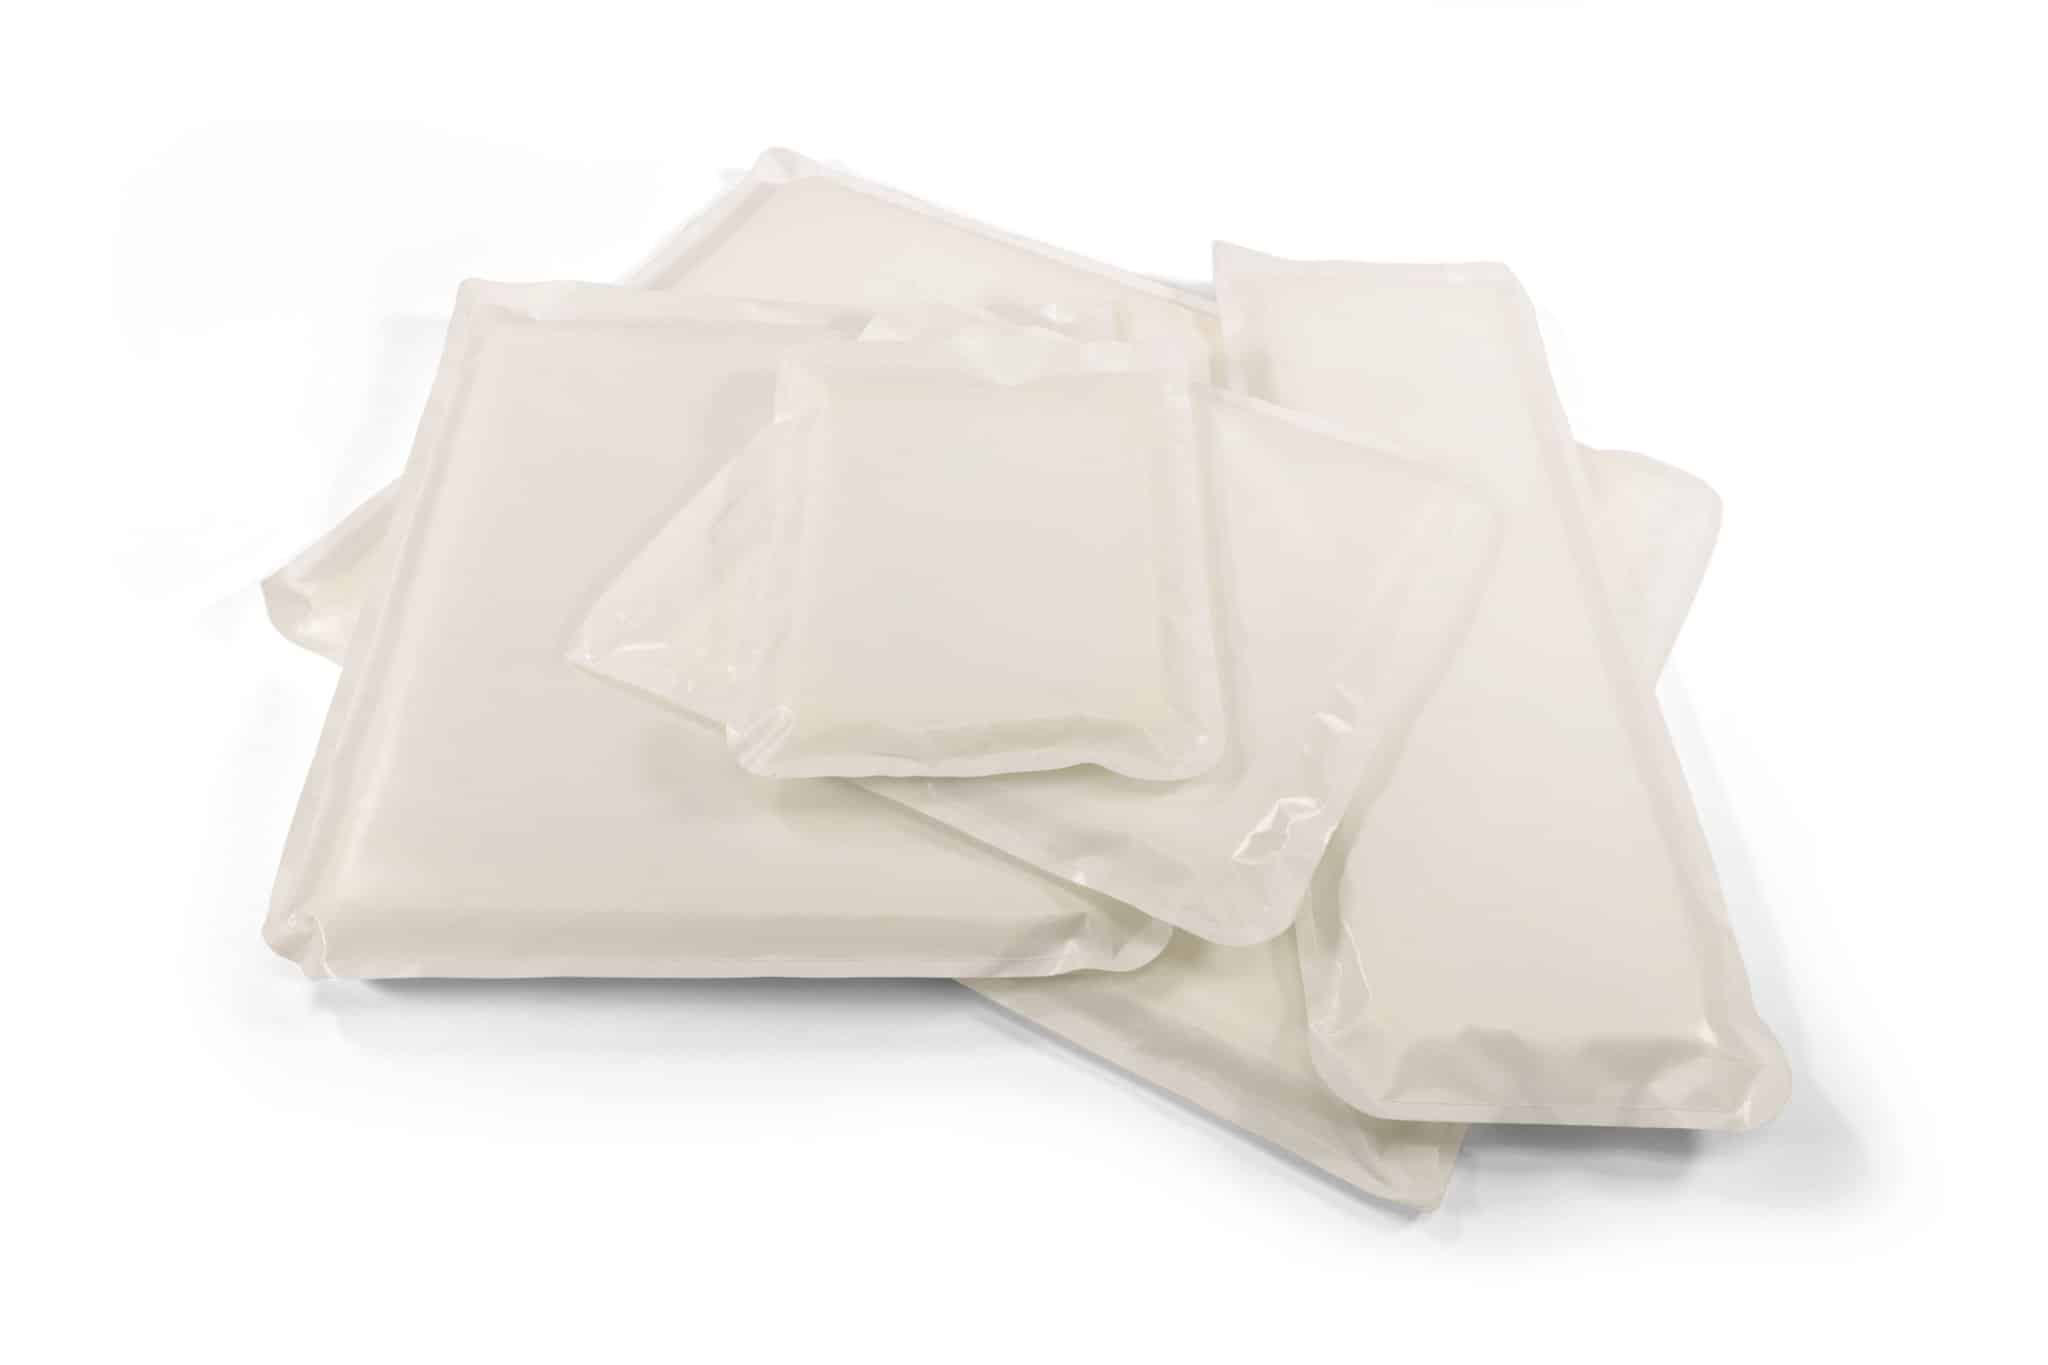
- Pressing Pillows
T-Shirt
- Blank t-shirt (Bella Canvas shirts are my favorite – you can find them at Michaels or online)
- Heat Transfer Vinyl
- Pressing Pillows
- Heat Press
- Teflon Sheet
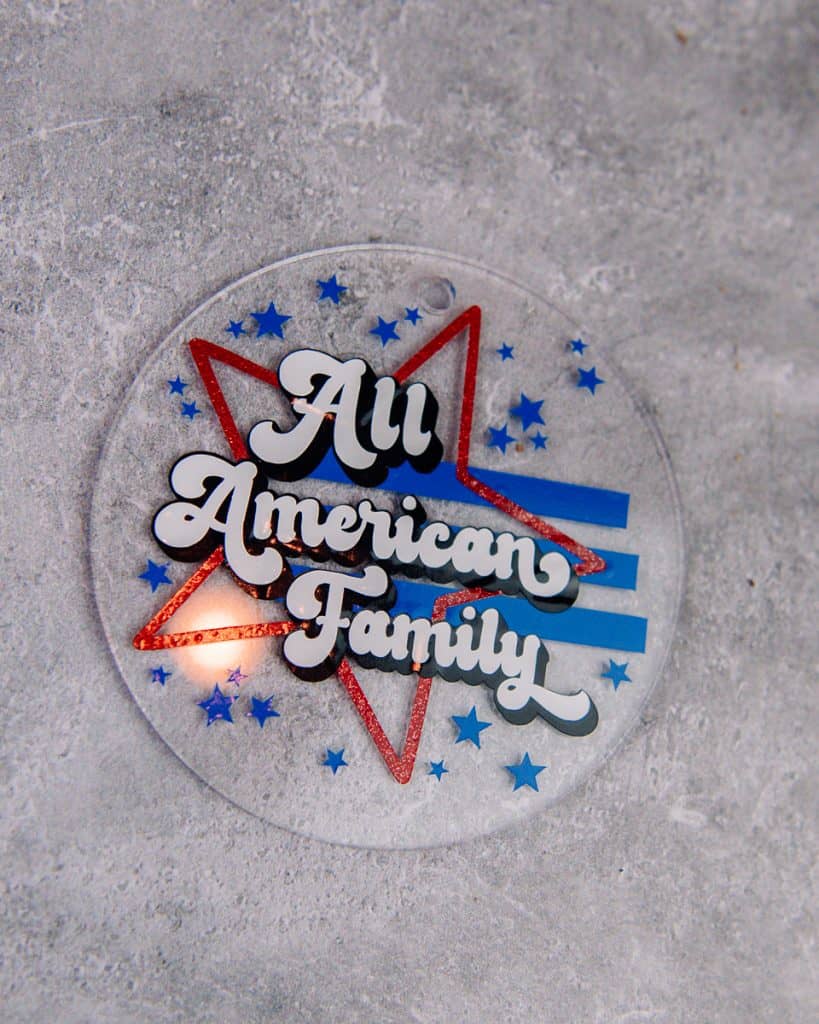
Acrylic Keychain
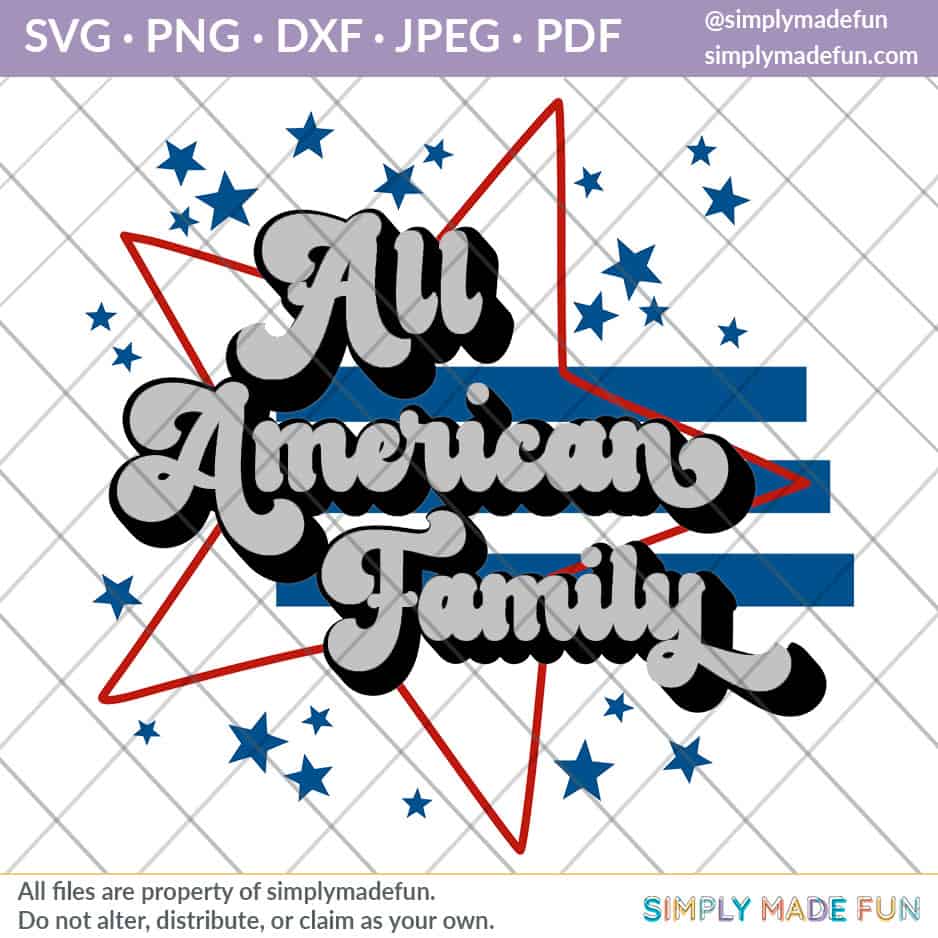
What is a digital cut file?
A cut file is a digital image that has been prepared to cut with a cutting machine. The most common machines are the Silhouette Cameo, Silhouette Portrait, Cricut Maker or Expressions and Brother cutting machine. Crafters use these cut files to make custom t-shirts, tote bags, baby onesies and more to sell or as a fun hobby.
Cut files are typically available in five different formats:
- SVG cut files,
- DXF cut files,
- PNG cut files,
- PDF cut files, and
- JPEG cut files
Need to know what type of file works with your version of the software? Go here for all that information!
Tips to use this All American Family SVG Cut File in the Silhouette Software!
How do you open up the file in your Silhouette Studio?
First you need to make sure you sign up for our newsletter to get the file! You can do that by clicking here!
If you’re already subscribed you can head to The Craft Room and put the password in (found in the newsletter) to access the file!
The file will immediately download to your computer in a ZIP file and you can open it from there.
You can drag and drop the file into the Silhouette Design Studio and start using it!
You can also head over to this post to watch a video tutorial on how to open and trace an SVG in the Silhouette Software!
How can you cut a design that has multiple layers?
I love having the Business Edition of the Silhouette Software because it makes it very easy to cut designs with multiple layers and colors. You can go into the software and select which layers you want to cut first which makes things so easy!
Just a reminder that the layers of your image cannot be grouped if you’re going to cut by line or fill! Make sure all the layers are separate before you try to cut by layer!
If you do not have the Business Edition or another edition that has this option, I used to delete layers and cut that way. You can use the back button to bring back the layers you deleted….it was more work but at the time it did what I needed it to do!
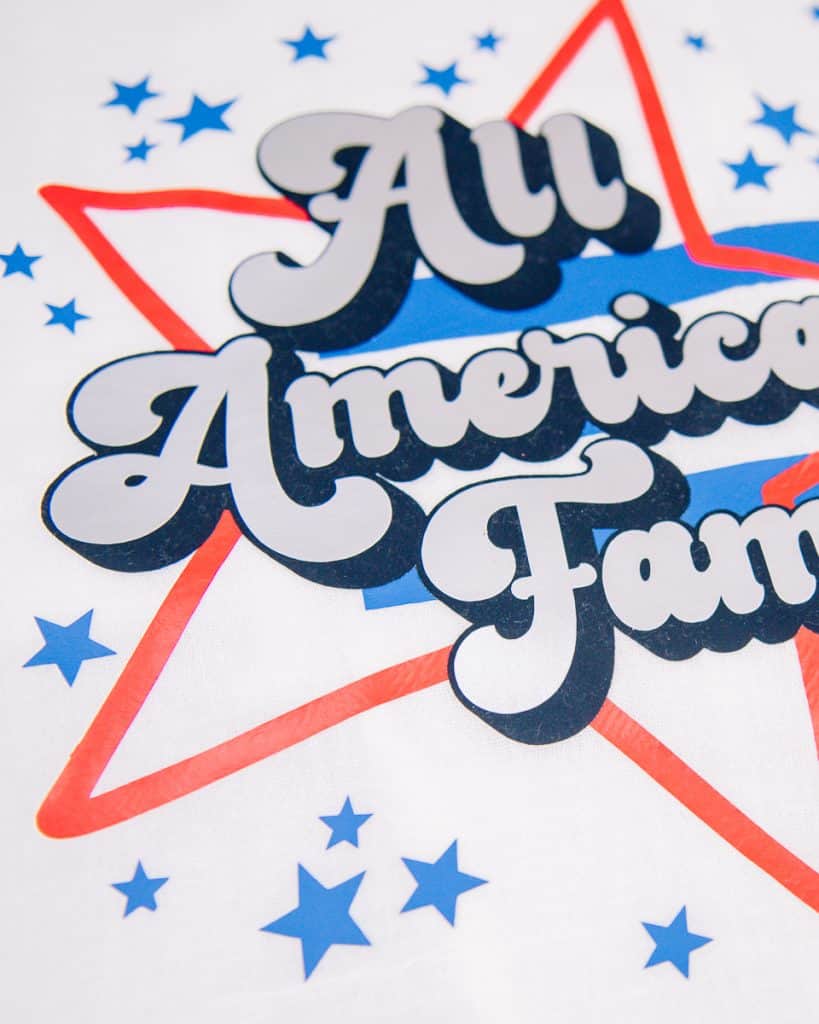
If you’re using heat transfer vinyl, how do you stop the layers from shrinking with all the heat from the heat press?
I just learned this trick and I am so excited to share it!
If you’re layering heat transfer vinyl and don’t want it to shrink, use stripflock vinyl! I can’t tell you why but stripflock doesn’t shrink which makes it the perfect vinyl to layer with!
I used it underneath the words ‘all american family’ on my tea towel. It worked perfectly and the tea towel came out exactly like I hoped it would!
If you’re using adhesive vinyl on a wood sign or acrylic blank, how do you get the layers to line up properly?
I really like using tiny little blocks to make sure everything is lined up properly.
To do this, I add them in before I hit cut and cut them out with every single layer.
Then, as I’m putting the vinyl layers on top of each other I line up the blocks first and then put the rest of the design down. It comes out right every single time!
Other crafts
- Firecracker T-shirt for the 4th of July
- How to Put HTV on Shirts
- How to Remove HTV from Shirts
- How to Layer Adhesive Vinyl
- Beginners Guide to Craft Vinyl: HTV vs Adhesive Vinyl
All American Family SVG Cut File - 4 ways!
Materials
Wood Sign
- Wood Sign
- Adhesive Vinyl
- Transfer Tape
- Ribbon
- Hot Glue
Tea Towel
T-shirts
- Blank t-shirt
- Heat transfer vinyl
- Pressing pillows
- Teflon Sheet
Acrylic Keychain
Tools
Instructions
Wood Sign DIY
- Cut out all the layers of your design, weed them, and set them to the side.
- Cut a piece of transfer tape big enough to cover your entire design.
- Put the piece of transfer tape on the top layer of your final design (in this case it's the silver All American Family text).
- Using a.scraper tool, rub it across the transfer tape so that it will stick to the vinyl. Then pull up the transfer tape, making sure that your vinyl comes with it.
- Work backwards through the design (next black, then the red star, then the blue layer) and continue picking up each layer with the transfer tape until all of your layers are on the sheet of transfer tape.
- Once you have picked up every layer, place the transfer tape with the vinyl on it on your wood sign.
- Use the scraper tool to rub your vinyl onto the wood and slowly peel the transfer tape off.
- Then add the ribbon (if you want to) with hot glue!
Tea Towel or T-shirt DIY
- Heat up your heat press (mine was heated to 305 for 15 seconds).
- While waiting for your heat press to heat up, cut out all of your vinyl, weed it, and set it to the side. Make sure you mirror it before cutting!
- Once your heat press is ready, press your tea towel or t-shirt. This will get out all the wrinkles and moisture, which gives you a better press!
- Start with the blue layer first and press for 10-15 seconds. Continue doing this until you get to the black layer.
- If you are using Flocked Vinyl (see note #1), you may need to change the heat settings on your heat press. If you need to, do so and wait for your heat press to get to the right temperature.
- Once you press your flocked vinyl, you must let it cool before you peel off the carrier sheet!
- Then continue pressing your last layer.
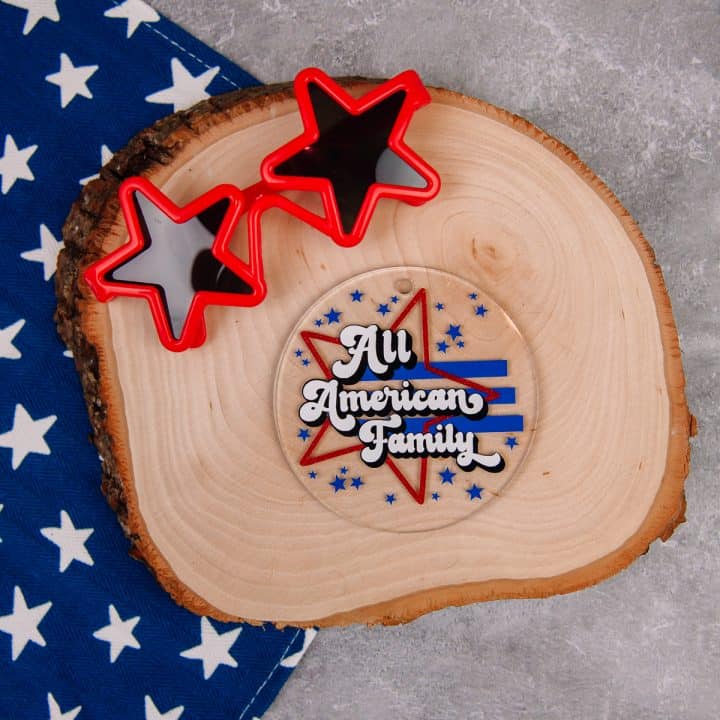
Acrylic Round DIY
- Measure your acrylic round to see how big it is, then size your vinyl decal in the Silhouette Studio accordingly.
- In the Silhouette Studio, make sure to draw two boxes on either side of your design and cut those boxes out with each layer, they'll help you line up your layers later!
- Cut out all of your vinyl layers.
- Use a piece of transfer tape to pick up each layer (you'll only need one piece of transfer tape for this!).
- Work backwards with the design. Pick up the words 'All American Family" first and work back from there. Use the boxes you cut earlier to help you line up each piece.
- Then place the entire vinyl decal on your acrylic round.
- You can use it as a coaster or a keychain!
Notes
- Flocked vinyl is great for layers because it doesn't shrink! If you're trying to make your words stand out and want to do a layer underneath, use flocked vinyl. Please keep in mind that this trick is new to me and I have not tested out how well it lasts in the wash. I will report back when I know!
Recommended Products
As an Amazon Associate and member of other affiliate programs, I earn from qualifying purchases.
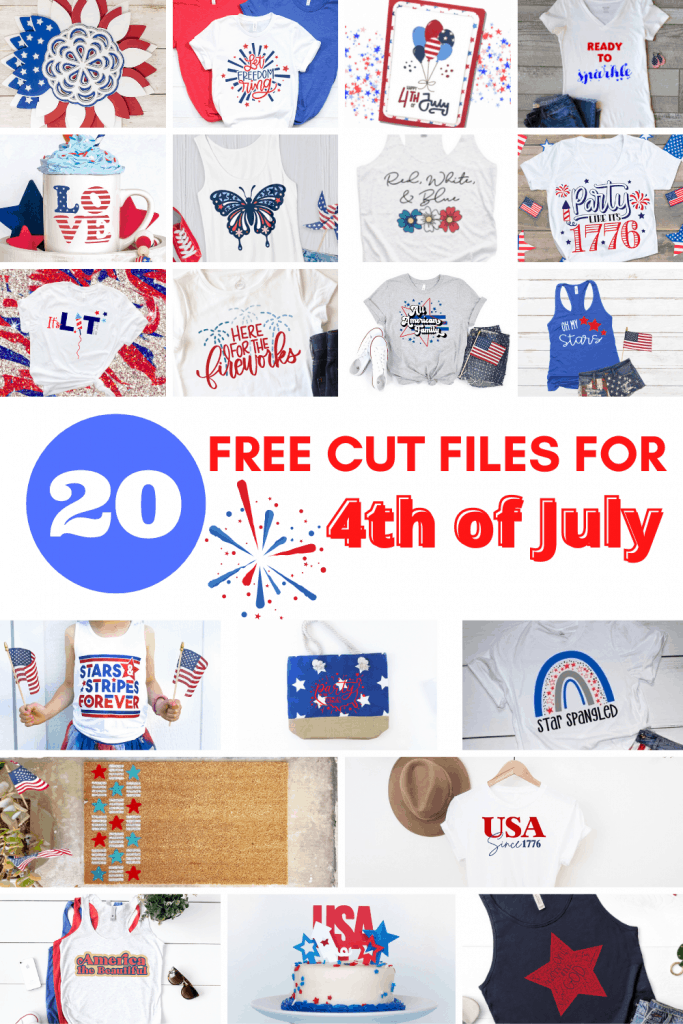
Grab 20 free 4th of July SVG Cut Files before you leave!
Every month I team up with a group of amazingly talented crafters to bring you a bundle of free svg cut files! This month’s theme was 4th of July and this months files are so cute! They’re all so good and the designs are amazing. You can download them all by visiting the blog posts (links are underneath the image!). All svg cut files are free to use for personal use only and don’t forget to tag us on Instagram if you make one of our projects and share it!
Patriotic Food Toppers – Amy Robison
Red White and Blue Flowers – Crafting Overload
Stars and Stripes Border – Studio Xtine
Party in the USA – Polka Dotted Blue Jay
Party Like It’s 1776 – Gina C. Creates
Cute Star Pledge of Allegiance – Pen + Posh
America the Beautiful – Poofy Cheeks Blog
Star-Spangled – Crafty Life Mom
Oh My Stars – Crafty Life Mom
Here for the Fireworks – Liz on Call
Layered Wreath – Maggie Rose Design Co.
Stacked 4th of July Card – The Bearded Housewife
USA Since 1776 – The Walnut Street House
Ready to Sparkle – Sunshine and Munchkins
Let Freedom Ring – Lettered by Stephanie
It’s Lit – Tam’s Sweet Life
Stars and Stripes Forever – Spot of Tea Designs
All American Family – Simply Made Fun
Patriotic LOVE – Tried & True Creative
