
How to Stop Heat Transfer Vinyl Layers from Bubbling
Has your vinyl ever bubbled when using a heat press? If you’ve noticed bubbles under your vinyl then you may be using too much heat. We’ll show you how to stop heat transfer vinyl layers from bubbling and what types of vinyl are more likely to bubble than others.

I’ve never tried to make a garden flag before but I saw the blank garden flag on 651vinyl and figured, why not?
Heat transfer vinyl looks good on pretty much anything, I was sure it would look good on a garden flag too!
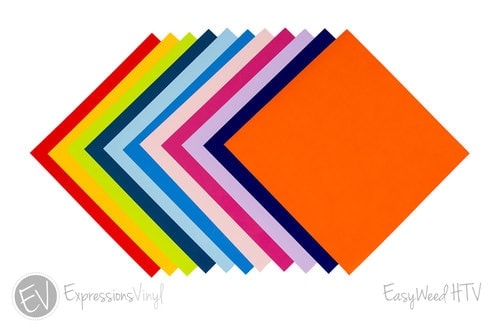
I had just bought the vinyl basics box from Expressions Vinyl and knew that some of the colors would look really adorable with the gnome design from Maggie Rose.
And, of course, after I cut out all my vinyl I realized that the heat transfer vinyl gnome garden flag might not hold up very well outdoors.
Why? Because heat transfer vinyl isn’t made to stand up against the elements.
If you’re making this heat transfer vinyl gnome you should use outdoor (permanent 651) vinyl.
The hardest part about this gnome is all of the layers. You have to be very careful when you’re pressing with a heat press or Cricut EasyPress that you don’t press for too long or the layers will shrink a tad.
The best thing to do is to press for 3-5 seconds and then try to pull up the carrier sheet. If the vinyl doesn’t come up with it then move on to the next layer. If it comes up, lay the carrier sheet back down and press for another 3-5 seconds.
You’ll keep doing that until all of your layers are pressed.
Materials to make this Welcome to our Gnome Garden Flag!
You’ll need….
This post contains affiliate links. I may earn commission from qualifying purchases at no additional cost to you. I will never recommend a product I don’t use or trust.
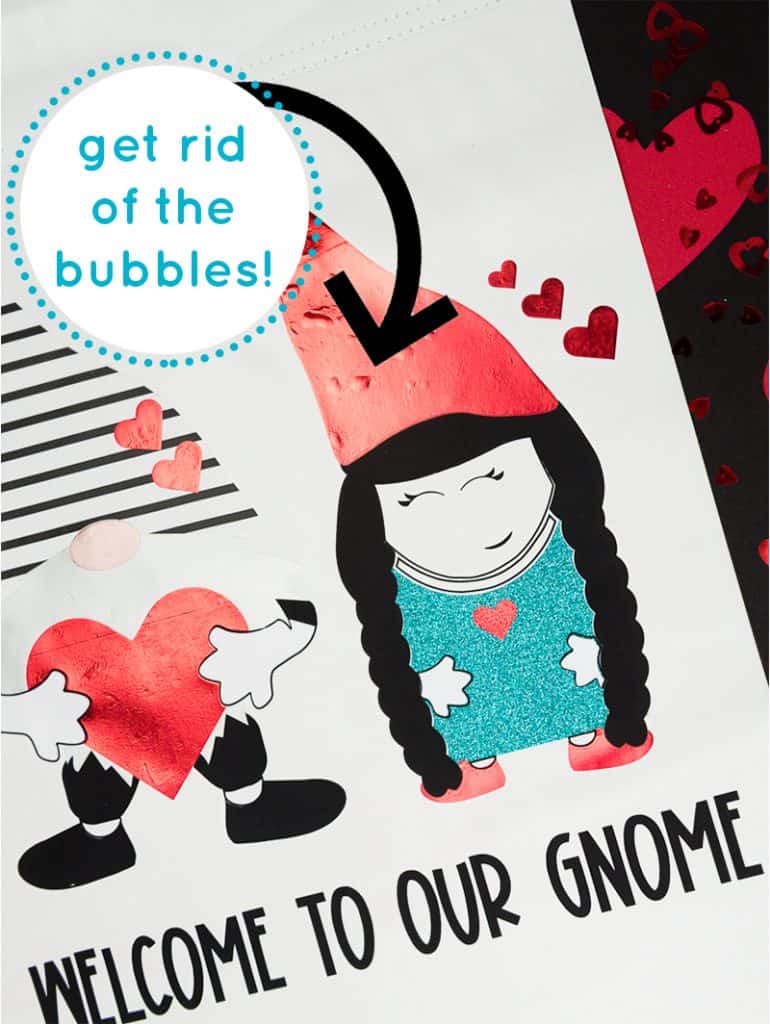
How do you stop heat transfer vinyl layers from bubbling?
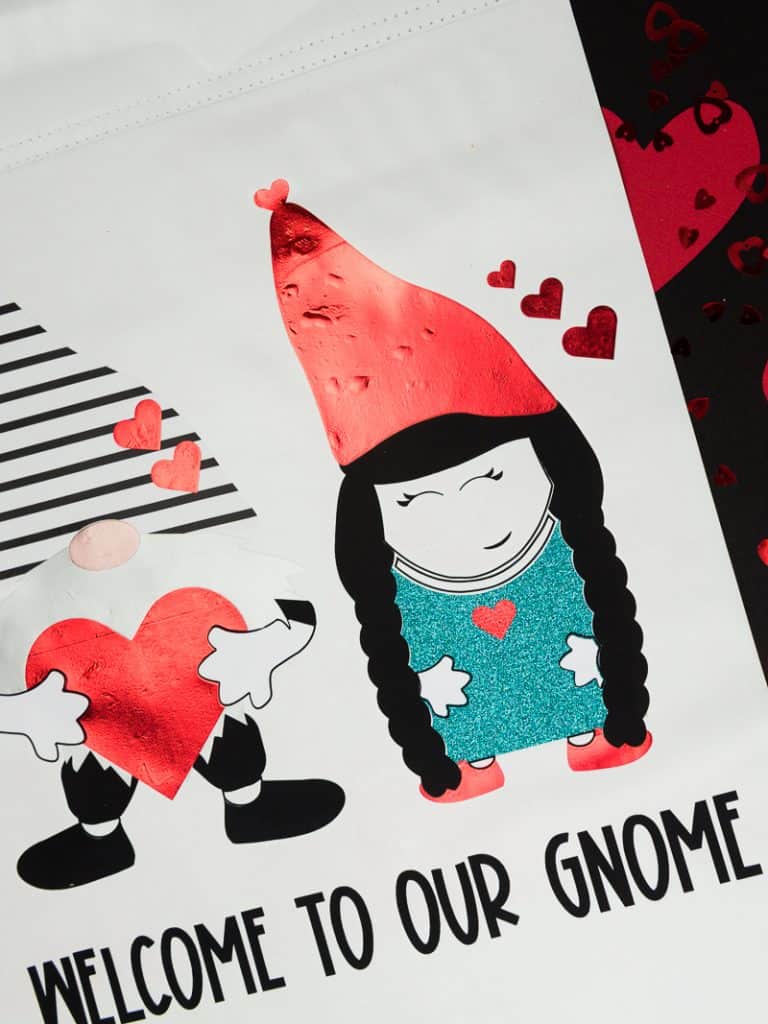
I never realized how big of an issue this way until this project. It is so noticeable in the metallic hat on the girl gnomes head that I can’t pretend it was on purpose.
This happens when you overpress your vinyl design.
Putting too much heat on vinyl will cause the glue that helps adhere it to the material either evaporate and your hold won’t be as strong OR it will push up the glue and cause bubbles to form.
This happened to my gnome hat because I kept putting the EasyPress on the metallic hat while I was pressing other layers. You can also see wrinkles in other areas where I used the metallic red and that’s from too much heat too.
Bottom line, be careful when you press!
You do not need extra pressure or extra heat to get a good press. Just make sure you’re firmly pressing the first time and only using the recommended heat settings for your projects!

Tips About using Heat Transfer Vinyl on a Garden Flag.
What type of flag do you need for this project?
If you want to put this flag outside you will need a garden flag thats use is specifically for the outdoors.
I bought mine from 651vinyl and it is made of outdoor vinyl banner material. I liked this out out of the other cloth options available because it will stand up to the elements better.
Should you use heat transfer vinyl or permanent vinyl on a garden flag?
If you are putting your gnome garden flag outdoors then you should use permanent 651 vinyl.
This is the type of vinyl you would use for car decals, boat decals, and more and it is made to stand up to UV rays and the elements.
If you are using a cloth garden flag and are keeping it indoors you can use heat transfer vinyl.
What are the heat press settings for a garden flag that’s made with outdoor vinyl banner material?
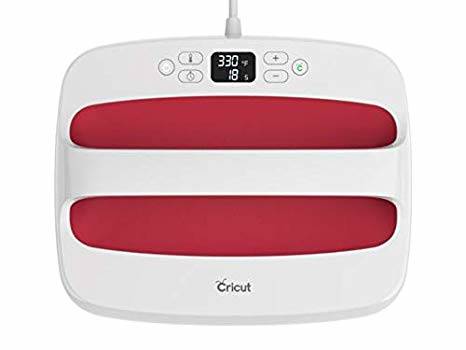
I have the original Cricut EasyPress and used the settings:
- HEAT: 280 degrees
- TIME: 20 seconds
Be careful with the type of heat transfer vinyl you use for this project though. I used a metallic red vinyl for the hearts (which I love) but when I pressed it on the garden flag it left a light red residue behind.
What vinyl did you use for the gnome garden flag?
I bought the vinyl basics box from Expressions Vinyl and decided to use some of the colors and patterns in the box for this project.
If you’re new to vinyl and are overwhelmed by all the choices, colors, and patterns I highly suggest getting the box and using only that to make this flag.
Where did you find the gnome design?
I found Maggie Rose in a blogging group I’m in and fell in love with her designs!
She has a ton of other fun designs too.
The gnome file opens in the Silhouette Design Studio as one giant piece. How did you edit it so that you can cut small sections at a time?
When you first open this file in the Silhouette Design Studio it looks like one large design. Select it and hit ungroup.
From there you can change the colors of different layers, move all the pieces around, and cut it in small sections.
I also have the Silhouette Studio Designer Edition which allows me to cut layers by color which makes it very easy to cut a multi-colored project like this one!
Make even more crafts with heat transfer vinyl!
- Guardian of the Rings Wedding SVG (and a free file!)
- Beginners Guide to Craft Vinyl: Adhesive Vinyl vs. HTV
- How to Use HTV on Wood Ornaments
- How to Use HTV on Shirts
- How to Remove HTV from Shirts
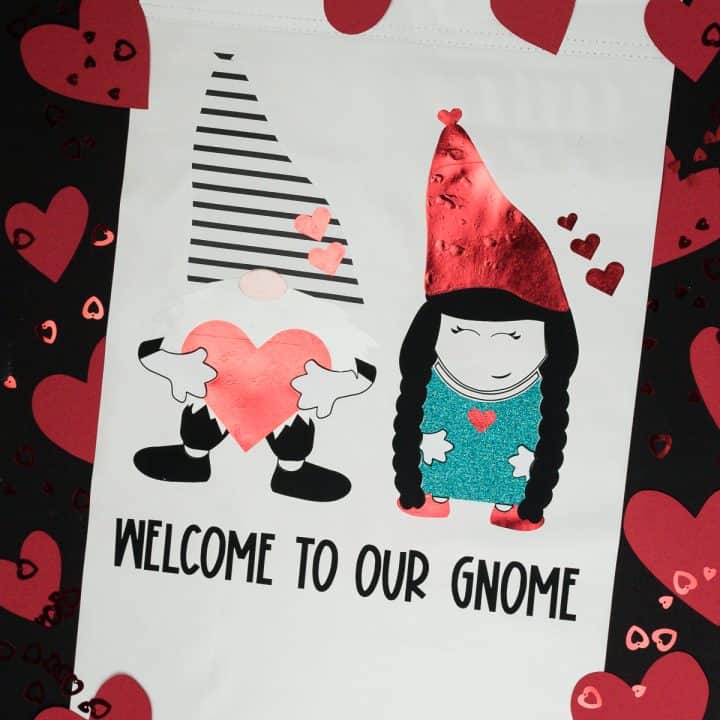
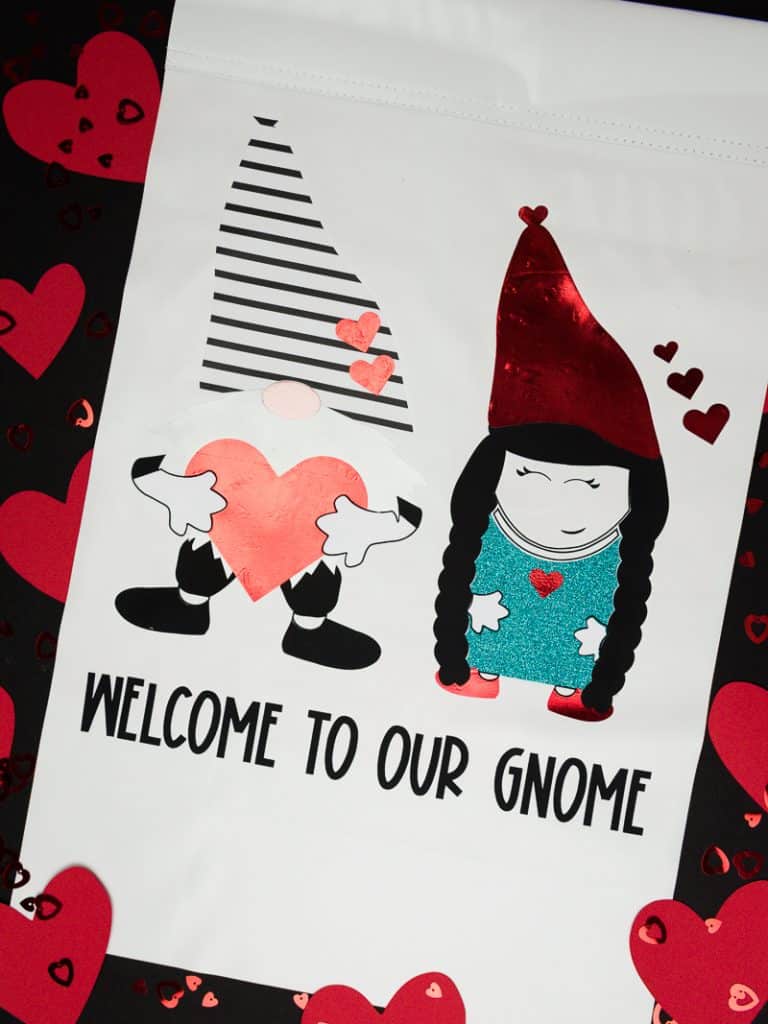
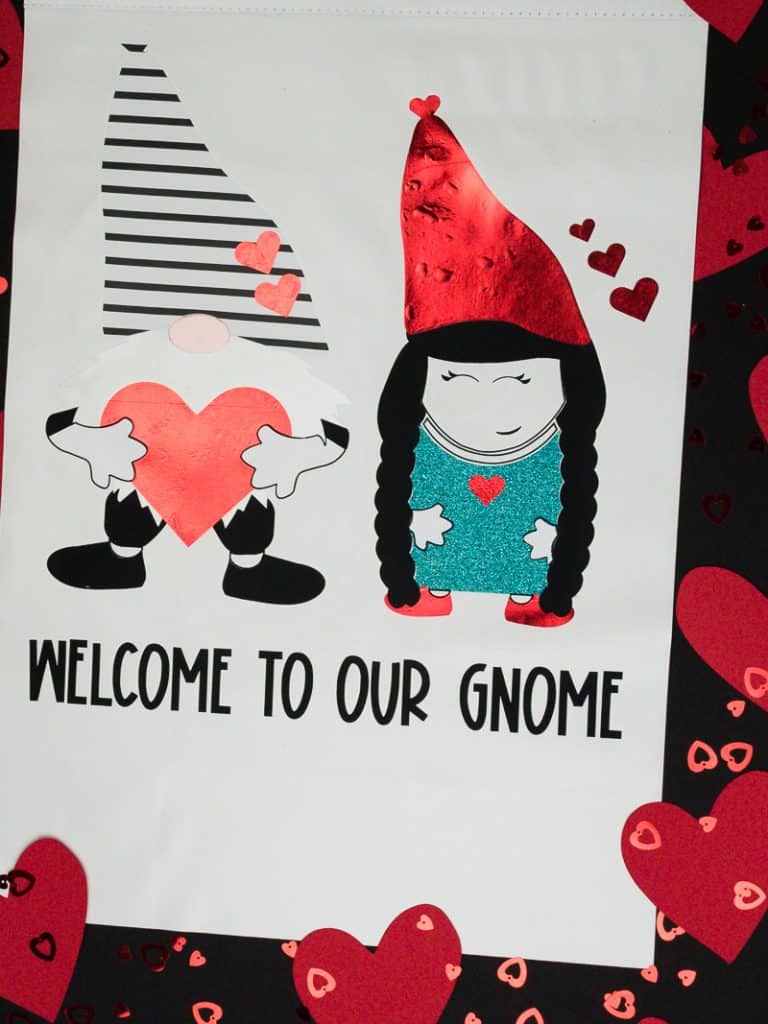
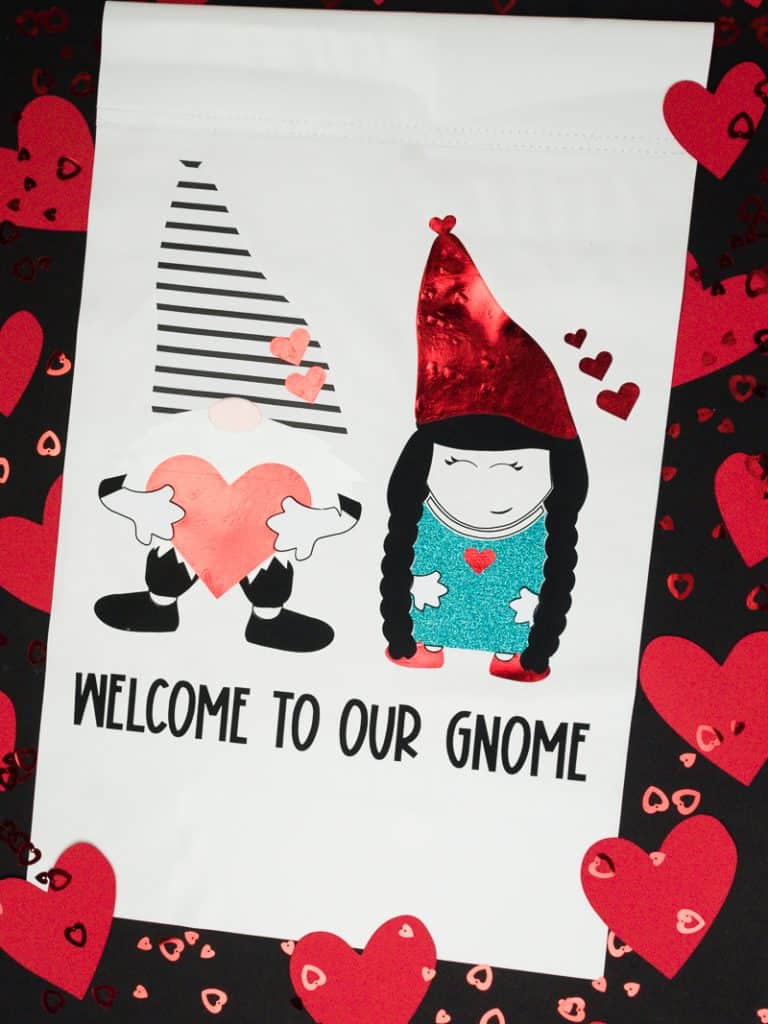
Heat Transfer Vinyl Gnome Garden Flag
Learn how to stop heat transfer vinyl from bubbling when using your heat press!
Materials
Instructions
- Download and open the Gnome file in the Silhouette Studio.
- Ungroup the image and start cutting in sections. (see note #1)
- Weed all your vinyl pieces and set them to the side.
- Heat up your Cricut EasyPress to 280 degrees for 20 seconds.
- Lay your pressing pillow down with the garden flag on top. Use your EasyPress to iron out the wrinkles in your flag.
- Lay the first layer of your design on your flag, place the teflon sheet on top, and press for 3-5 seconds. (see note #2)
- If you can pull up the carrier sheet without the vinyl coming off the garden flag, move on to the next layer and repeat step 6. If the carrier sheet and vinyl come off the flag, press for another 3 seconds. Continue doing this until your layer is stuck to the flag.
- Repeat steps 6 and 7 until all of your layers are on the flag.
- Lay a large carrier sheet and the teflon sheet on top of the vinyl design. Press with your Cricut EasyPress for the full 20 seconds and then warm peel the carrier sheet off.
- Hang your garden flag outside or in your home! You're done!
Notes
- I like to color my image in the Silhouette Studio Designer Edition so that I know what it'll look like before I hit cut. Then, because I have the designer edition, I go into the SEND CUT SETTINGS and cut by color.
- Always remember to press for short amounts of time when doing a multi-layer project! Short periods of heat are better when working with layers because if you do it for too long the layers will shrink and not line up properly. Never press a layer for longer than 5 seconds.
PRO TIP: DO NOT OVERPRESS YOUR VINYL. If you overpress (which is what happened with the metallic) the heat will either liquify the glue or cause it to push out and form bubbles.
Recommended Products
As an Amazon Associate and member of other affiliate programs, I earn from qualifying purchases.

How do you get rid of bubbles when you are layering . Thank you.
If you get bubbles it means you’re putting too much heat on your vinyl and the adhesive is bubbling beneath. You can’t do anything about it after the fact but while pressing multiple layers make sure you’re only pressing for a few seconds at a time — just enough to get your vinyl to stick to your material.