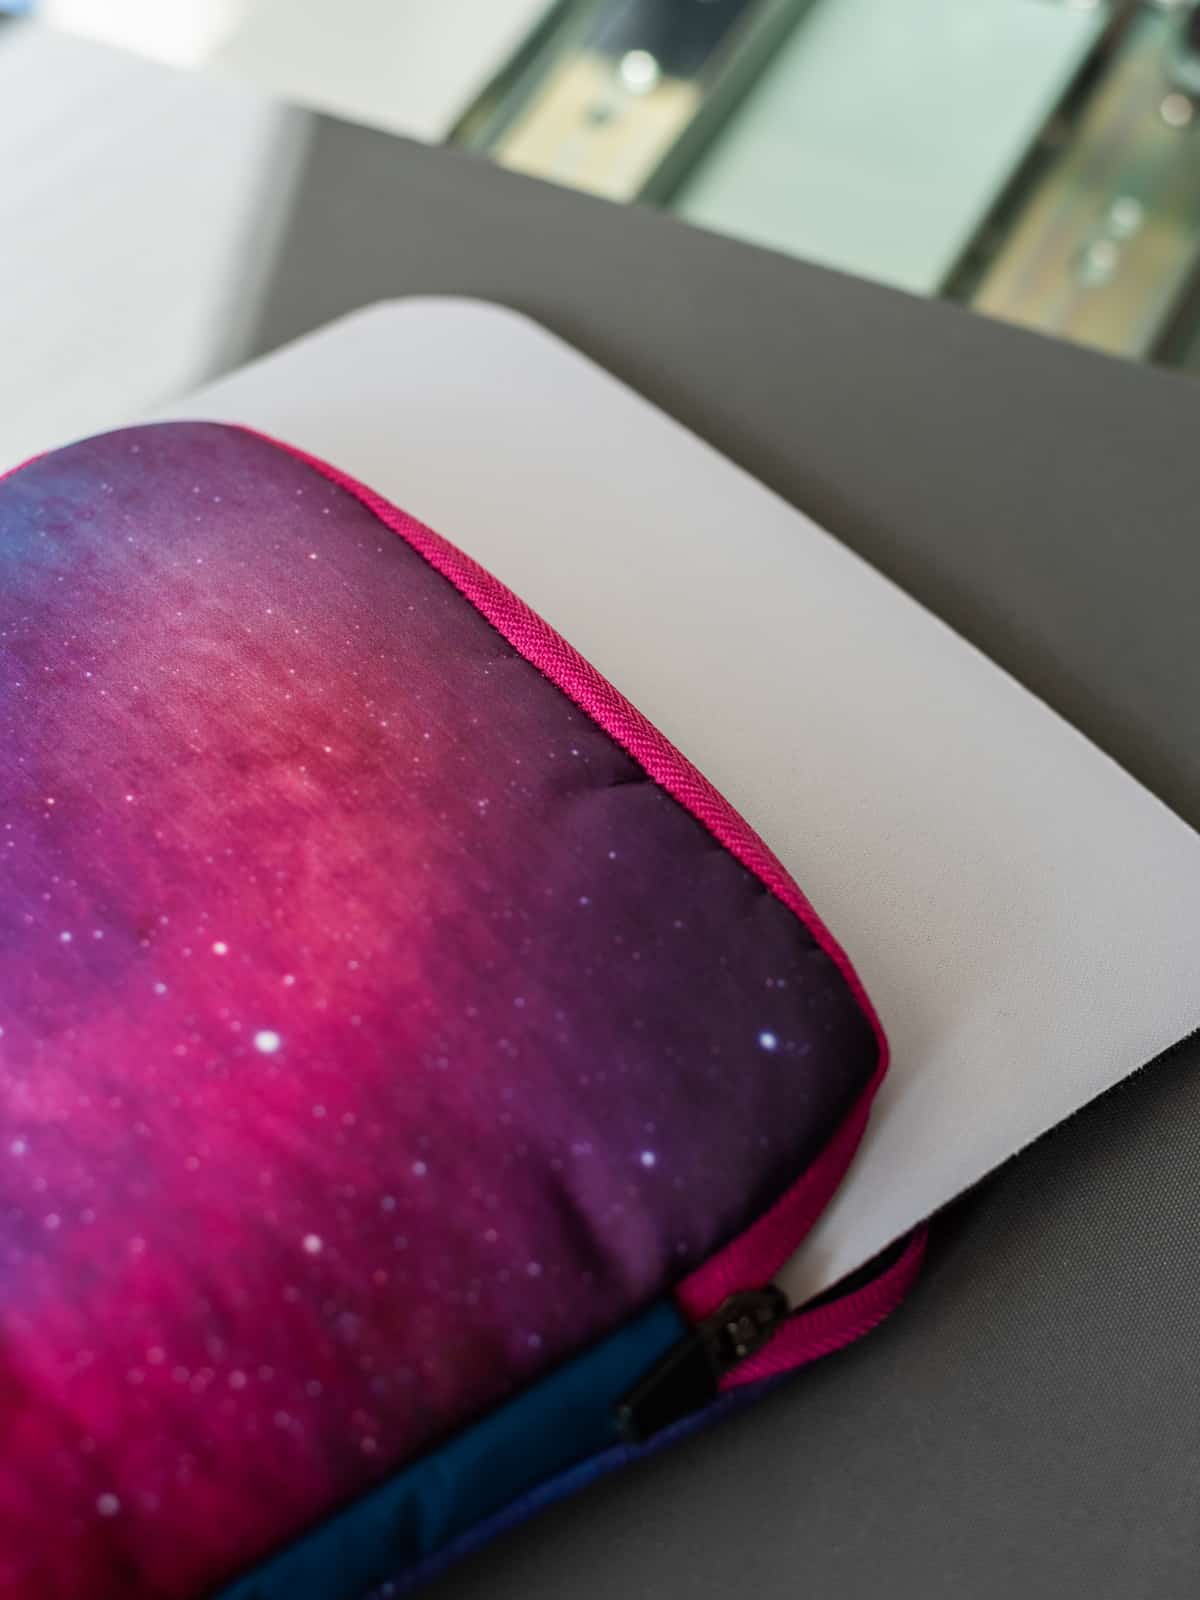
Read More Books Book Sleeve
Use this read more books svg to customize your protective book sleeve.

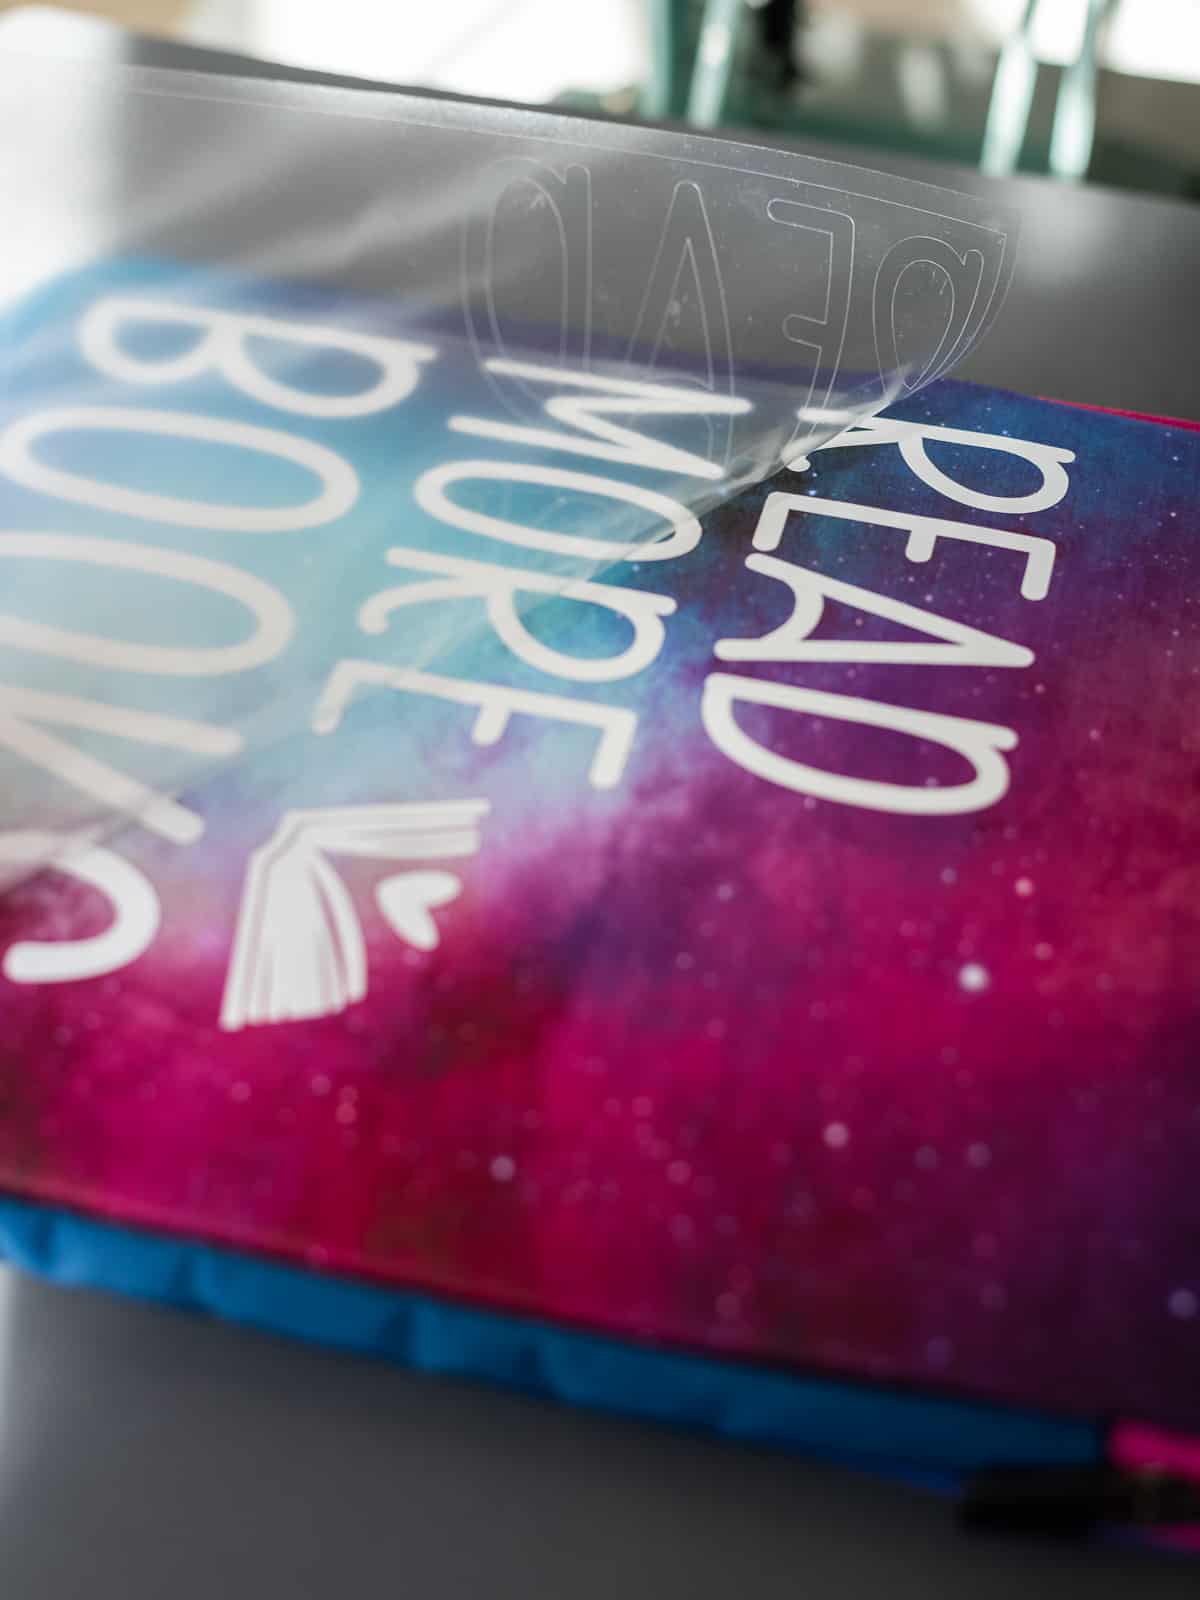
I love putting heat transfer vinyl on basically anything I own. And when I bought a new book sleeve to protect my books, I knew a reading decal was exactly what I needed to put on it!
The hard part with this book sleeve is that it is a bit bulky and has a zipper, so I definitely needed a pressing pillow to be able to put htv on it.
Otherwise I would not have gotten an even press and would struggle to get the entire decal to adhere to the fabric.

Pressing pillows are a must when you are putting htv on a bulky item. They elevate your material so that you are able to distribute pressure evenly on your heat transfer vinyl.
My favorite pressing pillows are from Heat Press Nation because they come in multiple sizes and lengths that work for all types of materials.
But you can also find pillows on Amazon that work too. In fact, when I used my Cricut EasyPress I loved their brand of pressing pillows. The only problem is that they come in a pack of one and are really only intended for shirts.
Materials
Everything you need to customize your protective book sleeve:
- Book Sleeve (mine is from Book Beau’s Amazon Shop but they also have even more amazing designs on their website!)
- Silhouette Cameo
- Cameo 4 Autoblade
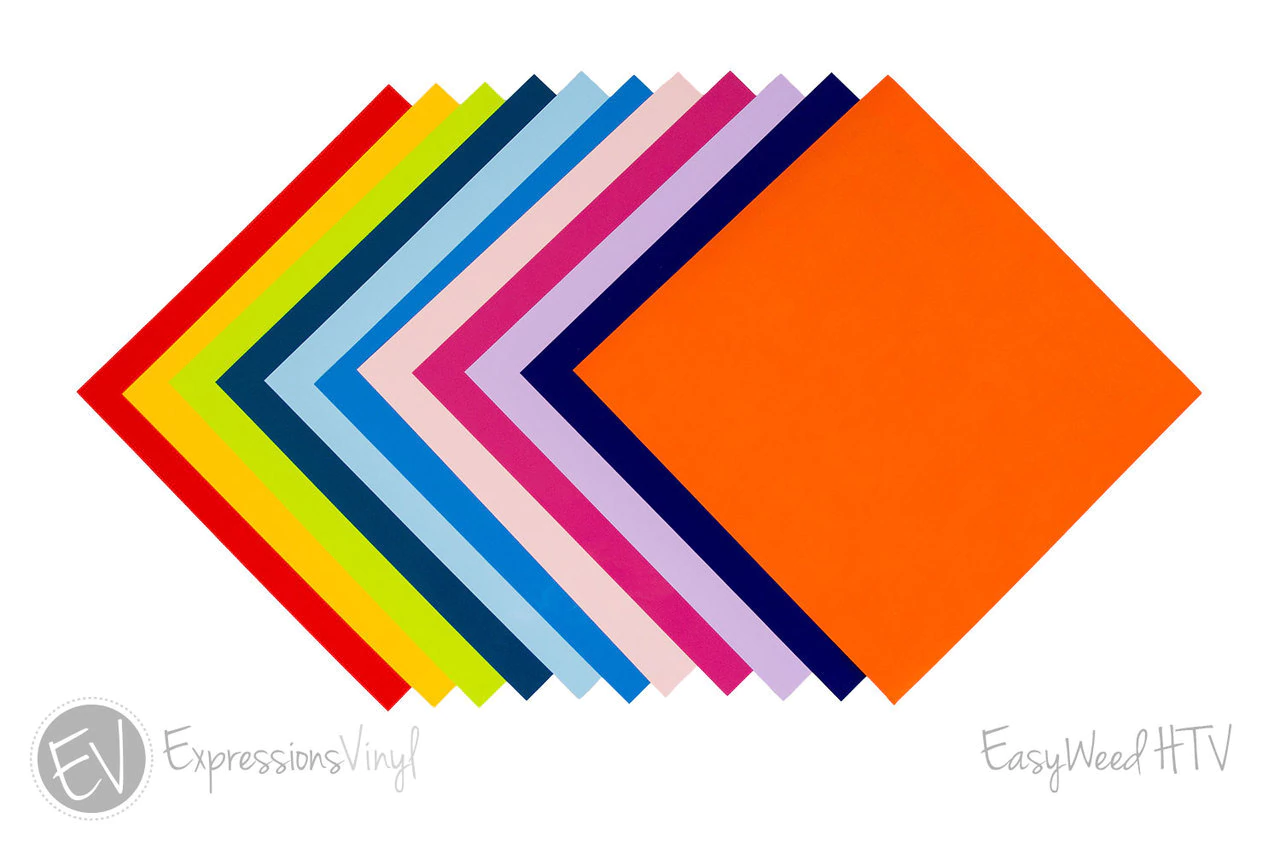
- Heat Transfer Vinyl
- StrongGrip Cutting Mat
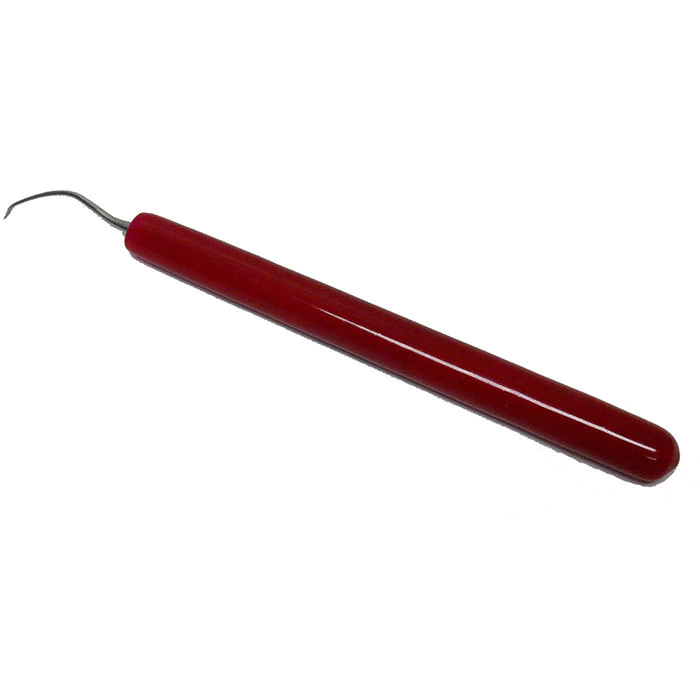
- Weeding Tools
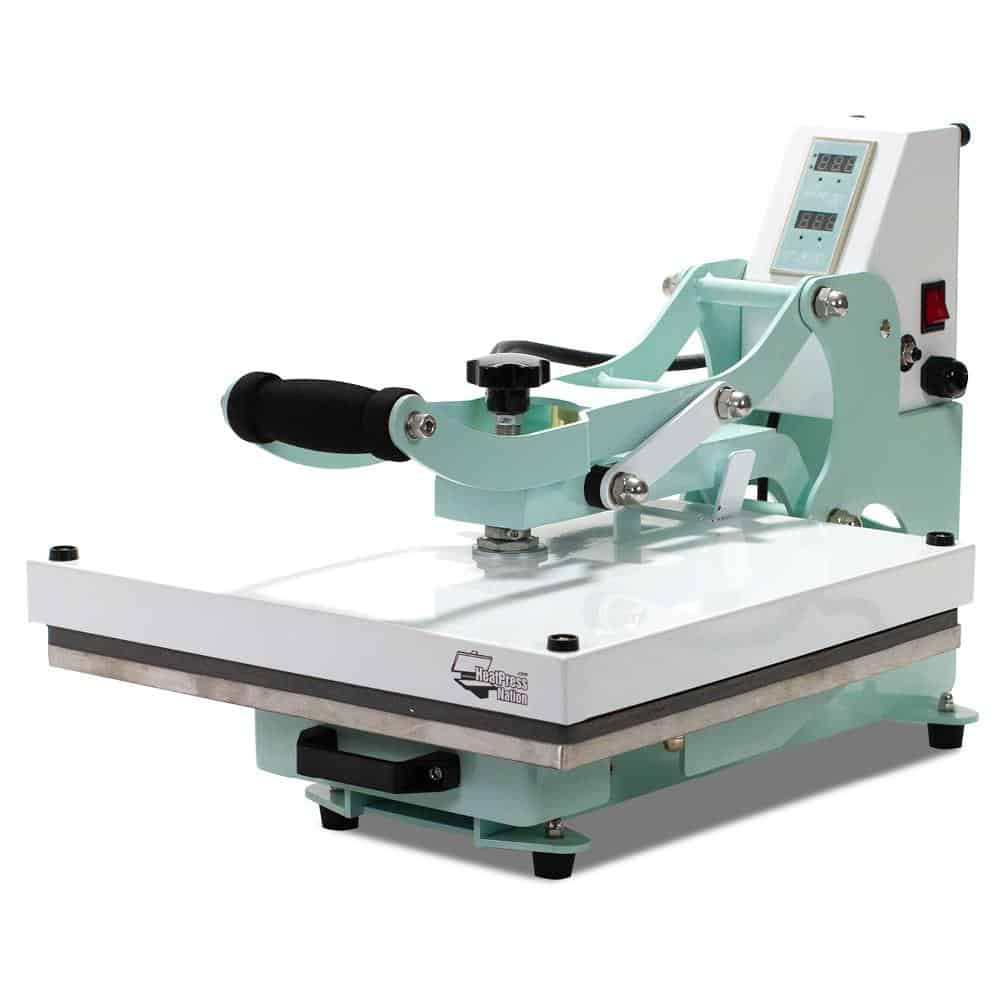
- Heat Press
- Pressing Pillow or a towel

This post contains affiliate links. I may earn commission from qualifying purchases at no additional cost to you. I will never recommend a product I don’t use or trust.
Tips on how to Make a Read More Books Book Sleeve
How do you open a cut file in the Silhouette Studio?
Once you download the cut file, open the folder on your computer. Then you can drag the file type into the Silhouette Software.
How do you prep the svg before you cut?
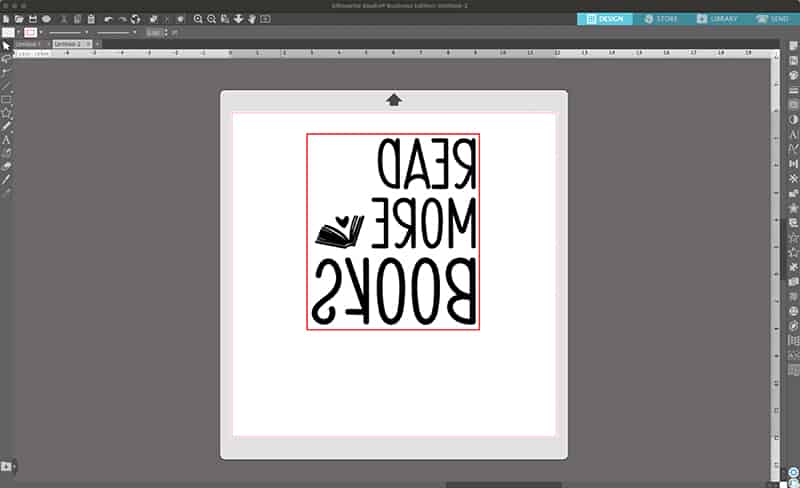
First you must resize the file in the Silhouette Software. My book sleeve is 7.75 x 10.75 inches so I made my svg 6 x 7 inches. You can size it to whatever size feels right for you.
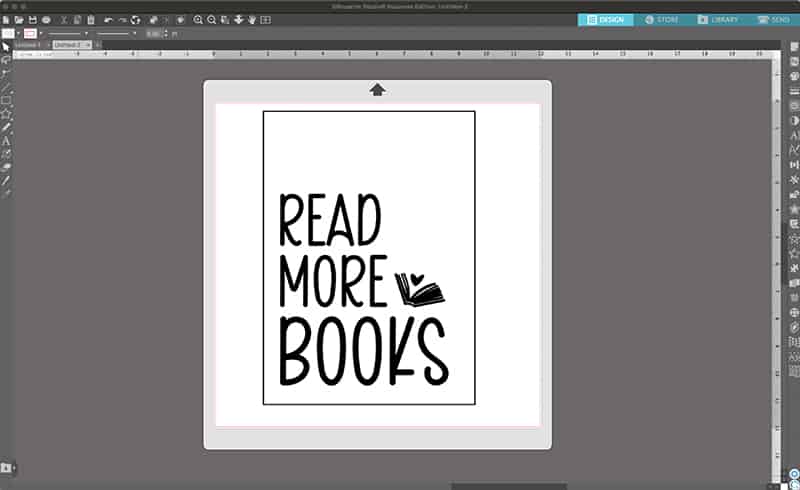
Then you must MIRROR your image, which means flipping it horizontally so that it cuts backwards.
What cut settings work best with heat transfer vinyl?
I always suggest using the settings that are suggested in the Silhouette Software.
If you use the settings and your blade is not cutting through your material then you probably have a dull blade. At that point, you have two options:
- You can change out the blade and use a new one, or
- You can adjust the cut settings and try again. I usually put my force all the way to 33 and do 2 passes if I don’t get a clean cut the first time.
You can always click TEST to see if the blade will cut through your material before you try to cut your entire design.
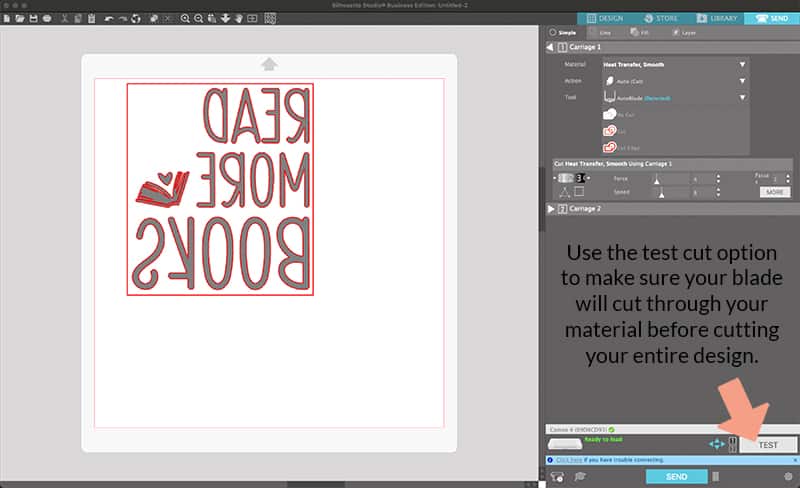
And always remember, do not unload your vinyl from the machine after you hit cut! Check that the blade cut through your material first, otherwise you may lose a sheet of vinyl and when that happens it is the worst!
What type of heat press can you use on a book sleeve?
I own both a Cricut EasyPress and a CraftPro Heat Press. Personally I like using my CraftPro the most because it gives even pressure and heat. With the EasyPress the amount of pressure depends on how you push down on your material…but it can be easier to use on smaller objects.
Both will work for this type of project. You do not need a full 15 x 15 heat press to use with heat transfer vinyl. Use what you have.

Faq’s about using Heat Transfer Vinyl
What type of heat transfer vinyl should you use on the Book Beau book sleeve?
I used Easyweed heat transfer vinyl from Expressions Vinyl.
It’s my favorite type of htv because (like its name suggests) it is easy to weed and it cuts like butter.
You can also use glitter, flocked, metallic, patterned and any other kind of htv on a book sleeve.
Do you need to mirror the cut file in the Silhouette Software?
Yes! Anytime you use heat transfer vinyl you must mirror your design in the software.
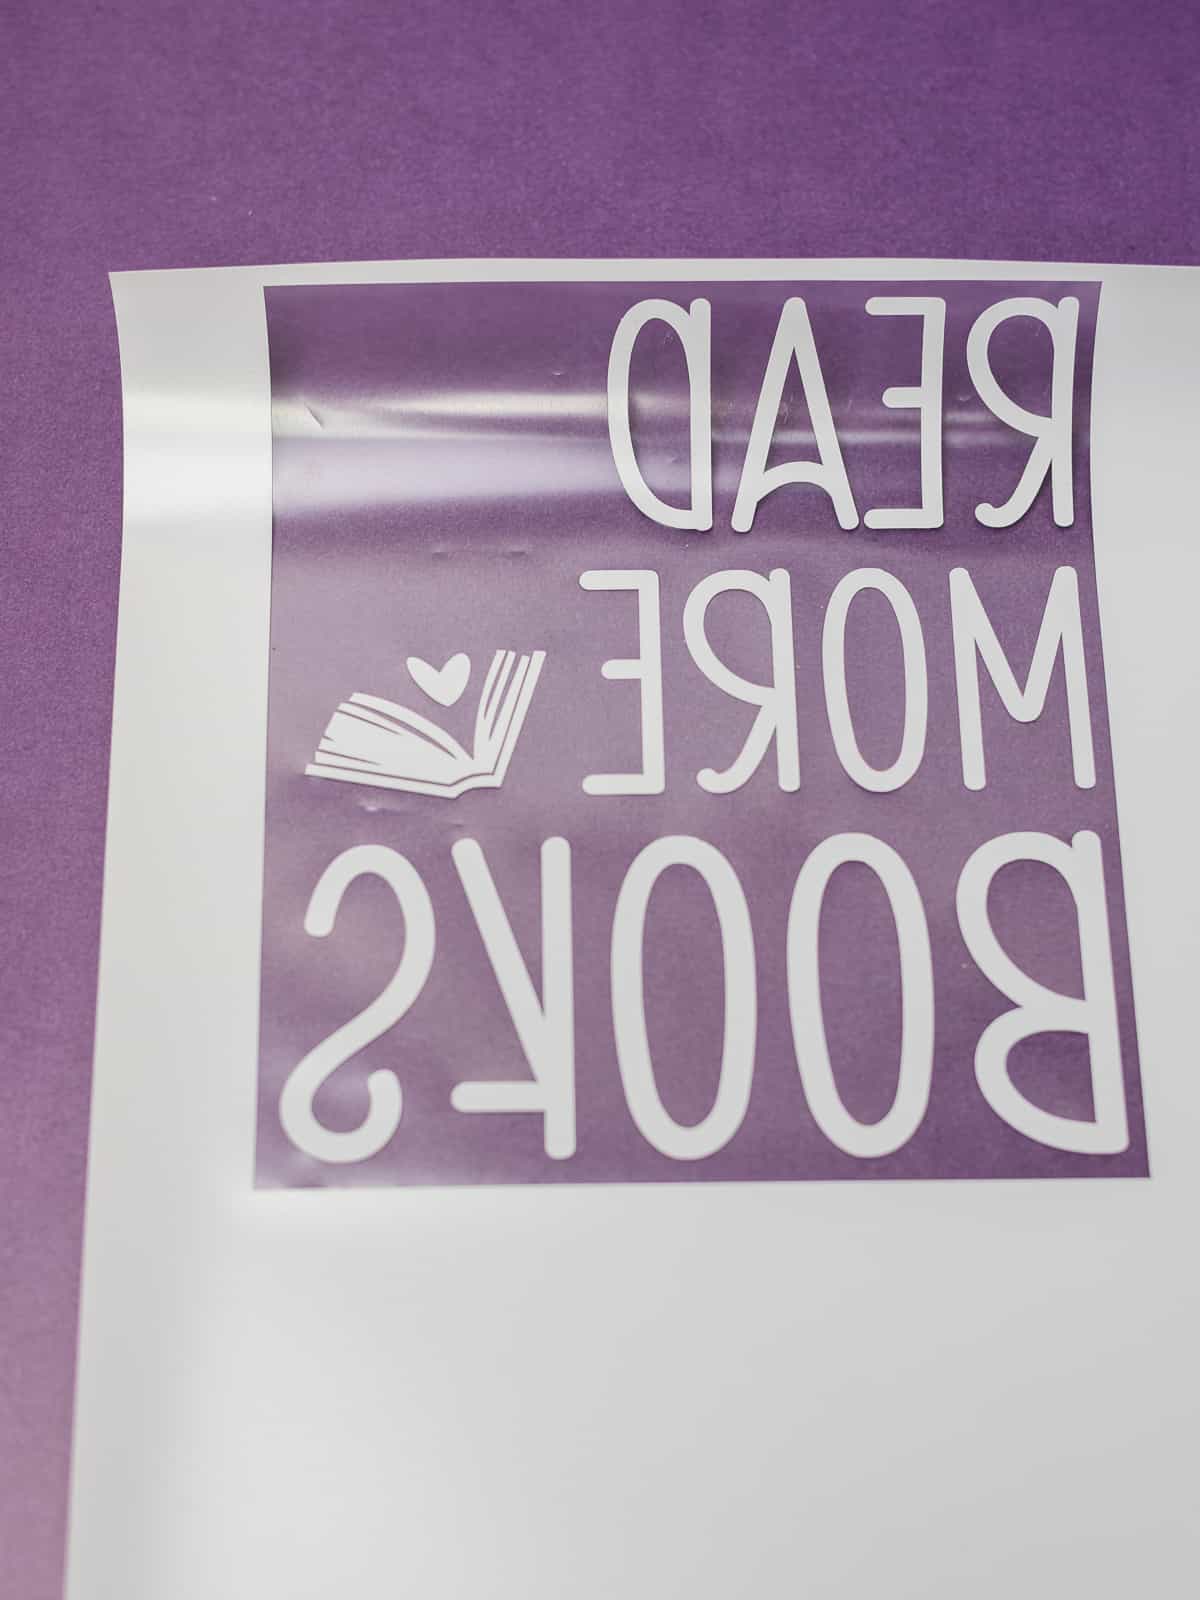
Mirroring is when you flip you image horizontally so that it looks backwards.
You do this when you cut heat transfer vinyl because you have to put the carrier sheet side (which is the front of the vinyl) on the cutting mat. It’ll cut backwards but when you flip it over after weeding the design will be facing the right way.
Do you need to use a pressing pillow with a book sleeve?
Yes you should!
Pressing pillows help you get an even press when there are seams or zippers.
If you don’t use one you’ll find that you won’t get an even press and parts of your design will come up with your carrier sheet when you try to pull it up.
Use a pressing pillow to make things easier on yourself!

More book lover crafts
- Floral Bookmarks (with a free cut file!)
- Book Nerd Tote Bag (with a free cut file!)
- Merry Bookmas Gift Tag
- Booklover Library Tote Bag (with a free cut file!)

Read More Books Book Sleeve
Instructions
- Download the cut file and open it in your Silhouette Software.
- Resize your image, mirror it and draw a weeding box around your design.

- Put your vinyl onto your cutting mat and load it into your machine.
- Do a test cut to make sure your blade will cut through your material. If it doesn't, adjust your settings and try again.
- Once you have the correct settings, hit cut.
- While your design is cutting, turn on your heat press.
- Once your design is cut, weed it and set it aside.

- Put a pressing pillow inside your book sleeve.
- When your heat press is ready, put your htv design on your book sleeve and press it with your heat press for 10-15 seconds.
- Lift up the carrier sheet. If all the vinyl stays on your book sleeve you're done! If it does not, repeat step 9 until your entire design adheres to the book sleeve.

Recommended Products
As an Amazon Associate and member of other affiliate programs, I earn from qualifying purchases.