
Merry Bookmas Gift Tag
Make a Merry Bookmas gift tag with some acrylic paint, adhesive vinyl and your Silhouette Cameo and give the gift of reading this Christmas!

My Christmas wish-list this year includes a lot of books. A LOT of them.
I love receiving and giving books any time of the year, but there really is nothing better than snuggling in Christmas pajamas with a good book and a mug of hot chocolate.
So if you’re like me and giving books as holiday gifts this year, these Merry Bookmas gift tags serve as a cute gift tag and can be used as a Christmas ornament for the tree!

These Merry Bookmas gift tags were insanely easy to make. They’re the perfect craft for beginners because you don’t have to use a lot of vinyl and it gets you used to cutting, weeding and using transfer tape.
So if you’re looking for something simple to make with your Silhouette or Cricut cutting machine, this really is the perfect craft.
Materials
Everything you need to make these Merry Bookmas gift tags
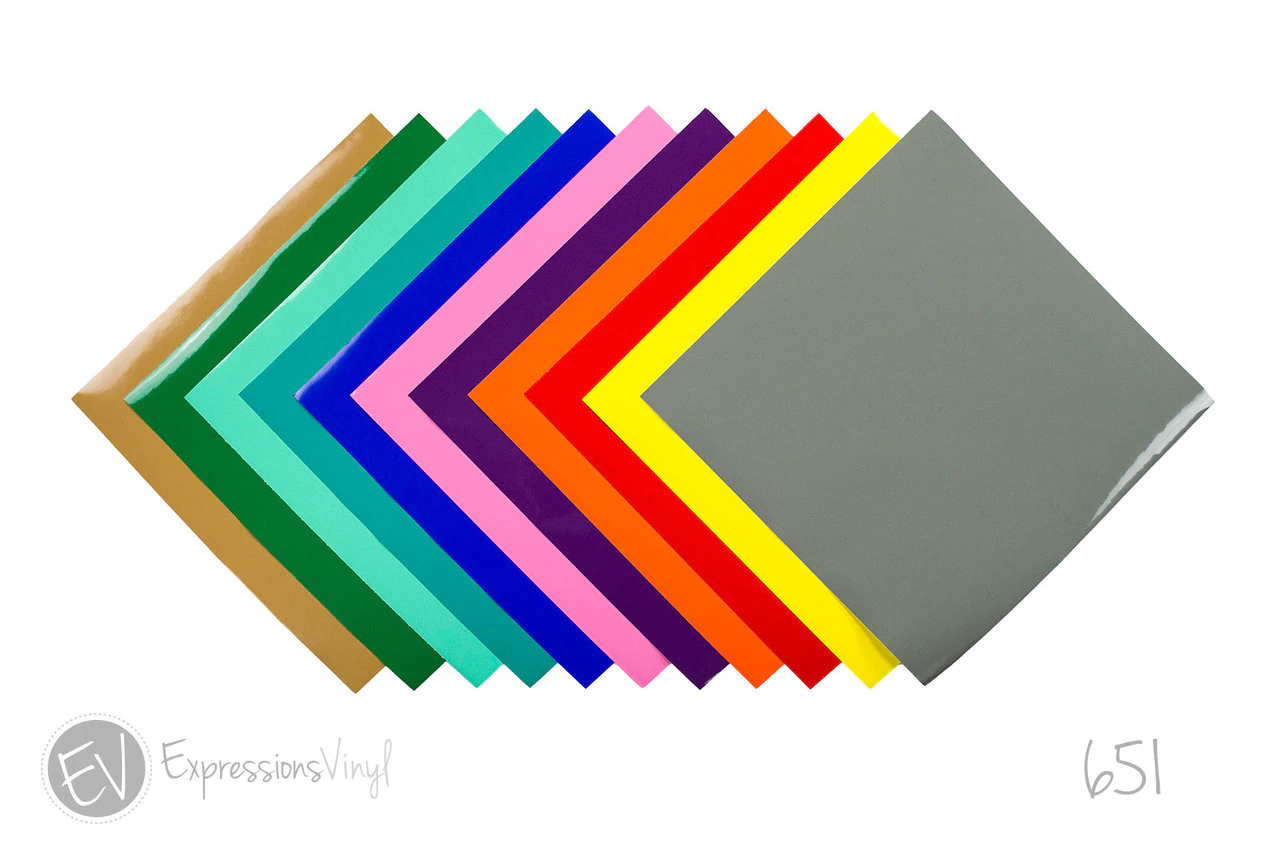
- Silhouette Cameo
- Adhesive Vinyl
- Cutting Mats
- Cameo 4 Autoblade
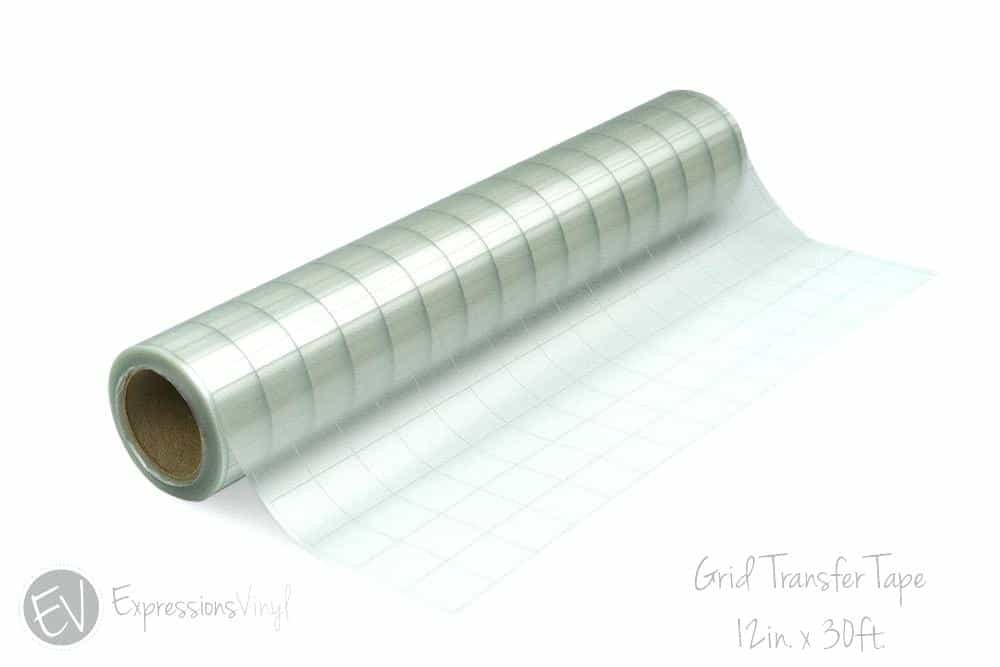
- Grid Transfer Tape
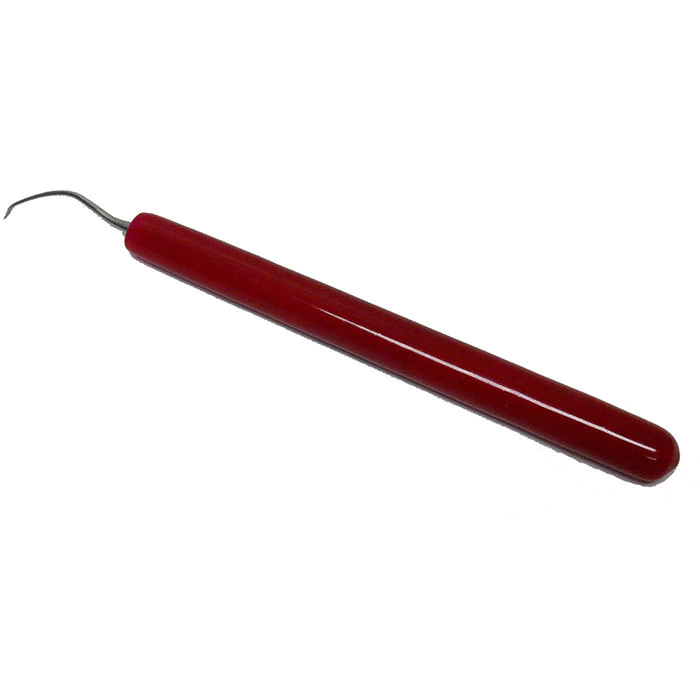
- Weeding Tools
- Round Acrylic Blanks
- Acrylic Paint
- Paint Brush
- Ribbon or Twine
While the supply list may look overwhelming, I promise you it’s not! Most of these items you should have in your craft room already, so don’t get intimidated by the number of tools on the list.

This post contains affiliate links. I may earn commission from qualifying purchases at no additional cost to you. I will never recommend a product I don’t use or trust.
Common Questions About These Merry Bookmas Gift Tags
What font did you use for the Merry Bookmas text?
I used the font Thanks Autumn on Creative Fabrica.
I love this font and use it for a lot of different things. It’s handwritten and very versatile!
Where did you find the acrylic blanks?
Amazon!
I bought them a while back and hadn’t found a use for them yet, so I decided that they were perfect for this project.
Truthfully they’re a little big (3.5×3.5in) so I’d probably size down if I was going to do this all over again. But they work and they’re a fun keepsake!

What type of paint did you use for the back of the acrylic blank?
I used acrylic paint that you can get at any craft store!
To be honest, I really wanted to do something like this and I went through about 5 blanks while trying to get this right but it never looked the way I wanted it to.
Eventually I compromised and painted the bottom half of the acrylic blank (sort of like what I did with this Hello Pumpkin Door Hanger), and I think that worked out well.
You can use any color you want to! I chose white so that the green vinyl would stand out against it.
What type of vinyl can you use on acrylic?
Adhesive vinyl is best!
Make sure you’re using permanent vinyl, not removable (also called 631). Otherwise your vinyl will lift off the acrylic after some time.
Permanent vinyl has a life span of three to eight years. So this is the best vinyl to use for this project!
The vinyl monogram has been going strong on this cup for over 5 years now. As long as you take care of your items, your vinyl should last!

FAQ’S About Acrylic Keychains
How do you paint on the back of acrylic?
I promise, this is really easy! The only thing you need is a dry paintbrush.
Mine was medium sized….you don’t want to go too big or too small. In retrospect I could’ve gone a little bigger with my brush, but it worked out!
Put a small amount of paint on your brush (less is more!) and brush it on the back of the acrylic. If you want to see brush strokes, then don’t put too much paint on your acrylic blank. If you want more of a solid color on the back, you’ll want to add more paint.
Play around with it until you’re happy.
What kind of blade do you need to cut permanent vinyl with on your Silhouette Cameo?
All you need is a mediumgrip cutting mat and your Silhouette Cameo 4 Autoblade.
No fancy tools or different types of blades are needed to cut vinyl. And the settings on your Silhouette Cameo should be just right for you to cut it out!
Remember though, always check to make sure your vinyl cut all the way through before unloading your cutting mat. That way, if it didn’t cut all the way for some reason, you can just hit recut and try again!
If you unload your mat and then try to reload it, your settings won’t match up and the cut lines will be off. Always check before you unload!

What type of transfer tape works best with permanent vinyl?
I love using gridlined transfer tape. It’s my favorite and I swear by it.
I think everyone is different and has different preferences though! Try a few different kinds and see what works best for you.
You just want to make sure it’s not too sticky or it won’t release your vinyl onto the acrylic blank.
You can also head to this post to read all about transfer tape and how to use it!
What happens if I can’t get my transfer tape to release my vinyl?
Grab your application tool and rub your vinyl (as hard as you feel comfortable) with it. This helps the sticky back of your vinyl adhere to whatever it is you’re putting it on (in this case, the acrylic blank).
Slowly pull up your transfer tape after you do this. If you notice your design is coming up with the transfer tape, use your application tool to rub the design and try again.
You can also use a blowdryer and put a bit of heat on the vinyl!
MORE CHRISTMAS ADHESIVE VINYL CRAFTS!
- Rae Dunn Christmas Ornaments
- Magical Harry Potter Ornaments
- Merry and Bright Wood Sign
- Wooden Christmas Village with Adhesive Vinyl

Merry Bookmas Gift Tags
Make a Merry Bookmas gift tag with some acrylic paint, adhesive vinyl and your Silhouette Cameo and give the gift of reading this Christmas!
Materials
- Adhesive Vinyl
- Cutting Mat
- Transfer Tape
- Round Acrylic Blanks
- Acrylic Paint
- Paint Brush
- Ribbon or Twine
Instructions
- Grab your acrylic blank, paint and paint brush. Put a small amount of paint on your brush and brush it onto your acrylic paint.
- Once you get the desired coverage with your paint, set it aside and let it dry.
- Load your adhesive vinyl onto your cutting mat and load it into your Silhouette machine.
- Cut out your vinyl decals and weed them.
- Use transfer tape to pick them up and put them on the non-painted side of your acrylic blank.
- Use the applicator tool to rub the vinyl decal onto your acrylic blank. Then pull up the transfer tape (slowly).
- Add twine or ribbon to your acrylic gift tag.
- Attach it to a wrapped book or hang it on your tree!
Recommended Products
As an Amazon Associate and member of other affiliate programs, I earn from qualifying purchases.


- Tiny Wooden Rainbow Houses by Laura of Me and My Inklings
- Candy Cane Wreath for the Holidays by Laura of Laura’s Crafty Life
- Colorful Holiday Gift Card Holders by Smitha of Smiling Colors
- DIY Clay Christmas Ornaments by Kimberly of Crafting Cheerfully
- Hot Cocoa Mix in a Jar with Free Printable Tag by Shani of Sunshine & Munchkins
- Folded Paper Christmas Ornaments by Erica of 5 Little Monsters
- Festive Dried Orange Slice Garland by Justine of Little Dove
- Alcohol Ink Christmas Ornaments by Kelsey of Poofy Cheeks

- 5 Minute Snow Globe Ornaments by Beth of Creatively Beth
- Hot Cocoa Mug with Printable Tag by Lindsay of Artsy Fartsy Mama
- Free Print and Cut Christmas Stickers by Liz of Liz on Call
- Pass Along Holiday Treat Plate Gift Idea by Ginger of Ginger Snap Crafts
- Quick and Easy Monogram Stocking by Elise of Polka Dotted Blue Jay
- Merry Bookmas Gift Tag by Teresa of Simply Made Fun
- Polymer Clay Elf Hat Ornament by Heather of Homemade Heather