
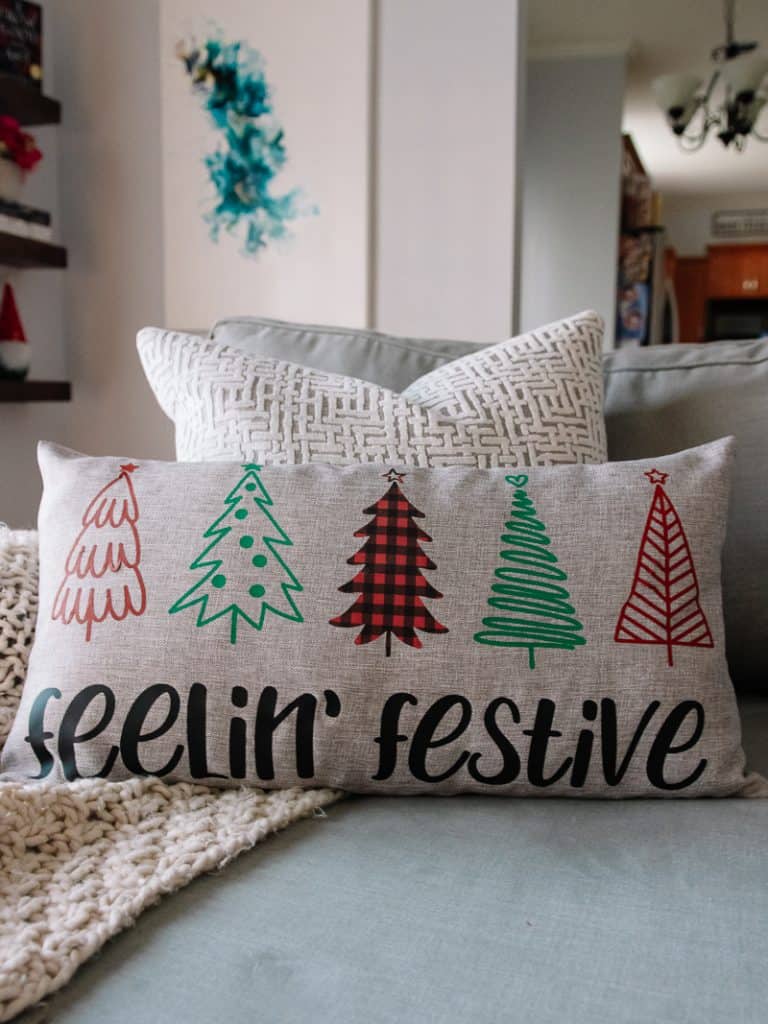
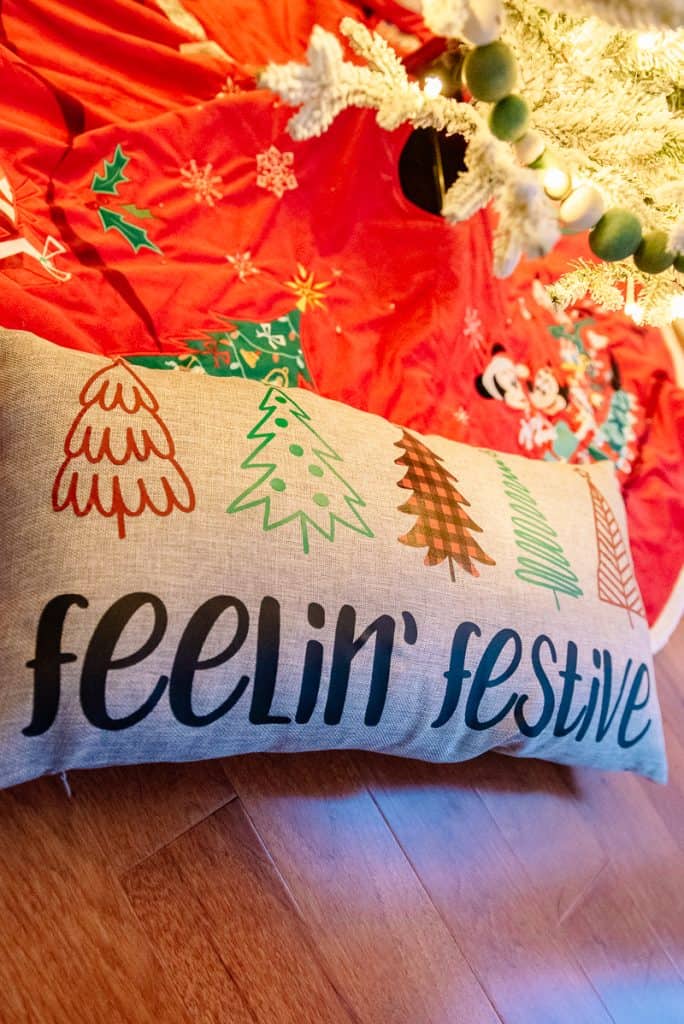
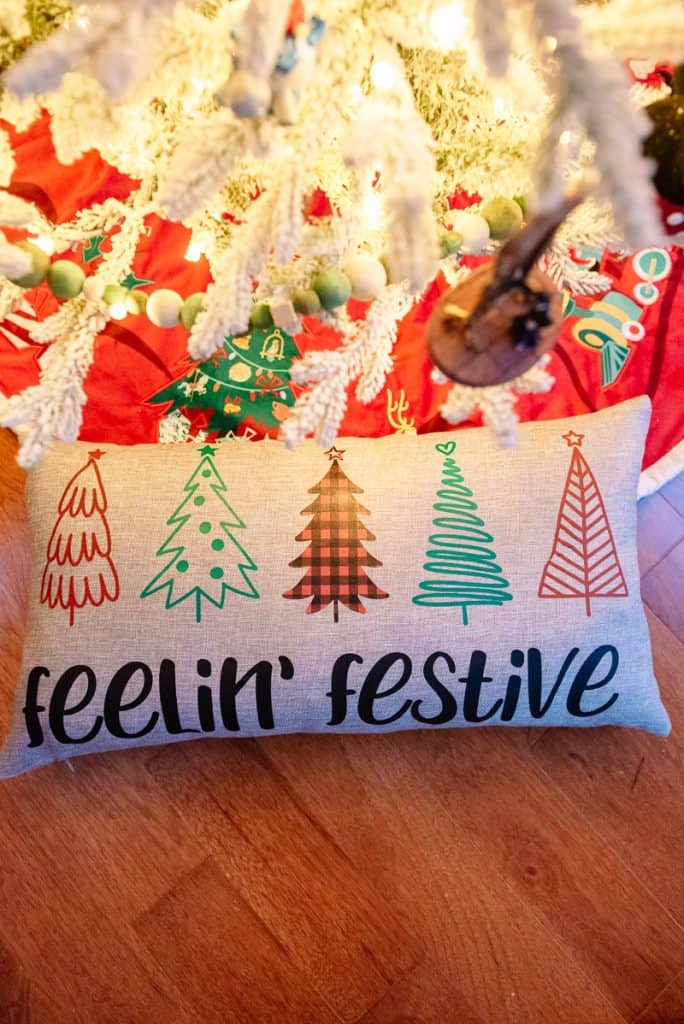
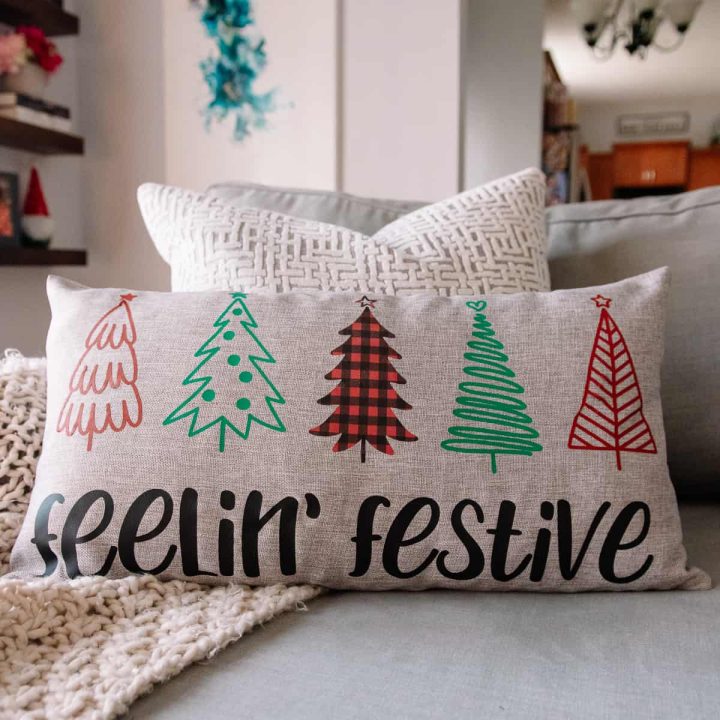
Feelin’ Festive Christmas Tree Pillow
Customize an SVG file from Etsy to make this feelin’ festive Christmas tree pillow with heat transfer vinyl and a pillow cover from Amazon!
Have you ever taken a file from Etsy and added to it?
I don’t recommend doing this often because the creators of the files work really hard on them and you don’t want to mess up their work.
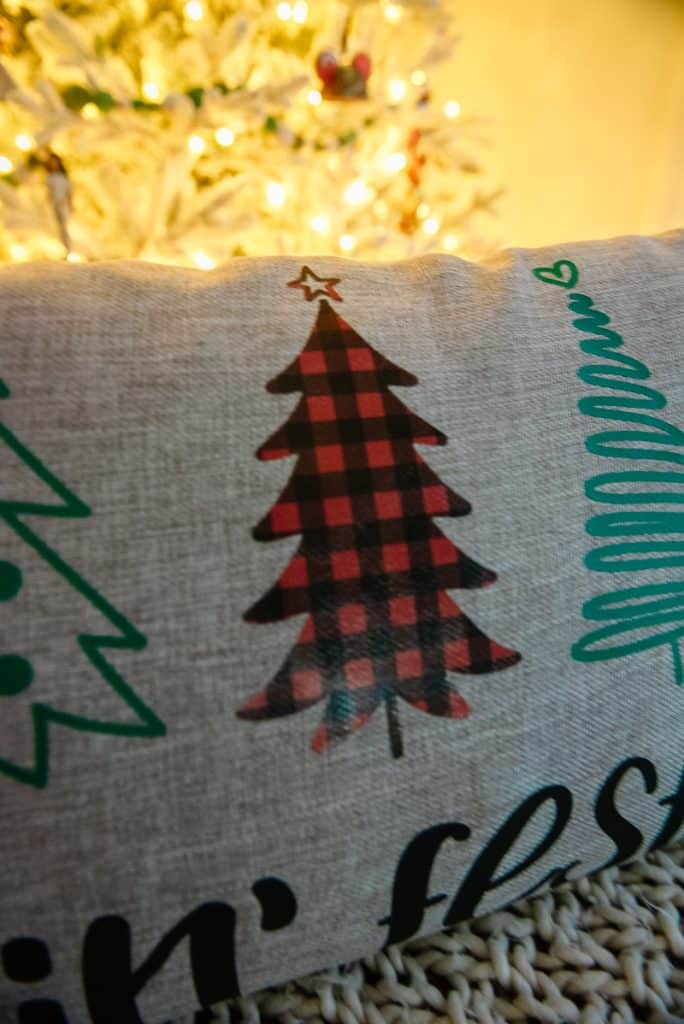
But this particular file I found looked really cute with a saying underneath it, so I added it. But it also would’ve looked great with just Christmas trees too!
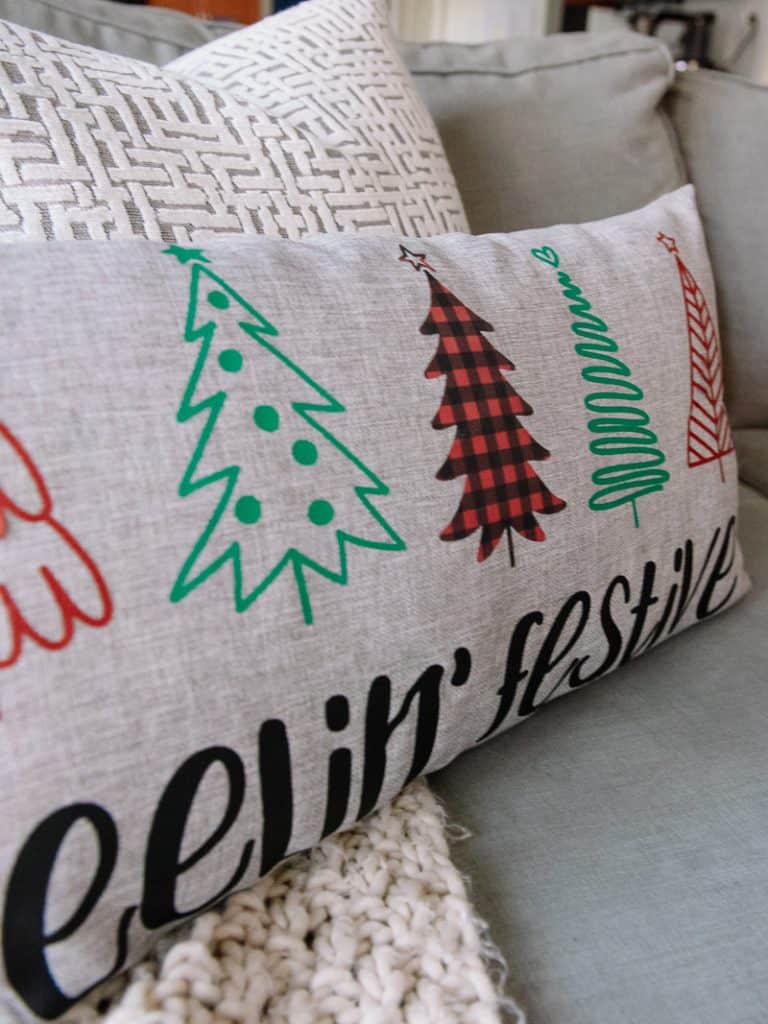
The hard part about putting this pillow together was lining up all the Christmas trees.
I started with the middle tree and worked my way out. The only thing I would have done differently is line everything up before putting it under my heat press. I did each tree one at a time which is why they aren’t completely straight.
Remember, measure twice and press once! It’s the best way to double check yourself so you don’t make mistakes.
Materials
Everything you need to make this feelin’ festive Christmas tree pillow!
- Christmas Tree SVG file from Etsy
- Silhouette Cameo 4
- Cameo 4 Autoblade
- Heat Transfer Vinyl (multiple colors or patterns)
- Pillow Cover
- Pillow Insert
- Heat Press
- Pressing Pillows
- Sugar Caramel font to add the “feelin’ festive” phrase
This post contains affiliate links. I may earn commission from qualifying purchases at no additional cost to you. I will never recommend a product I don’t use or trust.
COMMON QUESTIONS ABOUT USING HEAT TRANSFER VINYL ON A LUMBAR PILLOW COVER!
How large should a design be on a lumbar pillow?
This really depends on how big you would like your design to be.
I will tell you, I did not measure well and if I was going to do it over I’d leave 1.5-2 inches of space at the top and bottom of the pillow, which means my design should’ve been (at the max) 11 inches tall.
I would also leave about the same amount of space on the sides.
What type of material should the pillow cover be to use heat transfer vinyl on?
You can use cotton (easiest material to use in my opinion), linen, a polyester blend and more!
Just check your heat press user manual to see if you can use your press on the material.
I’ve found that anything I want to use a heat press on I can, as long as I follow specific directions on how much heat I need and how much time I should have the material under the heat.
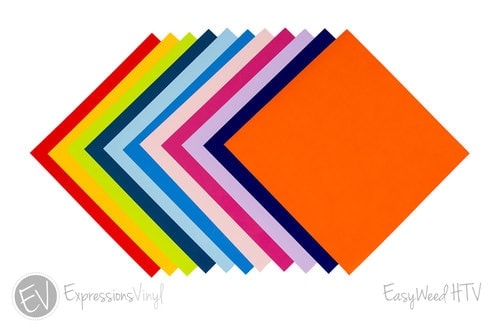
What type of heat transfer vinyl can I use for this project?
Siser Easyweed heat transfer vinyl is my favorite type of vinyl to use for any project.
But you can also use patterned, flocked, glitter, metallic or anything else you want!
Just remember to check your heat press manual to see what the temperature should be for the type of vinyl you’re using and how long you should press it.
Faq’s about this Feelin’ Festive Christmas Tree Pillow
How do you line up the Christmas trees and text so they are straight and evenly spaced?
First thing I did was fold the pillow case in half and press it with my heat press. This creates a crease that you can use to line up the middle Christmas tree so that it is perfectly in the middle of your pillow case.
The second thing you’ll need is a large fabric cutting mat and you’ll also want a large ruler. I have a large one I use for woodworking that could work for this or just a regular wood ruler (remember, it should be long!) is great to use.
Fiskars also has a large acrylic ruler that works for this, but unless you’re cutting a lot of fabric then I don’t think this is necessary. A regular ruler works fine!
The most important thing is the fabric cutting mat, because the lines on it will help you line up your pillow case and evenly space all of the trees.
Use the lines on your fabric cutting mat to line up and evenly space your trees. You can move them around as much as you want until you have the perfect placement.
More Christmas Crafts!
- Merry & Bright Wood Sign (and a free svg!)
- Rae Dun Christmas Ornaments
- Faux Suede Christmas Tree Earrings
- Ho Ho Ho SVG Cut File
- How to Apply Vinyl Decals to Wrapping Paper
Feelin' Festive Christmas Tree Pillow
Customize an SVG file from Etsy to make this feelin' festive Christmas tree pillow with heat transfer vinyl and a pillow cover from Amazon!
Materials
- Christmas Tree SVG from Etsy
- Heat Transfer Vinyl
- Pillow Cover
- Pillow Insert
- Pressing Pillow
Instructions
- Download the Christmas Tree SVG from Etsy
- Cut out the design with your Silhouette Cameo. Add text to the design here if you want to! (see note #1)
- While you're cutting out and weeding all the trees, turn on your heat press and heat it up.
- Fold your pillowcase in half and press it with your heat press. Unfold it and you should see a crease that goes straight down the middle. This will help you line up your first tree. (see note #2)
- Put your pillowcase on the fabric cutting mat. Use the lines on the mat to make sure your your pillowcase is straight, then start laying all the Christmas trees down.
- Use a large ruler and the lines on the mat to make sure your Christmas trees are spaced evenly and lined up in a straight line.
- Use your heat press to all of the trees onto your pillow. Then add the text (if you are adding text).
- Do one final press and then remove all of your carrier sheet from the vinyl.
- Put the pillow in your pillow case and throw the finished pillow on your couch!
Notes
- If you are doing different patterns or colors of trees you'll have to cut them out individually. This takes longer but I think the different colors and patterns together look so fun!
- You can see how we use the crease method to help us line up htv designs in this post here!
Recommended Products
As an Amazon Associate and member of other affiliate programs, I earn from qualifying purchases.


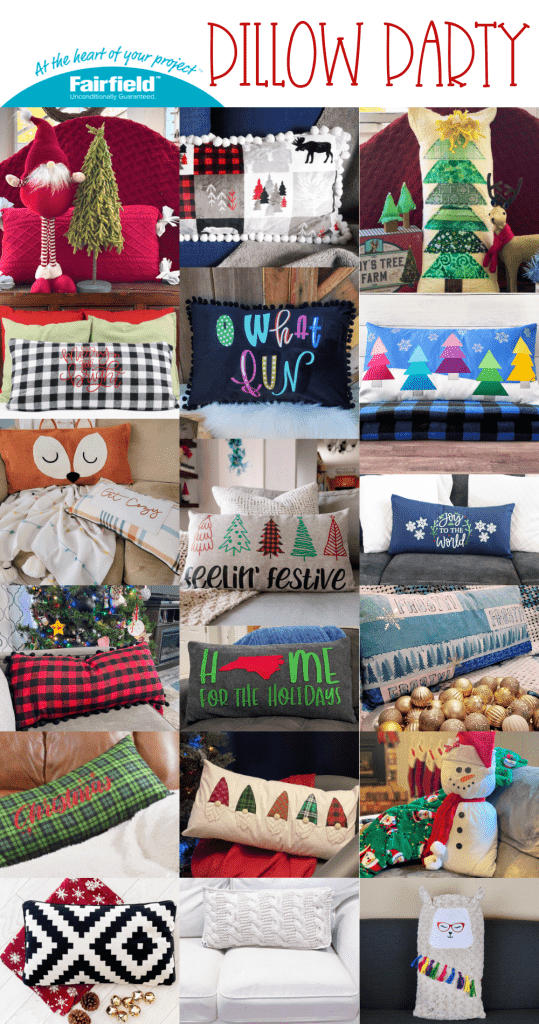
- Upcycled Sweater Pillow by Laura Kelly at Me and My INKlings
- Vertical Christmas Trees Pillow by Creatively Beth
- Feelin’ Festive Christmas Tree Pillow By Simply Made Fun
- LLama Pillow by Morena’s Corner
- Patchwork Style Pillow by Lindsay from Artsy Fartsy Mama
- Gnome Pillow by Five Little Monsters
- Home for the Holidays Pillow By A Sweet Berry Designs
- Envelope Closure Pillow by Crafty Blog Stalker
- Joy to the World Pillow by Laura’s Crafty Life
- Oh What Fun Pillow by Doodle Craft Blog
- Ombre Tree Pillow by Crafting Cheerfully
- Festive Pillow by Smitha Katti
- Frosty Holiday Pillow by Susie Bentz
- Black and White Pillow From Jenny’s Crayon Collection
- Darling Christmas PLAID Pillow by Creativities Galore
- Foxy Pillow by Debra Quartermain
- Merry and Bright Pillow by Polka Dotted Blue Jay
- No Sew Snowman Pillow by We Can Make That
I love your pillow. Thank you so much for participating and sharing your creativity.
Thank you Laura! This theme was so fun and I’m so grateful to be part of such a fun roundup. All the pillows are so fun!