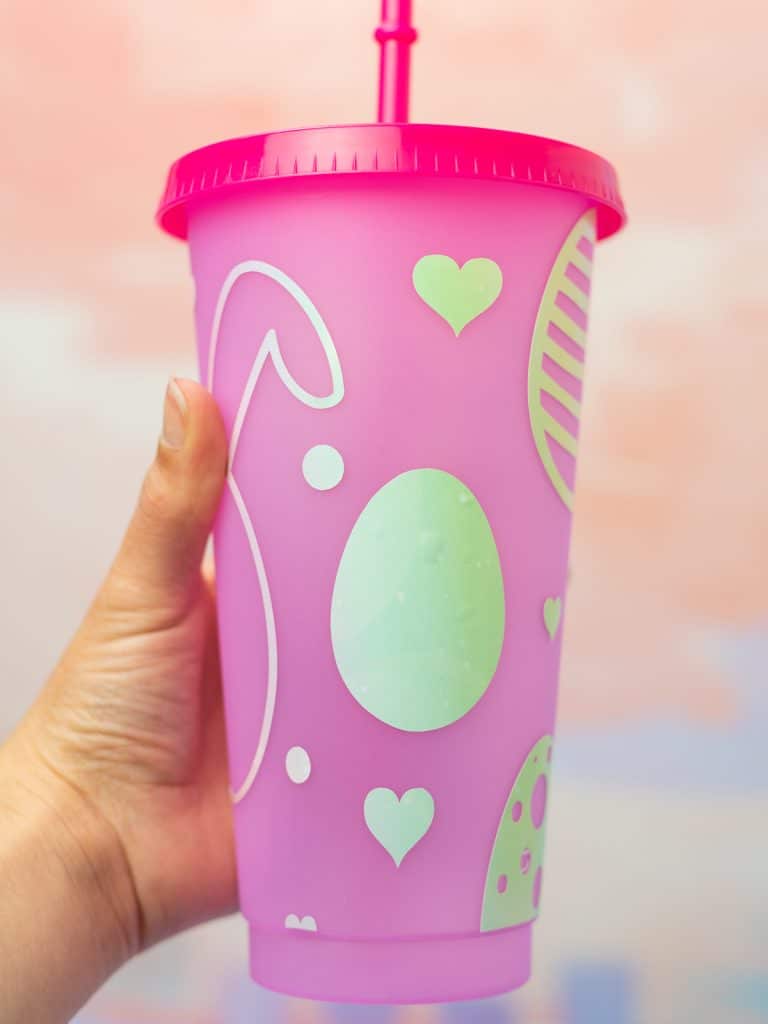
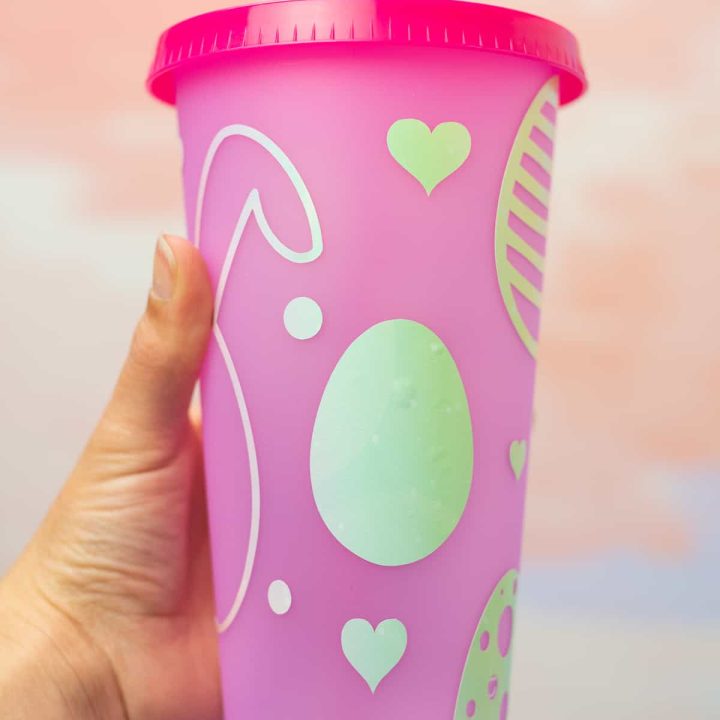
Easter Egg Tumbler with Adhesive Vinyl
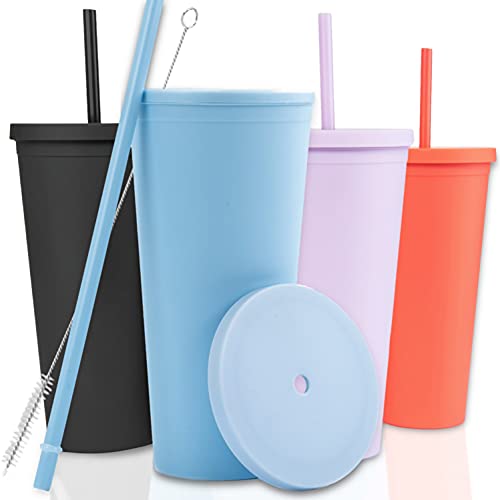
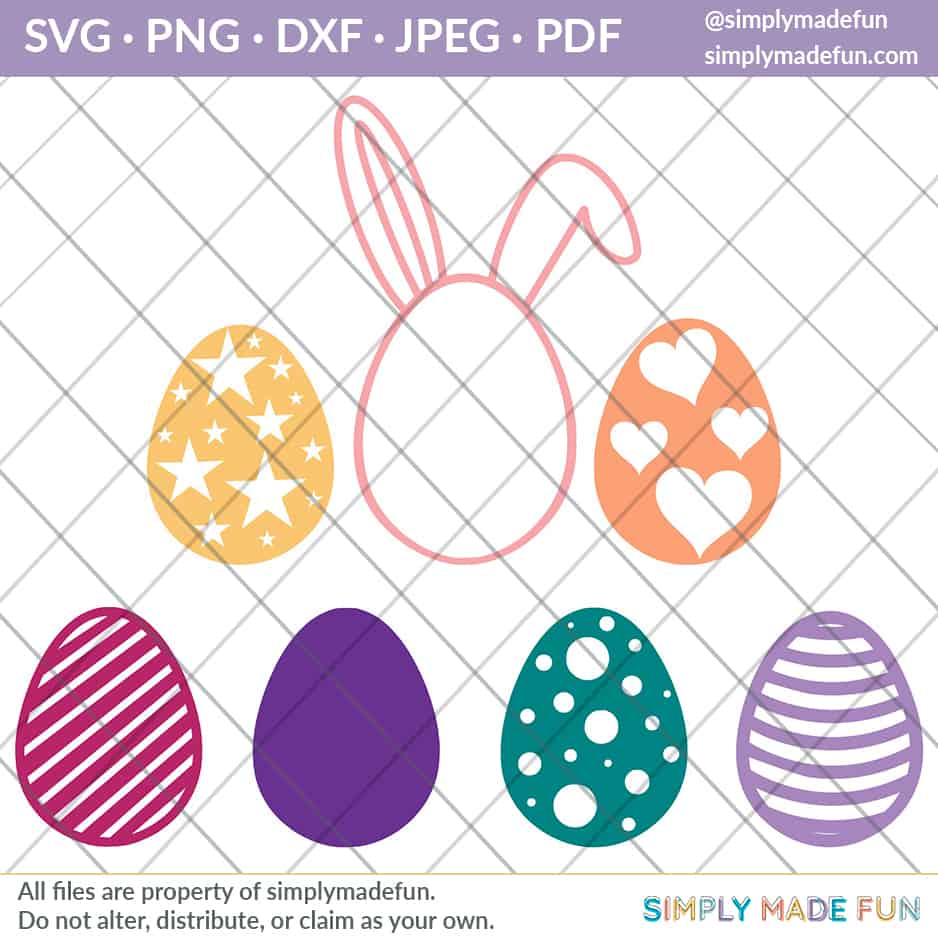
Use this free svg cut file to make an Easter Egg Tumbler wrap with the Silhouette Studio Warp Tool! You can use this wrap on both water bottles and coffee tumblers. Or, if you don’t want to make a tumbler, you can use the Easter eggs as a separate file and put them on t-shirts, tote bags, easter baskets and more!

I’ve always wanted to know how to make wraps for tumblers and I decided to give it a go with this Easter egg tumbler wrap.
I had no idea that Silhouette made it so easy with the Conical Warp tool in the Business Edition of their software, so I decided to play around with it and see how it worked.
And while I have a lot to learn and some things to perfect, I think this tumbler came out super cute!

You do not need to use these Easter eggs for a tumbler, and the free file for this post comes with only the eggs so you can use them however you’d like!
I think they’d look really cute on a t-shirt or even an Easter basket, but you can honestly use them for anything!
I’ll be talking mostly about using them with the Conical Warp too though, so if you’re curious about what it is and how to use it, we’re going to attempt to answer all the questions about it!
Materials
Everything you’ll need to make this Easter Egg Tumbler Wrap:
This post contains affiliate links. I may earn commission from qualifying purchases at no additional cost to you. I will never recommend a product I don’t use or trust.
Tips to Use Conical Warp in the Silhouette Studio
What is Conical Warp?
Conical Warp is a feature available in the Silhouette Studio Designer Edition Plus and Business Edition. It is used to apply graphics or text to curved surfaces.
If you’ve ever tried to apply a design to a curved surface (like a water bottle or tumbler) and can’t get it to line up correctly, the conical warp will help you line up your design.
What is a tumbler wrap?
A tumbler wrap is an image or text that can cover the entire surface of a tumbler or water bottle.
What tools do you need to make a tumbler wrap?
To make a tumbler wrap you’ll need:
- The Warp Tool in the Silhouette Software (I’m using the Business Edition)
- Measurements of the tumbler you’re using
- The image/design you’re using for the tumbler

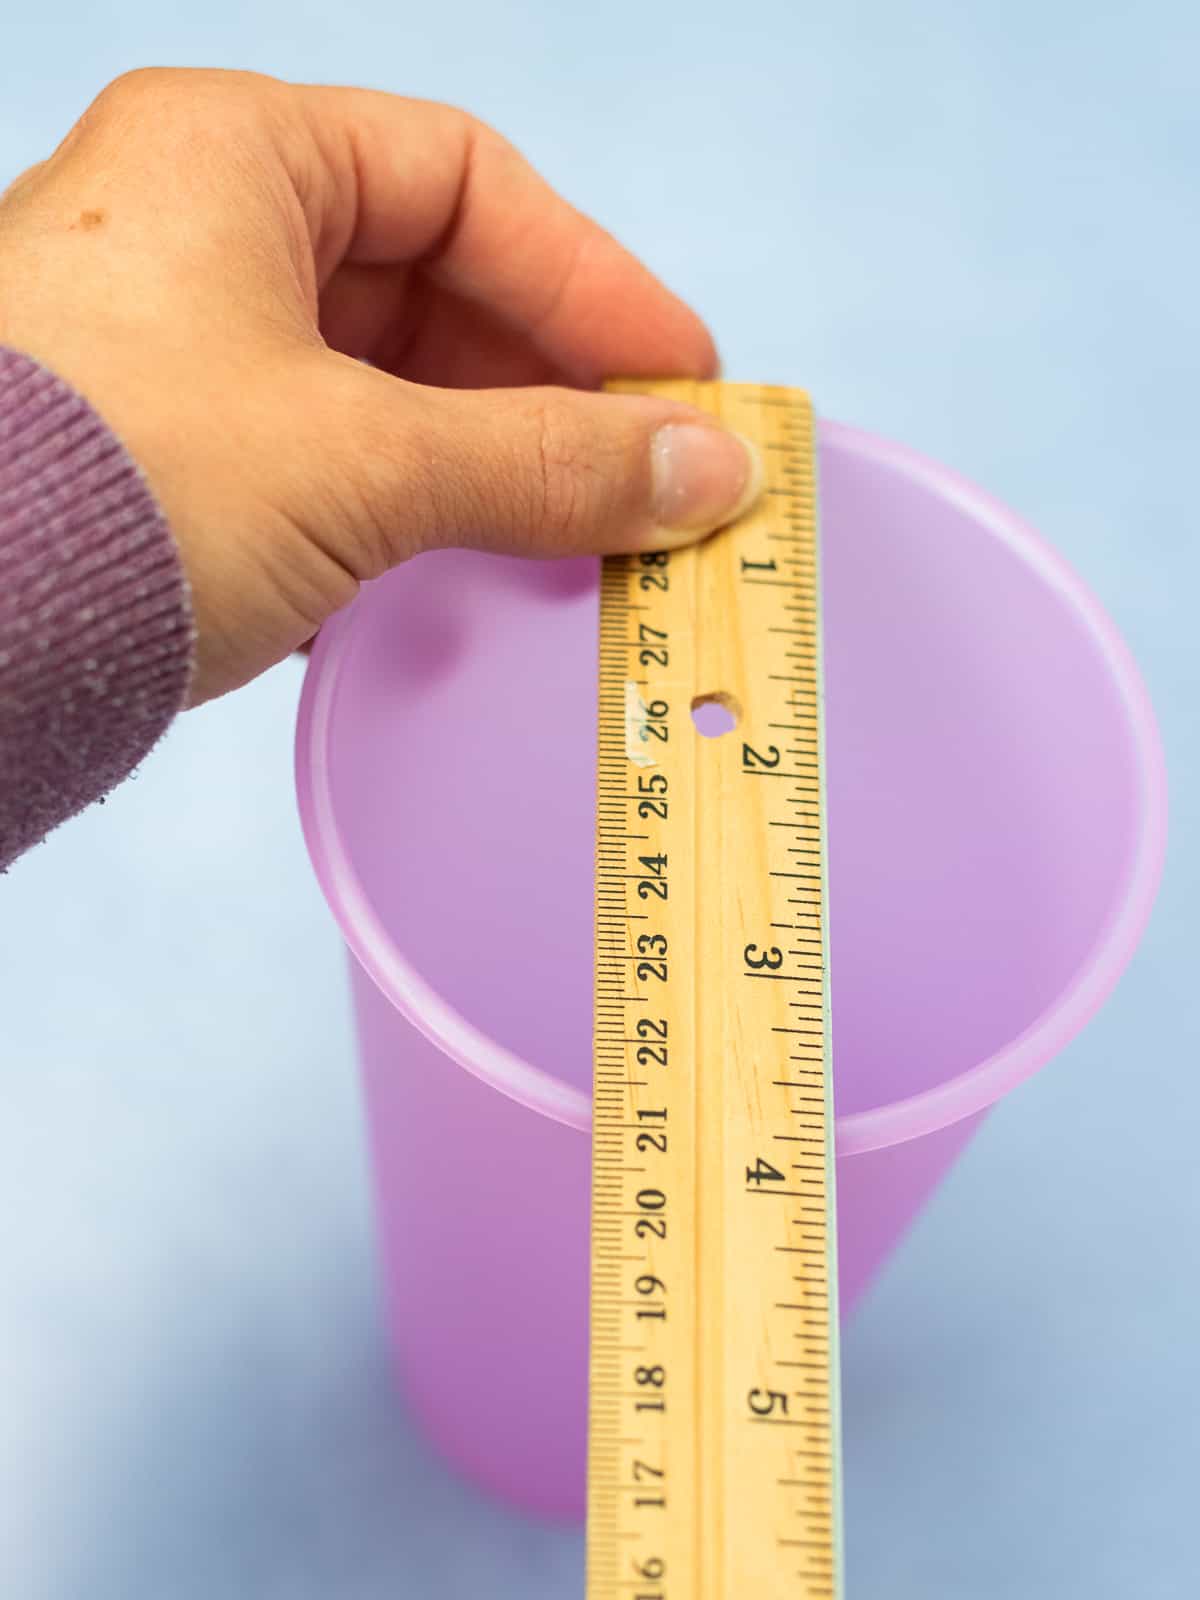
How do you find the measurements of the tumbler?
Use a ruler and measure your cup. The Conical Warp Tool in the Silhouette Software tells you where you need to measure (top of cup, bottom and the length) so get the measurements as close as you can!
If you’re putting text on your cup you also need to add a number to that box. Play around with it to see how much of an arch you want with your text.
Where do you add the cup measurements in the Silhouette Software?
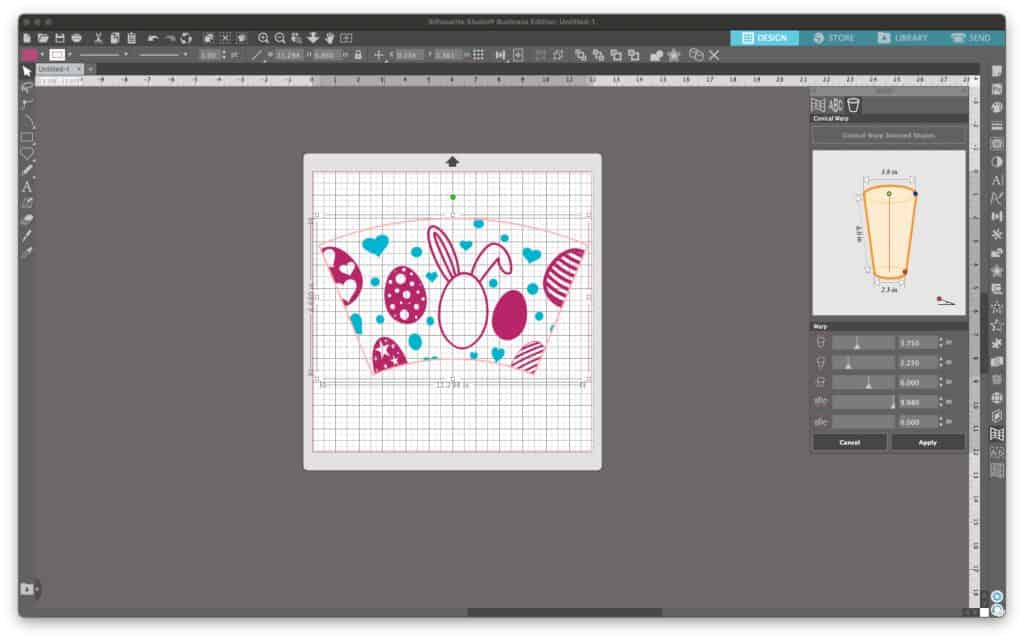
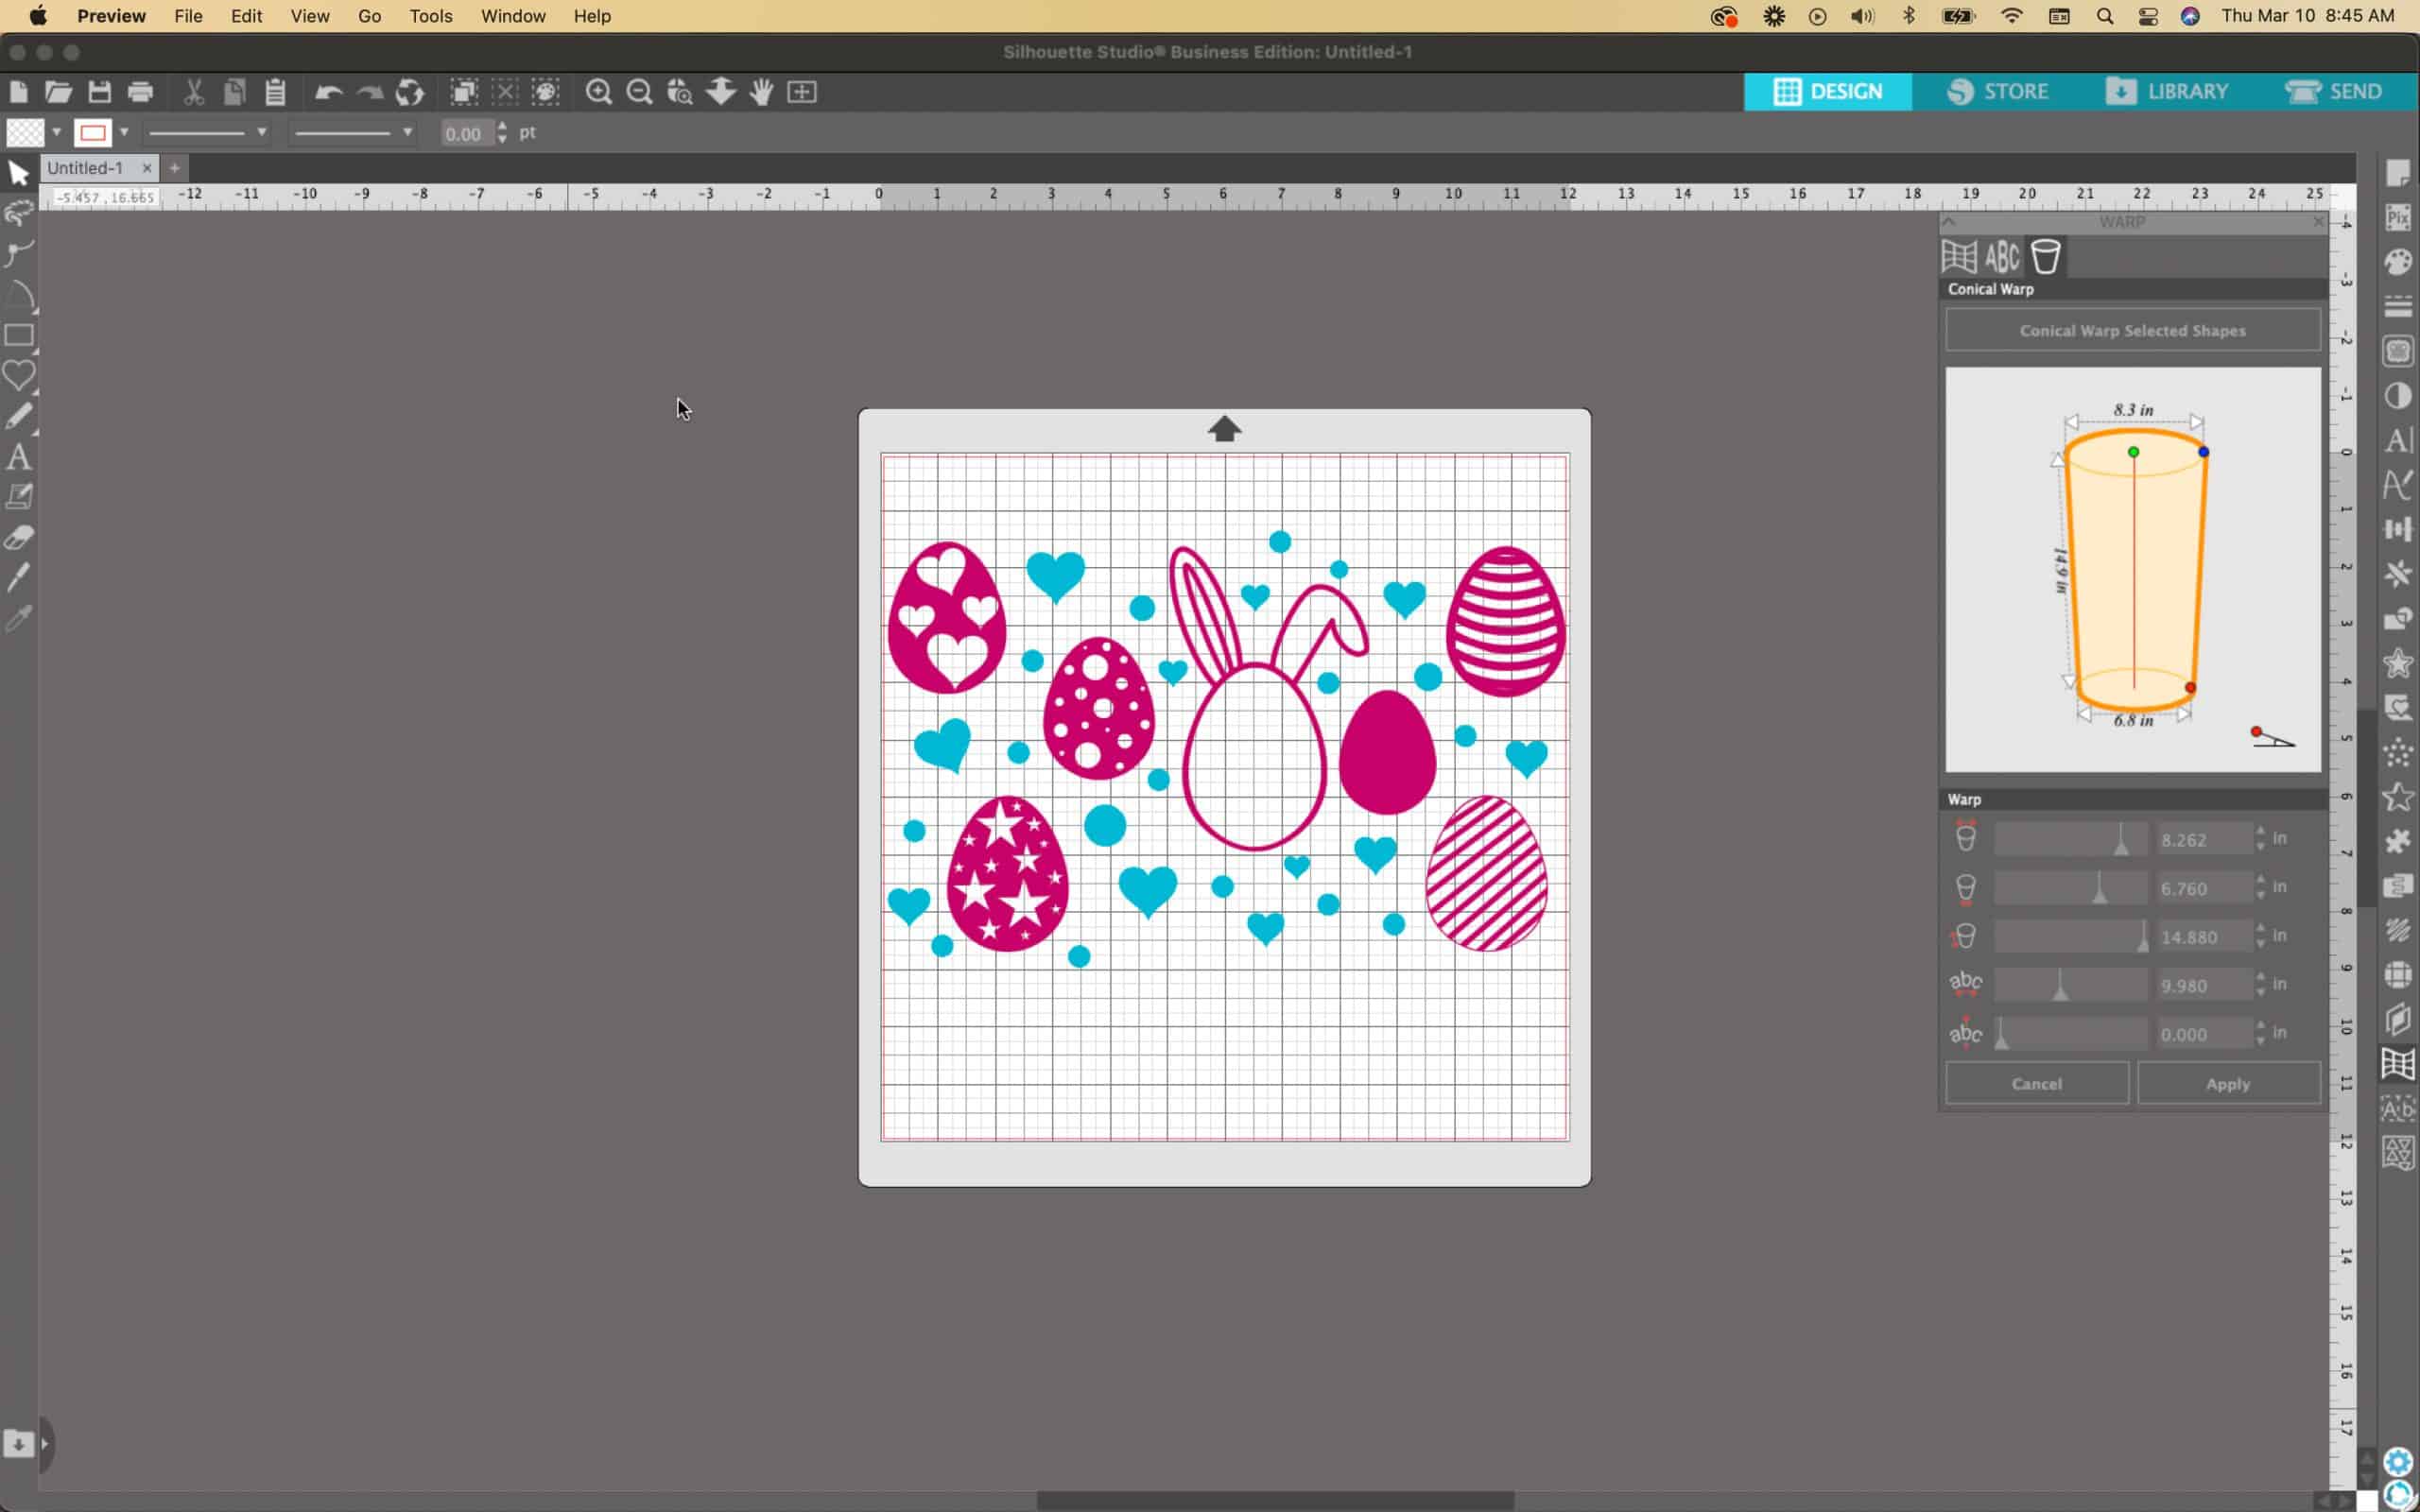
When you click on the warp tool there are three images at the top of tab: Distort, Text and Conical Warp.
Click on the Tumbler and you’ll see an image of a cup with a box of measurements underneath that you can adjust. You’ll add your measurements there.
But first, you must select your entire design and click Conical Warp. You cannot put in your measurements before you do that!
Is the Conical Warp available in the Basic Edition of the Silhouette Design Studio?
No it is not.
You can use the basic distort tool but that’s it with the Basic (free) edition.
You need the Silhouette Studio Designer Plus Edition or the Business Edition to use the Conical Warp tool.
The upgrades to the Silhouette Studio are a one-time fee and you will then get access to the tools for life.
If you’re unsure which one is best for you, Swing Design has a chart that tells you which edition does what and it’s very helpful when trying to choose what edition to buy!

What happens if you mess up the measurements and need to redo the conical warp?
Hey, mistakes happen and sometimes you need to start over!
If that happens, just hit the back button until your graphic is no longer curved.
You can also copy and paste your graphic before you try to do the conical warp in case you need to start over. That way you don’t have to hit the back button until you’re back at the beginning.
How do you make sure the edges of the graphic line up on the tumbler?
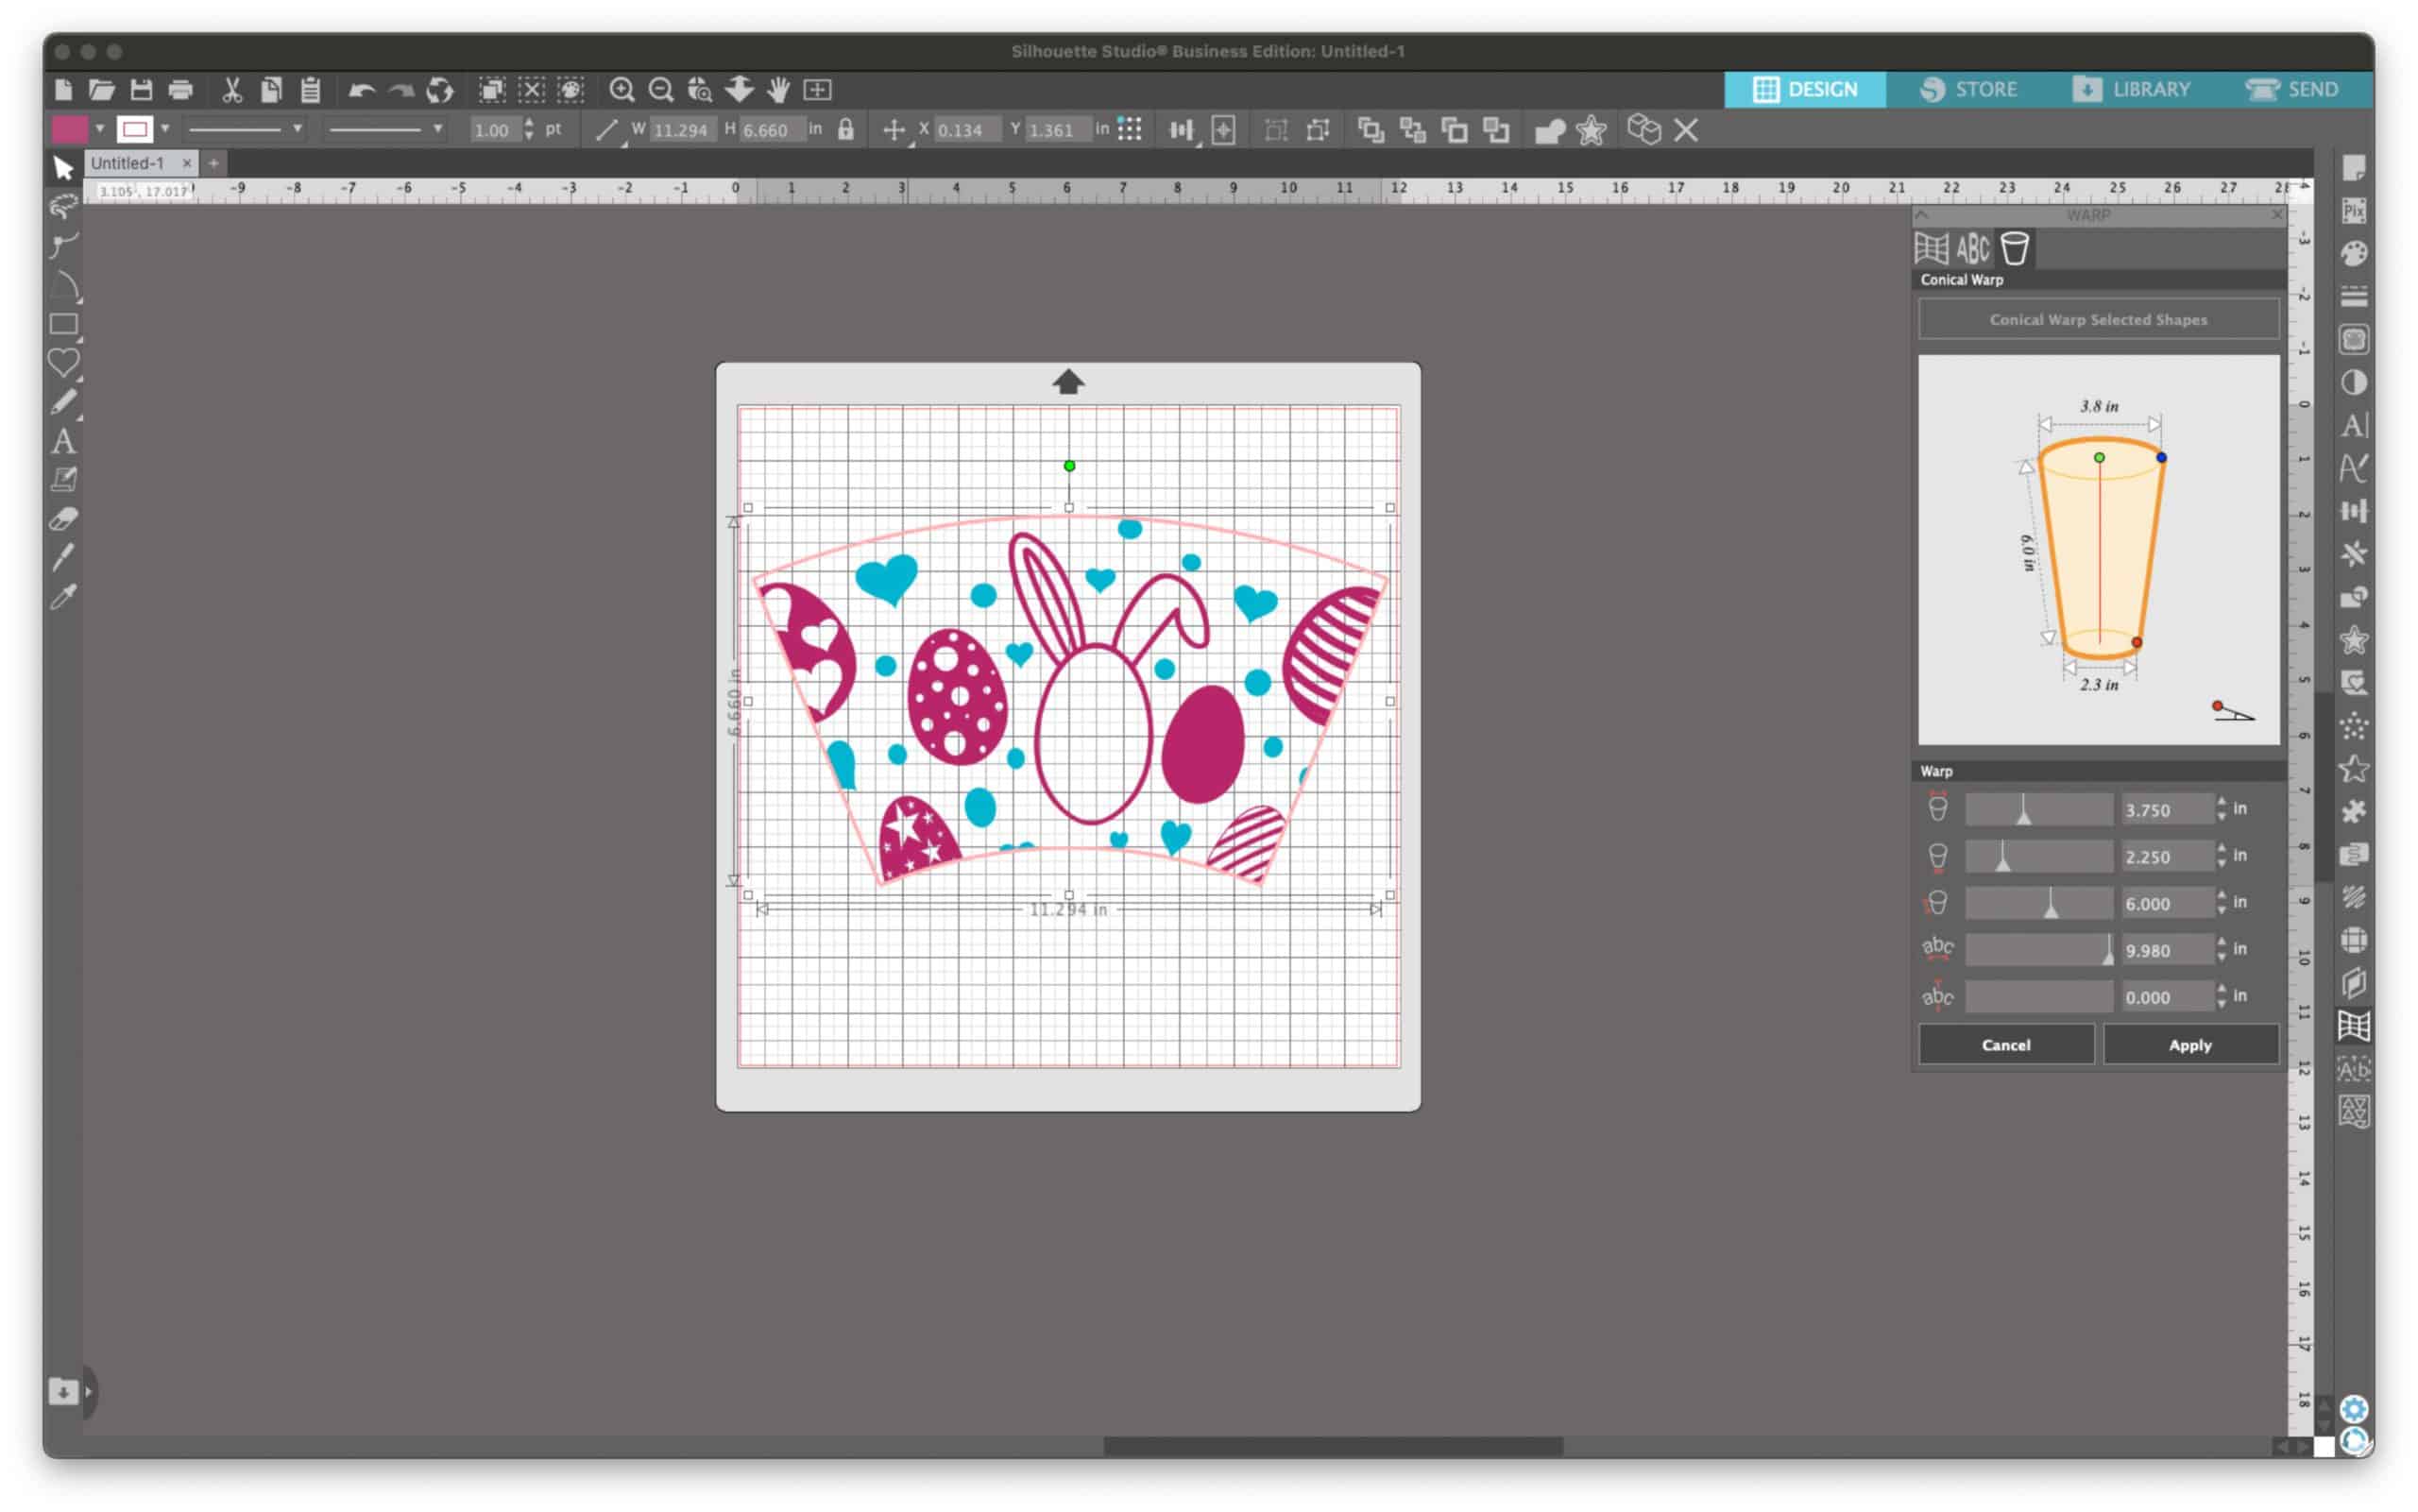
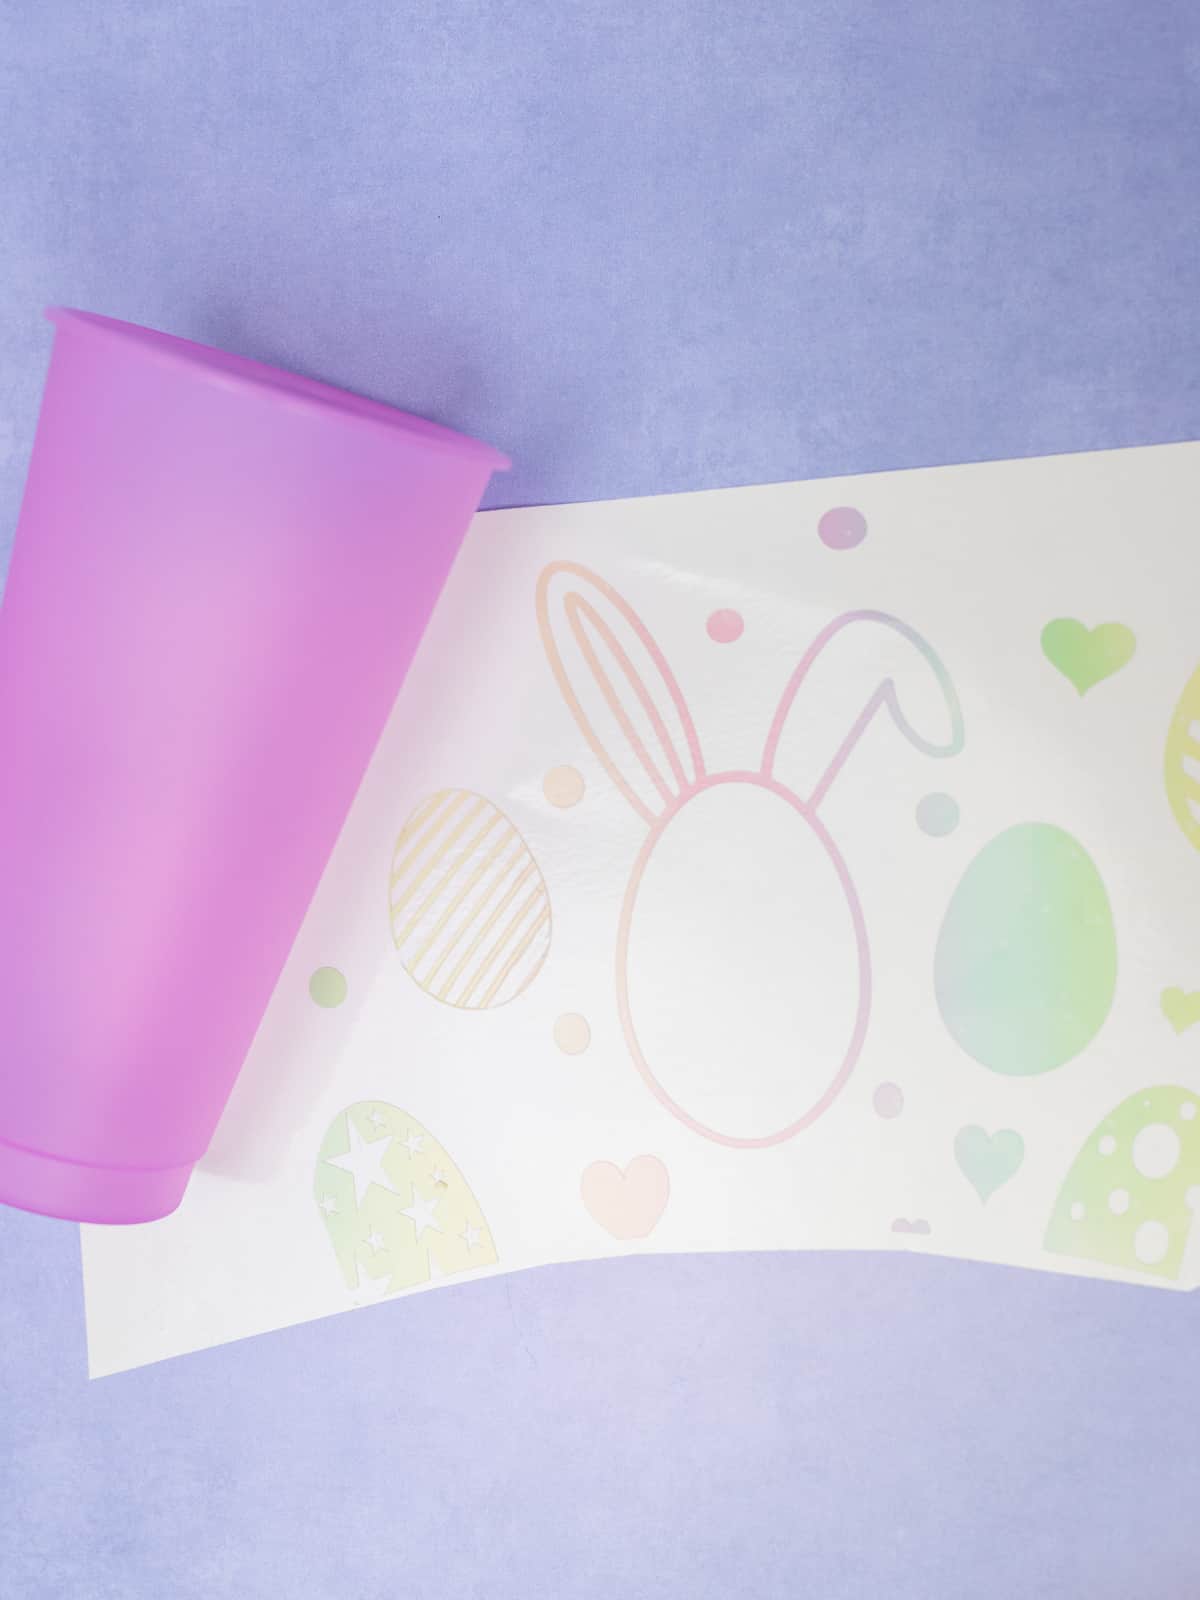
This is something I’m still learning but right now my suggestion is to make sure the big part of your graphic (for example, the eggs) are not near the edge of your design when you hit conical warp. If they are, they’ll get cut off and it’ll look odd when you go to line up your graphic on the tumbler.
Use little parts of your design (like the dots or hearts) and put those around the edges. It’ll look better when you wrap the graphic!
FAQ’s for using adhesive vinyl on a tumbler
What type of adhesive vinyl should you use on a tumbler?
Permanent vinyl is the best type of vinyl to use on tumblers, coffee mugs and water bottles.
Permanent adhesive vinyl lasts 3-8 years. If you take care of your tumbler it should last at least 5 years, maybe more.
I have adhesive vinyl on this coffee tumbler and it’s lasted almost five years!
How do you wash a tumbler with permanent vinyl on it?
Never put a tumbler, water bottle or coffee mug with vinyl on it in the dishwasher! It won’t hold up well and will cause the vinyl to lift.
Soaking vinyl in warm soapy water causes the adhesive on the vinyl to dissolve and will cause lifting which is why both soaking a tumbler in warm water or putting it in the dishwasher is not a good idea.
The best way to take care of your tumblers with vinyl designs is to hand wash them with warm soapy water. And then let them air dy.
How do you cut adhesive vinyl with a Silhouette Cameo?
Put the vinyl on your cutting mat with the colored side up.
Use the settings in the Silhouette Software to cut your vinyl, the settings are accurate!
But always do a test cut first to make sure your blade will cut through your material. If it doesn’t, adjust the settings until it does.
You may also need a new blade because if yours is dull it won’t cut through your material easily.

What is the best transfer tape to use with adhesive vinyl?
Any kind of transfer tape works with adhesive vinyl, but my favorite is gridlined transfer tape!
Because of the lines it makes it easy to line the decal up straight on the tumbler.
Paper transfer tape is also good, but when I used it for this project it wasn’t sticky enough to pick up the vinyl which was really annoying and frustrating!
Gridlined transfer tape has more stick to it and it’s what I would use with adhesive vinyl.
Paper transfer tape is great to use with removable vinyl, like we did with this project!
Do you have to mirror permanent vinyl like you do with heat transfer vinyl?
No you do not!
Permanent vinyl does not have a carrier sheet on top of it so you do not need to mirror your design.
When you’re putting permanent vinyl on the cutting mat you’ll have the colored side facing you and you will cut it so that your design is not reversed or mirrored.
You can learn all about heat transfer vinyl vs adhesive vinyl in this Beginners Guide to Craft Vinyl!
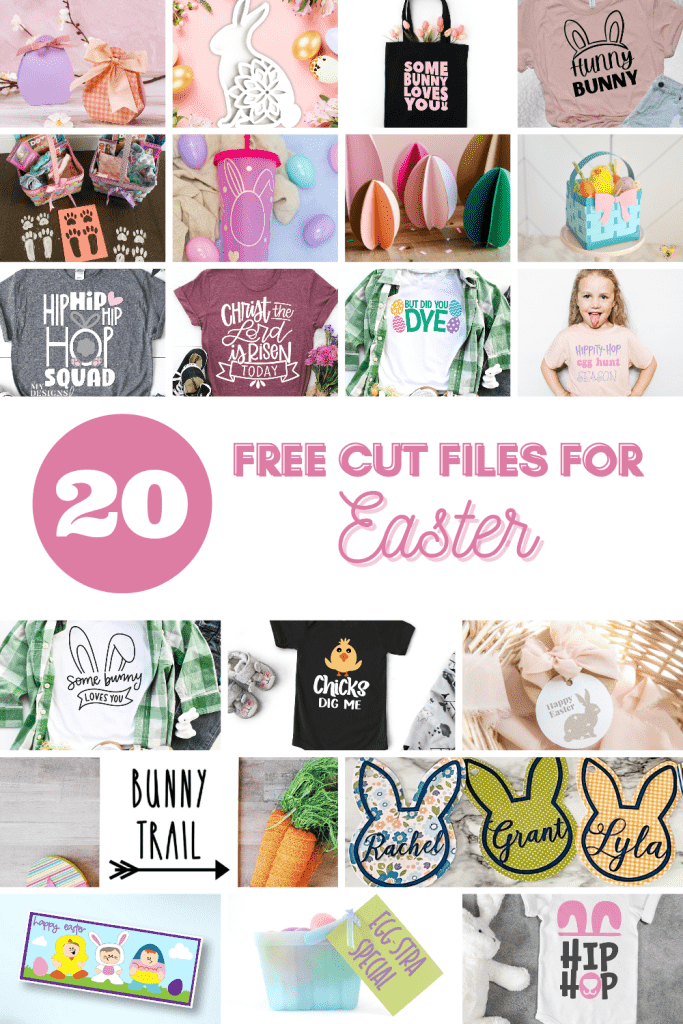
GRAB 21 FREE EASTER CUT FILES!
Every month I team up with a group of amazingly talented crafters to bring you a bundle of free svg cut files! This month’s theme was Easter and you can grab all 21 free files to use for your Easter projects! Download all of these awesome files by visiting the blog posts (links are underneath the image). All svg cut files are free to use for personal use only and don’t forget to tag us on Instagram (#svgdesignsquad) if you make one of our projects and share it!
- Easter Egg Treat Box – Persia Lou
- Bunny Basket Gift Tag – Crafting Overload
- Some Bunny Loves You – Studio Xtine
- Egg-stra Special – Polka Dotted Blue Jay
- 3D Paper Eggs – Oh Yay Studio
- Mini Paper Easter Basket – Gina C. Creates
- Egg Hunt Squad – Poofy Cheeks
- Did You Dye – Artsy-Fartsy Mama
- Hunny Bunny – Crafty Life Mom
- Chicks Dig Me – Liz on Call
- Hip Hip Hip Hop Squad – My Designs In the Chaos
- Some Bunny Loves You – Weekend Craft
- Easter Pals Slimline Card – The Bearded Housewife
- Rabbit Gift Tags – The Walnut Street House
- Bunny Trail – Sunshine and Munchkins
- Christ The Lord is Risen Today – Lettered by Stephanie
- Paper Floral Bunny – Craftara Creates
- Easter Bunny Footprint Stencil – Spot of Tea Designs
- Easter Egg Tumbler Wrap – Simply Made Fun
- Hip Hop Bunny SVG – Tried and True Creative
More adhesive vinyl crafts to make!
- How to Layer Adhesive Vinyl
- How to Cut and Weed Small Pieces of Vinyl
- Vinyl Hoarder Coffee Mug (and a free file!)
- How to Make Spice Jar Labels (and a free file!)
- How to Use Transfer Tape with Vinyl
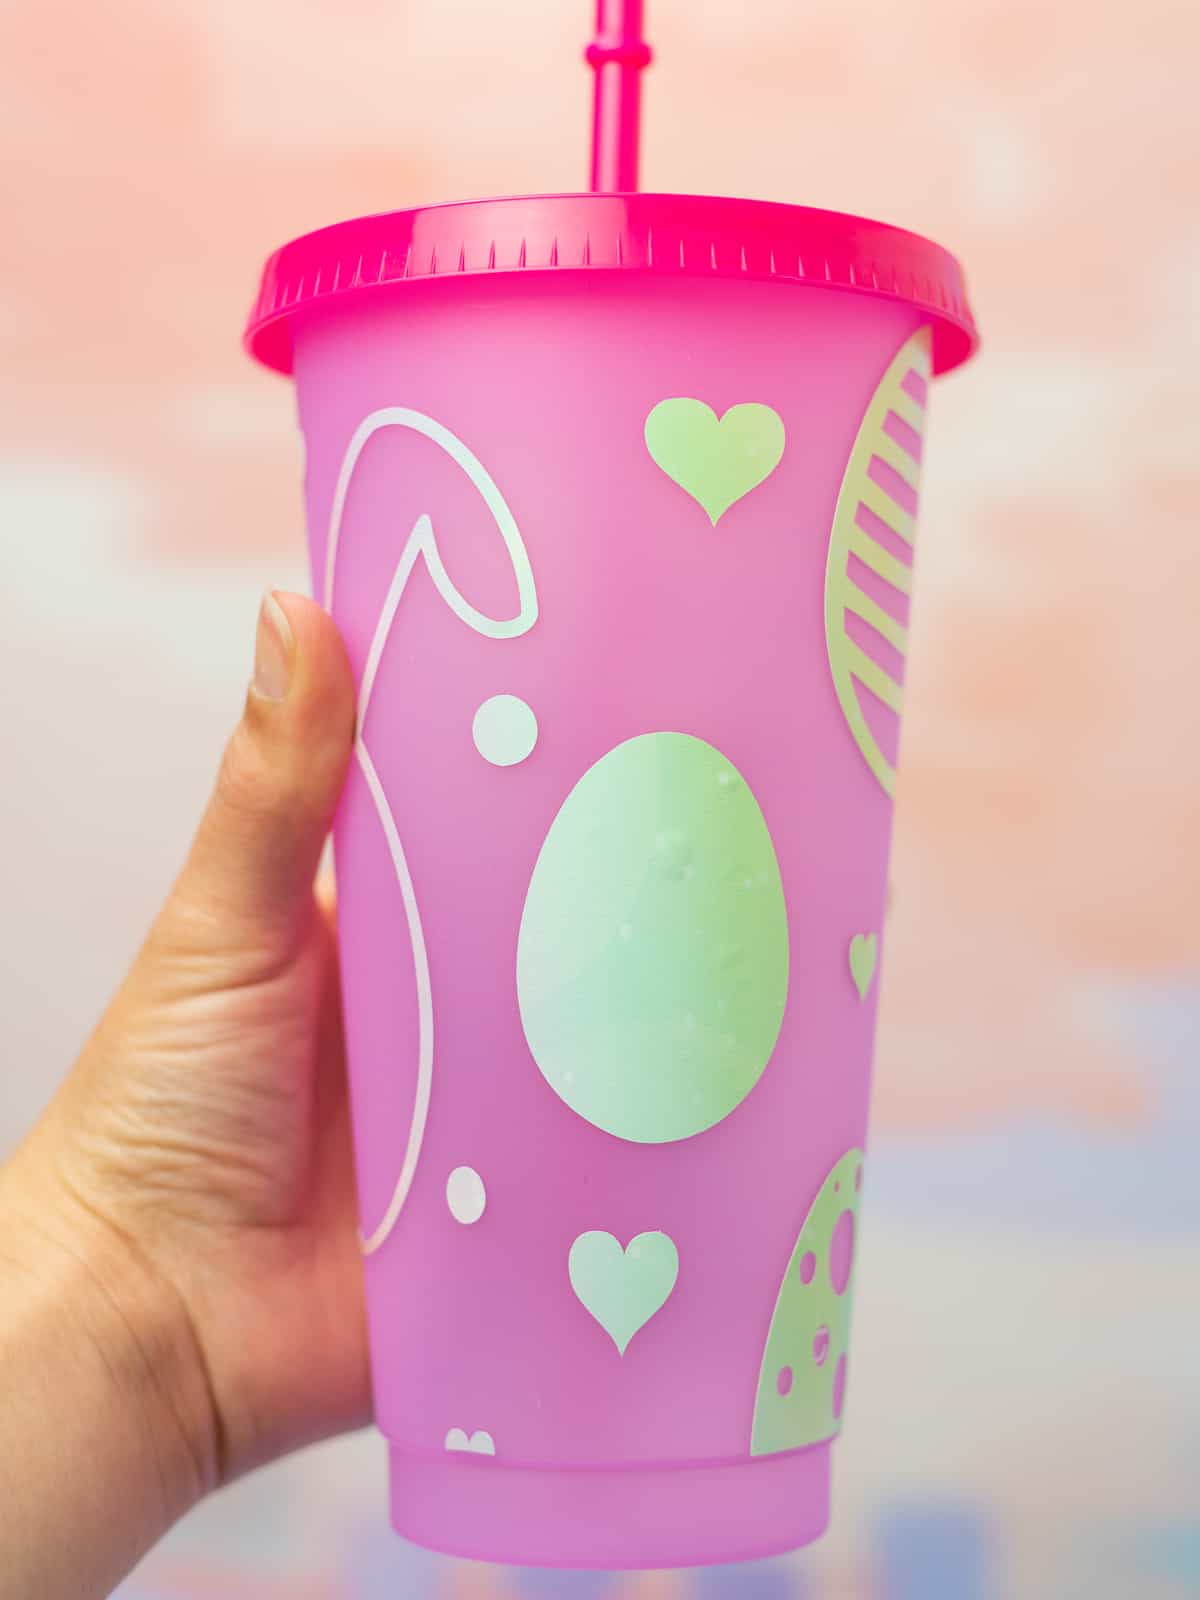
Easter Egg Tumbler
Grab adhesive vinyl and make an Easter Egg tumbler using the Conical Warp tool in the Silhouette Software!
Materials
Tools
- Silhouette Cameo
- Cameo 4 Autoblade
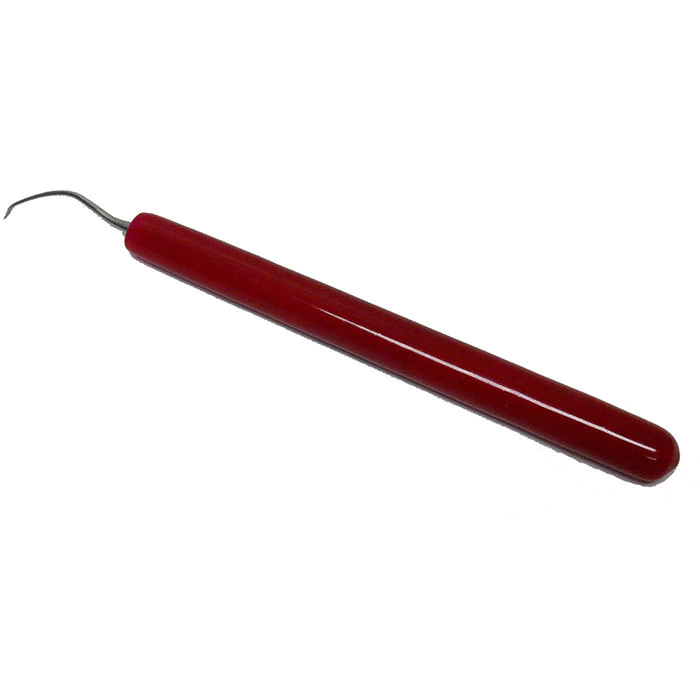
- Weeding Tools
Instructions
- Open the Easter Egg cut file in your Silhouette Studio.
- Rearrange and resize the Easter eggs and add circles, hearts and other shapes in the software.

- Open the Warp tool in the Silhouette Studio.
- Open Conical Warp and select your entire image in the design studio.
- Click Conical Warp Selected Shapes.

- Put in the measurements for your cup.

- Hit cut.
- Weed your image.
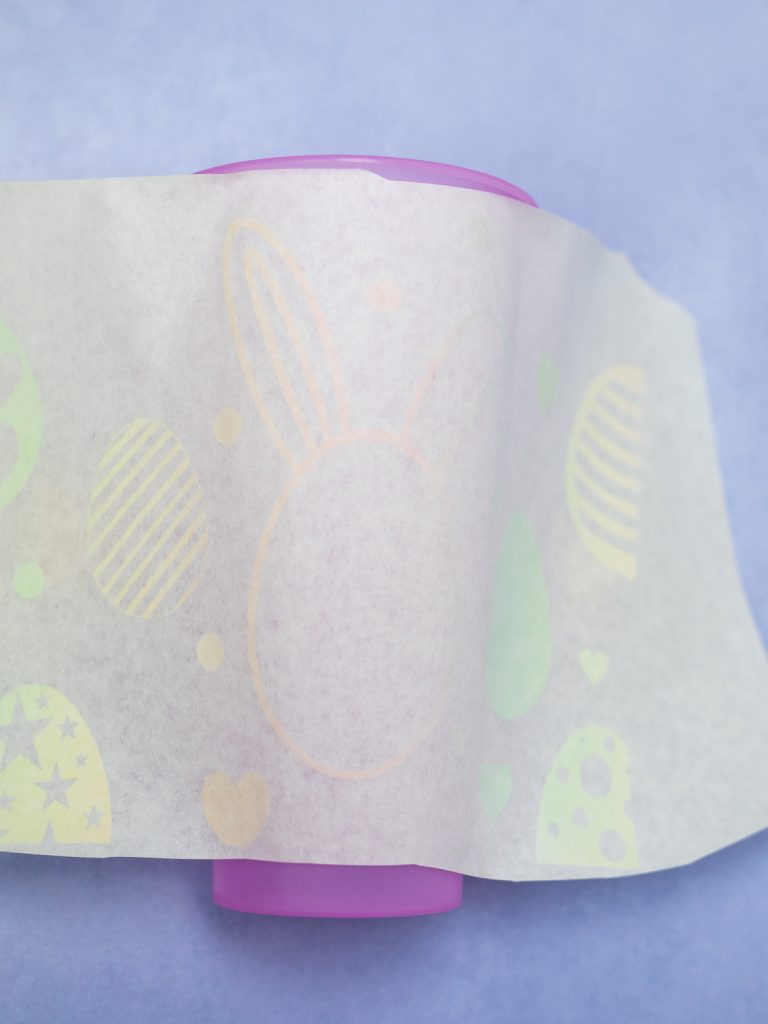
- Put a piece of transfer tape on top of your image. Pick it up.
- Place the transfer tape with your vinyl on your tumbler. Work one section at a time and rub your design onto your tumbler.
- Once the entire design is stuck to the tumbler, remove the transfer tape.
Notes
Don't forget that tumblers with vinyl should not go in the dishwasher! Handwash only with warm soapy water. Do not soak your tumbler or the vinyl will come off.
Recommended Products
As an Amazon Associate and member of other affiliate programs, I earn from qualifying purchases.