
DIY Magical Harry Potter Ornaments
Learn how to place a large adhesive vinyl decal on a Harry Potter ornament using M&M style Christmas bulbs from Hobby Lobby!
Post was updated on November 12, 2021
Have you ever tried to put a large adhesive vinyl decal on a round Christmas ornament and had trouble with the vinyl folding or creating bubbles?
This happens when your vinyl decal is too large. You’ll quickly find out that you can’t easily lay a large decal on a round ornament, and it can cause lots of frustration and wasted vinyl.
But you know what does work? Flat ornaments (also knows as M&M style Christmas bulbs).
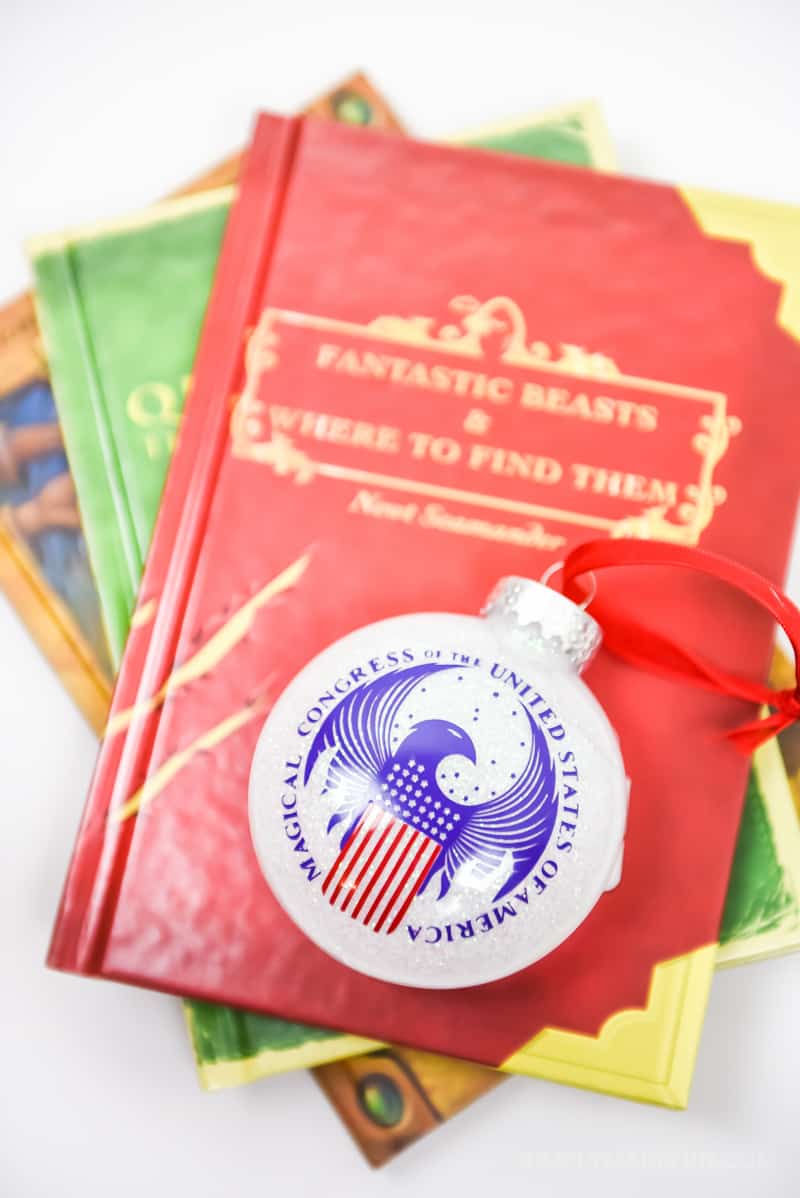
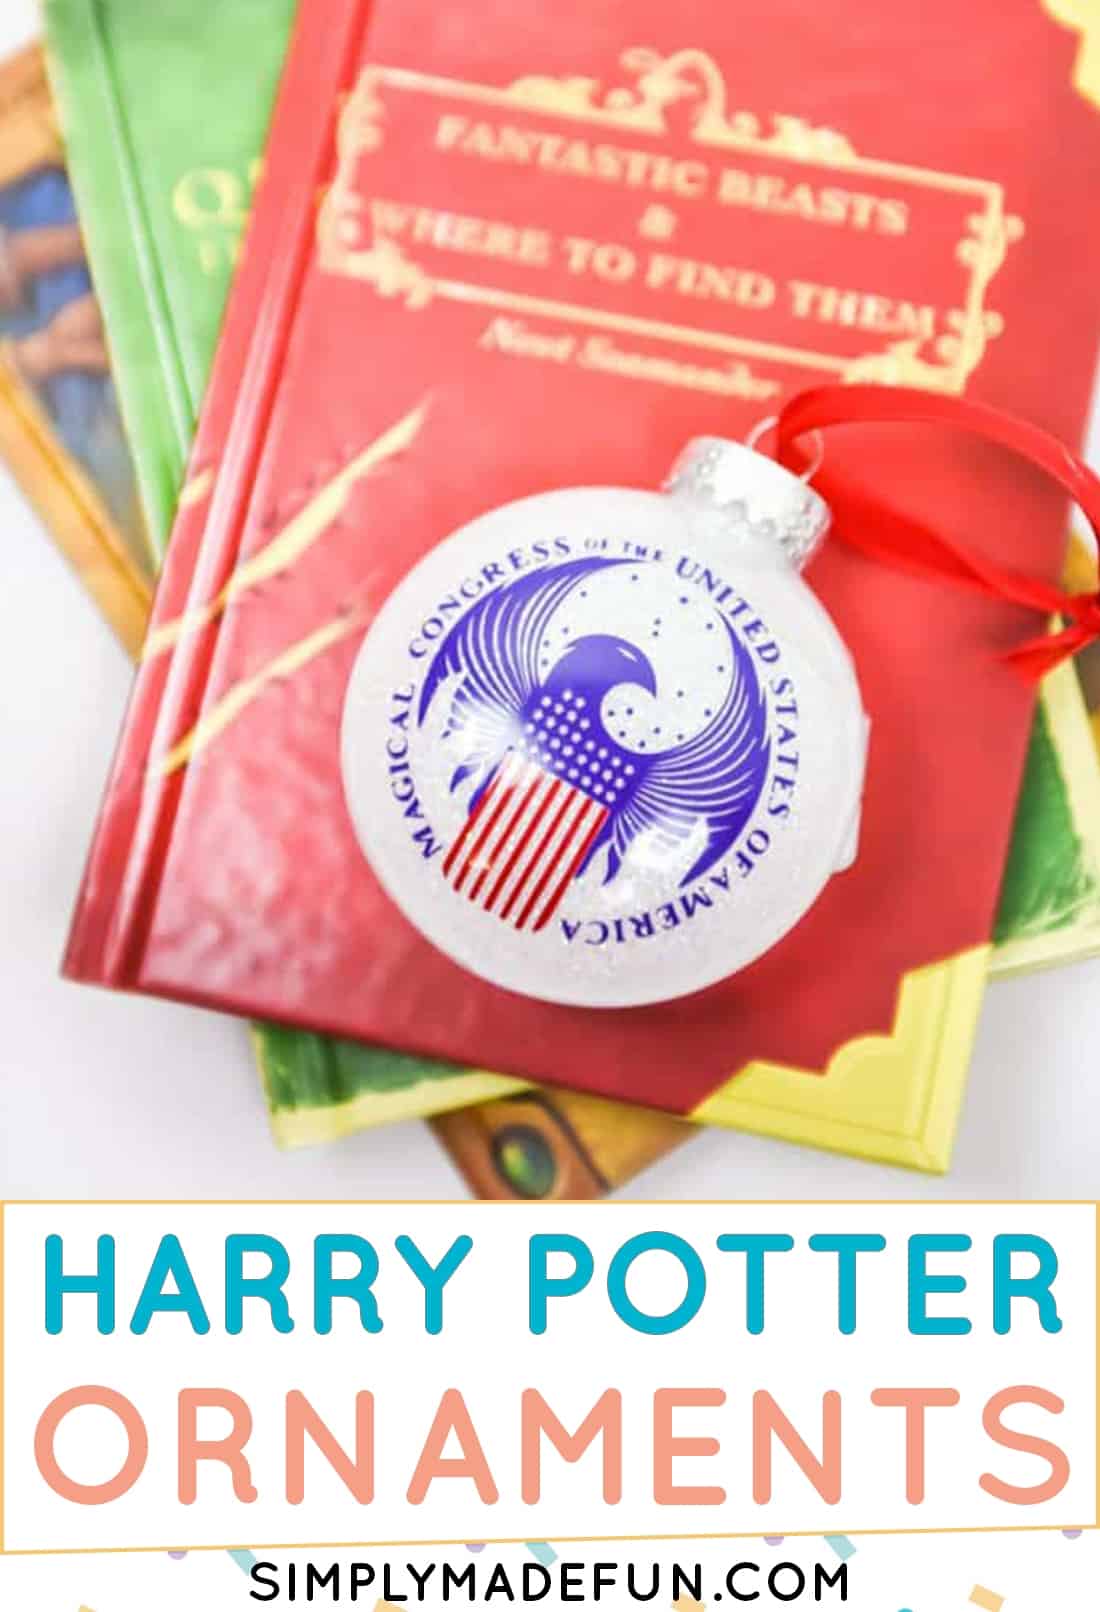
I knew I wanted to put the logo for the Magical Congress from Fantastic Beasts and Where to Find Them on a Christmas ornament for my Harry Potter tree, but a round ornament wouldn’t work!
That’s why I used an M&M Christmas bulb to make these Harry Potter ornaments!
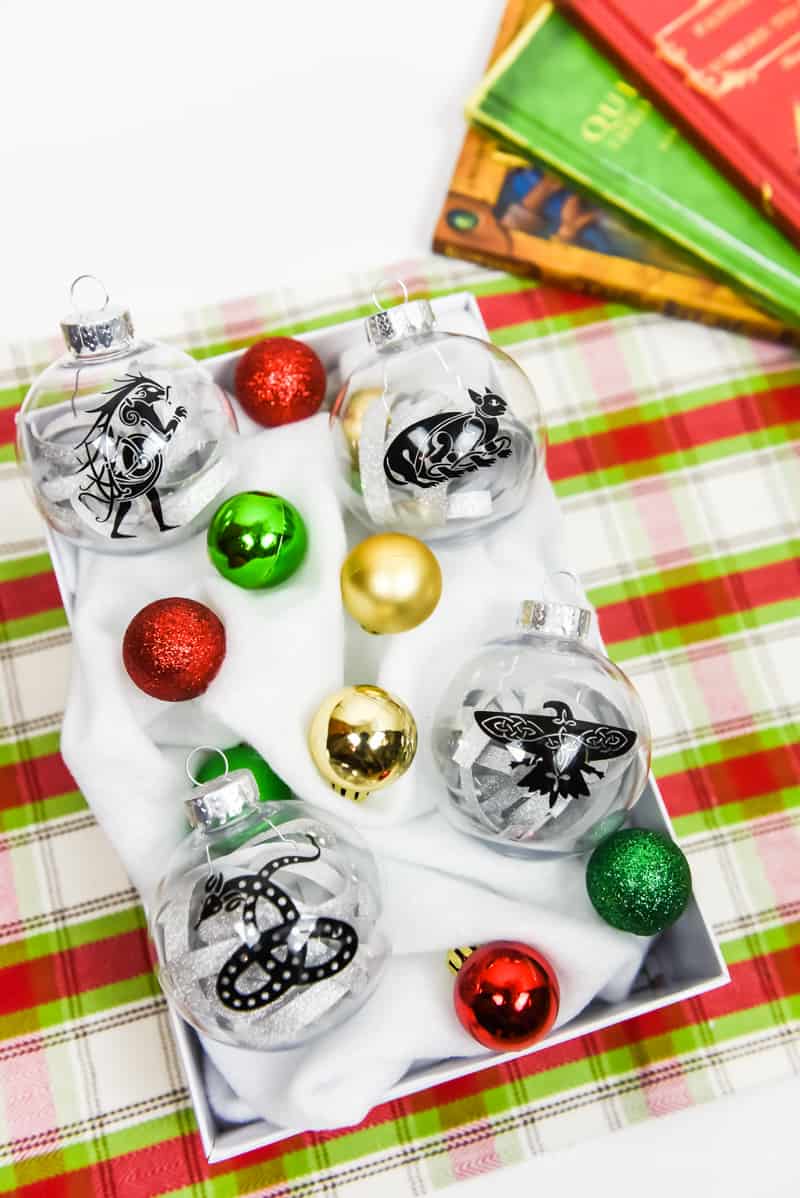
I decided to do a whole collection of Harry Potter ornaments for our tree, some of them were made of paper and others were made with bulbs.
For this project I used bulbs, both flat (m&m style) and round.
For the flat ornament I chose to coat the inside with glitter like I did for these Christmas ornaments. Inside the round ornaments I cut strands of glitter paper and curled them with scissors to put inside the ornaments.
To hang them on the tree I cut ribbon and thread it through the top of the bulb and then tied it in a knot. You can’t see the knot once you hang it on a tree branch, so it worked out perfectly!
Materials
To make this project you’ll need:
- Flat and Round Christmas Ornaments
- Glitter
- Polycrylic
- Adhesive Vinyl
- Transfer Tape
- Glitter Paper
- Silhouette Cameo
- Silhouette Cameo 4 Autoblade

The hardest part about making these Harry Potter ornaments was trying to get the vinyl to stick to the surface. I didn’t want to use a perfectly round ball ornament because this design is big and has multiple layers.
And trying to put a large design on a round ornament is tough. So I went with a flat M&M ornament to make it a little easier on me!
This post contains affiliate links. I may earn commission from qualifying purchases at no additional cost to you. I will never recommend a product I don’t use or trust.
Tips on how to lay a large design on these Harry Potter ornaments!
1. Why do you need to use flat M&M ornaments for this project?
I really love M&M ornaments because they’re flat and you don’t have to worry about applying vinyl to a round surface. If you’re new to vinyl decals I would highly suggest using a flat surface to start out with. Then you can get the hang of applying large decals to different types of surfaces.
2. How large do you make the vinyl decals?
It really depends on how large your ornaments are but I like to leave at least a little bit of white space around the edges.
If you’re using a round ornament I like to keep the ornaments between 1.5 inches tall and about 1 inch wide. But it really depends on what you’re comfortable with!
3. What happens when you lay your vinyl decal on the ornaments and you get bubbles?
If this happens to you (and it happens to all of us!) grab a hair dryer and apply heat. It loosens the glue a bit so you can easily rub out the bubbles.
Just go slowly and be gentle!
You can also go to this post to see how we layered vinyl decals on a round ornament with the dry hinge method — this prevents bubbles and creases!
4. What type of transfer tape would you suggest for this project?
I have a few thoughts on this so bare with me!
I always love using grid transfer tape but I really think that would be too sticky for these Harry Potter ornaments! If you’re having trouble getting your vinyl to stick to your ornaments, it might be your transfer tape that’s causing the issue.
If you’re having issues try switching to paper transfer tape. For some reason this works better on certain projects so I would try it for this if you’re having trouble.
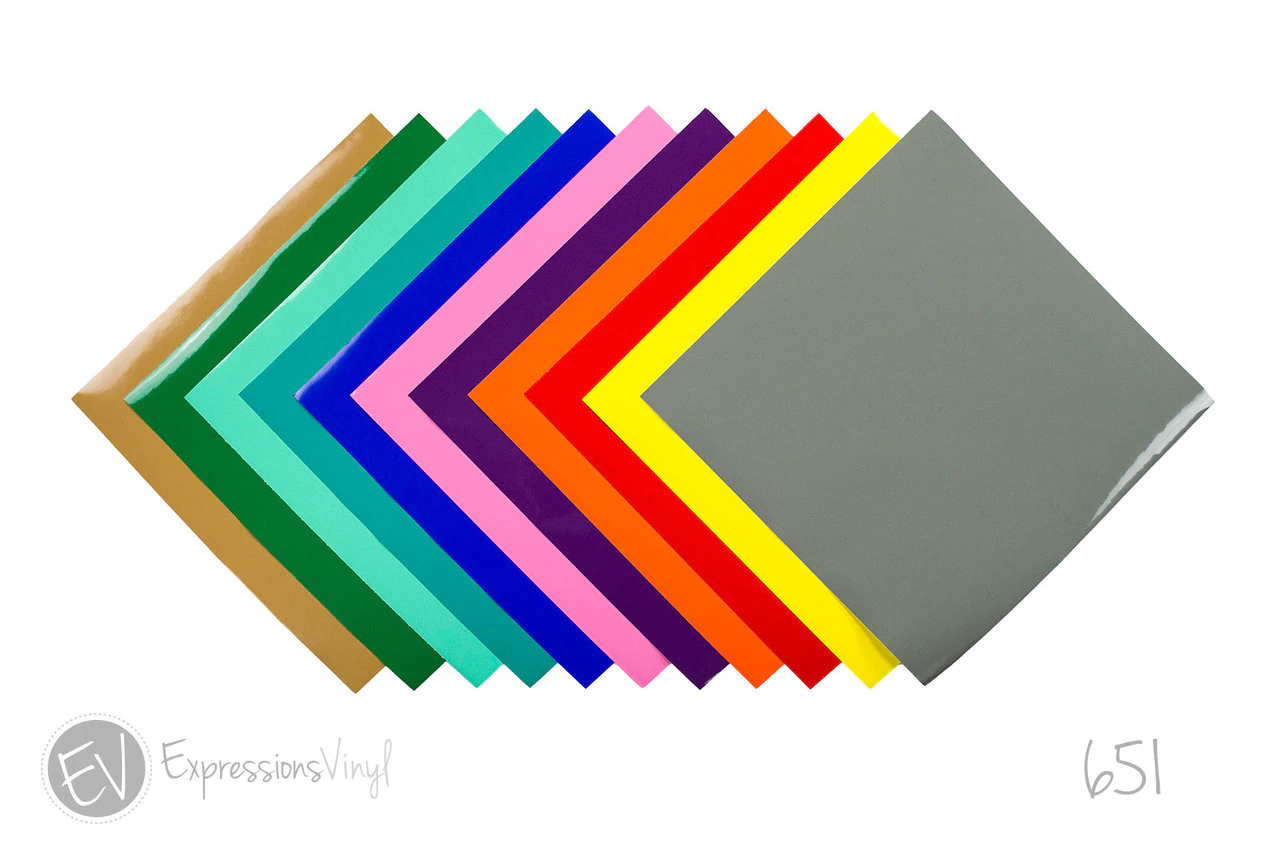
5. What vinyl do you use for these Harry Potter ornaments?
Oracle 651 vinyl is what you should use!
Unless you want to reuse the ornaments next year and put a different design on them you should always use permanent vinyl.

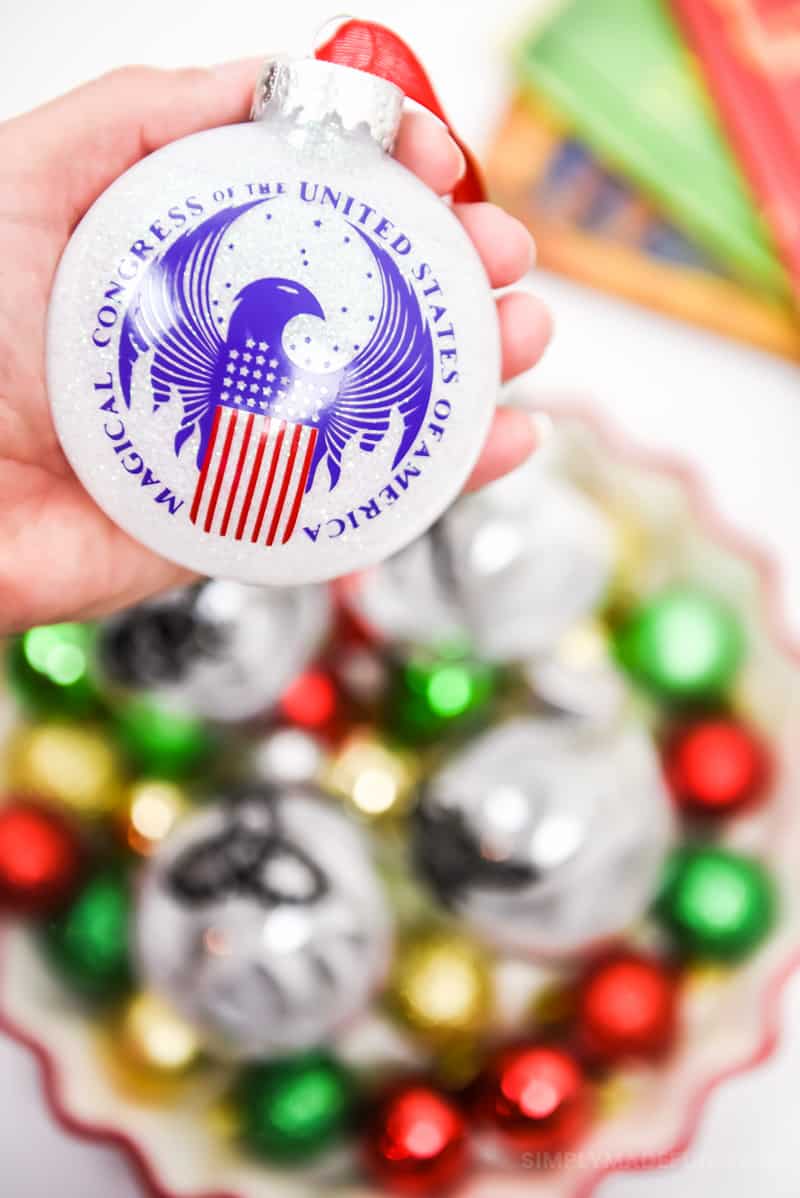
Since my favorite part of the movie was getting to see the inside of the Magical Congress (the American version of the Ministry of Magic), I decided to make the logo into an ornament.
It was super tough but worth it! And of course, I also had to make some Ilvermorny ornaments to go with it.
If you have issues with losing tiny details in your design when weeding, check out this post that gives you tips on how to cut and weed small pieces of vinyl!
More Harry Potter crafts on the blog!
- Harry Potter Infusible Ink Tote Bag (and a free file!)
- Harry Potter Polymer Clay Earrings
- Harry Potter Layered Vinyl T-shirts
- Harry Potter His & Hers Mugs
- Harry Potter Onesies
Let’s make our own Magical Harry Potter Ornaments!

Magical Harry Potter Ornaments
Materials
- Christmas Bulbs
- Glitter
- Polycrylic
- Permanent Vinyl
- Transfer paper
- Construction Paper
Tools
- Silhouette Cameo
- Silhouette Studio Designer Edition
- Silhouette Tool Bundle
Instructions
- Start by putting glitter in your Christmas bulbs (you can find the tutorial here).

- Cut out your designs with your Silhouette machine. (see note #1)
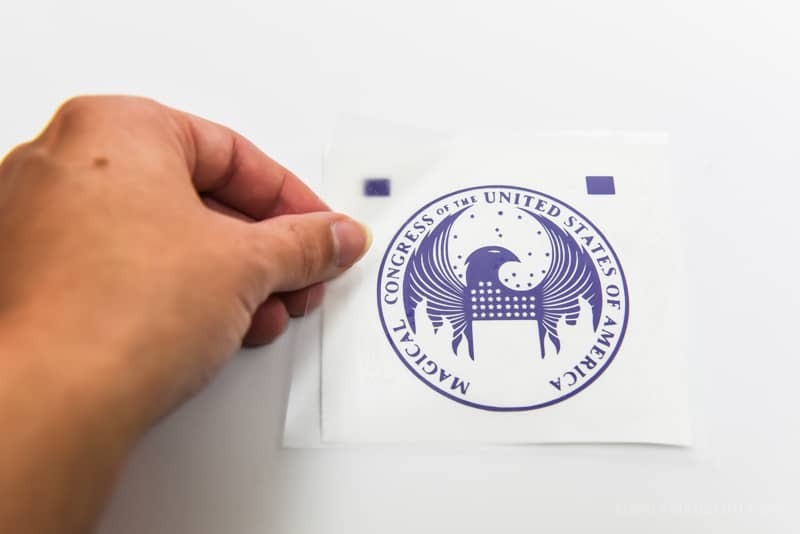
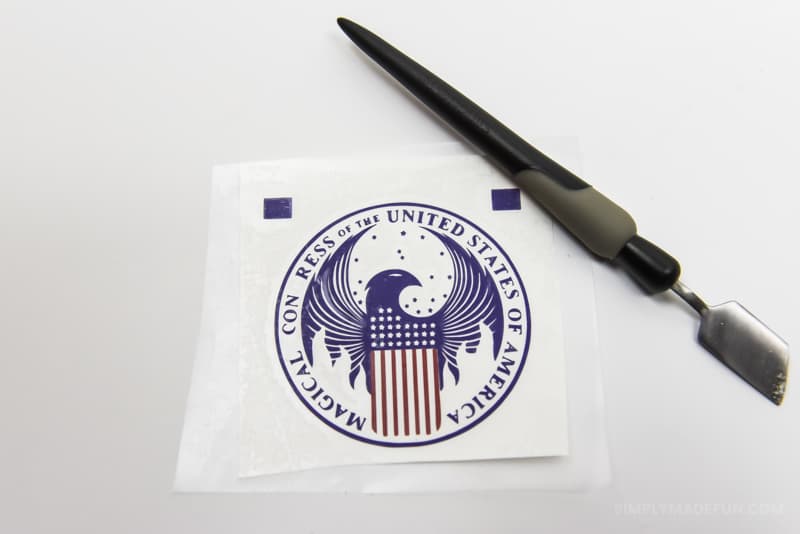
- Place transfer paper over your design and use your Silhouette scraper to rub the transfer paper over your design.
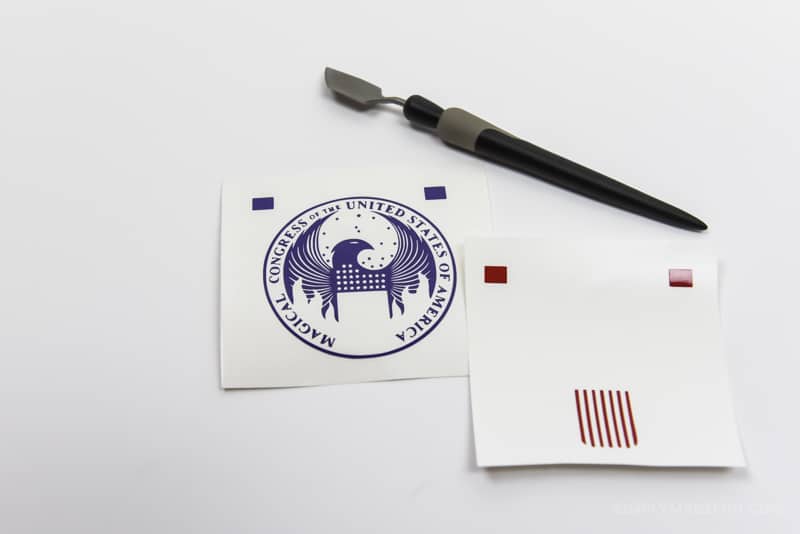
- If you're doing the Magical Congress design and are wondering how to line the layers up correctly, cutting tiny boxes with each layer of the design and lining them up as you lay the colors on top of each other will help you get it right! You can also visit this post for more help and information!
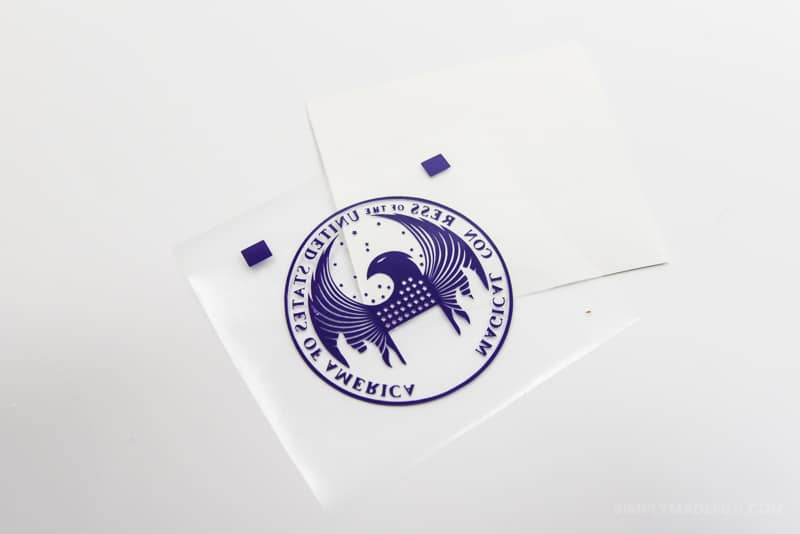
- Cut tiny slits in your transfer paper before you put the Harry Potter designs on the Christmas bulbs. This is especially helpful if you're using round ornaments because you can manipulate the vinyl easier and get it to lay flat!
- Line your design up on your bulb and slowly press it down, being extremely careful that you don't get any bubbles in your vinyl. This took me a while because I went super slow. I honestly don't think I would've been able to line up the Magical Congress design on a round bulb. I'm so glad I used the M&M shape and highly recommend it if you want to make Harry Potter ornaments of your own!
Notes
1. These designs are small and intricate and can be hard to cut! I recommend a deep cut blade and using the tips and settings from this post to help you get the best cut with your machine!
2. Check out the video in this post for a closer look at how to lay vinyl on a round surface!
Recommended Products
As an Amazon Associate and member of other affiliate programs, I earn from qualifying purchases.


- Harry Potter Hand Painted Ornaments by Laura of Me and My Inklings
- Christmas Cheer & Butterbeer SVG by Lindsay of Artsy Fartsy Mama
- Hogwarts House Ornaments by Laura of Laura’s Crafty Life
- Harry Potter Free Printable Tags by Smitha of Smiling Colors
- Hogsmeade Christmas Tree Farm SVG by Shani of Sunshine & Munchkins
- Weasley Christmas Sweater Ornaments by Erica of 5 Little Monsters
- Harry Potter Hedwig the Owl Ornament by Justine of Little Dove
- Magical Harry Potter Christmas Ornaments by Kelsey of Poofy Cheeks
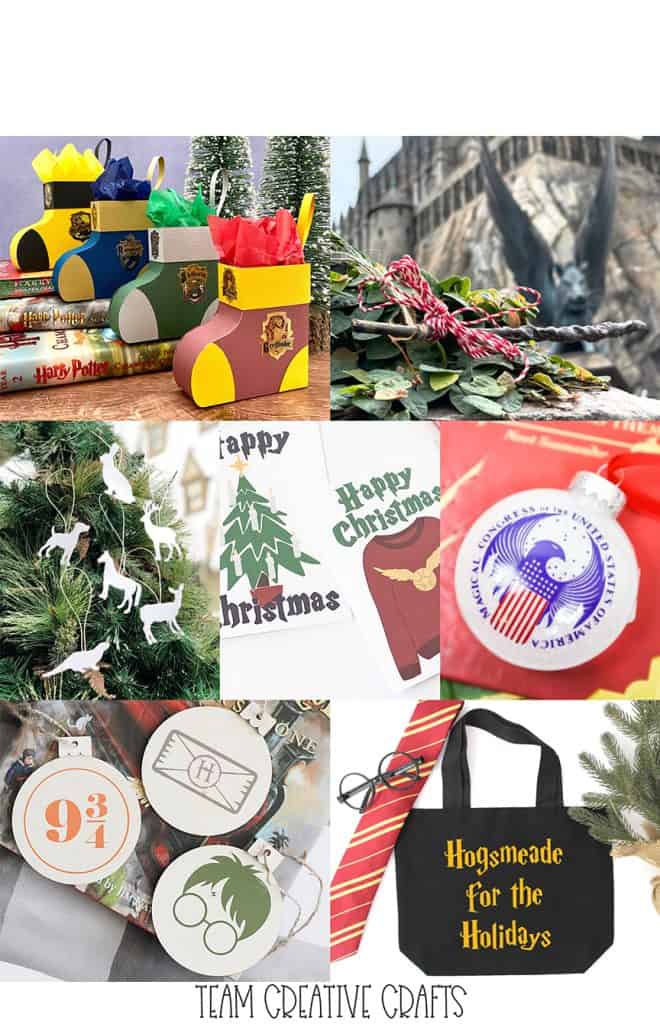
- Patronus Ornaments with Free Templates by Beth of Creatively Beth
- Magical Harry Potter Wand Ornament by Laura of Me and My Inklings
- Free Printable Happy Christmas Cards by Liz of Liz on Call
- Harry Potter Stocking Treat Boxes by Kimberly of Crafting Cheerfully
- Ornaments Inspired by Harry Potter by Ginger of Ginger Snap Crafts
- Hogsmeade for the Holidays SVG by Elise of Polka Dotted Blue Jay
- Magical Harry Potter Christmas Ornament by Teresa of Simply Made Fun
These ornaments are great! They came out so cute! I’m excited to look at all the other HP goodies too!
I must be doing something wrong, or I’m not seeing where to get the SVG for this ornament. I even checked your library and still haven’t found it. Do you have it for sale somewhere? Please let me know. Thank you.
Hello! I do not offer this file as a free svg. I found it on the Facebook group Accio Cameo!
Thank you for letting me know.