
Laminated Back to School Lunch Notes
This post contains affiliate links. I may earn commission from qualifying purchases at no additional cost to you. I will never recommend a product I don’t use or trust.
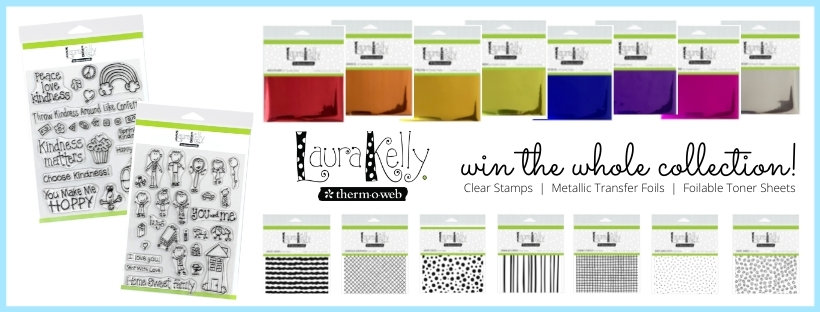
Send notes with your children’s lunch for birthdays, big tests or just because with Laura Kelly’s Therm-o-web collection! You can make laminated back to school lunch notes so you can use them year after year.

This post is brought to you by Therm-o-web and Laura Kelly! I was sent a box in exchange for a project and blog post but all opinions are my own.
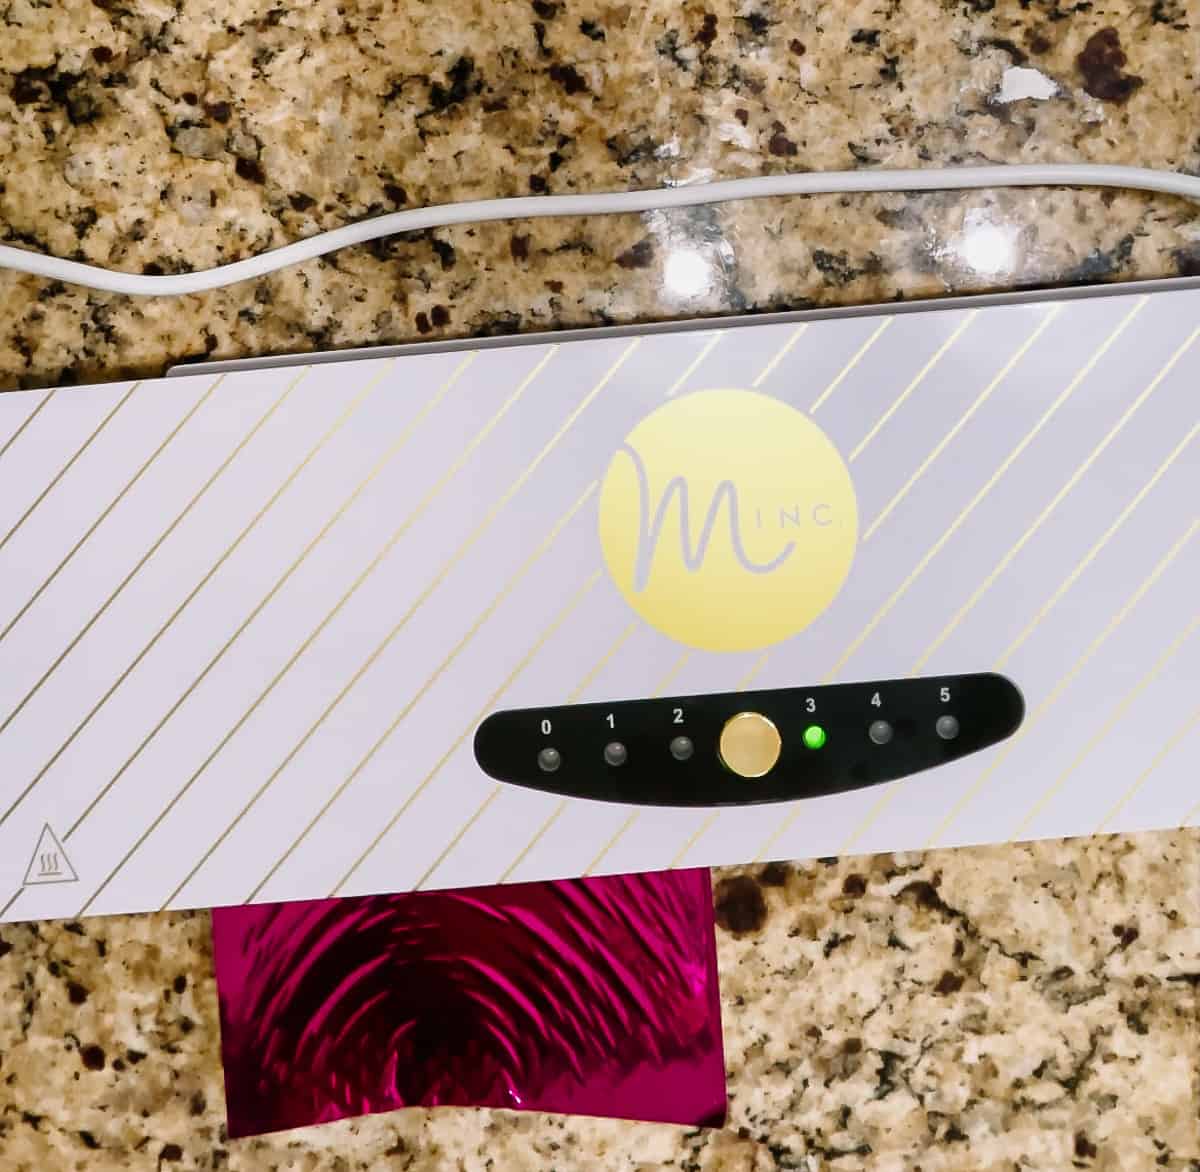
I love using my MINC machine by Heidi Swapp for projects! I haven’t had the excuse to do it in a while but pulling it out to foil some back to school lunch box notes sounded like a good reason to do it!
In order to foil projects you need to use a design that’s been printed with toner ink. If you don’t have a toner printer you can get things printed at Staples or Office Depot (like I did for this project) or you can use toner sheets found at Therm-o-web so that the foil will stick to the ink.
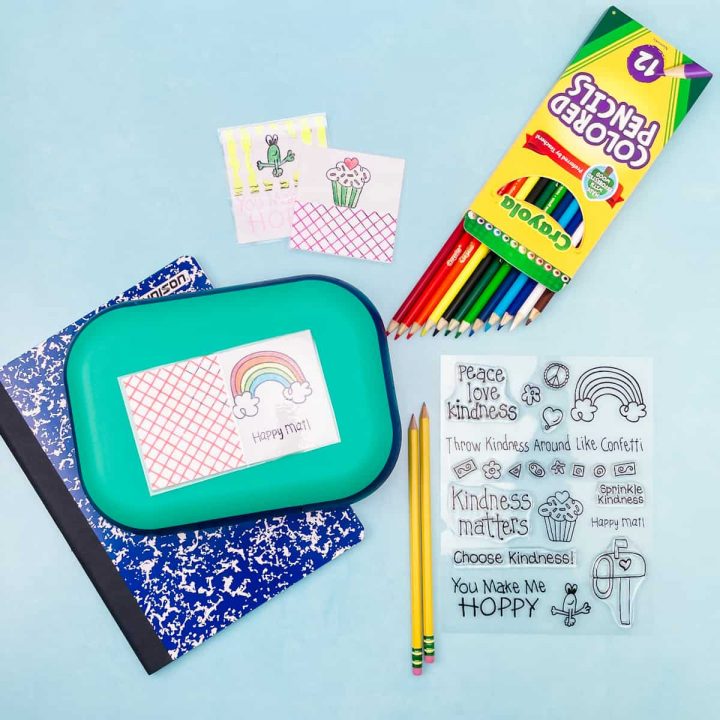
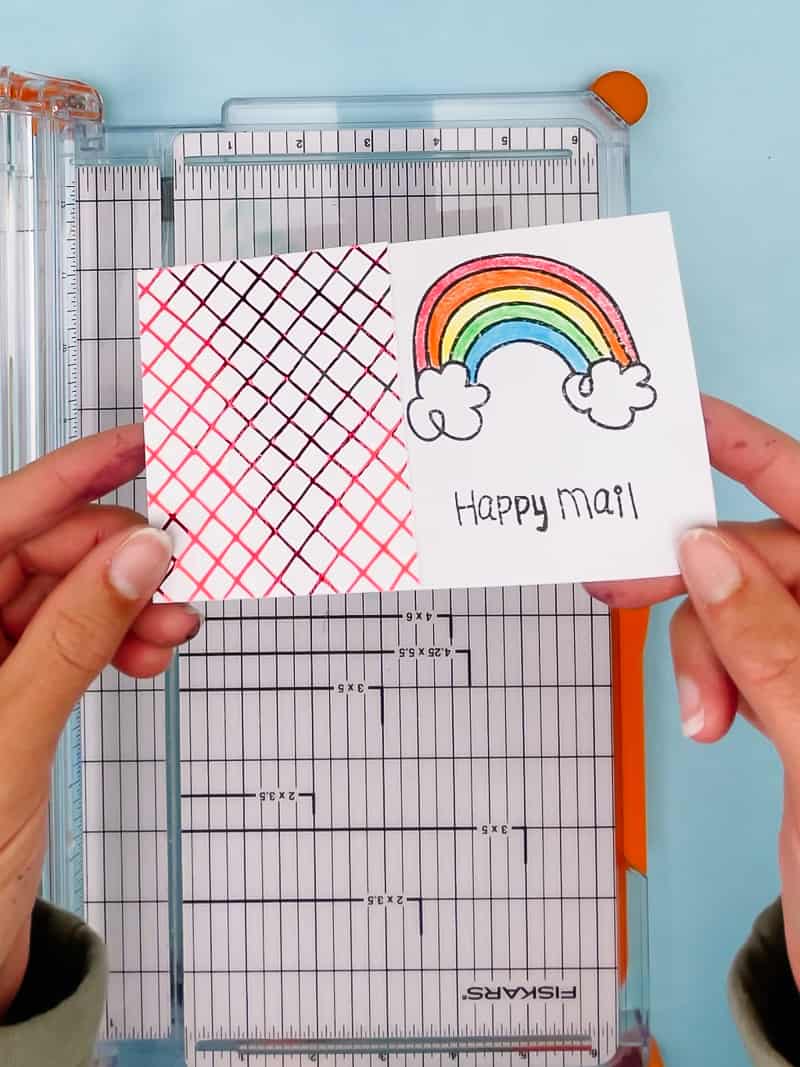
Using foil, colored pencils and stamps you can make really cute laminated back to school lunch notes to put in your child’s lunch box!
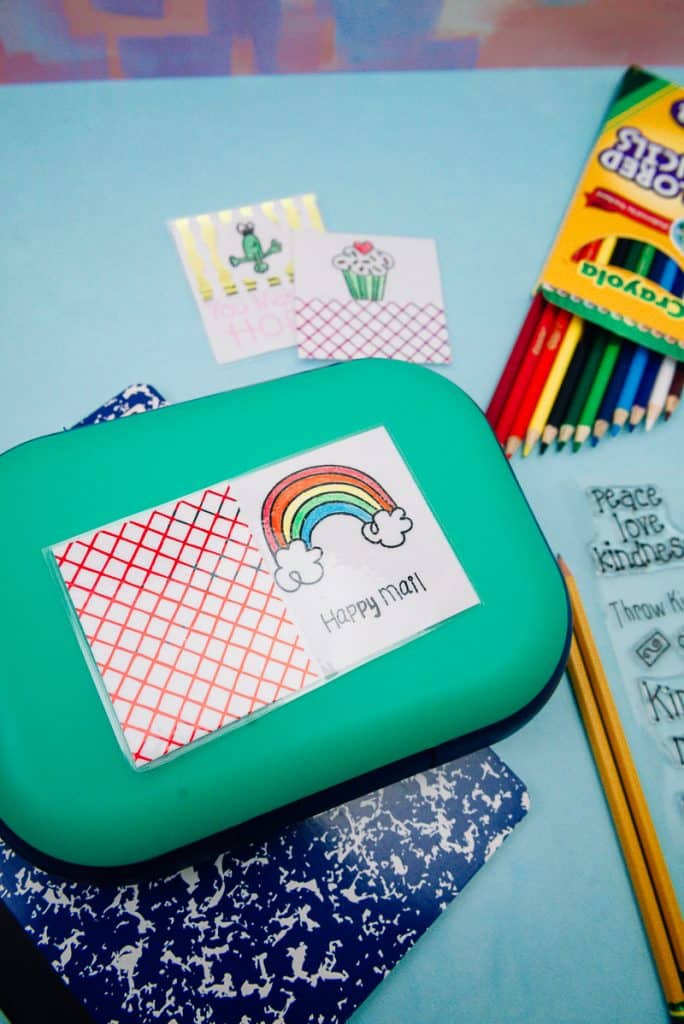
We decided to laminate our lunch notes so that you can reuse them year after year. You can use your MINC machine to do this as well, it’s not just for foiling designs!
We also realized that even though we used mounting squares on our lunch notes, once you put them in the laminator it flattens everything out.
So…keep that in mind if you want to laminate your notes!
Materials
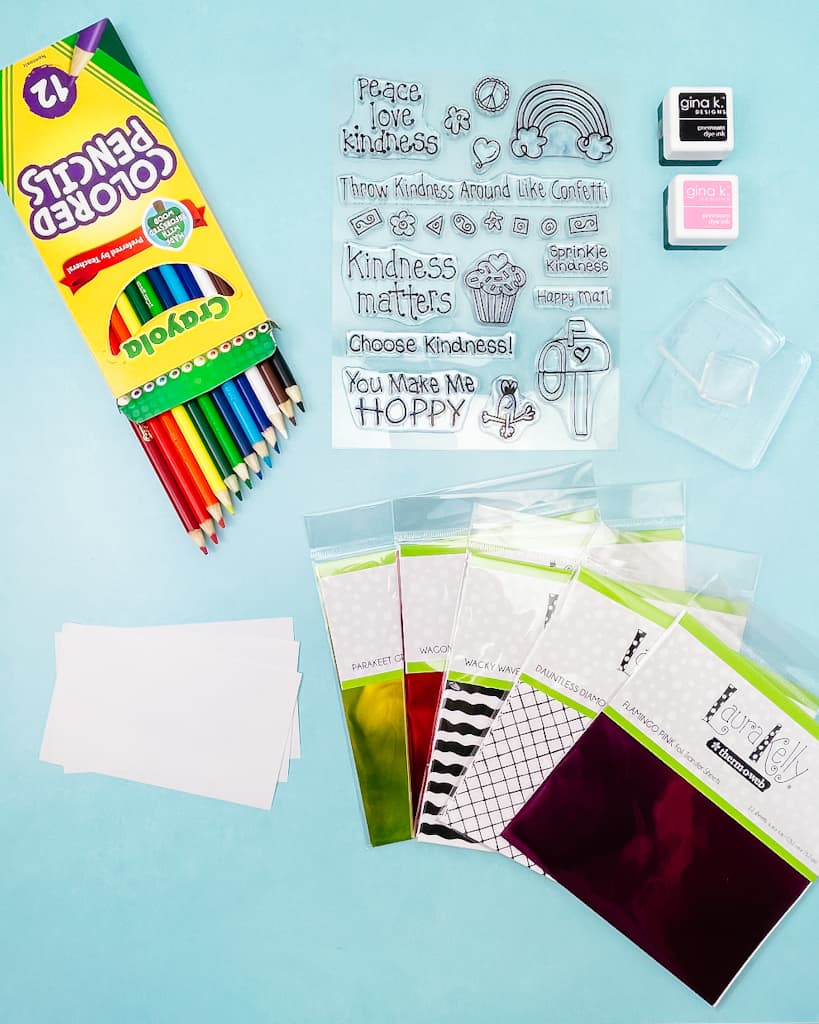
Heres a list of all the items we used to make these laminated Back to School lunch notes!
- Laura Kelly Therm-o-web Foil Transfer Sheets
- Laura Kelly Therm-o-web Toner Sheets
- Laura Kelly Stamps
- Notecards
- Colored Pencils
- Ink
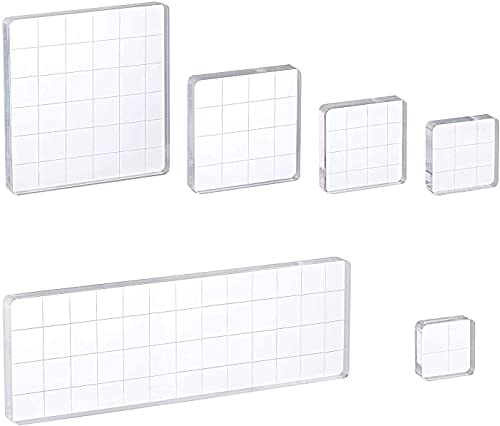
- Acrylic Stamp Blocks
- Minc Machine or Laminator
- Laminating Pouches
Tips to make these laminated back to school lunch notes.
What time of laminator works best on foil sheets?
I have a MINC machine that I use but you do not need it! You just need a good laminator that’ll heat up your toner so that the foil can stick.
You can find all types of laminators on Amazon, this one would work great and it’s cheap!
How do you put your foil sheet and toner sheet through the laminator?
Put the foil sheet on top of the toner sheet and send it through your laminator.
Once it’s out, pull your foil sheet off the toner sheet! You’ll see the foil that was left behind on your toner sheet, and that’s what you can use on your card.
How much ink do you need to use on your stamps?
Just put enough ink on your stamp to cover the whole stamp. You don’t want to put too much ink on the stamp or else it’ll bleed when you go to stamp it on your paper.
Faqs for this craft project
What happens if I get too much ink on my stamp?
Keep a small wet paper towel next to you and wipe off any excess ink from your stamp before you use it.
Make sure to let the water dry before stamping though, otherwise you’ll ruin your paper!
What happens if the foil doesn’t stick to the toner sheets?
Check to make sure your machine is hot enough before you run your sheets though. If it’s not heated up all the way your foil won’t be able to adhere to the toner sheet.
Other 20 minute craft projects to make!
- Harry Potter Infusible Ink Tote
- How to Use HTV on Shirts
- How to Cut Paper with your Silhouette
- How to Use Printable HTV
- Color Outside the Lines Stickers
Laminated Back to School Lunch Notes
Send notes with your children's lunch for birthdays, big tests or just because with Laura Kelly's Therm-o-web collection! You can make laminated back to school lunch notes so you can use them year after year.
Materials
- Laura Kelly Therm-o-web Foil Transfer Sheets
- Laura Kelly Therm-o-web Toner Sheets
- Laura Kelly Stamps
- Notecards
- Colored Pencils
- Ink
- Stamp Pads
Tools
Instructions
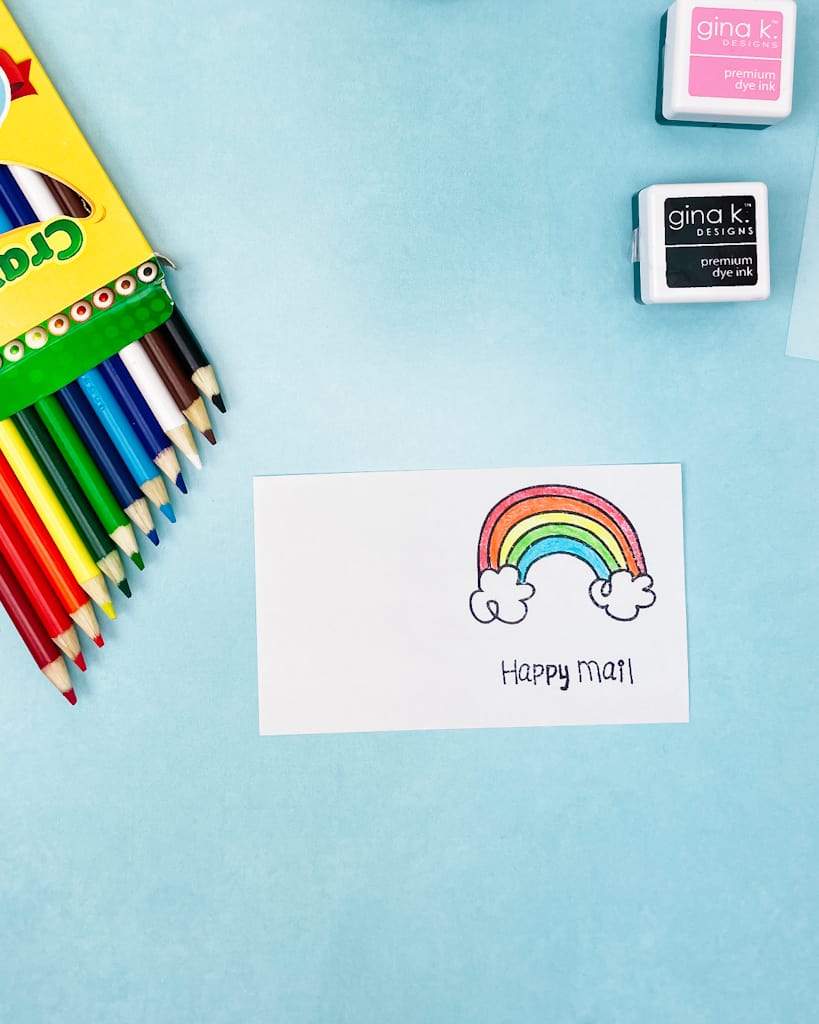
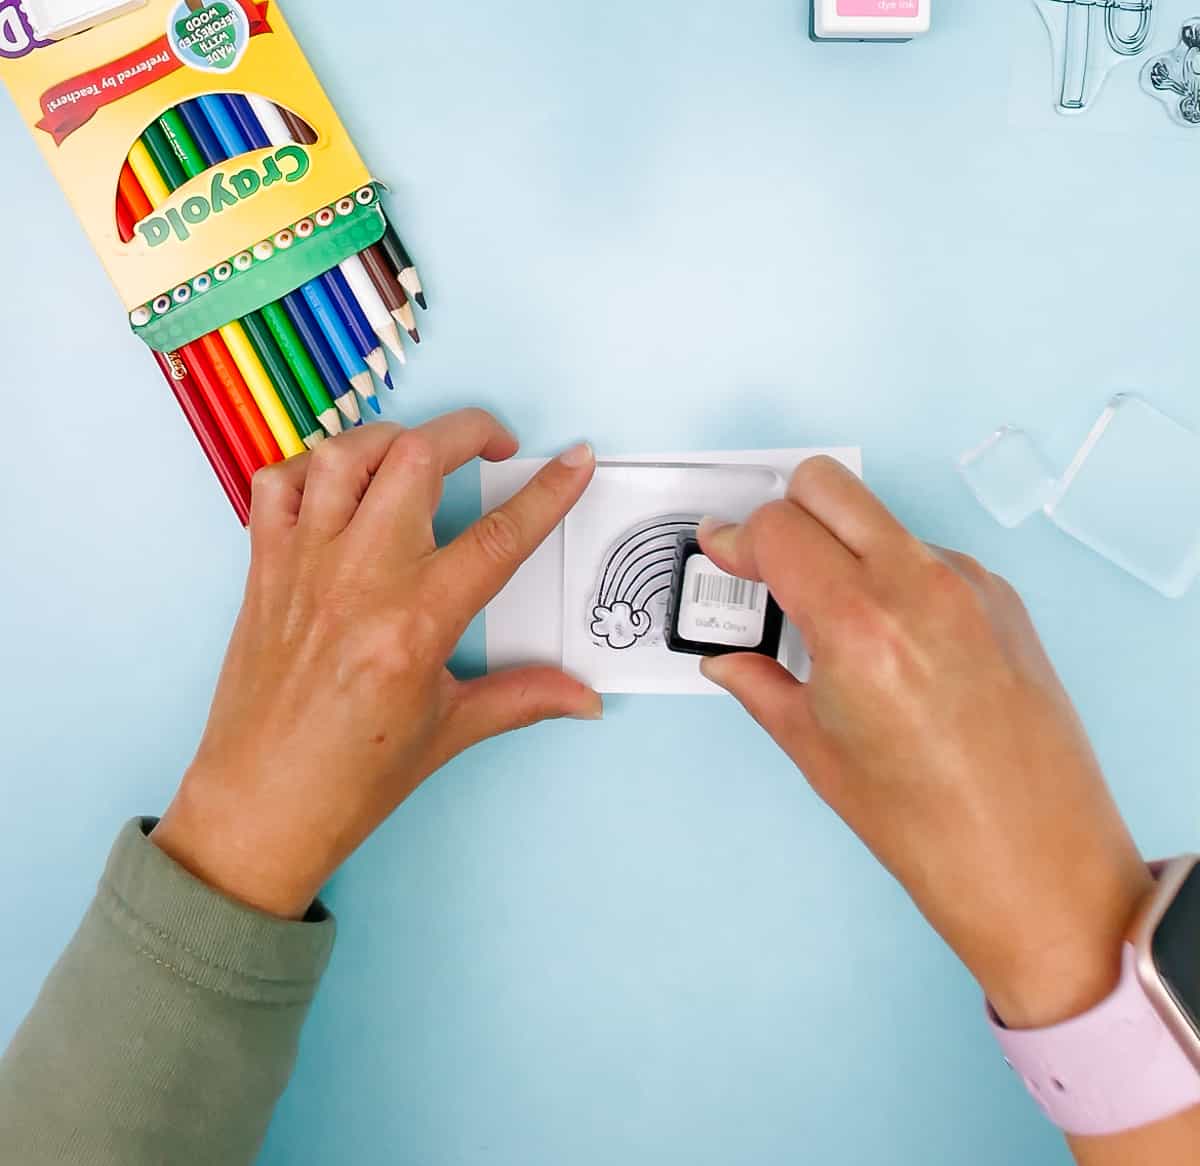
- Pick out your stamp, put it on the pad and dab it with ink. Make sure you cover the entire stamp with ink before you press it!

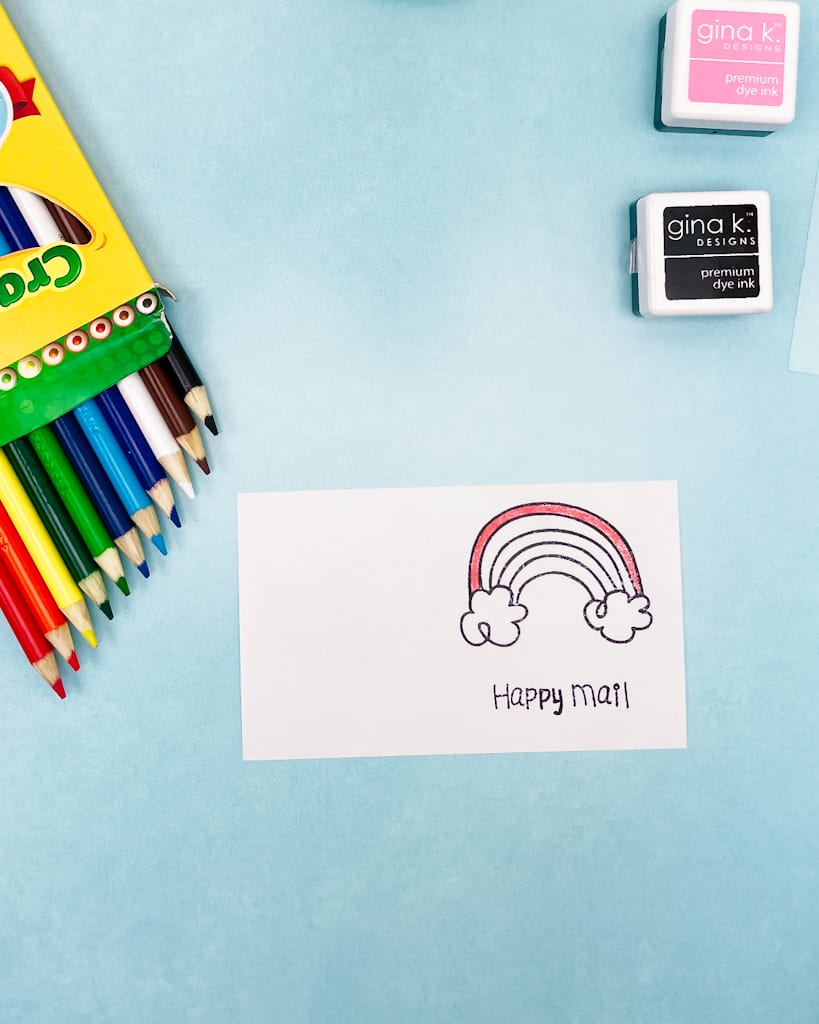
- Grab a notecard and then press the stamp on it. Make sure you press evenly to get a clean stamp on your paper!

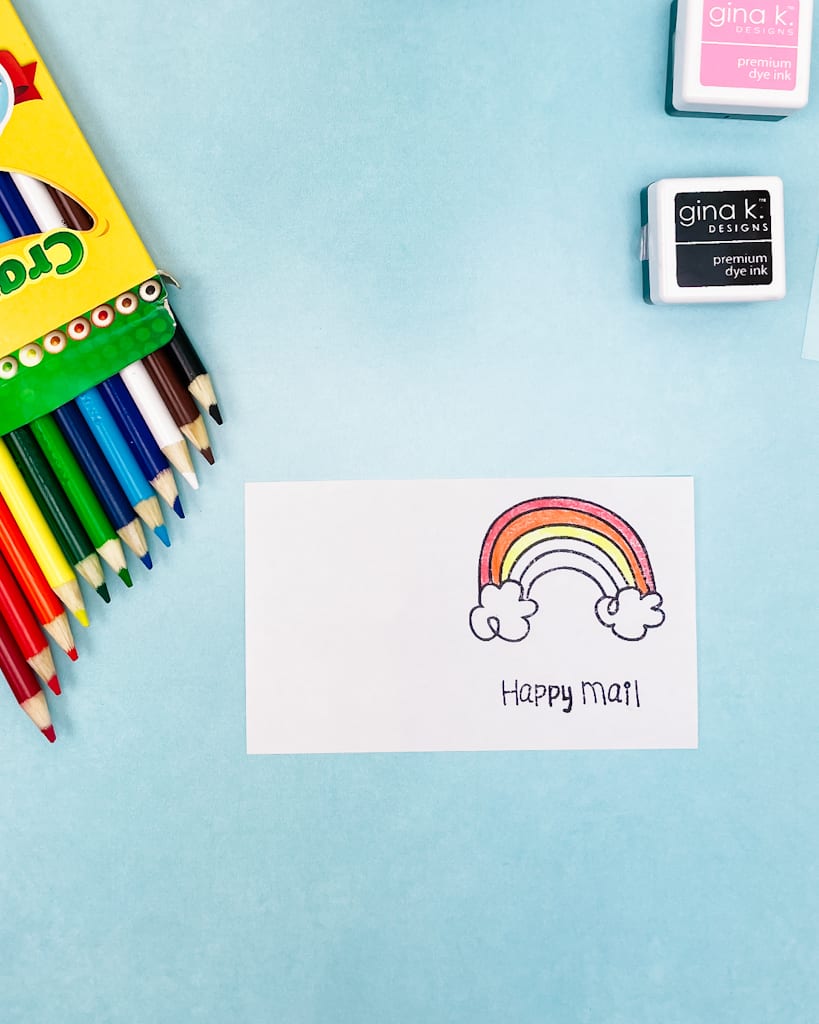
- Color your stamp in!
- Now, heat up your laminator machine.

- Place your foil on top of your toner sheet and put it through the laminator. Pull the foil sheet off your toner sheet.

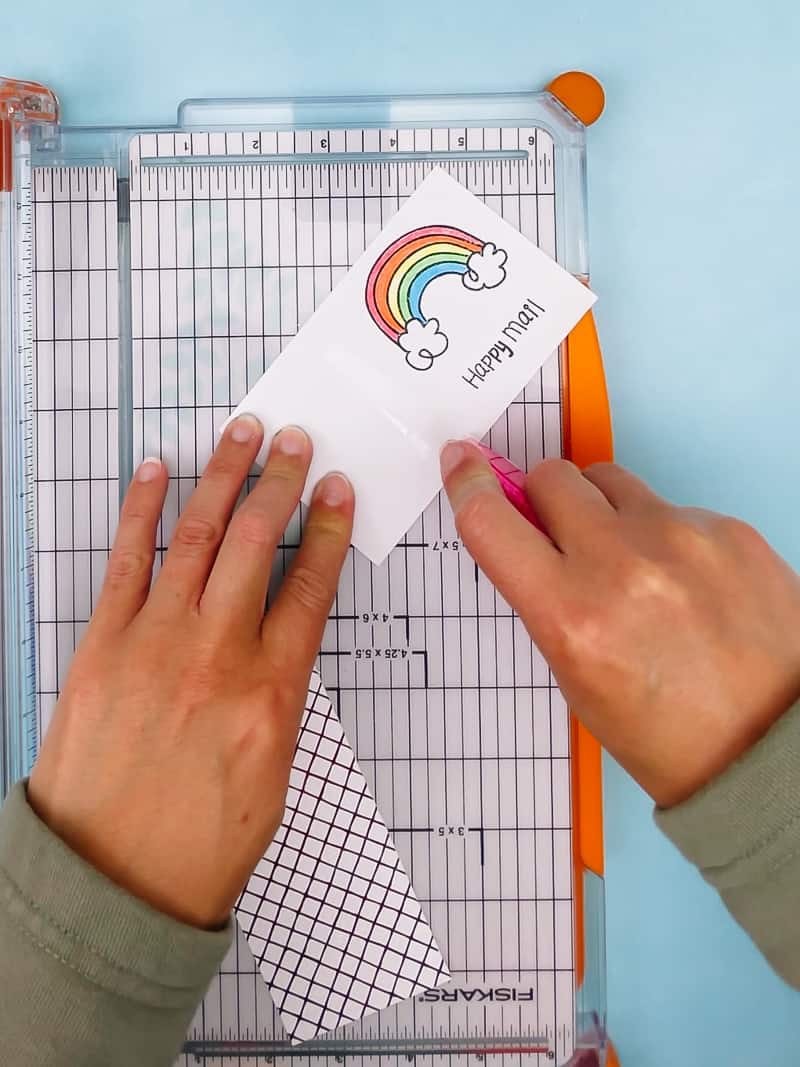
- Next cut the toner sheet down so that it fits on your notecard using double-sided tape to get it to stick to your notecard.
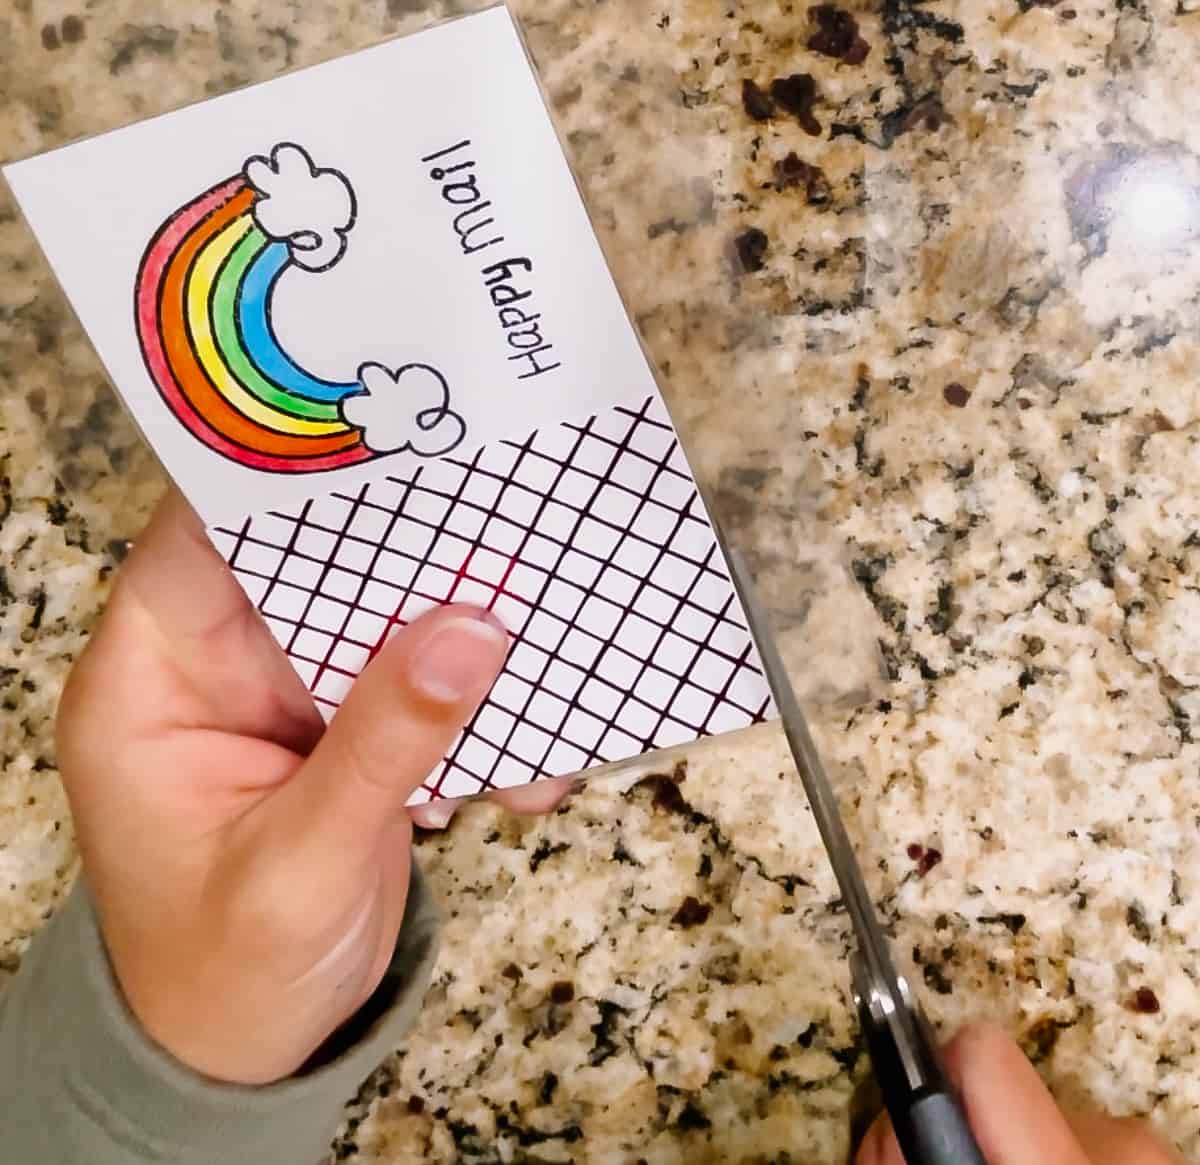
- Put your note card inside a laminator sheet and run it through your laminator. Then cut down the laminated sheet if need-be to make it fit your notecard!

Recommended Products
As an Amazon Associate and member of other affiliate programs, I earn from qualifying purchases.


You can enter to win a prize back from Laura Kelly Designs and Therm-o-web! Head to Instagram to enter to win.
I want a lunch note!!!