
15 Beginner Vinyl Crafts You Need To Try


This post may contain affiliate links. If you purchase something through the link, I may receive a small commission at no extra charge to you.
Don’t be nervous to craft with vinyl! I’ve got 15 projects for you to try and tips to make the beginner vinyl crafts easy and fun!

When I first got the box in the mail I was terrified of my Silhouette machine. I unboxed it the moment UPS dropped it at my door, but as soon as I saw it I became overwhelmed by all the crafting possibilities the machine had to offer.
I’m ashamed to admit that it sat on my desk for months before I worked up the nerve to turn it on.
I just had this overwhelming feeling that I wouldn’t be able to figure it out. Since I’m an anxious person by nature I kept telling myself that I’d waste materials (and money) and that made me not want to touch the machine at all.
Which is silly because I was essentially “wasting” money by not using this expensive machine I’d just bought. ??♀️ So I finally just decided to pull it out and do it.

At lot of crafting is about learning how to do better. You make a mistake and then know that if you attempt the project again you’ll try to do it differently.
This happens to me on almost every single project. Something doesn’t go right and I get frustrated, but at the end I know better. And I know exactly what I need to do to avoid those mistakes next time.
So I get it. I hate messing things up too. I hate knowing that if I made one little change the project would’ve turned out so much better.
It’s annoying. It’s frustrating. And it sucks.
But it’s all part of the learning process. And even though I hate it I know that we all go through it, I don’t want you to. I want you to be able to get started and do it right the first time! So I put together a list of all the tips I wish I had known when I first started using vinyl.

These beginner vinyl tips are:
- easy to follow,
- will help you avoid mistakes, and
- are available to print out and keep by your machine for future reference!
Here are my favorite beginner vinyl crafts with tips and tricks to help you rock your projects!

Sherlock Holmes Word Art (+ a free file!)
- Painting a layer of mod podge onto a canvas BEFORE adding vinyl makes it stick. Not doing it causes a lot of pain and frustration….and about an extra hour of trying to get it to adhere to the canvas. That’s definitely not fun.

2. If you’re doing a stencil, paint a layer of mod podge over the stencil to seal the edges. The only thing that bleeds will be the mod podge, and it dries clear!
3. Silhouette transfer tape is MAGIC. I tried using different types of transfer tape and nothing has worked as well as the silhouette brand. Save yourself the headache and use it. Trust me.
4. Clean off all ceramic and glass projects with rubbing alcohol first. It helps the vinyl stick!
5. Make sure you mirror ALL heat transfer projects! You want it to be backwards after you cut it out.

Harry Potter Acrylic Paint Poured Canvas
Joining Silhouette groups on Facebook will give you access to lots of free files that other amazing crafters are willing to share! I used a few of those free files myself, and I love them!
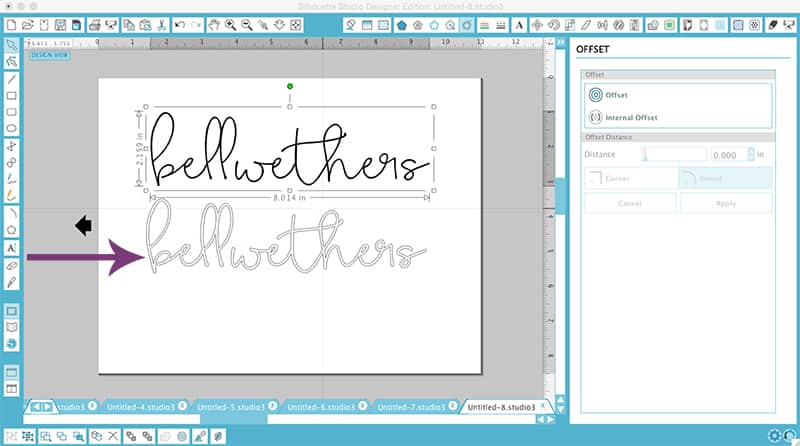
6. If you offset your letters it makes them easier to cut (tutorial on how to do that is in this post)! Skinny letters are a pain to weed and they also don’t cut well. Offsetting makes them a little fatter and easier to weed, cut, and apply to your surfaces.

How to Layer Vinyl, the easy way
7. If you’re doing a layer project, add boxes to the top of your design so you can easily line up the layers!
8. Make sure that your design is inside the cut lines in your software. If the image is too big your blade won’t cut the entire design. You don’t want to waste vinyl like that!
9. Always, always, ALWAYS make sure the shiny side of your vinyl is down when you load it into your machine (this tip is for heat transfer vinyl!)
10. If your blade is not cutting through your material take it out and make sure there aren’t small vinyl or paper pieces stuck to the blade. Clean it and then put it back to try cutting again. DO NOT UNLOAD your material from the machine while you are doing this.
Your Silhouette machine doesn’t have to be scary! Don’t let it sit in the box collecting dust because you’re too afraid to pull it out and use it.
You will waste some material. You will make mistakes. You will get better!
Just do it.
The more you practice the better you’ll get.
Check out more of my beginner Silhouette posts!
- 10 Beginner Silhouette Projects That Aren’t Vinyl
- 4 Silhouette Projects For Beginners, and
- The Best Places To Buy Patterned Vinyl
15 Beginner Vinyl Crafts You Need To Try

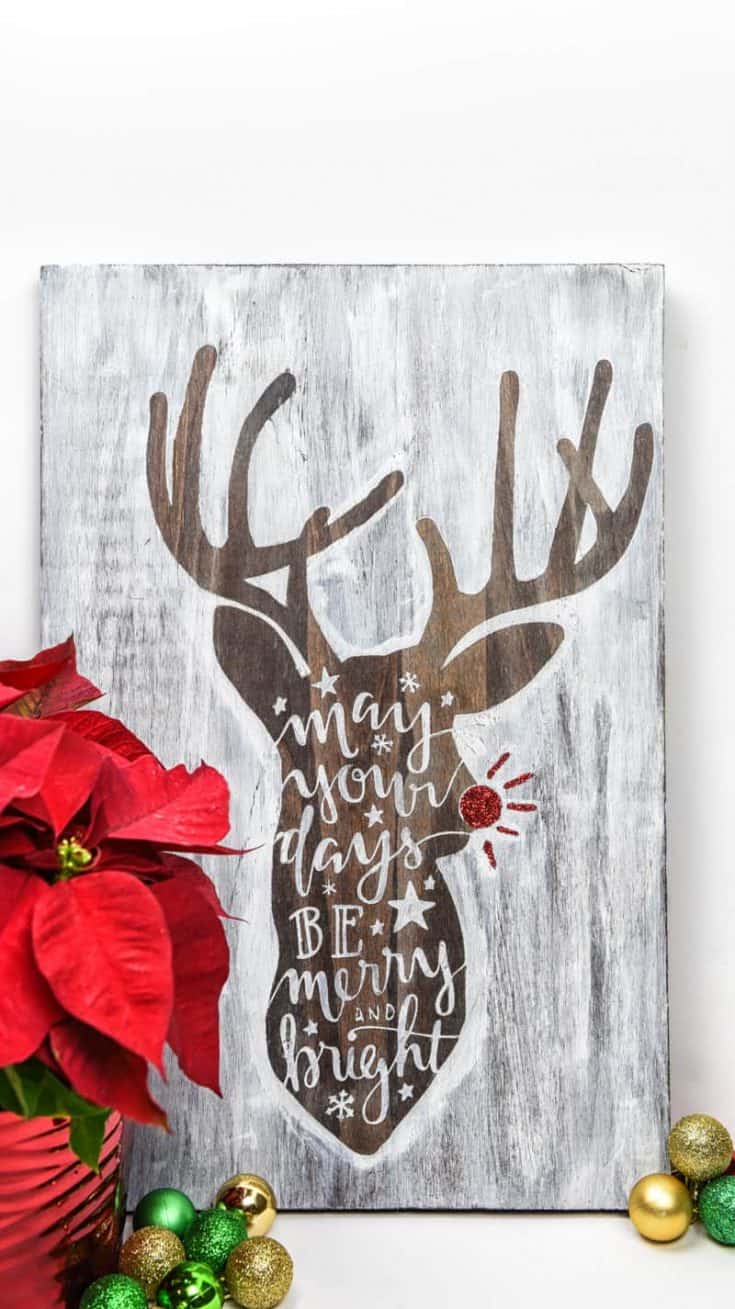
Stop paint from leaking through your stencil and ruining your wood signs with this one simple trick!
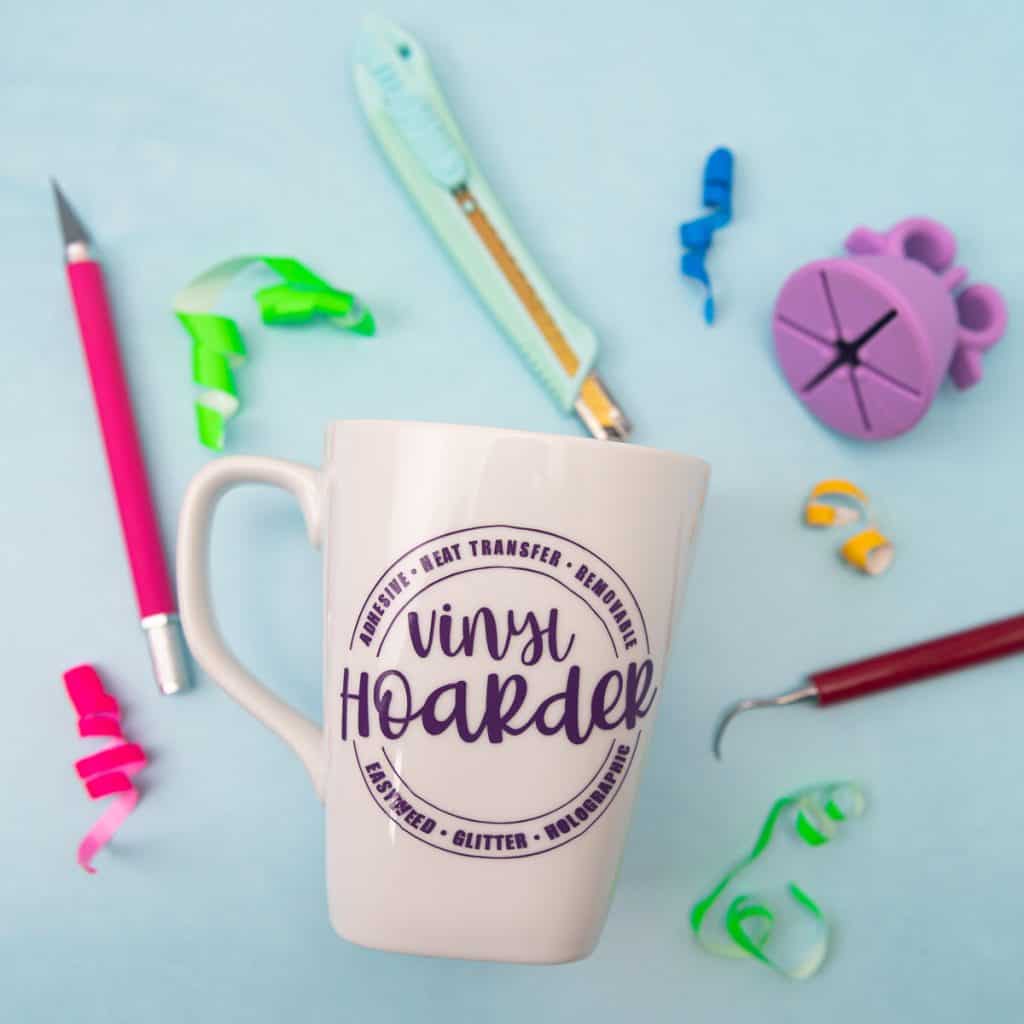
What is transfer tape and what do you use it for? We talk about which type of use for what projects and why it's an important tool to have in your craft room!

Stop losing small letters and pieces of your vinyl designs with these tricks to successfully cut and weed small vinyl designs!

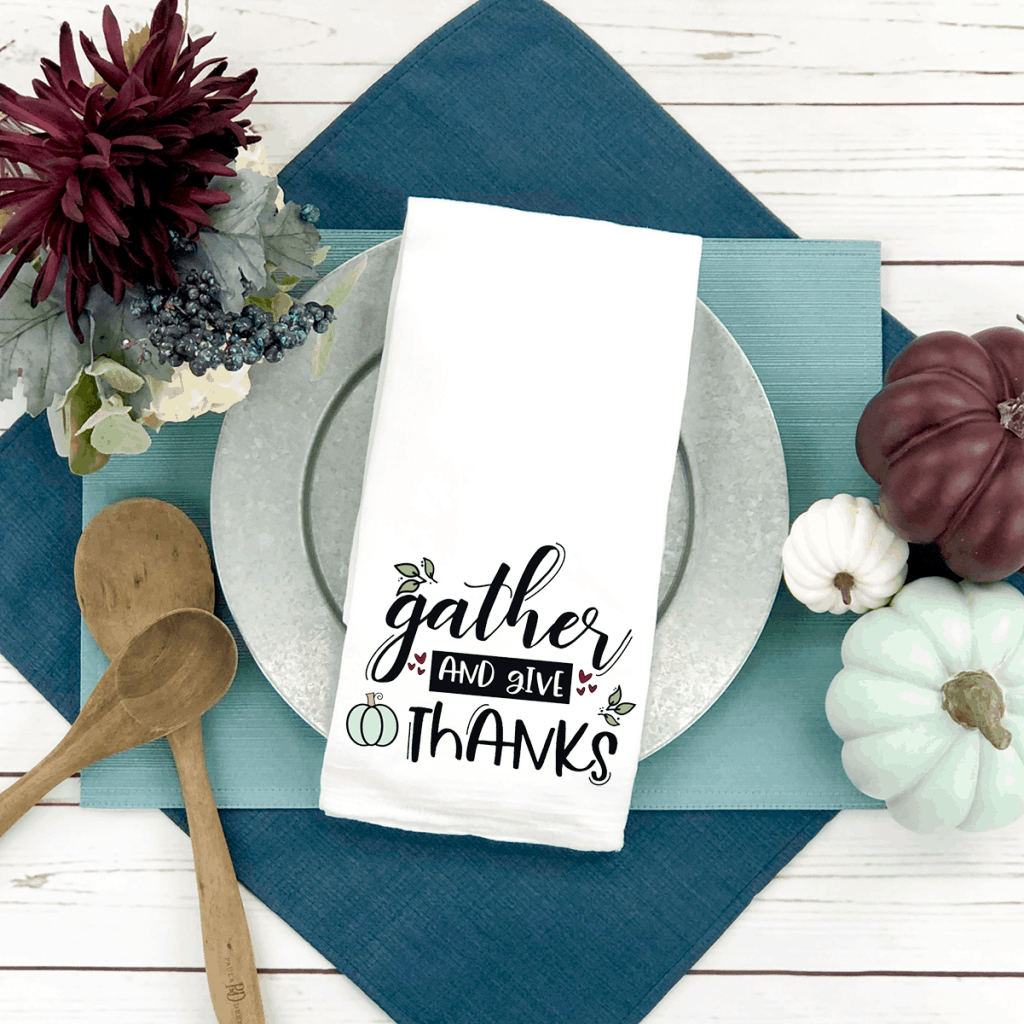
Use stencil vinyl and the free file to create a modern sign for your kitchen!

Make your mailmail chuckle with an easy DIY painted doormat!

Use vinyl decals to decorate your Disney Magic bands! It's a cheap and easy craft to do before your next trip to the parks!

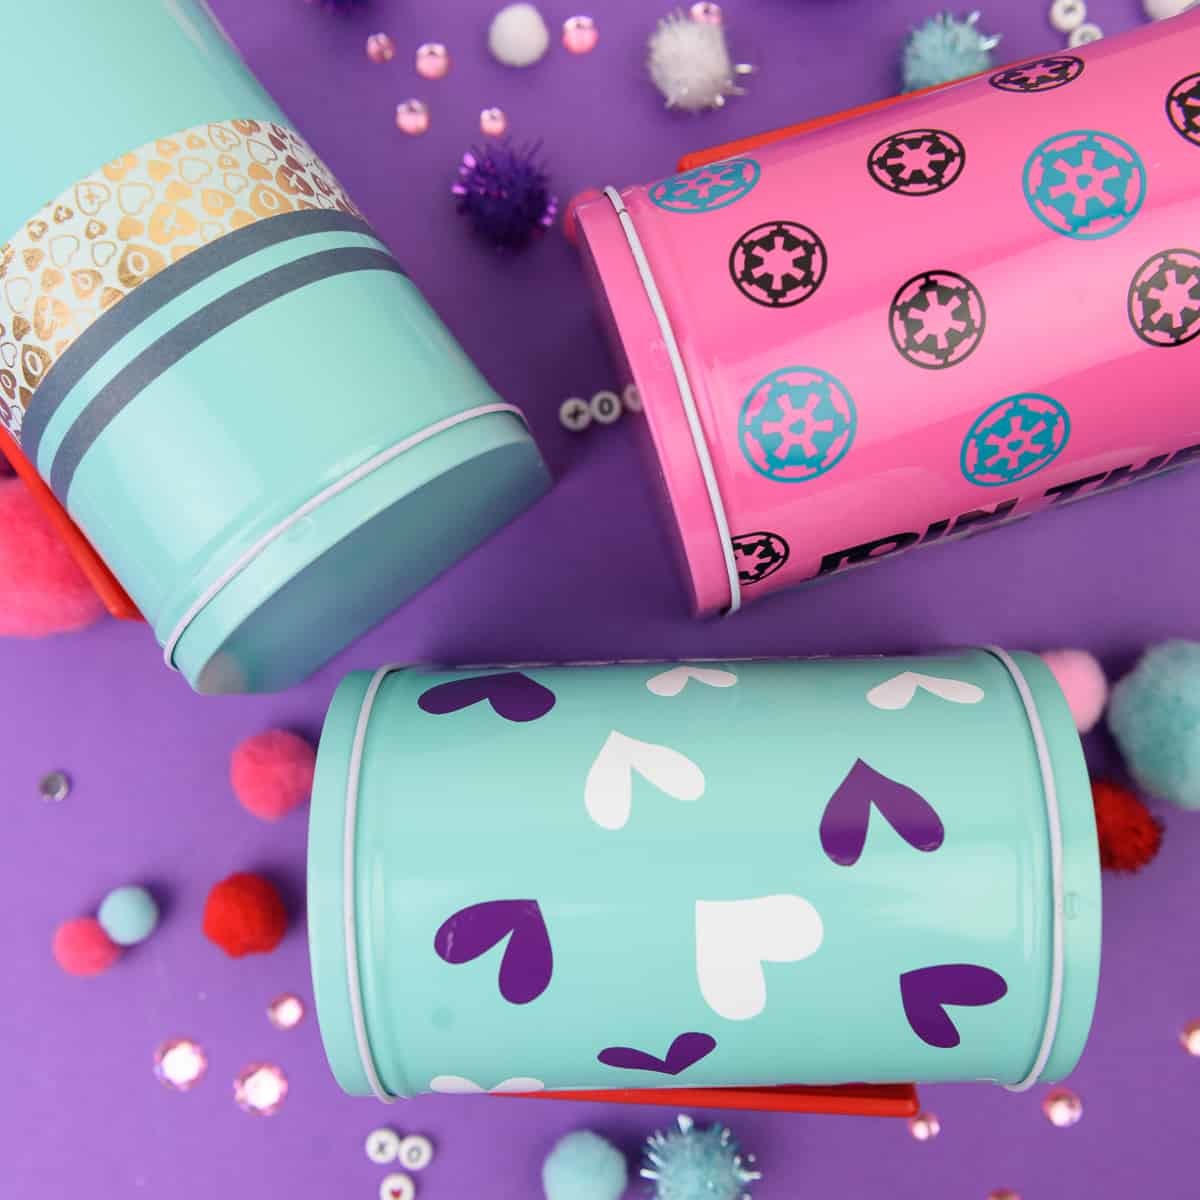
Do you love patterned vinyl but don't know where to buy it? We have a roundup of all our favorite places to buy patterned vinyl from and links to our favorite patterns from all the shops!
Make your Valentine's Day mailbox stand out with DIY vinyl decals!

Do you love the Rae Dunn Christmas ornaments but don't want to spend a lot on them? You can make your own by following the video tutorial on this post!

Stop those pesky solicitors from ringing your doorbell with this DIY no soliciting sign!

Use vinyl and glitter to make this fun Beauty and the Beast rose art with a Target Dollar Spot find!

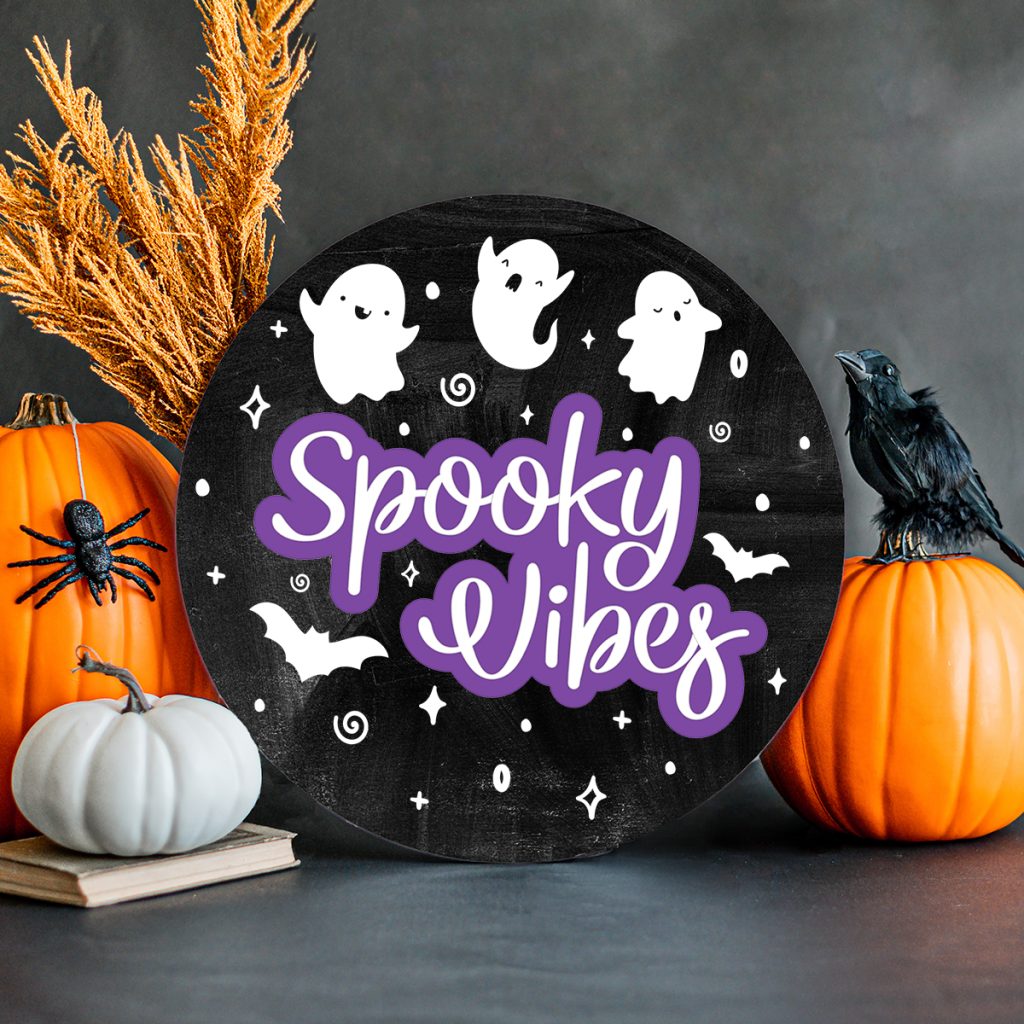
Make a trick-or-treat Halloween tote bag for Mickey's Not So Scary Halloween party with holographic heat transfer vinyl!

This easy nursery sign is made with vinyl (but you could easily paint it on if you want a more rustic look).

Make your own snowman art piece with this multi-layer snowman design!
Have you ever wondered how to make a stencil that is larger than your Silhouette machine? We teach you how so that you can make holiday signs for your home and your friends!


I never thought to add Mod Podge before trying to adhere vinyl – that is so going to come in handy! I simply love these ideas – especially the Harry Potter ones!
I was so excited when I found that tip, and it definitely does come in handy! It makes the application so much easier. Thank you so much for stopping by! (and thank you, the Harry Potter ones are my favorite too!). 🙂
Thank you for all of your tips! I’ve learned so much in one article!! I have a Cricut Maker; I’m so overwhelmed with all of the information out there, and you have made me a lot more comfortable. I love that your tips apply to other Cricut machines too. Words cannot express my gratitude!