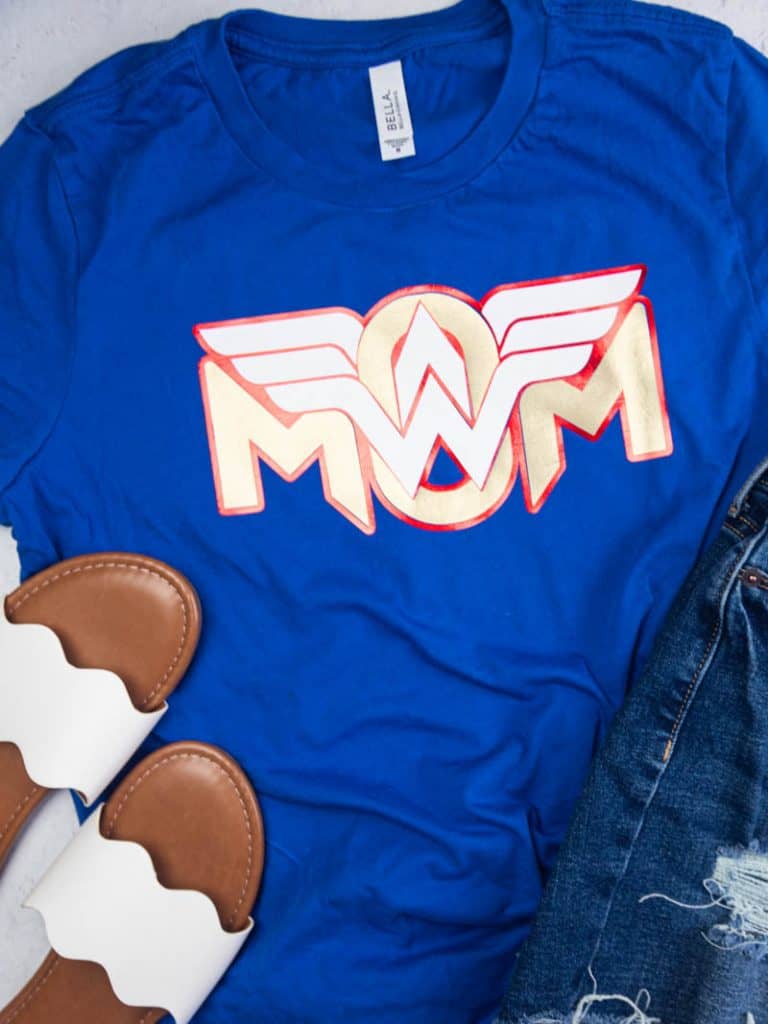
Wonder Mom SuperHero T-Shirt for Mother’s Day
Grab this Wonder Mom Superhero svg design from Etsy and use it on a t-shirt for Mother’s Day! You could also use it on a tote bag, wood sign, as a car decal and more!
Do you ever notice gaps in your heat transfer vinyl after you press multiple layers?
This is such a common thing that happens and is so frustrating when you’re excited for a shirt design and then it doesn’t come out perfect.
But there are a few tricks you can try to make sure that all the layers line up perfectly and there are no gaps in between the layers!

My favorite way to do this is to add an offset to the bottom layer of the design.
The original file doesn’t have an offset around it but it was really easy to add it in the Silhouette Software.
You don’t have to add a large offset (I like using a 0.3 offset typically), something small will be enough and will make all the difference!
Materials
To make this Wonder Mom Superhero T-shirt you’ll need:
- T-shirt (I love using Jiffy Shirts but Michaels now carries Bella Canvas which is my favorite t-shirt brand!)
- Silhouette Cameo
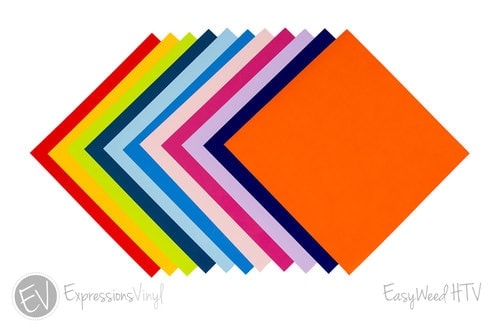
- Heat Transfer Vinyl (I used both metallic red and gold and regular white htv)
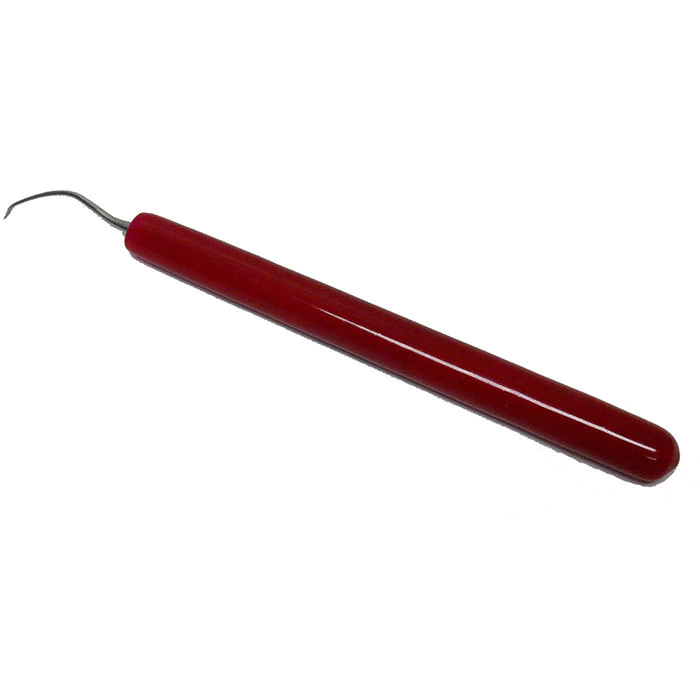
- Weeding Tools
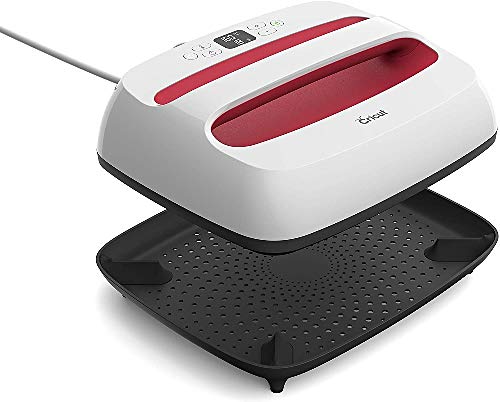
- Cricut EasyPress
- Pressing Pillow
- Wonder Mom SVG Cut File

This post contains affiliate links. I may earn commission from qualifying purchases at no additional cost to you. I will never recommend a product I don’t use or trust.
Tips to make this Wonder Mom Superhero T-shirt!
What are the best shirts to use with heat transfer vinyl?
Any shirt will work but I tend to really love lightweight cotton/poly blend shirts, like Bella Canvas.
They run true to size but because I like my t-shirts to be a little loose I like to size up (for reference, I am typically a size Small and will always order a size Medium). The shirts are slightly baggy when sizing up and I have room to tie them on the side if I want.
I also like to wear most of the shirts I make to Disney and I hate being sweaty and having a shirt stick to me. Ick. So sizing up helps with that!
What type of heat transfer vinyl lasts the longest on shirts?
Any time I’m using vinyl on a shirt I use Siser Easyweed. The colors are vibrant and the vinyl is great quality. It’s also very easy to weed and is a great vinyl to use if you’re a beginner!
Typically manufactures will tell you that vinyl can last up to 50 washes as long as you take proper care of the garment. I’ve found this to be true so proper care is important when washing and drying your t-shirts!
SIDE NOTE: always wash your shirt before putting vinyl on it, but do not use any type of fabric softener! The fabric softener will affect the vinyl and stop it from adhering well to the shirt.

Which is better to use: Heat Press, Cricut EasyPress or Iron?
They each have their own pros and cons but I think it’s really just best to use what you have. I used an iron for years before getting an EasyPress and it worked well. You don’t always need the fanciest tools when you’re starting out…upgrade when you can!
With an iron you have to be careful about getting even pressure over the entire design. It also takes a long time to press bigger designs because the iron is small.
A Circut EasyPress is a bigger version of an iron and is great if you want to upgrade from an iron. You still have to worry about even pressure but (depending on the size EasyPress you get) you can press and entire design in one go. It is also smaller and great if you don’t have a lot of room but still want to upgrade. However, it is expensive for what it is!
A Heat Press is the best option when it comes to size, cost and convenience. It always gives you even pressure and you can buy different options like a swing away or a pull out drawer (great if you’re worried about burning yourself), auto release and more! They are big and very heavy though so if you don’t have a lot of room in your home for one, it’s probably not the right option for you!
I have a whole PDF available for download that walks you through sizing and placement of htv on t-shirts!

How to offset your design in the Silhouette Software to compensate for shrinkage when pressing your design onto a t-shirt.
What is an offset?
An offset is an expanded line around an object that gives it a mat effect.
I tend to use offset if I have a skinny font that needs to be thicker or if I’m trying to get a design to stand out and I need a color around it (like the red around the Wonder Mom svg).
Where can you find offset in the Silhouette Design Studio?
This video will walk you through how to trace an image and offset it in the Silhouette Software!
Will layering heat transfer vinyl cause the adhesive to not be as strong and cause lifting when you wash the t-shirt?
It depends on what type of vinyl you use!
If you’re using Siser Easyweed Vinyl you can layer vinyl and not have issues with it.
But if you use glitter vinyl you cannot layer another piece of vinyl on top of it! Glitter vinyl has to be on top or it can cause your adhesive to weaken and your layers to peel up.
If you want Glitter to be the bottom layer you should use the Subtract Tool (you can find it under MODIFY on the sidebar in the Silhouette Studio). The Subtract Tool will cut out your design from the background so that the background only fits around the design, not under it.

SIDE NOTE: This works well but it does show shrinkage a little more when you press all the layers. I used this method for my shirt and if you look closely you can see small gaps in between the layers. If you want to avoid this, use the offset button and skip subtracting your design from the background!
Other T-Shirt’s To Make!
- How To Use Heat Transfer Vinyl On T-Shirts
- How To Remove HTV From a Shirt If You Mess Up
- What Is HTV And How Do You Use It On Shirts
- How To Open an SVG In The Silhouette Software
- Where To Buy Patterned Vinyl For Shirts
Let’s make this Wonder Mom Superhero T-shirt!

Wonder Mom SuperHero T-Shirt for Mother's Day
Materials
Instructions
- Open the file in your Silhouette Software (go here to learn how to open an SVG in the Silhouette Studio!).
- Use the Offset button to create a border around your image.

- Cut out the vinyl decal and weed it.
- Turn on your Cricut EasyPress.
- Fold your t-shirt in half and use your EasyPress to iron the crease down the center. Open the shirt and make sure you can see the crease down the center, you'll use this to line up your vinyl decal!
- Press each layer for 5 seconds to get it to adhere to the shirt. Once all three layers are on the shirt, do one final press for 30 seconds.
Recommended Products
As an Amazon Associate and member of other affiliate programs, I earn from qualifying purchases.